Build a Request Time Off HTTP Action
Build a Request Time off HTTP Action
Let’s walk through a tutorial on building an action with Workday. In this case we will build the “Request Time Off" action.
-
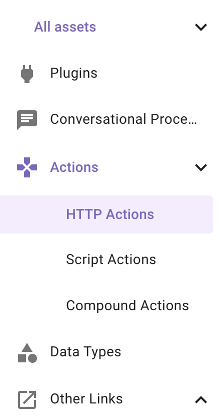
Once in Agent Studio, navigate to “HTTP Actions”
-
On the top right, click the “CREATE” button
-
On the top right next to "Test" you will see an "Import" icon button. Click that and you should see the following dialog. This allows you to easily import HTTP actions if you have a cURL command.

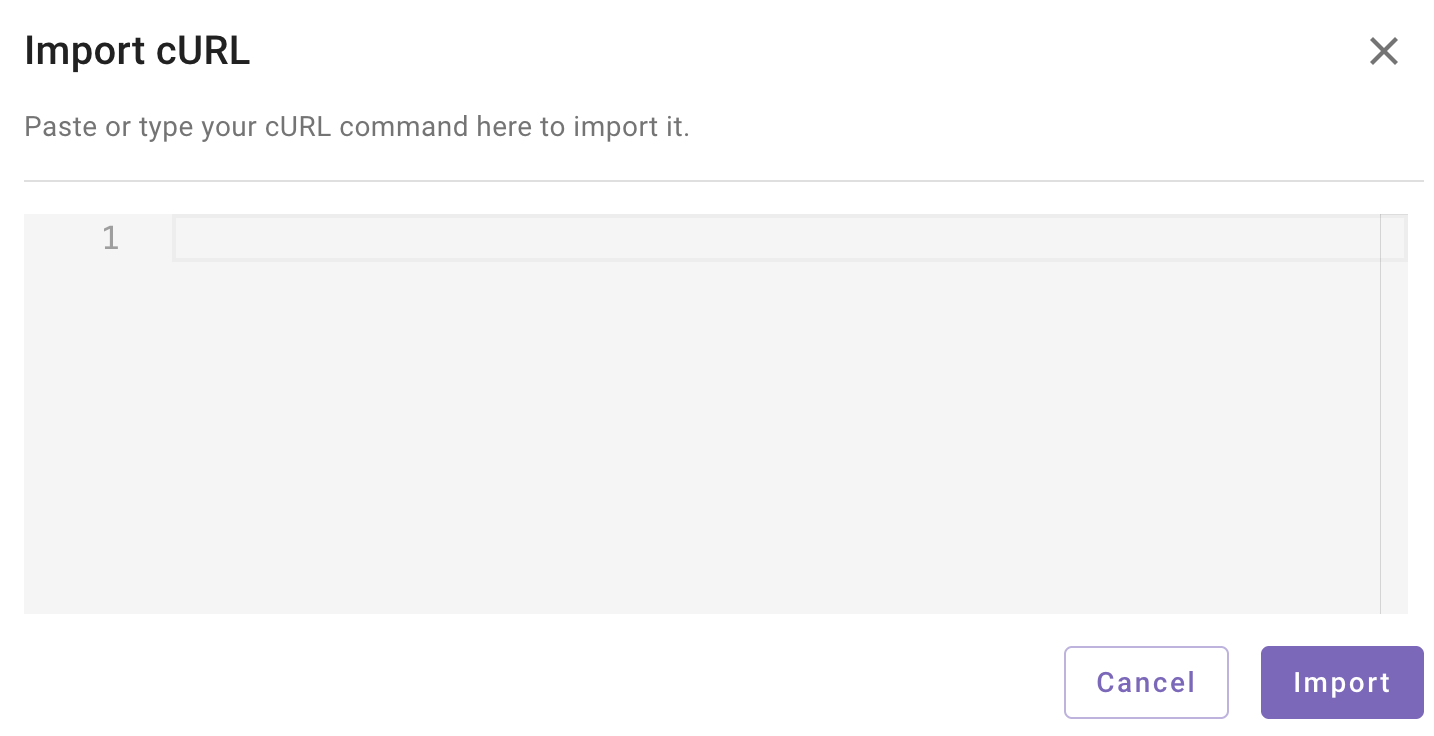
- Paste the following cURL command into the dialog and click "Import".
curl -X POST "https://impl-services1.wd12.myworkday.com/ccx/api/absenceManagement/v3/moveworks_dpt2/workers/{{worker_wid}}/requestTimeOff" \
     -H "Content-Type: application/json" \
     -H "Accept: application/json" \
     -d '{
  "businessProcessParameters": {
    "action": { "id": "d9e4223e446c11de98360015c5e6daf6" }
  },
  "days": {{{time_off_entries}}}
}'-
You should see that all the fields you need for your API call have populated. Take a look at the Query Param and URL Param and notice the fields in curly brackets. These are the variables that will be populated as part of the API call. The way Workday integrations refer to users is by their "WID". This is a unique ID in Workday. Moveworks knows your WID as a result of it's User Import Process.
-
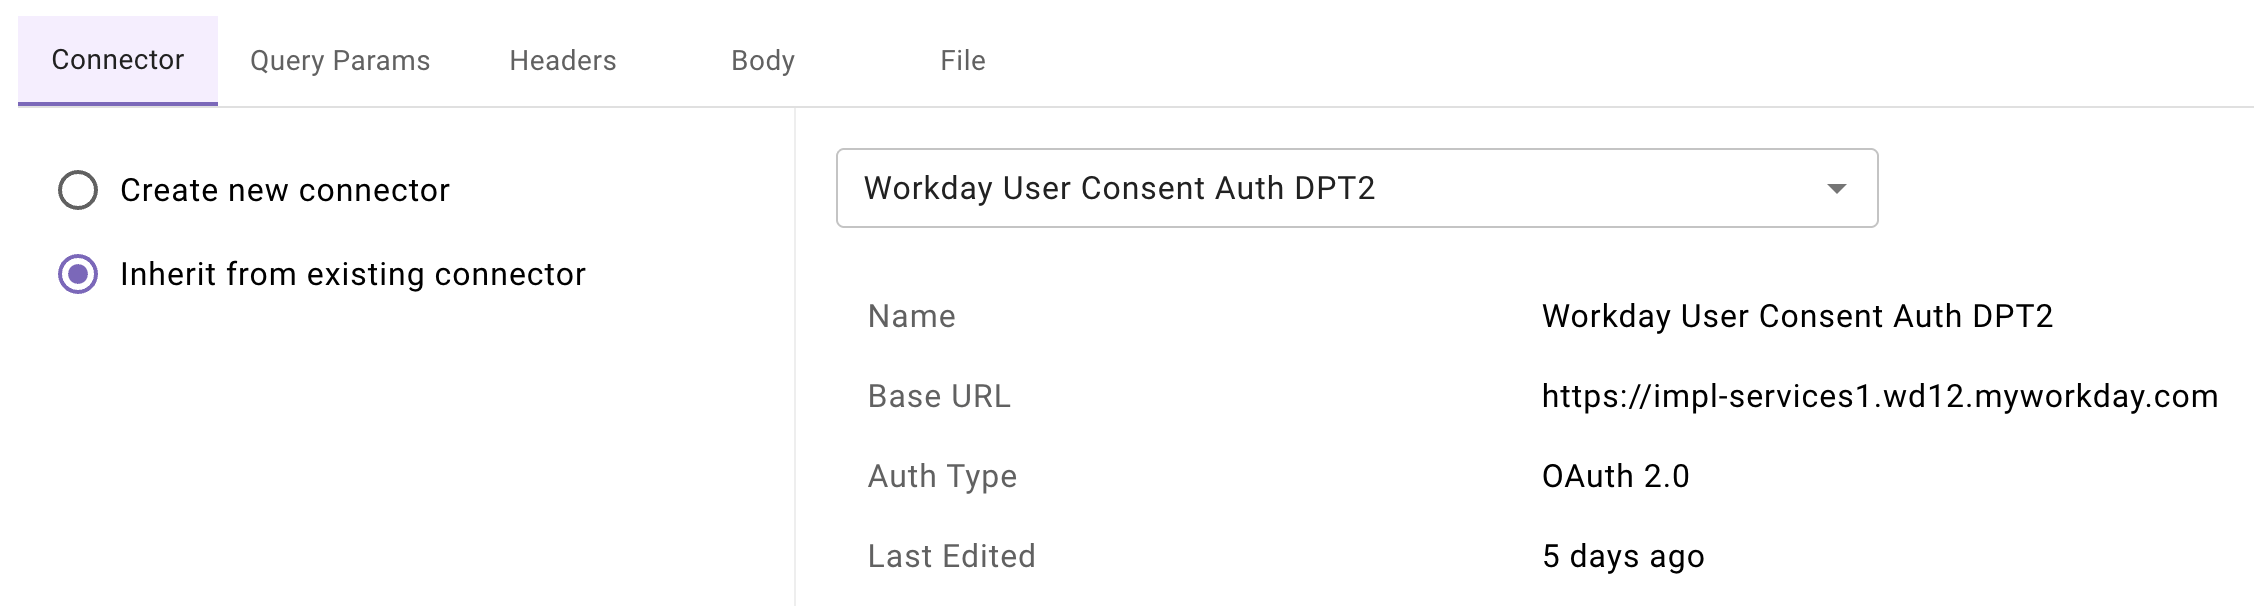
Since we are using a shared Workday Sandbox instance, the connector has already been set up for you. Choose “Inherit from existing connector” and select “Workday User Consent Auth DPT2”
-
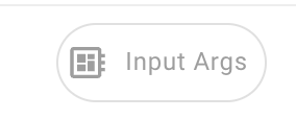
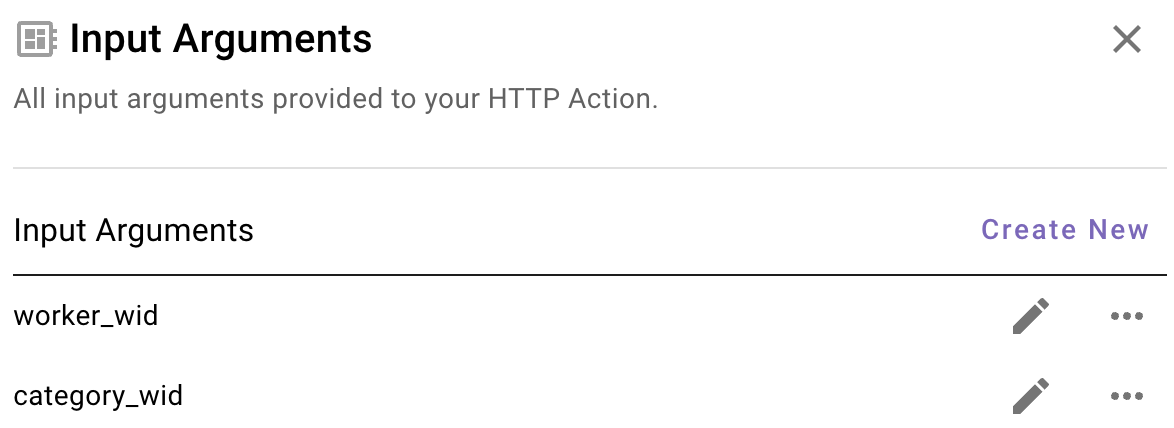
Now navigate to “Input Args” - you should see that the worker_wid and category_wid variables have been detected in the API call and they are of type “string” which is correct. In order to properly test that the action has been set up correctly, we can provide example values and test the call before publishing.
-
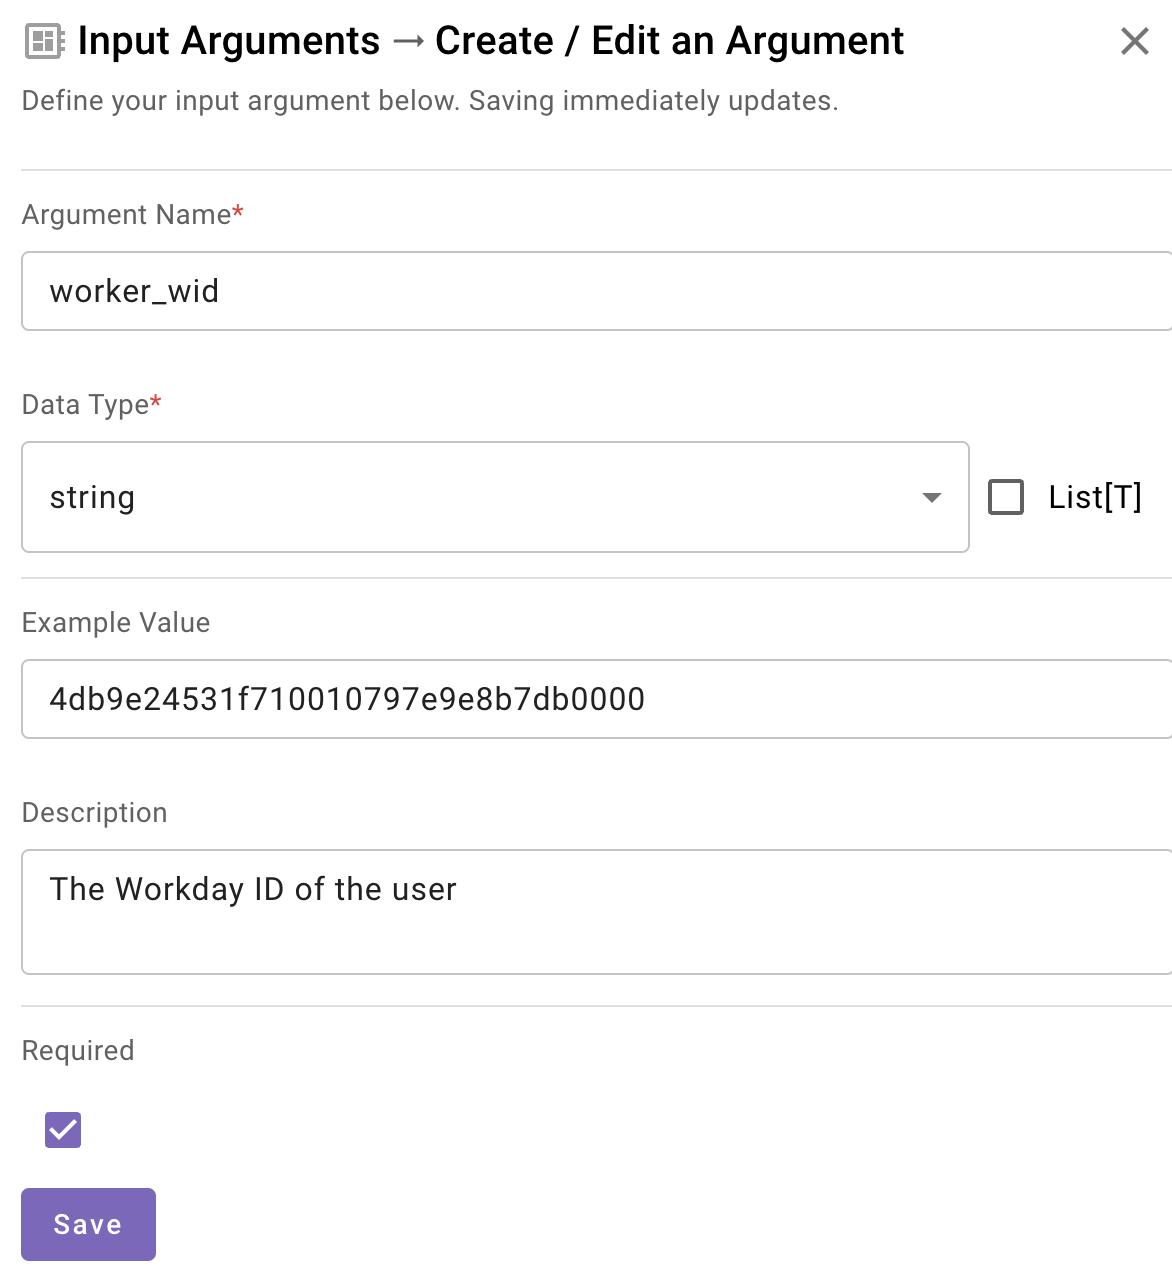
Let's test with the worker_wid. Click the pencil icon to open it up. In this example, the worker_wid is you since we are looking up eligible absence types for yourself. Let's look it up in the Developer Labs Moveworks bot. Ask the bot "what is my workday ID" or something similar.

-
Copy that value and paste it into the "Example Value" field. This is the variable that will be passed into the XML and ultimately the API. Also ensure you provide a clear description - this is so that the reasoning engine understands what this is. Click "Required" and "Save".
-
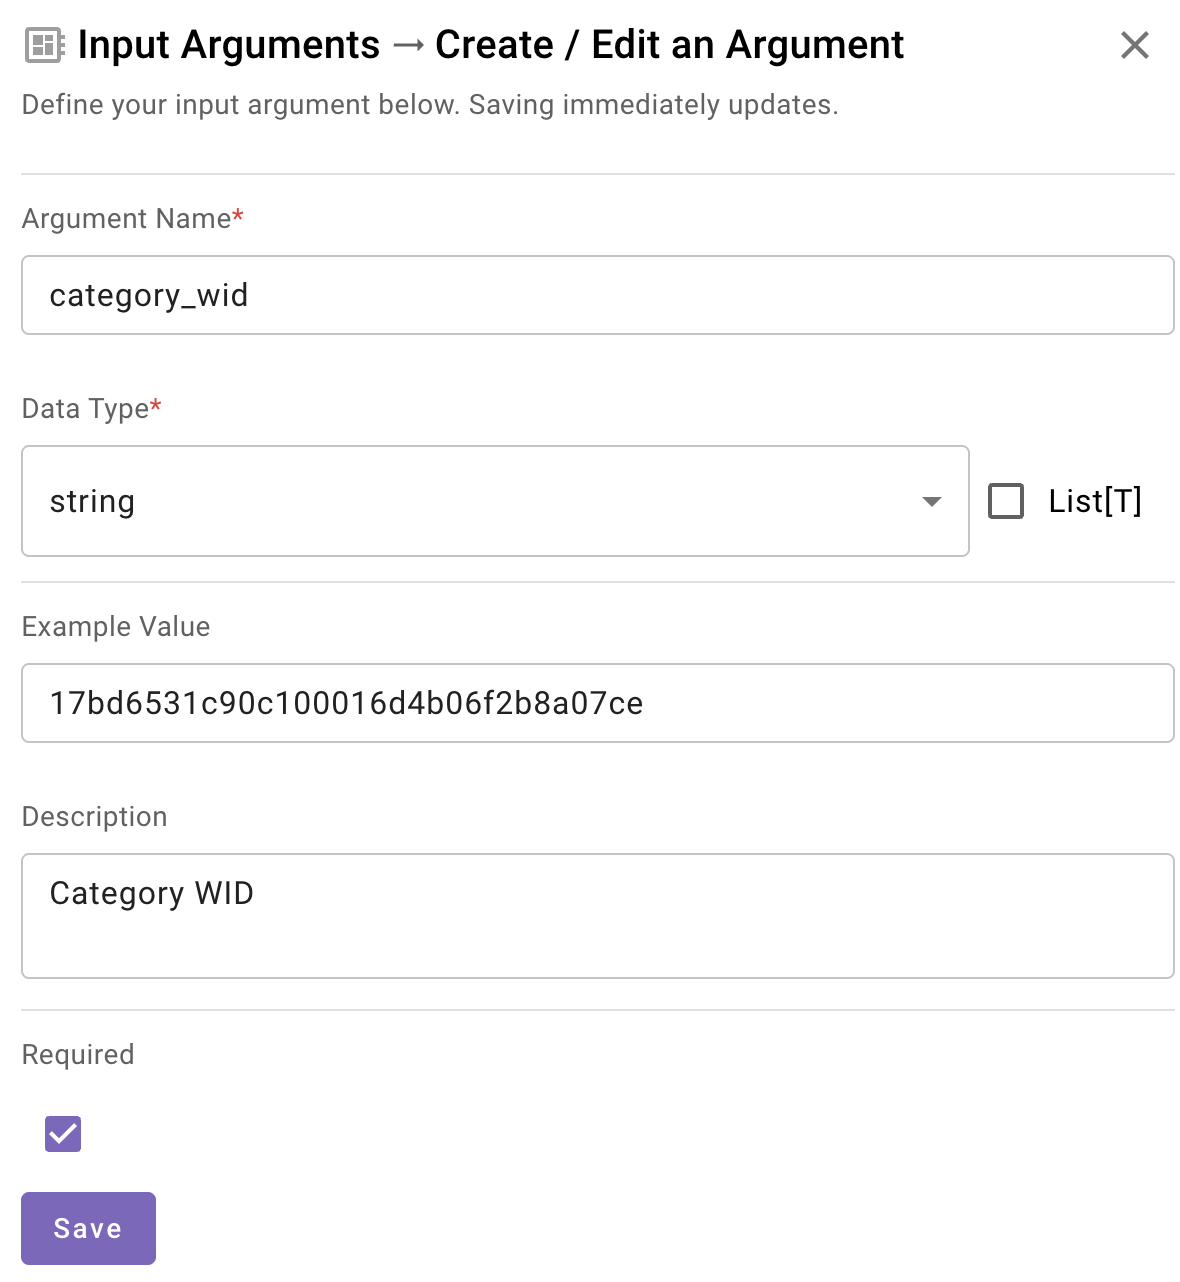
For the category_wid you can use 17bd6531c90c100016d4b06f2b8a07ce - this is the ID of the category of absence that has been configured in this Workday instance.
-
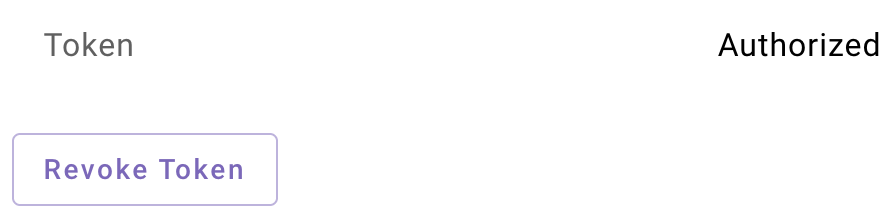
You should still have a valid token in this session from the previous HTTP Action you built. You can verify this if you click on the "Connector" tab and scroll down to see the following. If for some reason you do not, go back to the previous page and perform steps 10 and 11.
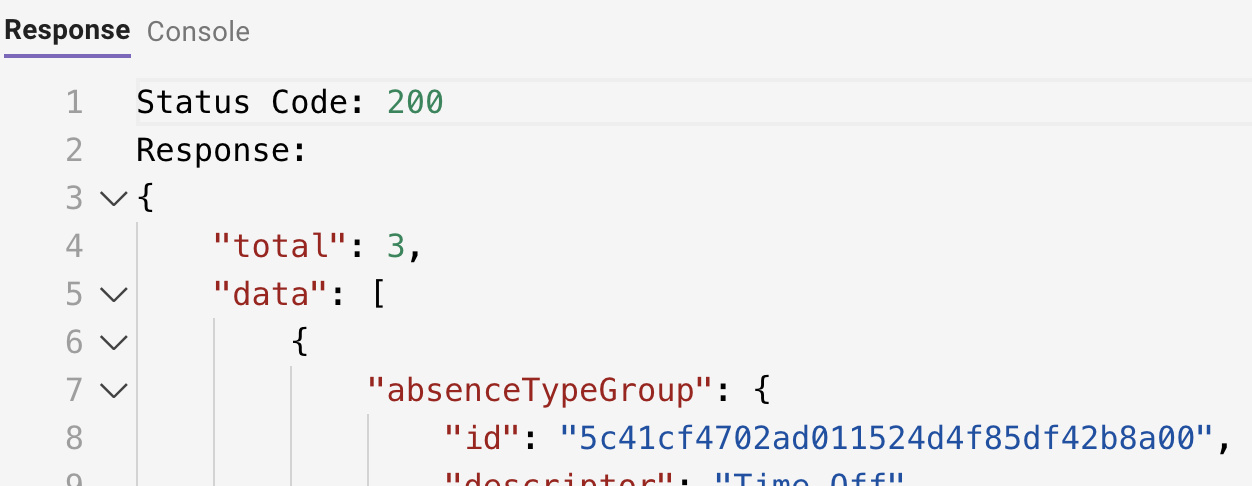
- Click Test and you should see a response like the following
- Now we must name our HTTP Action. At the top, select the title bar to name your HTTP Action (see the note below before doing so). Your description can be anything that describes the Action such as “Get Eligible Absence Types in Workday”
IMPORTANT: Ensure you name the action in this format ”firstname_lastname_get_eligible_absence_types. This will ensure you know you are using YOUR action since there are many people at once doing the same exercise in this environment.
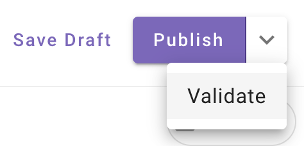
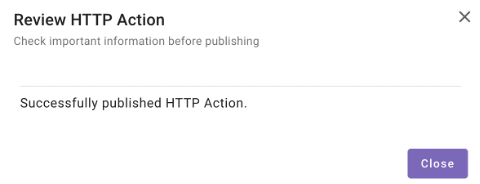
On the top right, click the dropdown and choose “Validate”. This will ensure everything is correct before publishing. If everything checks out, choose “Publish”.
Updated 20 days ago