Build a Create Change Request HTTP Action
Build a Create Change Request HTTP Action
Let’s walk through a tutorial on building an action with ServiceNow. In this case we will build the “Create Change Request” action.
-
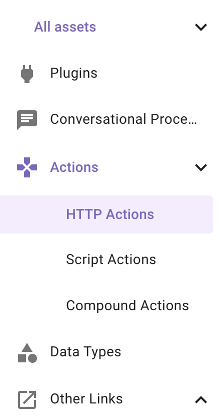
Once in Agent Studio, navigate to “HTTP Actions”
-
On the top right, click the “CREATE” button

-
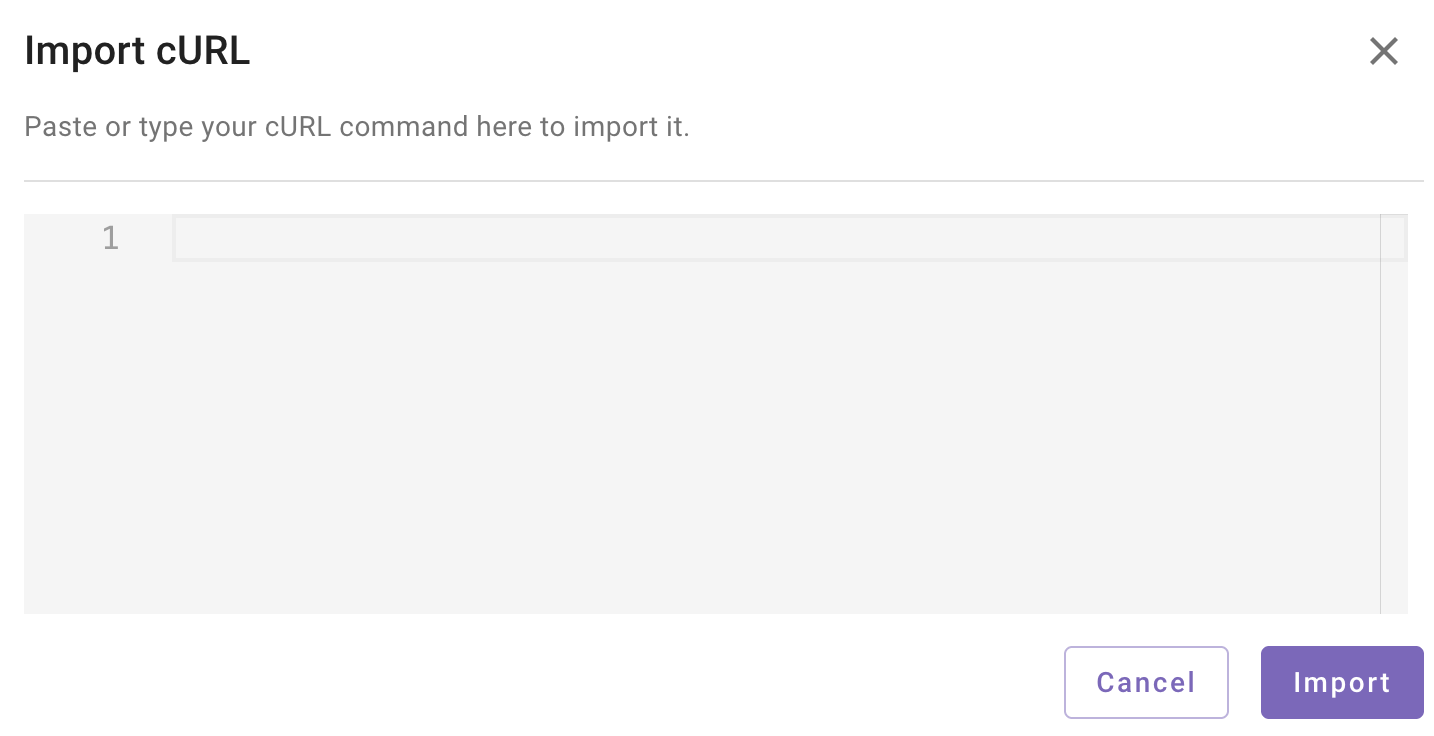
On the top right next to "Test" you will see an "Import" icon button. Click that and you should see the following dialog. This allows you to easily import HTTP actions if you have a cURL command.

-
Paste the following cURL command into the dialog and click "Import"
curl --location 'https://platformdemo33b.service-now.com/api/now/table/change_request' \ --data '{ "risk": "{{risk}}", "short_description": "{{short_description}}", "cmdb_ci": "{{ci_sys_id}}", "requested_by": "{{usr_sys_id}}" }' -
You should see that all the fields you need for your API call have populated. Take a look at the Body and notice the fields in curly brackets - that being ci_sys_id, short_description , risk and requested_by. These are the variables that will be populated as part of the API call.
-
Since we are using a shared ServiceNow Sandbox instance, the connector has already been set up for you. Choose “Inherit from existing connector” and select “ServiceNow”.

-
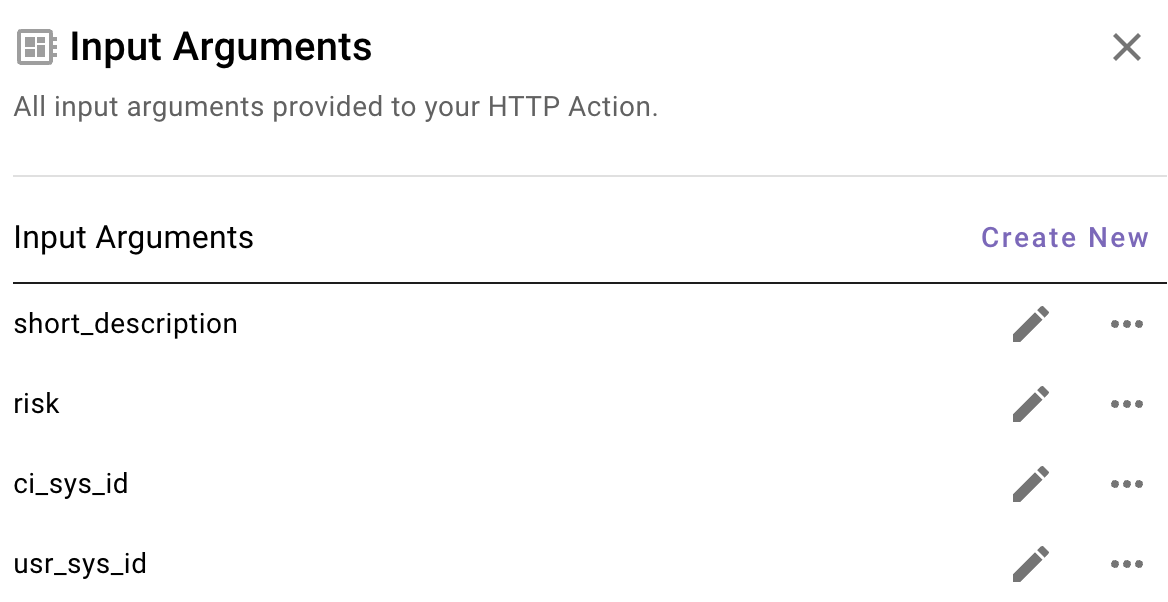
Now navigate to “Input Args” - you should see that the ci_sys_id, short_description, risk and usr_sys_id variables have been detected in the API call and is of type “string” which is correct. In order to properly test that the action has been set up correctly, we can provide example values and test the call before publishing.

-
Populate each input argument. You can use the following values:
ci_sys_id - 46a09013a9fe19810051aee06fea46ae
short_description - This is a test
risk - HighRemember to make sure you fill in the description and check the "Required" box and click"Save". The description is important since it tells Moveworks how to ask for these argument.
For usr_sys_id you can simply ask the Developer Labs bot to look it up for you

-
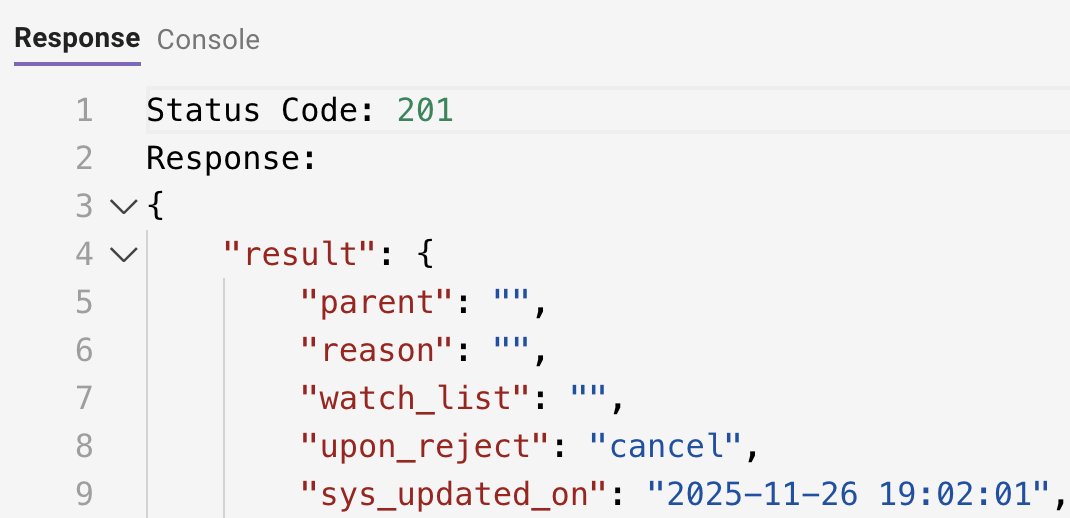
Click the TEST button. At the bottom in the Console you should see a 200 with a response that looks something like screenshot below. NOTE: Typically this API call would return a lot of information we don't need, essentially everything about the Change Request. We are leveraging the ServiceNow Encoded Query syntax since we only need the close notes for our purposes.
-
Now we must name our HTTP Action. At the top, select the title bar to name your HTTP Action (see the note below before doing so). Your description can be anything that describes the Action such as “Create Change Request”
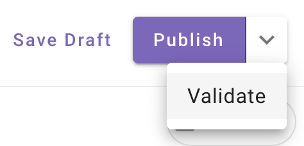
IMPORTANT: Ensure you name the action in this format ”firstname_lastname_create_change_request”. This will ensure you know you are using YOUR action since there are many people at once doing the same exercise in this environment.On the top right, click the dropdown and choose “Validate”. This will ensure everything is correct before publishing. If everything checks out, choose “Publish”.
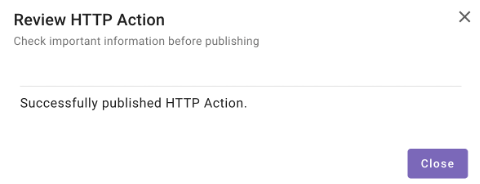
You should see the following upon success.
Updated about 1 month ago