Adding Embedded AI Assistant to SharePoint Online (Cloud)
This document walks through the installation steps for Sharepoint Online using OIDC. Before starting this guide, please review the Embedded AI Assistant SSO guides in the navigation menu to the left to find the setup guide for your SSO system and complete the steps to create an SSO application for authenticating the Embedded AI Assistant
Installing it on SharePoint Online (Cloud) using OIDC
Who can install this?
A SharePoint admin with the global administrator role.
(1) Upload the Embedded AI Assistant Application to your SharePoint Tenant
- Download the Moveworks-for-Web Sharepoint package from here
- Unzip the package to reveal the sppkg web-part file.
- Navigate to this page:
https://{{tenant}}.sharepoint.com/sites/appcatalog/AppCatalog/Forms/AllItems.aspx - Click upload, and upload the web-part file.
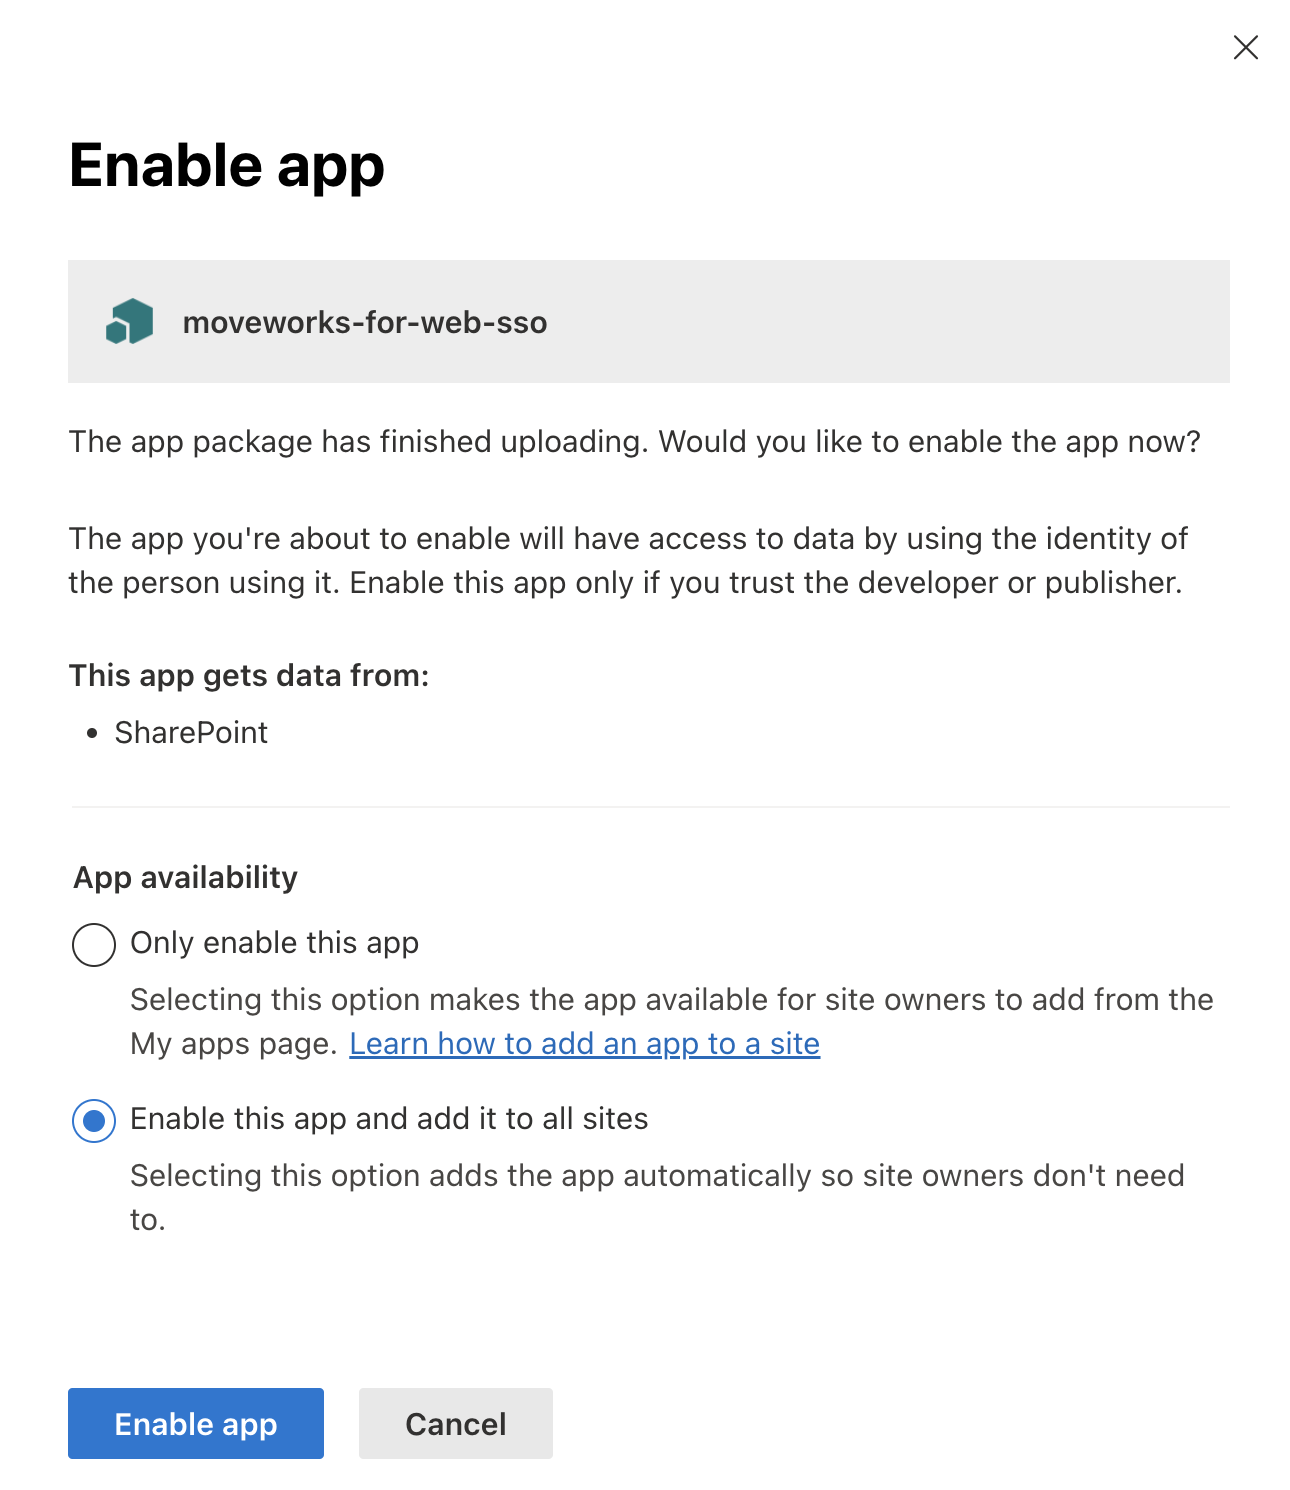
- Check the box to deploy it to all sites in the organization.
- Select Enable App
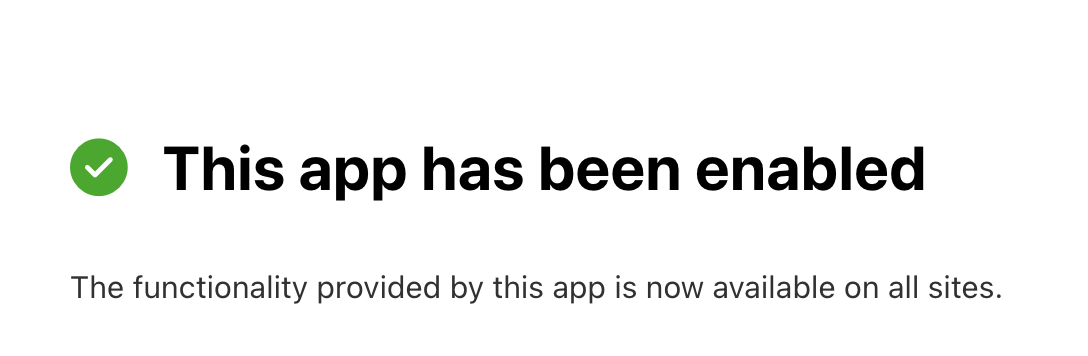
- You should see the success message below, and under Apps for Sharepoint, the App should surface as Enabled. After it's enabled, the web-part will be available in your web-part toolbox to add to any site.
(2) Configure SSO Configuration
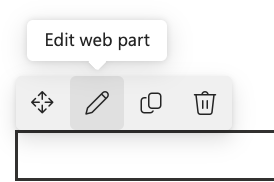
- Select 'Edit Web Part'
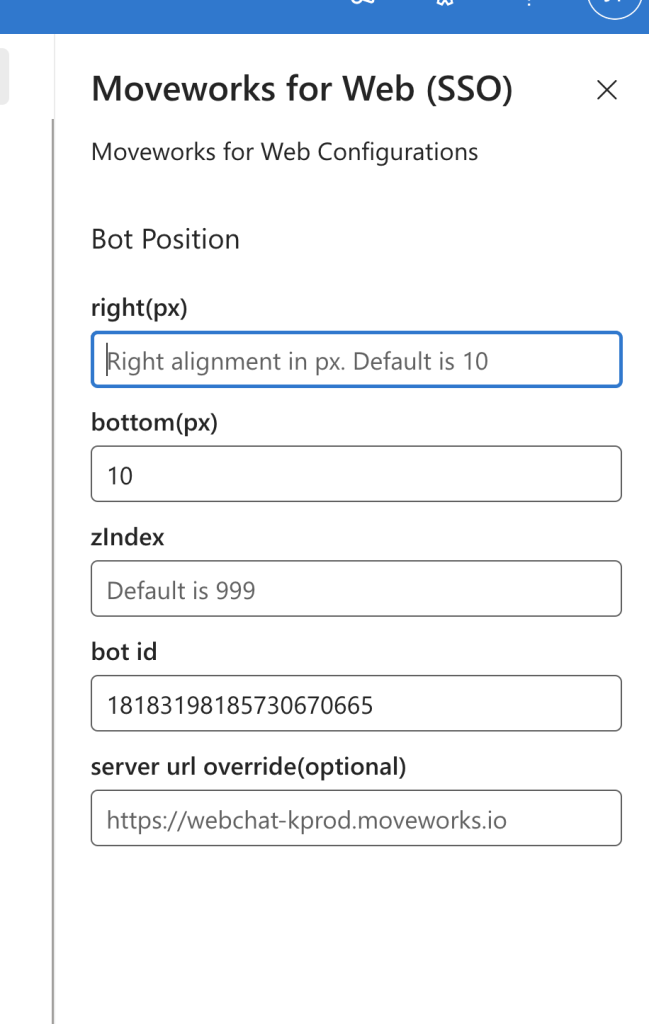
- Configure the following settings
right(px),bottom (px), andzIndex- These settings determine where on the Site UI the Moveworks AI Assistant shows up. - Next configure the
bot id— This will get generated in Moveworks Setup underChatbots -> Manage Chatbots - Lastly, configure the
server url overridebased on your Moveworks environment.
- For US commercial customers: https://webchat-kprod.moveworks.io (this is used by default)
- For EU customers: https://webchat.prod.am-euc1.moveworks.io
- For CA customers: https://webchat.prod.am-cac1.moveworks.io
- For AU customers: https://webchat.prod.am-apse2.moveworks.io
- For GovCloud customers: https://webchat.moveworksgov.com/
- Note: Please confirm what the IDP redirect URL is within the SSO module of MW Setup for your SSO app. If your redirect domain is of the form https://<org_name>-chat.moveworksgov.com, then your server url override should be https://<org_name>-chat.moveworksgov.com as well.
- Make sure to save and then Publish the page.
(3) Add the Web Part to a Page
If your user account is allowlisted to use Web Bot, then you will see it right away, if not, work with Moveworks to do so.
If you are still not seeing the AI Assistant appear, ensure the SSO application is assigned to the user.
Sharepoint Modern Site
It will look like this (a thin rectangle) if you successfully added it and are not allow listed (you can use the trash can to remove it, if desired):

Sharepoint Classic Site
Find the Embedded AI Assistant part located in the Other category, and insert it on the page.
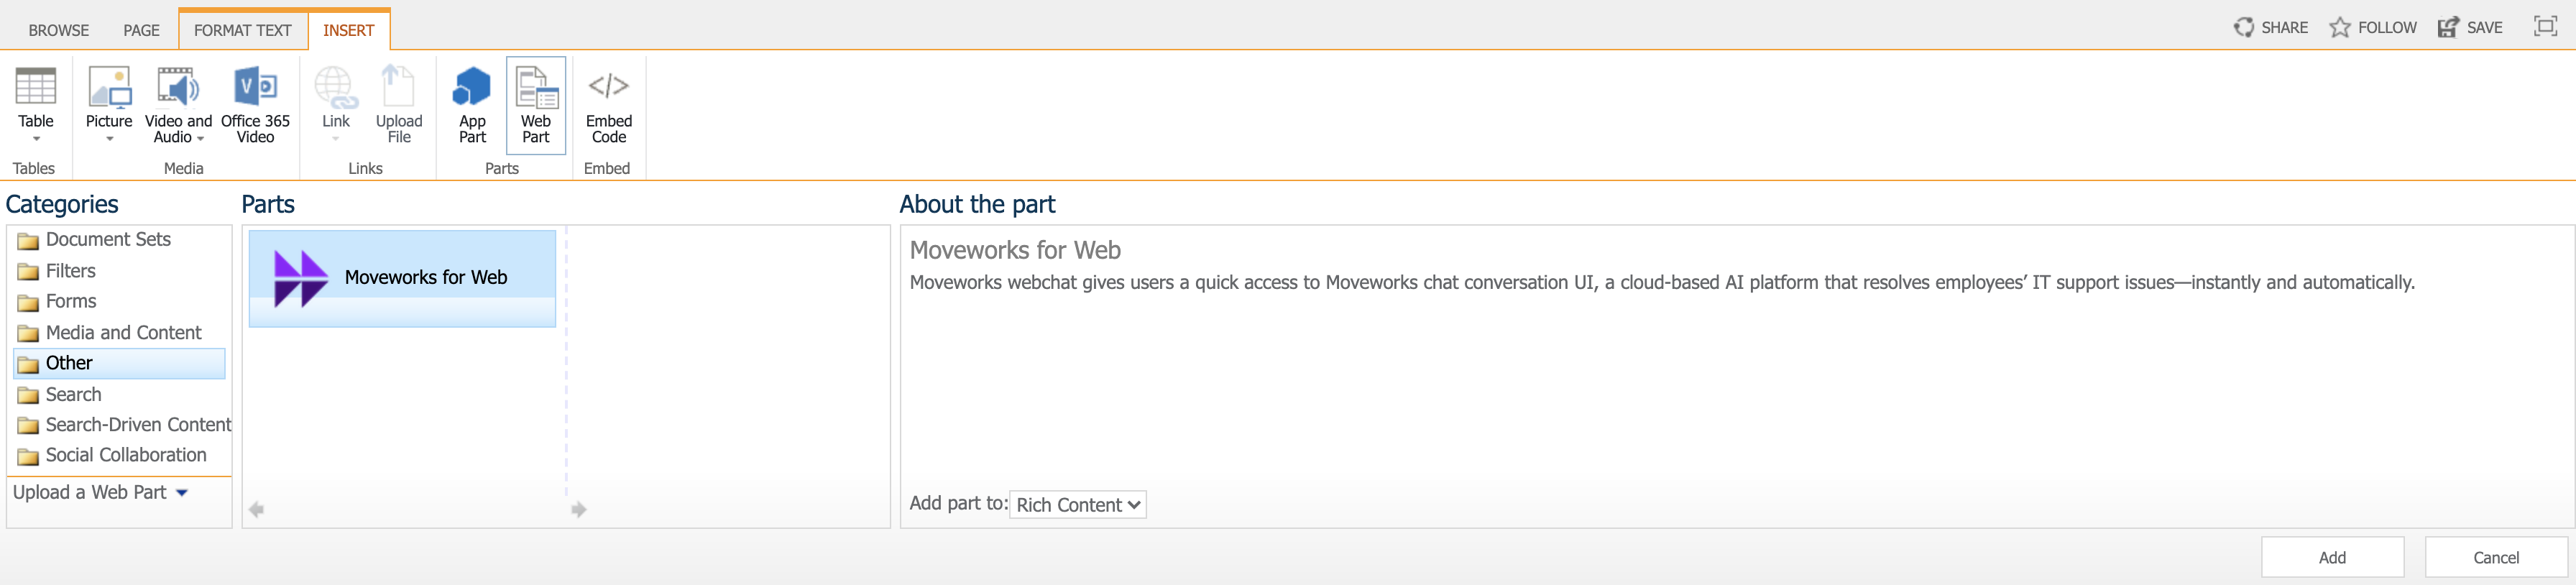
After the web part is added to the page. Edit the web part configuration. Change Chrome Type to None.
Updated 27 days ago