Moveworks Jira Application (for Jira Cloud)
In a Jira environment, Moveworks needs to know users’ contact information so that it can operate on their tickets and tickets related to them. To do this, Moveworks provides an Atlassian Marketplace app that you must connect to your Jira instance.
The Moveworks Jira App is used to ingest user information from Jira Cloud such as the user's Jira ID, email, and name.
This document shows you how to install our Atlassian Marketplace app and grant it the needed permission to retrieve user IDs.
Permissions Required
As part of installing the Moveworks Jira Application, you will be granting the following permissions to Moveworks for purposes of user identity ingestion:
'scopes': ['READ', 'ACCESS_EMAIL_ADDRESSES']
Installation Procedure
-
Log in as an administrator of your Atlassian site and navigate to the Moveworks app listing on the Atlassian Marketplace: https://marketplace.atlassian.com/apps/1221821/moveworks
-
Click the
Get it nowbutton on the top right, select your site in the popup, and clickInstall app: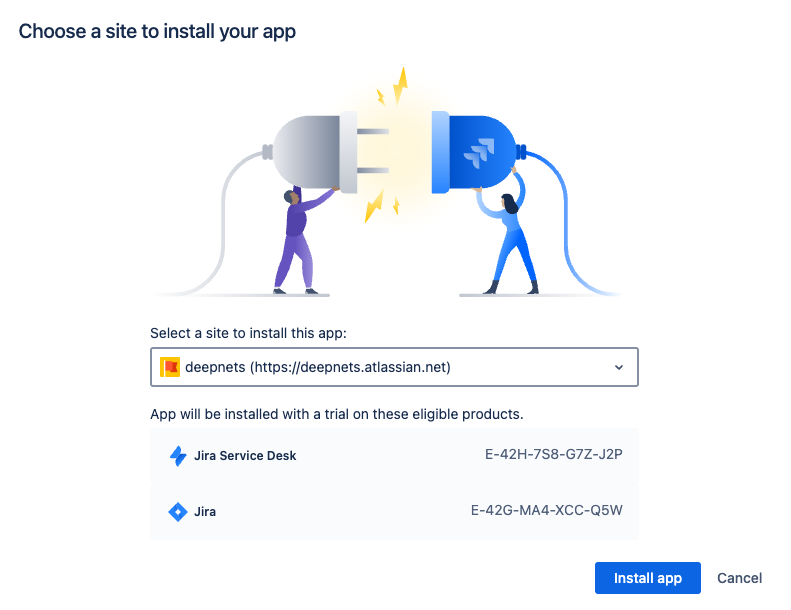
-
On the next page, click
Get it now: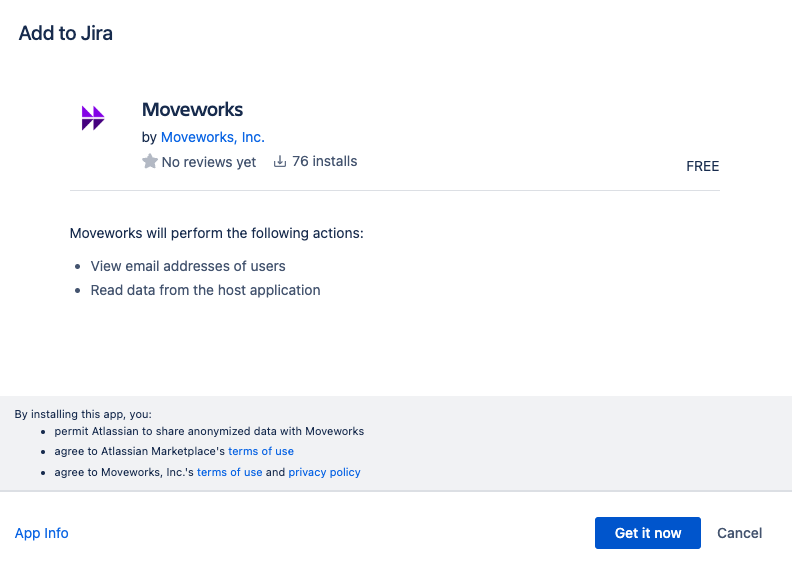
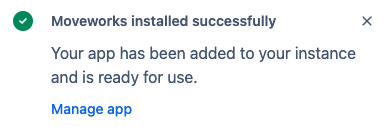
-
You should receive a notification indicating successful install:
-
Installation is complete! At any time, you can visit the Manage Apps page to review your installed apps:
https://<customer>.atlassian.net/plugins/servlet/upm.
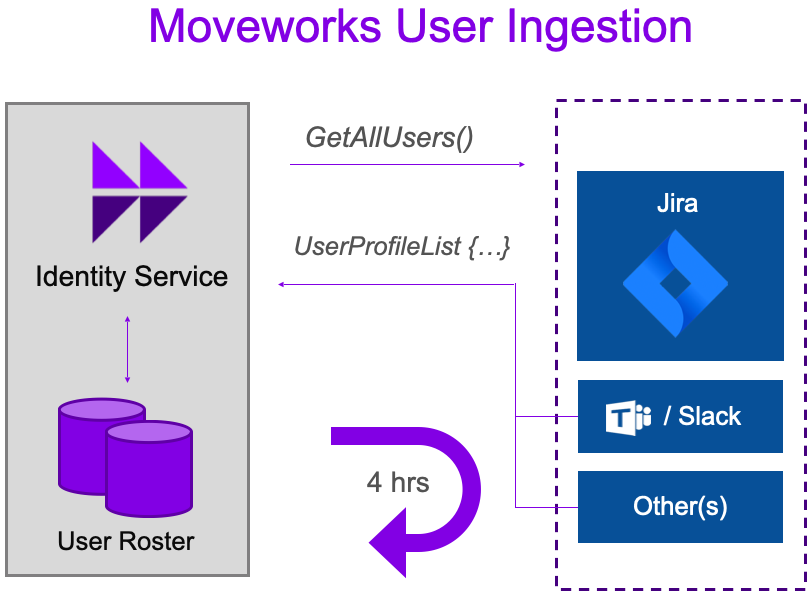
High Level Architecture
The diagram below shows a high level architecture of how the Moveworks Jira Application is leveraged to ingest users into the Moveworks platform, following the Moveworks Ingestion Schedule for user ingestion.
Updated 16 days ago