Create a Conversational Process
In this exercise we will include the Actions and Data Type in a Conversational Process. This will allow us to have control over the logic and execution of one or more actions.
-
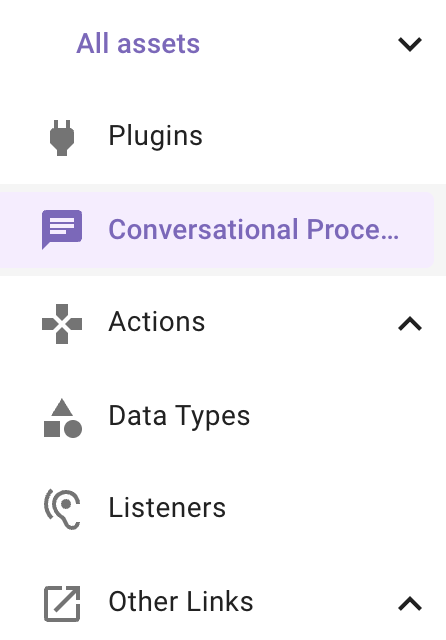
In Agent Studio, navigate to Conversational Process
-
On the top right, click the “CREATE” button

-
Name the conversational process with the same naming convention we used to build an action. . Add the description as seen below as well.
Or copy paste from here: firstname_lastname_update_account_owner_in_salesforce Updates the owner of an account in Salesforce
-
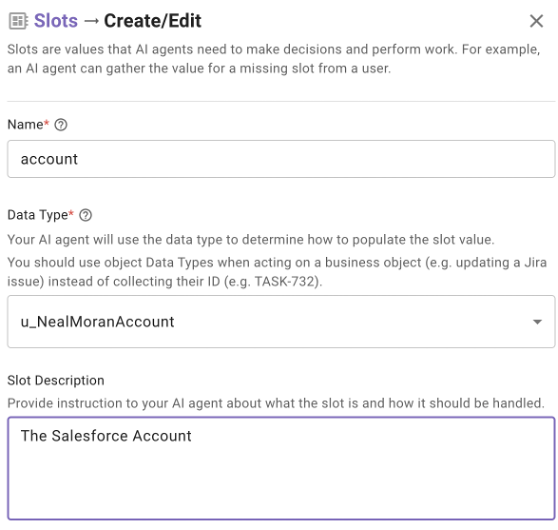
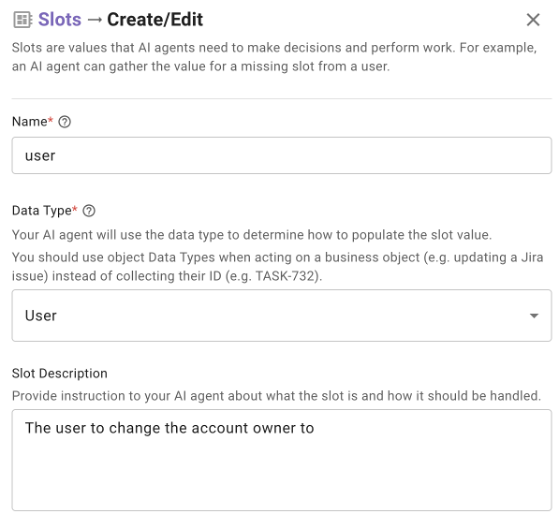
Before we begin, we must determine the inputs we need before running the process. In this case, we need 2 objects as inputs:
- The Salesforce Account object
- The User to transfer the account to
-
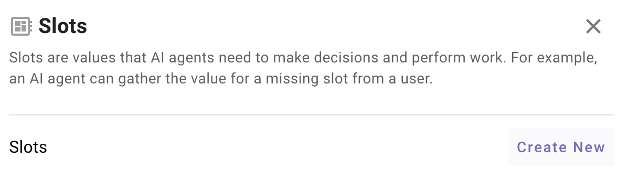
Click on “Slots” and you should see this dialog. We will create 2 new slots and you do this by clicking “Create New”

-
When creating each slot, you will name the input variable, here I named it account. For the Data Type, find the Data Type you created from the dropdown for account and give it a short description. Leave everything else as is and click Save on the bottom right. For user, we are going to choose the “User” data type.
-
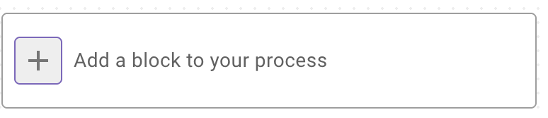
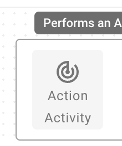
Now that we have our inputs or “Slots” defined, we can proceed with building the conversational process. Click “Add a block to your process” and then “Action Activity”
-
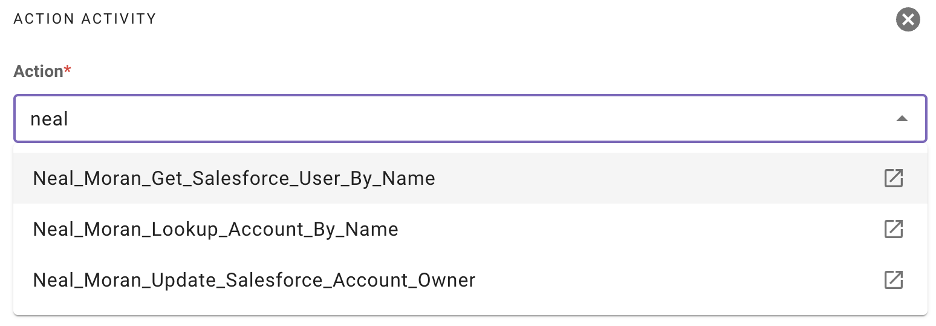
The first step is to get the Salesforce User by name so we can use the SFDC User ID to update the account. In the “Action” section, start typing your name to see the Actions that you built and are available to you.
-
Select the “Get_Salesforce_User_By_Name” action.
Under “Required Slots” select “user”. This action expects a full name as input, so in the placeholder, replace the text with data.user.full_name.
This is passing the full name of the user object directly to the action so you don’t need to type the full name out. Moveworks will resolve the user for you and inherently pass it to the action.
-
Scroll down to the “Output Key” section. Enter salesforce_user as the output name. This is defining a variable to store the user information so we can reference it later in the process. Do this and click “Save Draft”.

-
We now must account for a scenario where the user does not exist in Salesforce. Click the + sign under the block you just created and choose “Decision Policy”. You should see something like this.
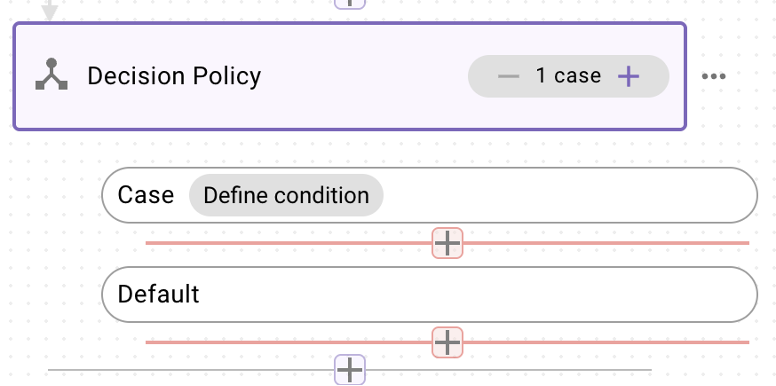
-
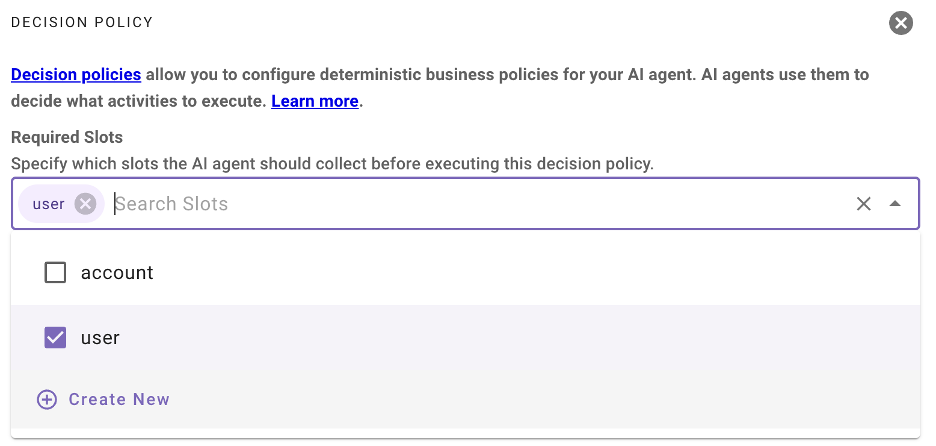
We now have to define a condition where the user does exist and where the user doesn’t. Click on the “Decision Policy” tile and on the right you should see “Required Slots”. From the dropdown, select “user” and then “Save Draft”.
-
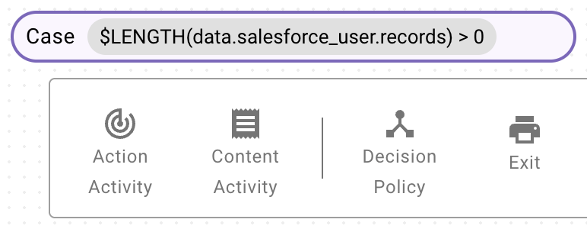
Click on the first case - we will handle the case where a user does exist. On the right you should see a DSL Editor. DSL is Moveworks syntax to write logic based on data it is aware of. Paste in the following
$LENGTH(data.salesforce_user.records) > 0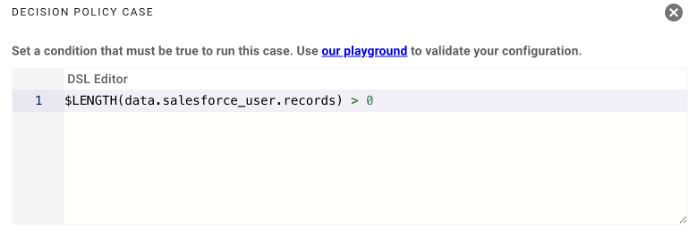
Now, click the “Case” tile and select “Action Activity”
-
For this action, we will actually be updating the owner of the account. In the “Action Activity” section, choose your “Update Salesforce Account Owner” action. The only input for the required slot we need is “account”.
This action takes 2 inputs - account_id and owner_id. We already have these 2 values. The reason we have these values already is because we have taken 2 objects as inputs.
At this point, Moveworks has successfully resolved and disambiguated these inputs with the user conversationally, so we now have the confidence that we have the correct objects. We will be replacing the placeholders with the following values:
account_id:data.account.Id owner_id: data.salesforce_user.records[0].Id IMPORTANT: Take note of the case sensitivity on the “Id” - must be capital “I” and lowercase “d”. This is how the salesforce Id payload is returned so we must reference it that way.
-
Scroll down to the “Output Key” section and name your output update_result. We won’t be needing to use it, but it’s best practice to name the output variables after each action in case you need them. Click “Save Draft”.

-
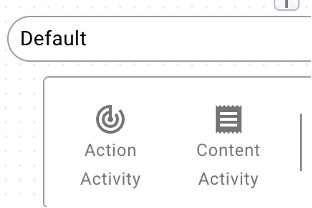
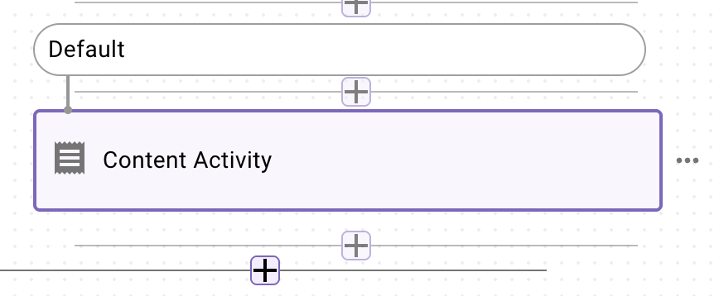
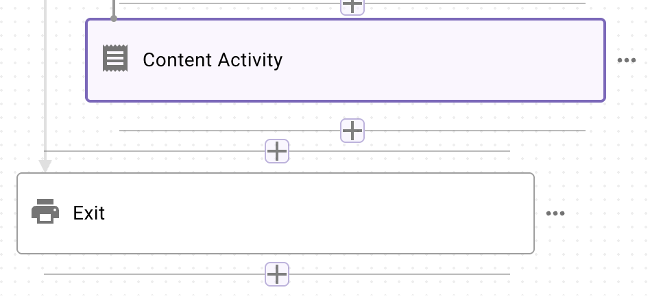
We will now handle the case where the user doesn’t actually exist in Salesforce. We will handle this with a text message telling the end-user that the owner they are trying to update does not exist in Salesforce. Click the + button under the Default tile and choose “Content Activity”.
-
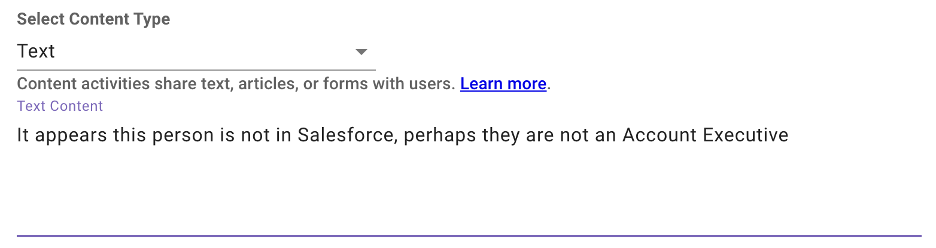
In “Select Content Activity” choose “Text” from the dropdown. Type in a message to the user of your choice, see below for the one I chose to display.
-
For the final step, select the + sign that is outside the Decision Policy process - see the screenshot below. Choose “Exit” as the last step. This simply ends the Conversational Process.
-
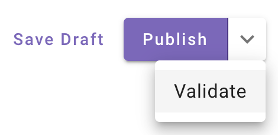
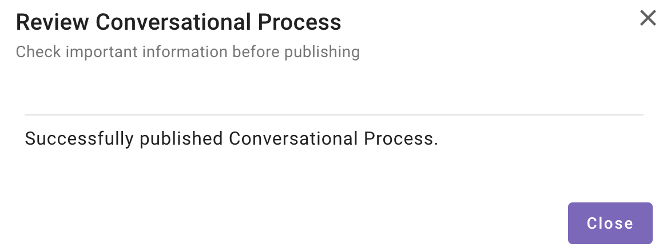
Click “Save Draft” then “Validate” on the top right. If the validation is successful click “Publish” and you should see this.
Updated 4 months ago