Lab #1: Look up Salesforce Account
The automation scenario
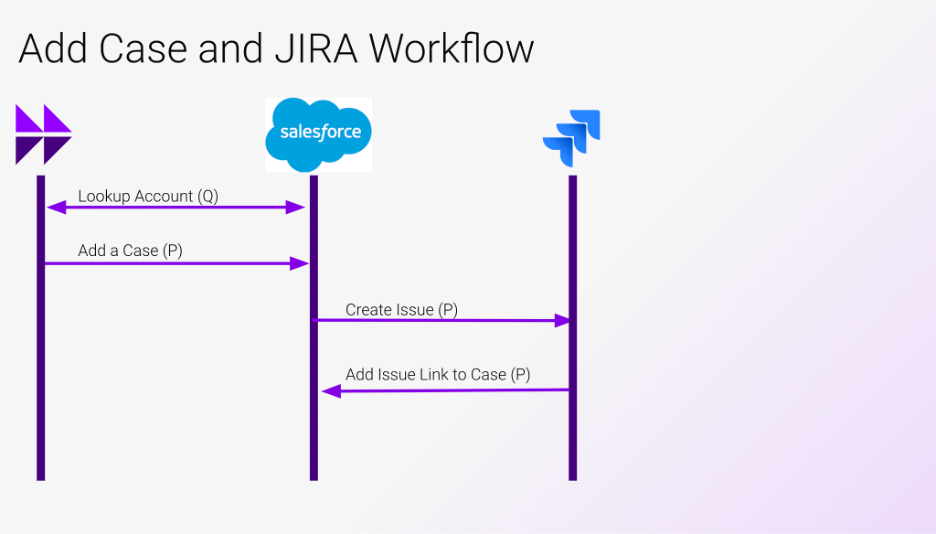
You are a developer at your firm who has used Moveworks to solve HR and IT tasks. They are now looking to expand into the Sales and Support domain. Salesforce is used often by sales representatives to retrieve account information and the support team logs cases in Salesforce for existing customers. The engineering team does not have access to Salesforce and uses JIRA to track issues, so typically phone calls or meetings are required in order to communicate support tasks that are initiated from customers. The goal is to give Sales reps the ability to look up information about their accounts, for support staff to log cases through Moveworks, and to automate creating a task in JIRA for the engineering team to be made aware of with the details.
Agentic Automation fundamentals
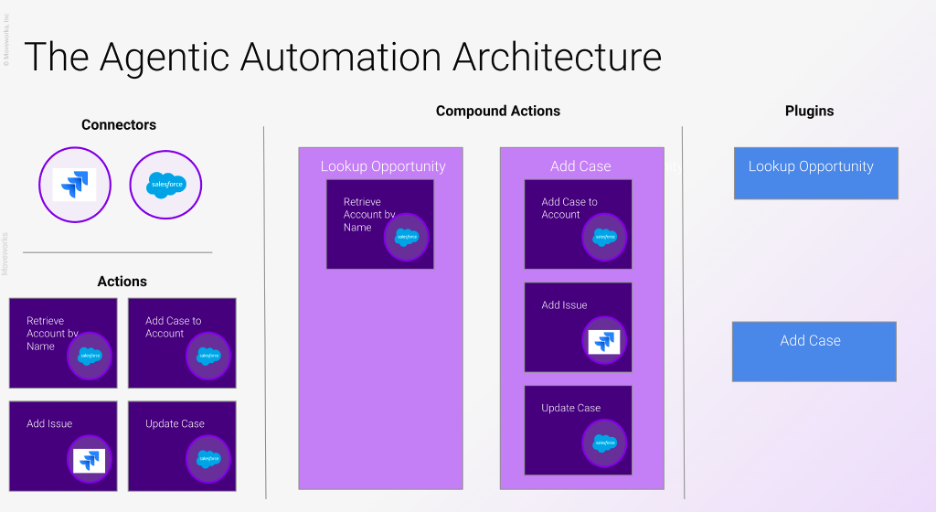
Connectors
The Authentication mechanism used to connect to a system. Contains the system’s base URL in addition to the API Auth mechanism (OAuth, Basic, etc). Once established, connectors can be reused to create more use cases via API call.
Actions
The invocation of an API endpoint call using a connector. Actions will execute a singular API call - it defines the inputs required to make the API call as well as the expected response.
Compound actions
Controls the execution logic and data mapping of a singular action or sequential actions. Actions can be chained together to pass input and output to and from each action. Compound actions are then published as plugins to become available in the bot.
Plugins
Once a compound action is published as a plugin, the plugin gives the developer the ability to customize the behavior of the compound action in addition to prompts that would make the plugin trigger in-bot.
IMPORTANT NOTE: Actions cannot be published as plugins, only compound actions can. An action must be referenced in a compound action, and the compound action must be published as a plugin in order to be deployed to the bot
Connectors and actions
A connector and action can be created at the same time so long as the auth is taken care of when building an action.
Let’s walk through a tutorial on building an action with Salesforce. In this case we will build the “Lookup Account By Name” action.
-
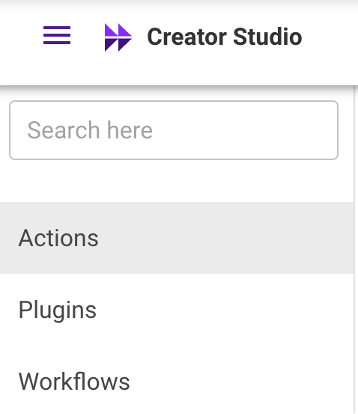
Navigate to the “Plugins” section on the top bar

-
Navigate to the “Actions” section and on the top right choose “CREATE”

-
Click “USE EXISTING CONNECTOR”

From the dropdown, choose “sfdc_hackathon” (or whatever you named your Connector if you created one) and click Apply.

-
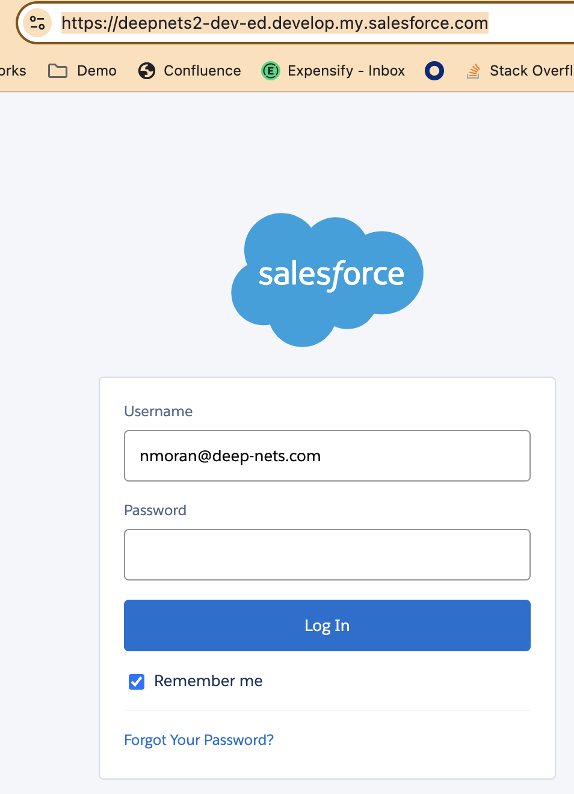
You will need a Base URL for your Salesforce instance. To find out what this is, go to your Salesforce instance at the login page and retrieve it from the URL. You may have to logout to retrieve this. You can also retrieve the URL from your registration email from Salesforce.
-
Insert the Base URL into the “Base URL” section of the Action. Make sure you leave the API request as a “GET”

-
We are going to be using the “query” API in Salesforce in order to retrieve the account by name. The path for this is /services/data/v59.0/query - insert that into the “Endpoint URL” section.
-
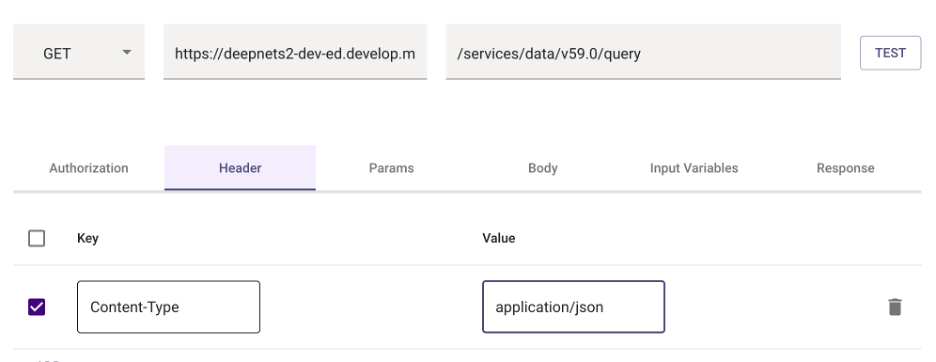
Now that we’ve set up the Auth, move over to the “Header” section and add the following key Content-Type and value application/json. This tells the Salesforce API it will be transacting in JSON.
-
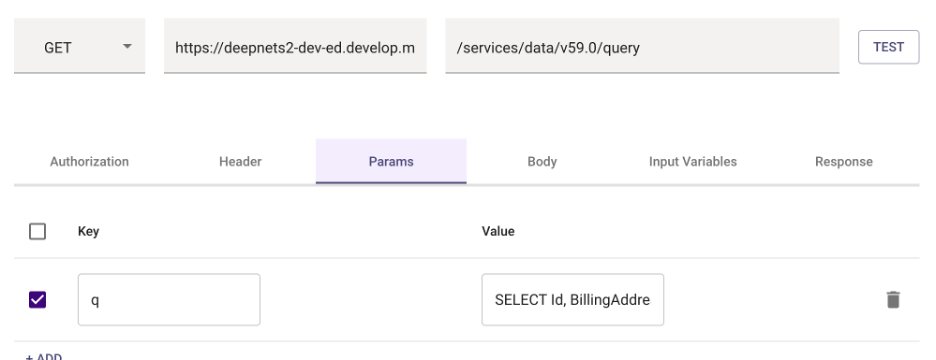
Now navigate to “Params”. This is where we will pass the SOQL query to the API. Add a parameter with a key of q and the value will be
SELECT Id, BillingAddress, Description, Industry, Name FROM Account WHERE Name = '{{account_name}}' LIMIT 1Note the “account_name” field in double curly brackets {{}} - this is telling Moveworks it needs to collect the account name within the conversation as a required input in order to proceed with this action. It is dynamically populated and collected within the conversation.
-
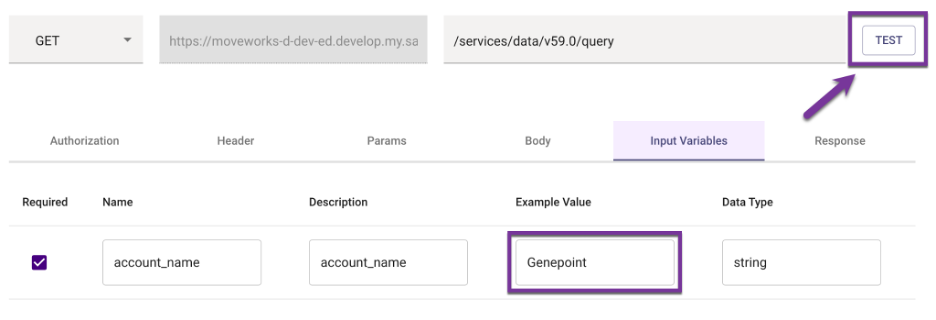
Now navigate to “Input Variables” - you should see that the account_name variable has been detected in the API call and it is of type “string” which is correct. You should also provide a “Example Value” so that we can finally test our API by passing an example account name to it and validate the schema is correct. You can use “GenePoint” as your example value since that account should exist in all trial instances of Salesforce.
-
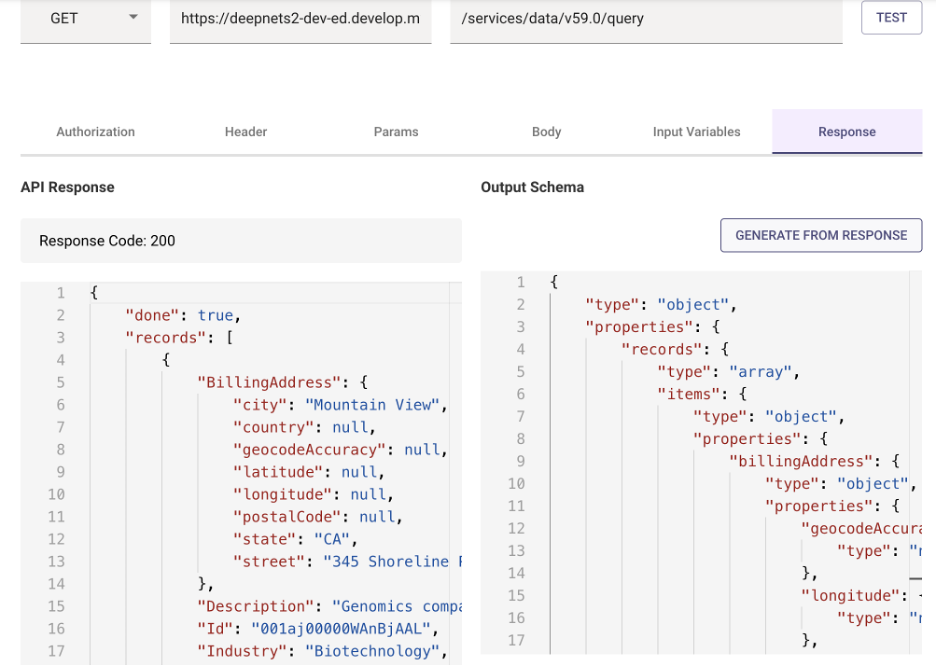
Click the “TEST” button. If your API call is successful you should see the output in the example below. Click “GENERATE FROM RESPONSE” - this will populate the Output Schema. There is no need to edit this, but it does help Moveworks understand the format of the output.
-
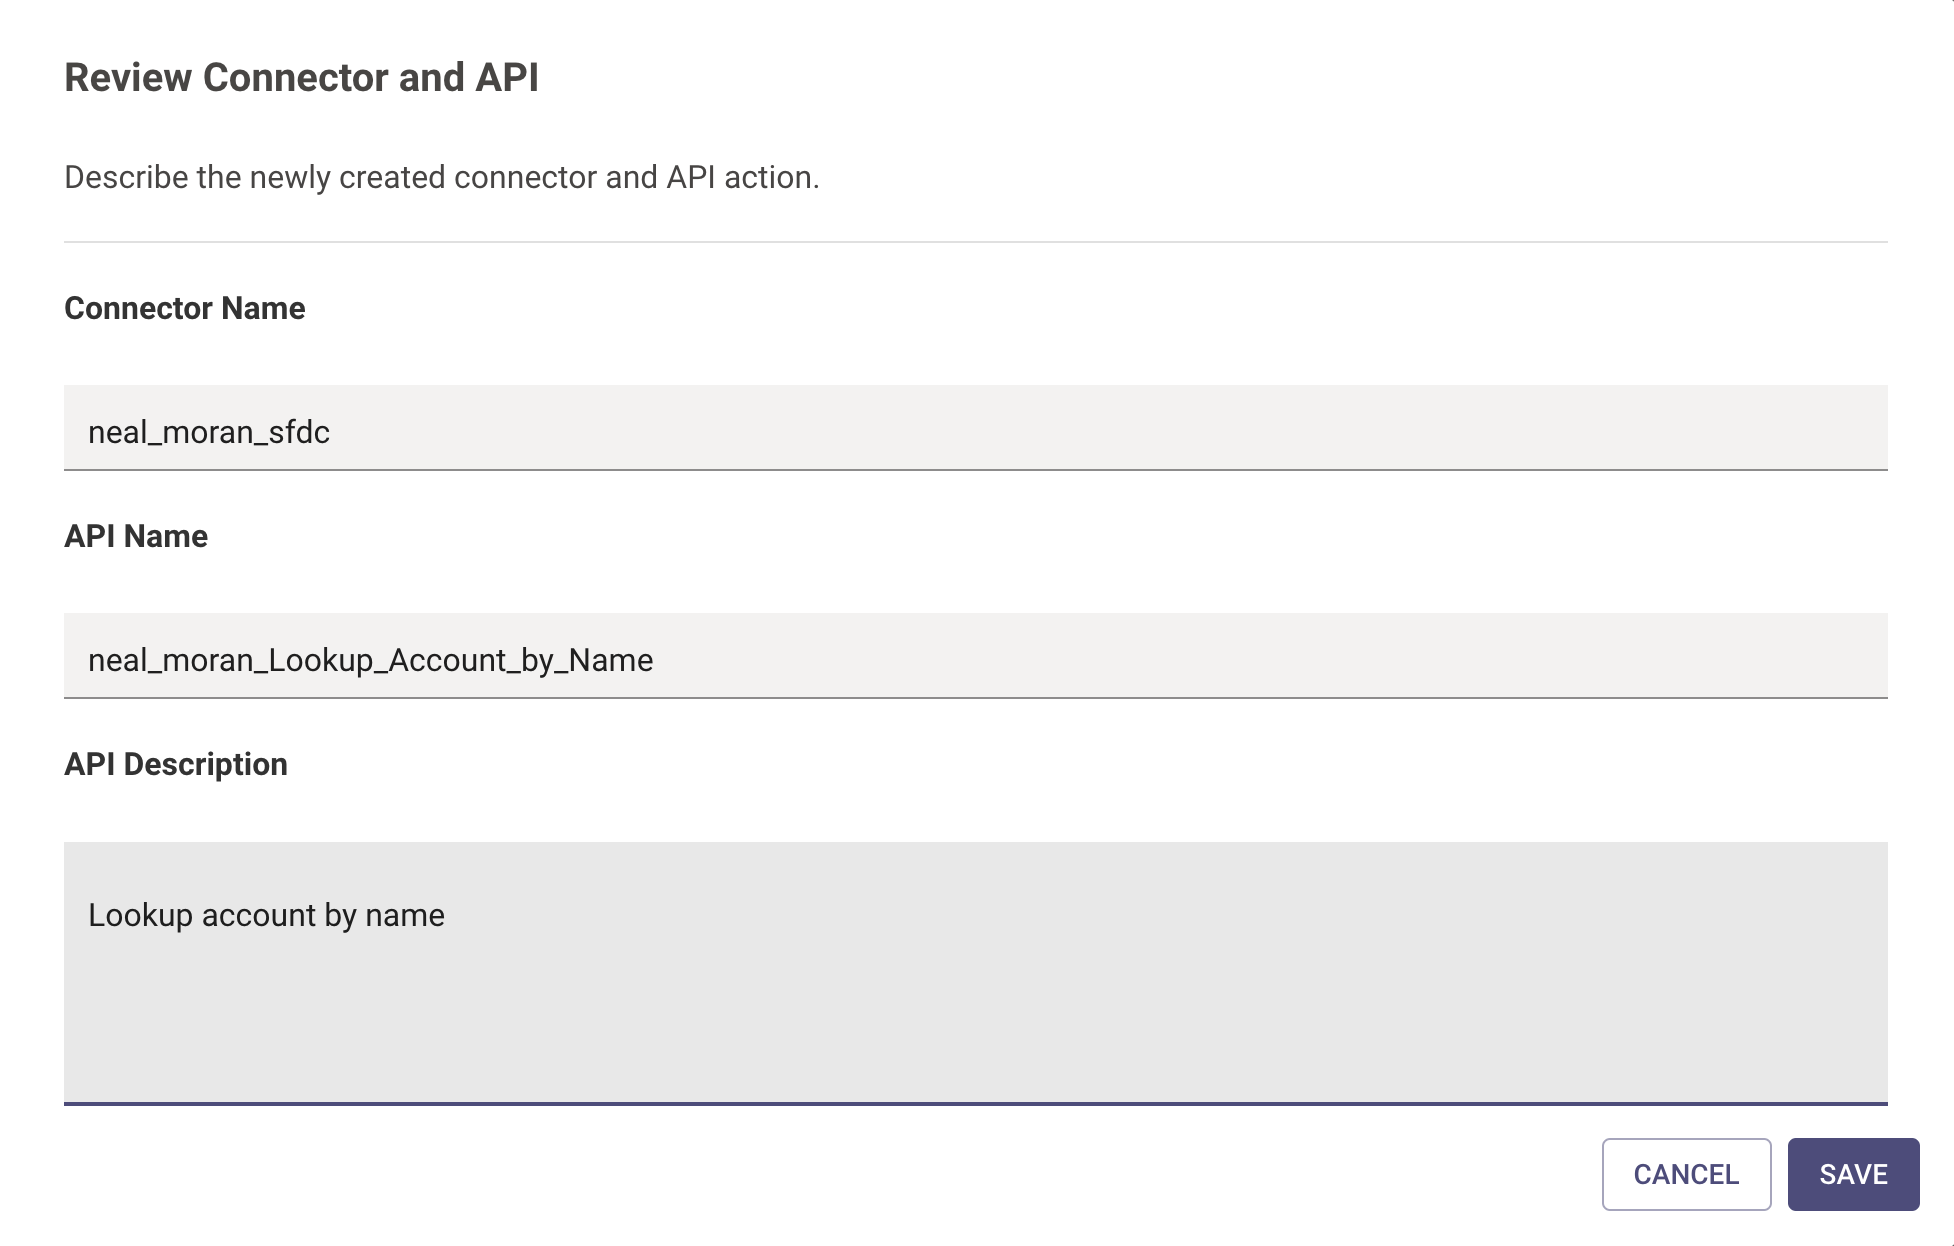
Click “SAVE” and you will be prompted for some information. First is the connector name - this is the name of the connector you will be so that you can use it going forward.
IMPORTANT Ensure you name the connector in this formatfirstname_lastname_sfdc.This will ensure you know you are using YOUR connector since there are many people at once doing the same exercise in this environment. Similarly, do the same for the API Name as
firstname_lastname_Lookup_Account_by_Name, seen below. The API Name field will be the official name of this action.**Ensure you click the Save button again once the dialog below is completely filled out!
Create a compound action for this action
In this exercise we will include the Action in a Compound Action. This will allow us to have control over what values are being returned to the user.
-
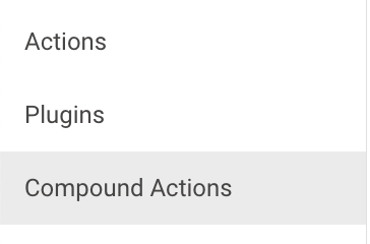
Select “Compound Actions” from the left pane and CREATE from the top right.

-
Name the compound action with the same naming convention we used to build an action. . Add the compound action description as seen below as well.
Or copy paste from here:
firstname_lastname_sfdc_retrieve_account_by_name
Lookup an account by its name in Salesforce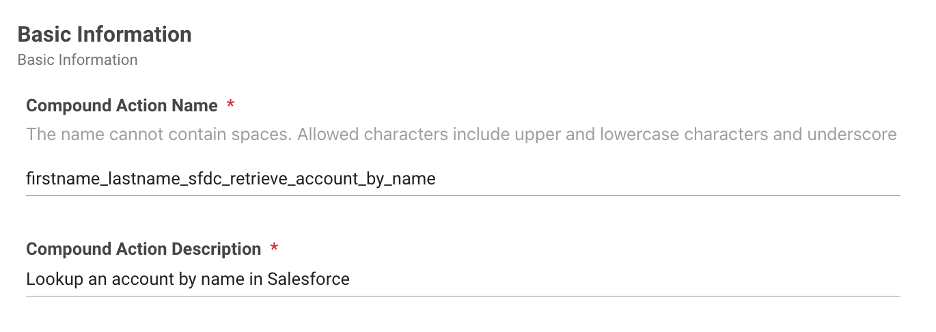
-
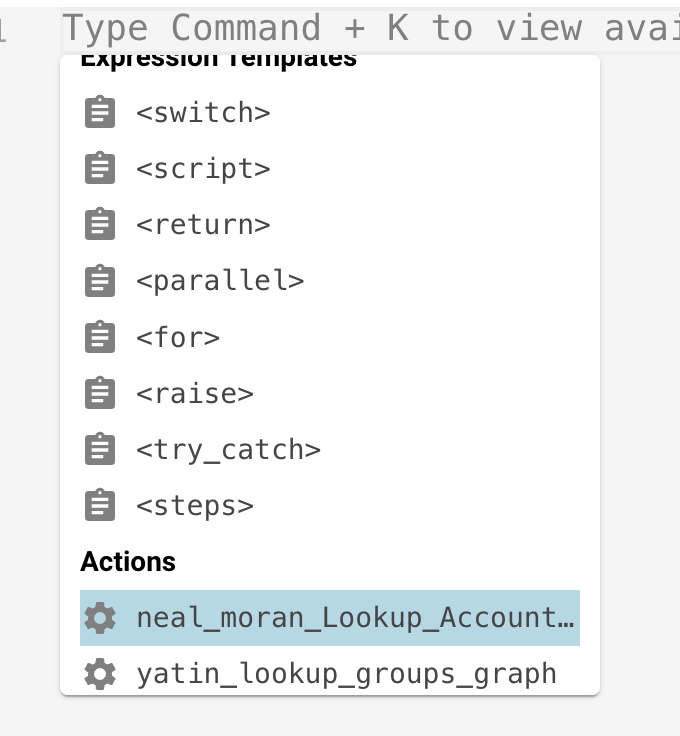
In “Script Editor” you can select “Command-K” in MacOS or “Control-K” in Windows to bring up the sensing dropdown.
-
Under “Actions”, find the action you just created by searching firstname_lastname and select it.
You will now see something like this.
-
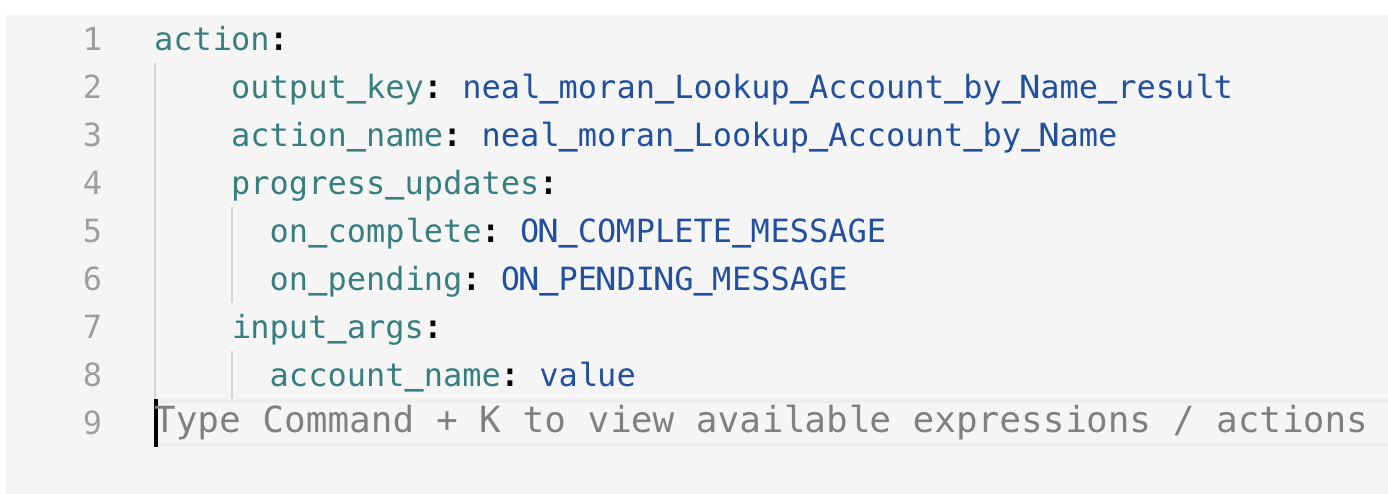
We can now start to fill out the other fields. Use the following code snippet to complete the script:
steps:
 - action:
     action_name: <firstname_lastname>_Lookup_Account_by_Name
     progress_updates:
       on_complete: Found info for {{data.account_name}}
       on_pending: Searching Salesforce for {{data.account_name}}
     input_args:
       account_name: data.account_name
     output_key: account_info
 - return:
     output_mapper:
       result:
         MERGE():
           - id: data.account_info.records[0].Id
             friendly_id: data.account_info.records[0].Name
           - data.account_info.records[0]
Notes on the above syntax:
data: This is the global mechanism to reference data within a compound action.
output_key: this is the variable that will hold the payload of the resulting action. Notice that we are referencing it in the “return” block and returning the Id and Description from the payload
action_id: The unique GUID of the action being called
progress_updates: Notifications from the bot to the user. Notice you can reference fields dynamically within “data” using curly braces ie. {{data.account_name}}
input_args: the input for the action. The input_args can come from the input the bot has collected from the user, or it can be data from a prior action.
return: The data to return from the action. This gives the developer fine control of relevant data to pass as a result of running this compound action.
NOTE: In the return statement the syntax is telling Moveworks what the unique Id is, friendly name, and passing the entire object. This will allow the copilot to take care of field and value mapping for us and also provide a citation of the actual API call.
-
Tab over to “Input Fields”. Add a variable called “account_name”, a description of “Account Name”, Example of “GenePoint” and a type of “string”
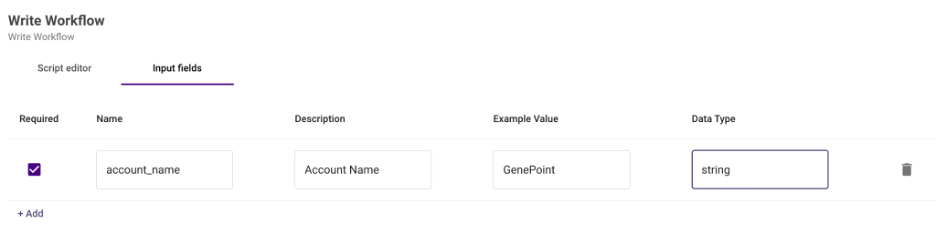
-
Click “Submit”
Publish this compound action to an plugin
-
Navigate to the Compound Action you just created by finding your “firstname_lastname” naming convention. Click on the 3 dots menu on the top right and click “Publish Compound Action to Plugin”
-
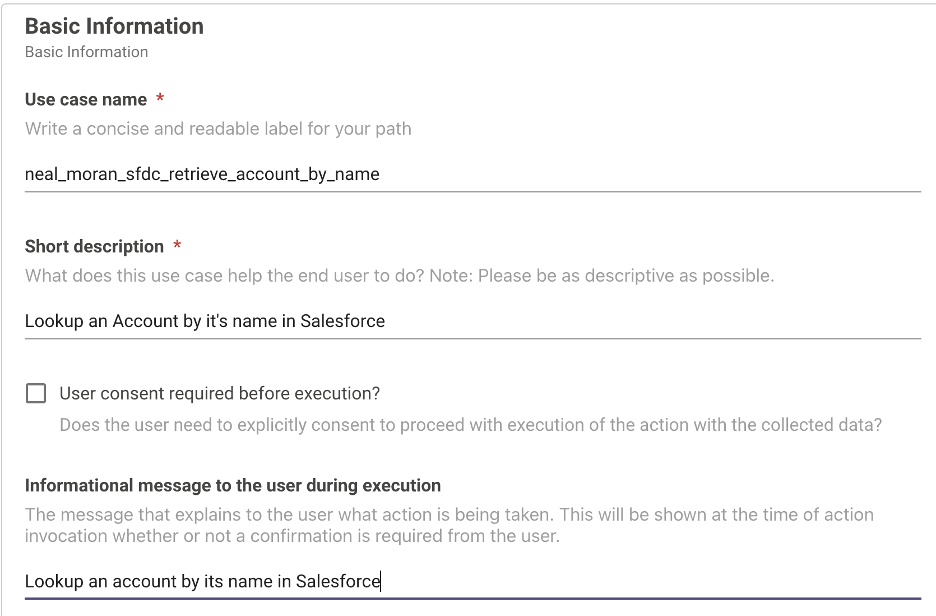
For “Use Case Name” continue using the naming convention of “firstname_lastname_sfdc_retrieve_account_by_name”. For Short Description and “Informational message to the user during execution” use “Lookup an account by its name in Salesforce”. Leave “User consent required before execution” unchecked. All fields must be filled in in order to proceed with publication of the plugin.
-
Click next to the “Define Triggering” step. Moveworks will show you example prompts or questions a user may ask in order to trigger this. Moveworks is using GenAI here to provide you with example utterances that would trigger this plugin so that you don’t have to. Choose 5 examples that should trigger.
Note: You will need at least 5 positive examples to move on to the next step.
You may also see "Failed to Generate Utterance Examples" on your first try - if this happens go ahead and provide your own sample utterance and hit the Refresh button on the right.
-
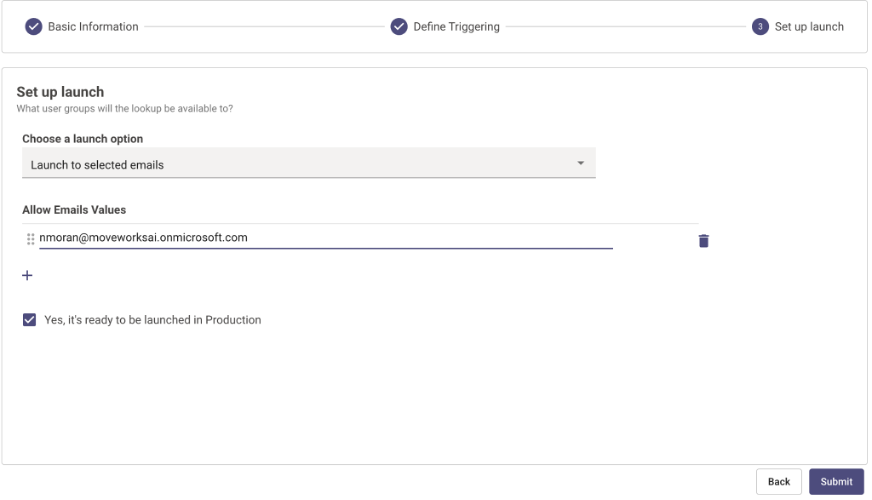
Click next to “Set up launch”. This determines which user(s) the use case will be launched to. Don’t worry about checking “Yes, it’s ready to be launched into production”. IMPORTANT: Make sure you select “Launch to selected emails” and manually enter your email in the address below. This will ensure that only you can trigger this use case and it will not be launched to anyone else.
-
Click Submit and wait a few minutes for the plugin to become available in the bot.
Test your plugin
-
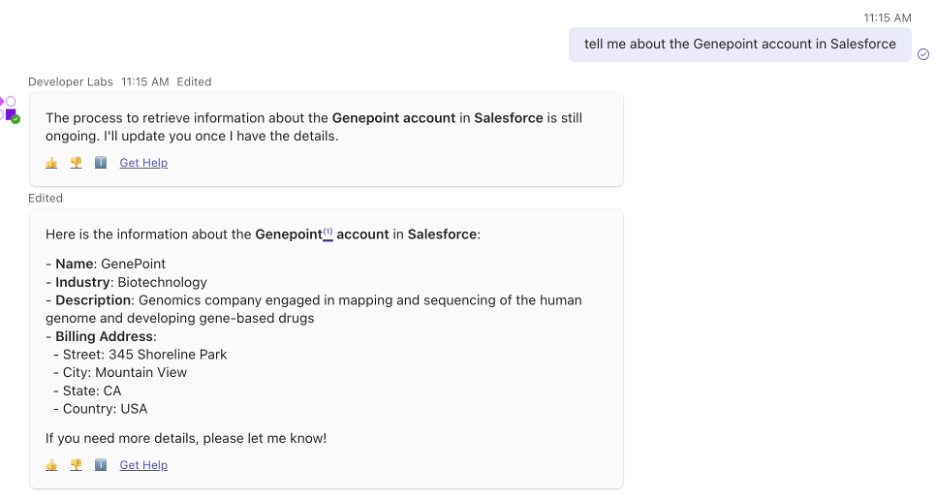
Navigate to your bot in Teams and try an utterance that should trigger the plugin.
-
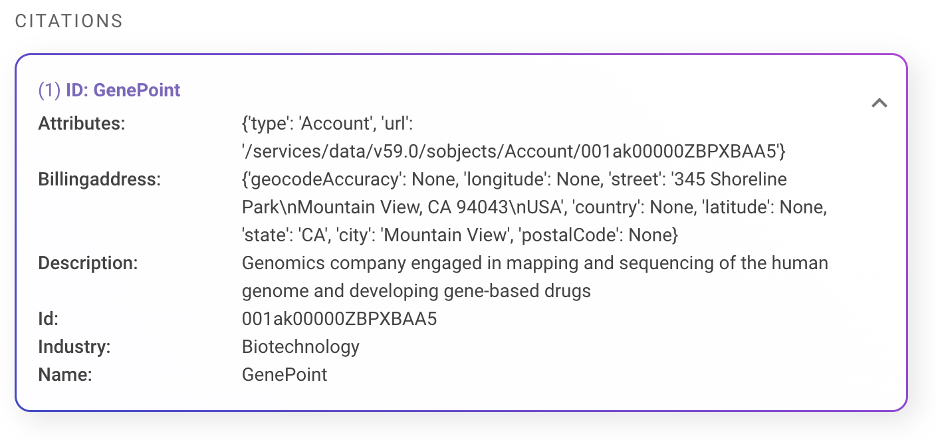
Note that Moveworks is using GenAI to show the relevant fields. Also view the citation by clicking on it.
-
Moveworks shows you the source of information and details for each plugin
Updated 7 months ago