How To Guide for Approvals Configurations
How to Configure ServiceNow Request Item Approvals
Pre-Requisites
- Please ensure the required ServiceNow Connector has been created with the necessary permissions. Please refer the ServiceNow Access Requirements Doc for details.
- NOTE: If the ServiceNow service account's timezone is not set to GMT, then no approval records will be polled.
- Please ensure the following plugins are set to TRUE within the Copilot Plugin Management settings:
- Approval Information Plugin (List of Approvals)
- Approval Information Plugin
- Update Approval Record Plugin
Configuration
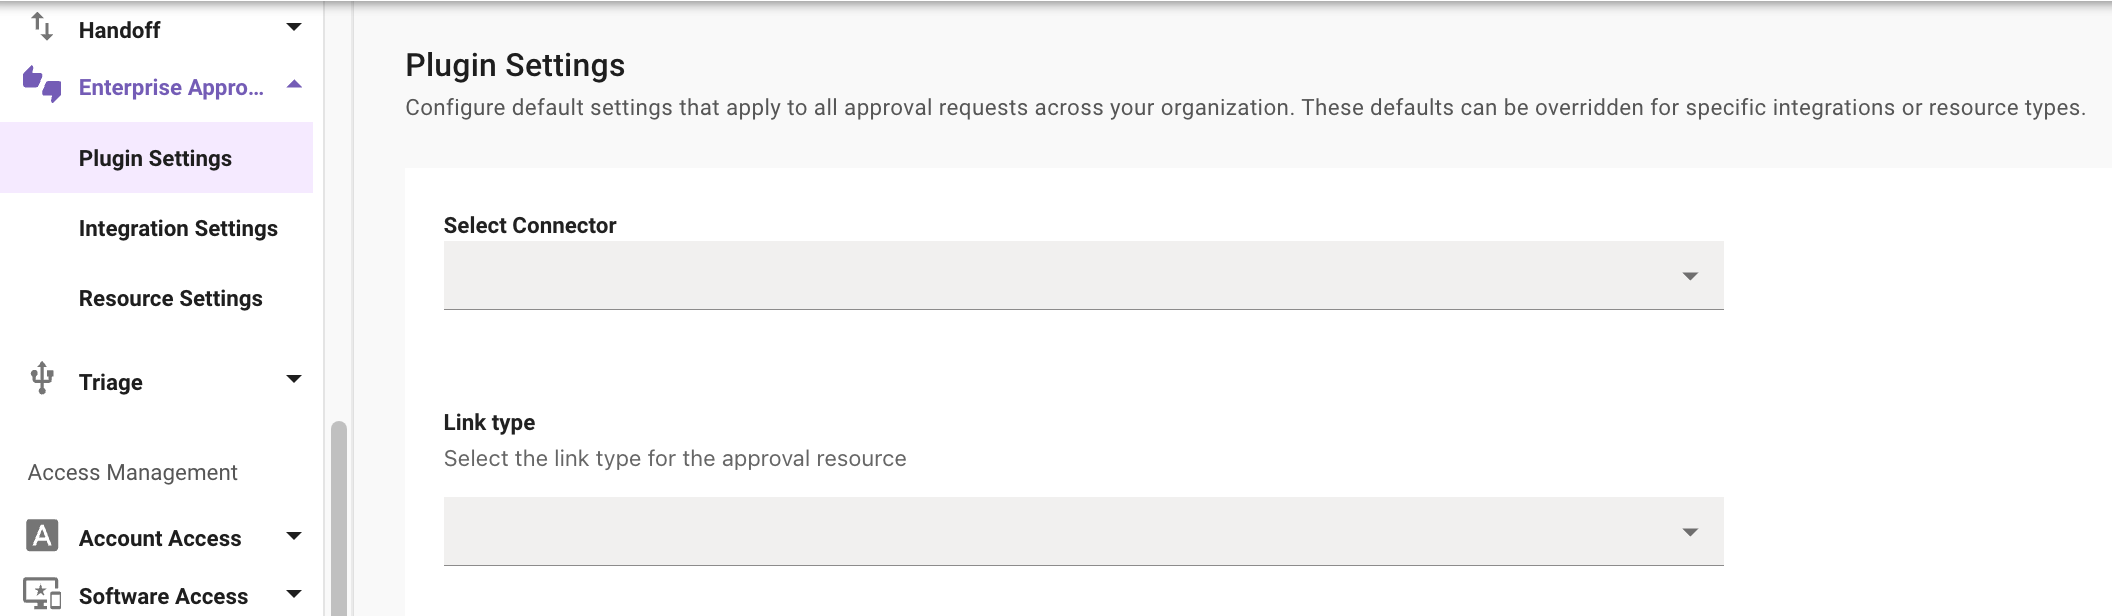
Start by navigating to Enterprise Approvals > Plugin Settings
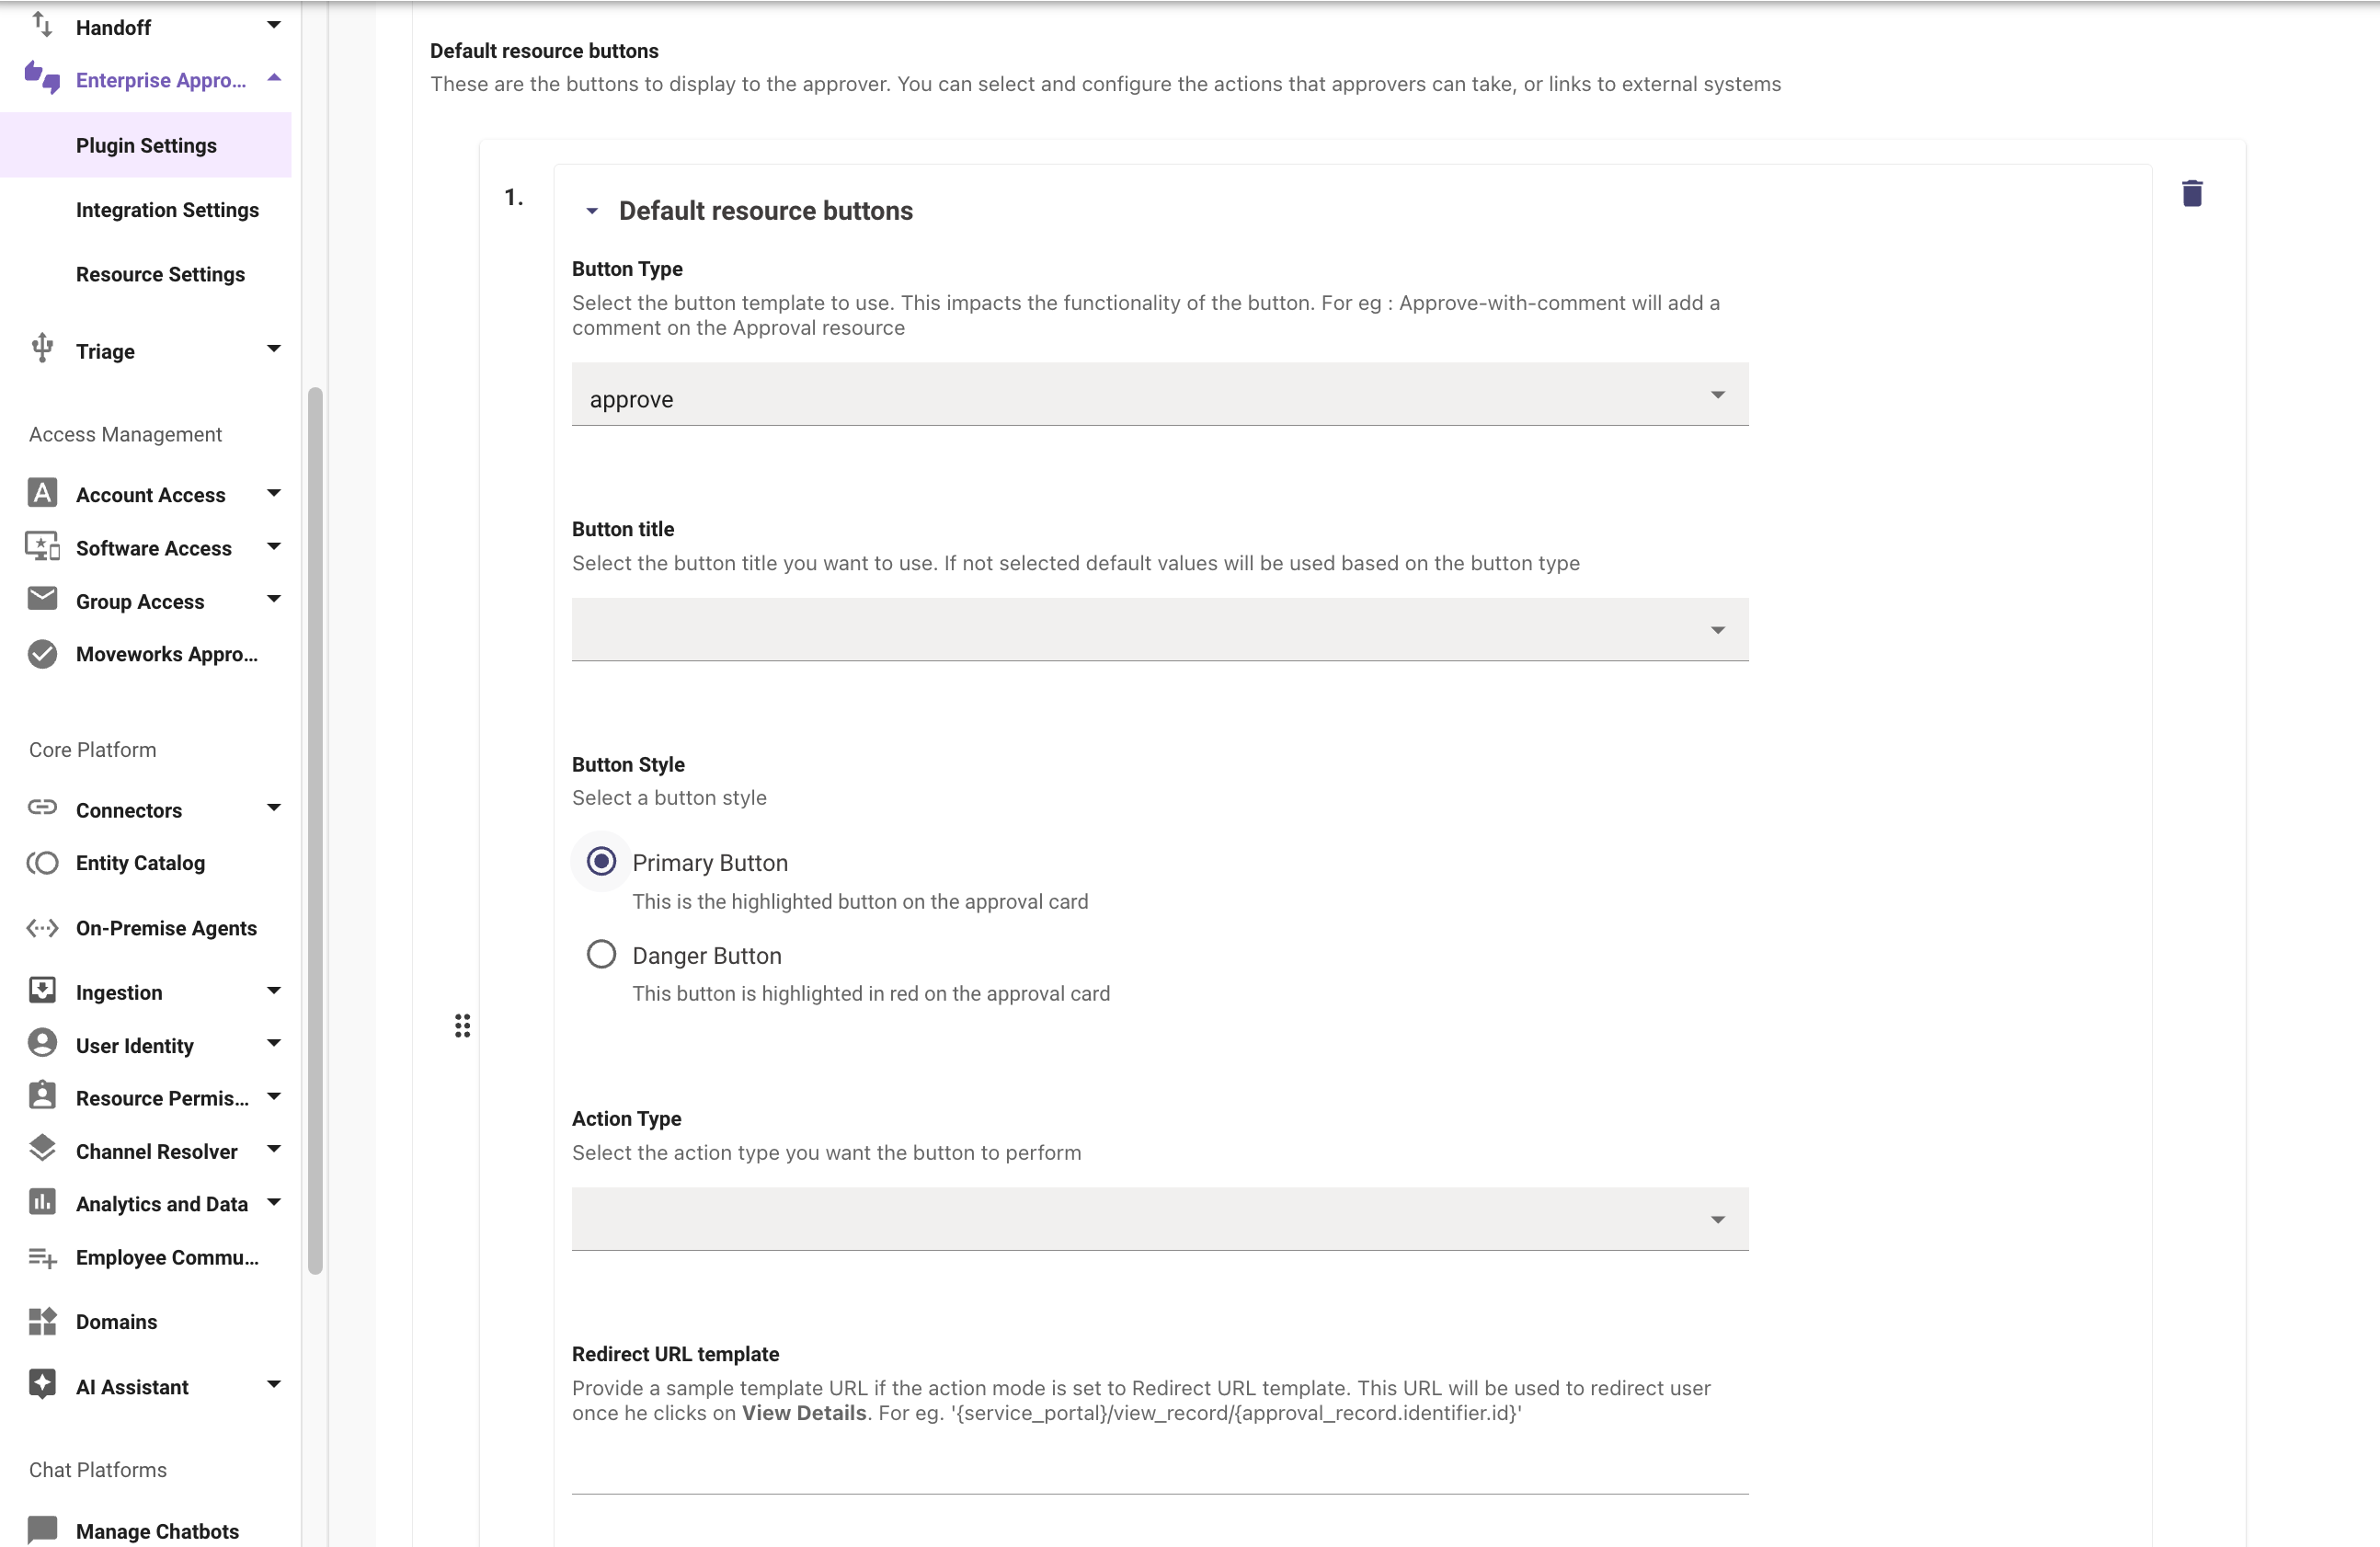
- Open the Basic settings toggle and click the Add + under Default resource buttons.
- A new Default resource buttons toggle will populate. Set the Button Type to approve. Set the Button Style to Primary Button.
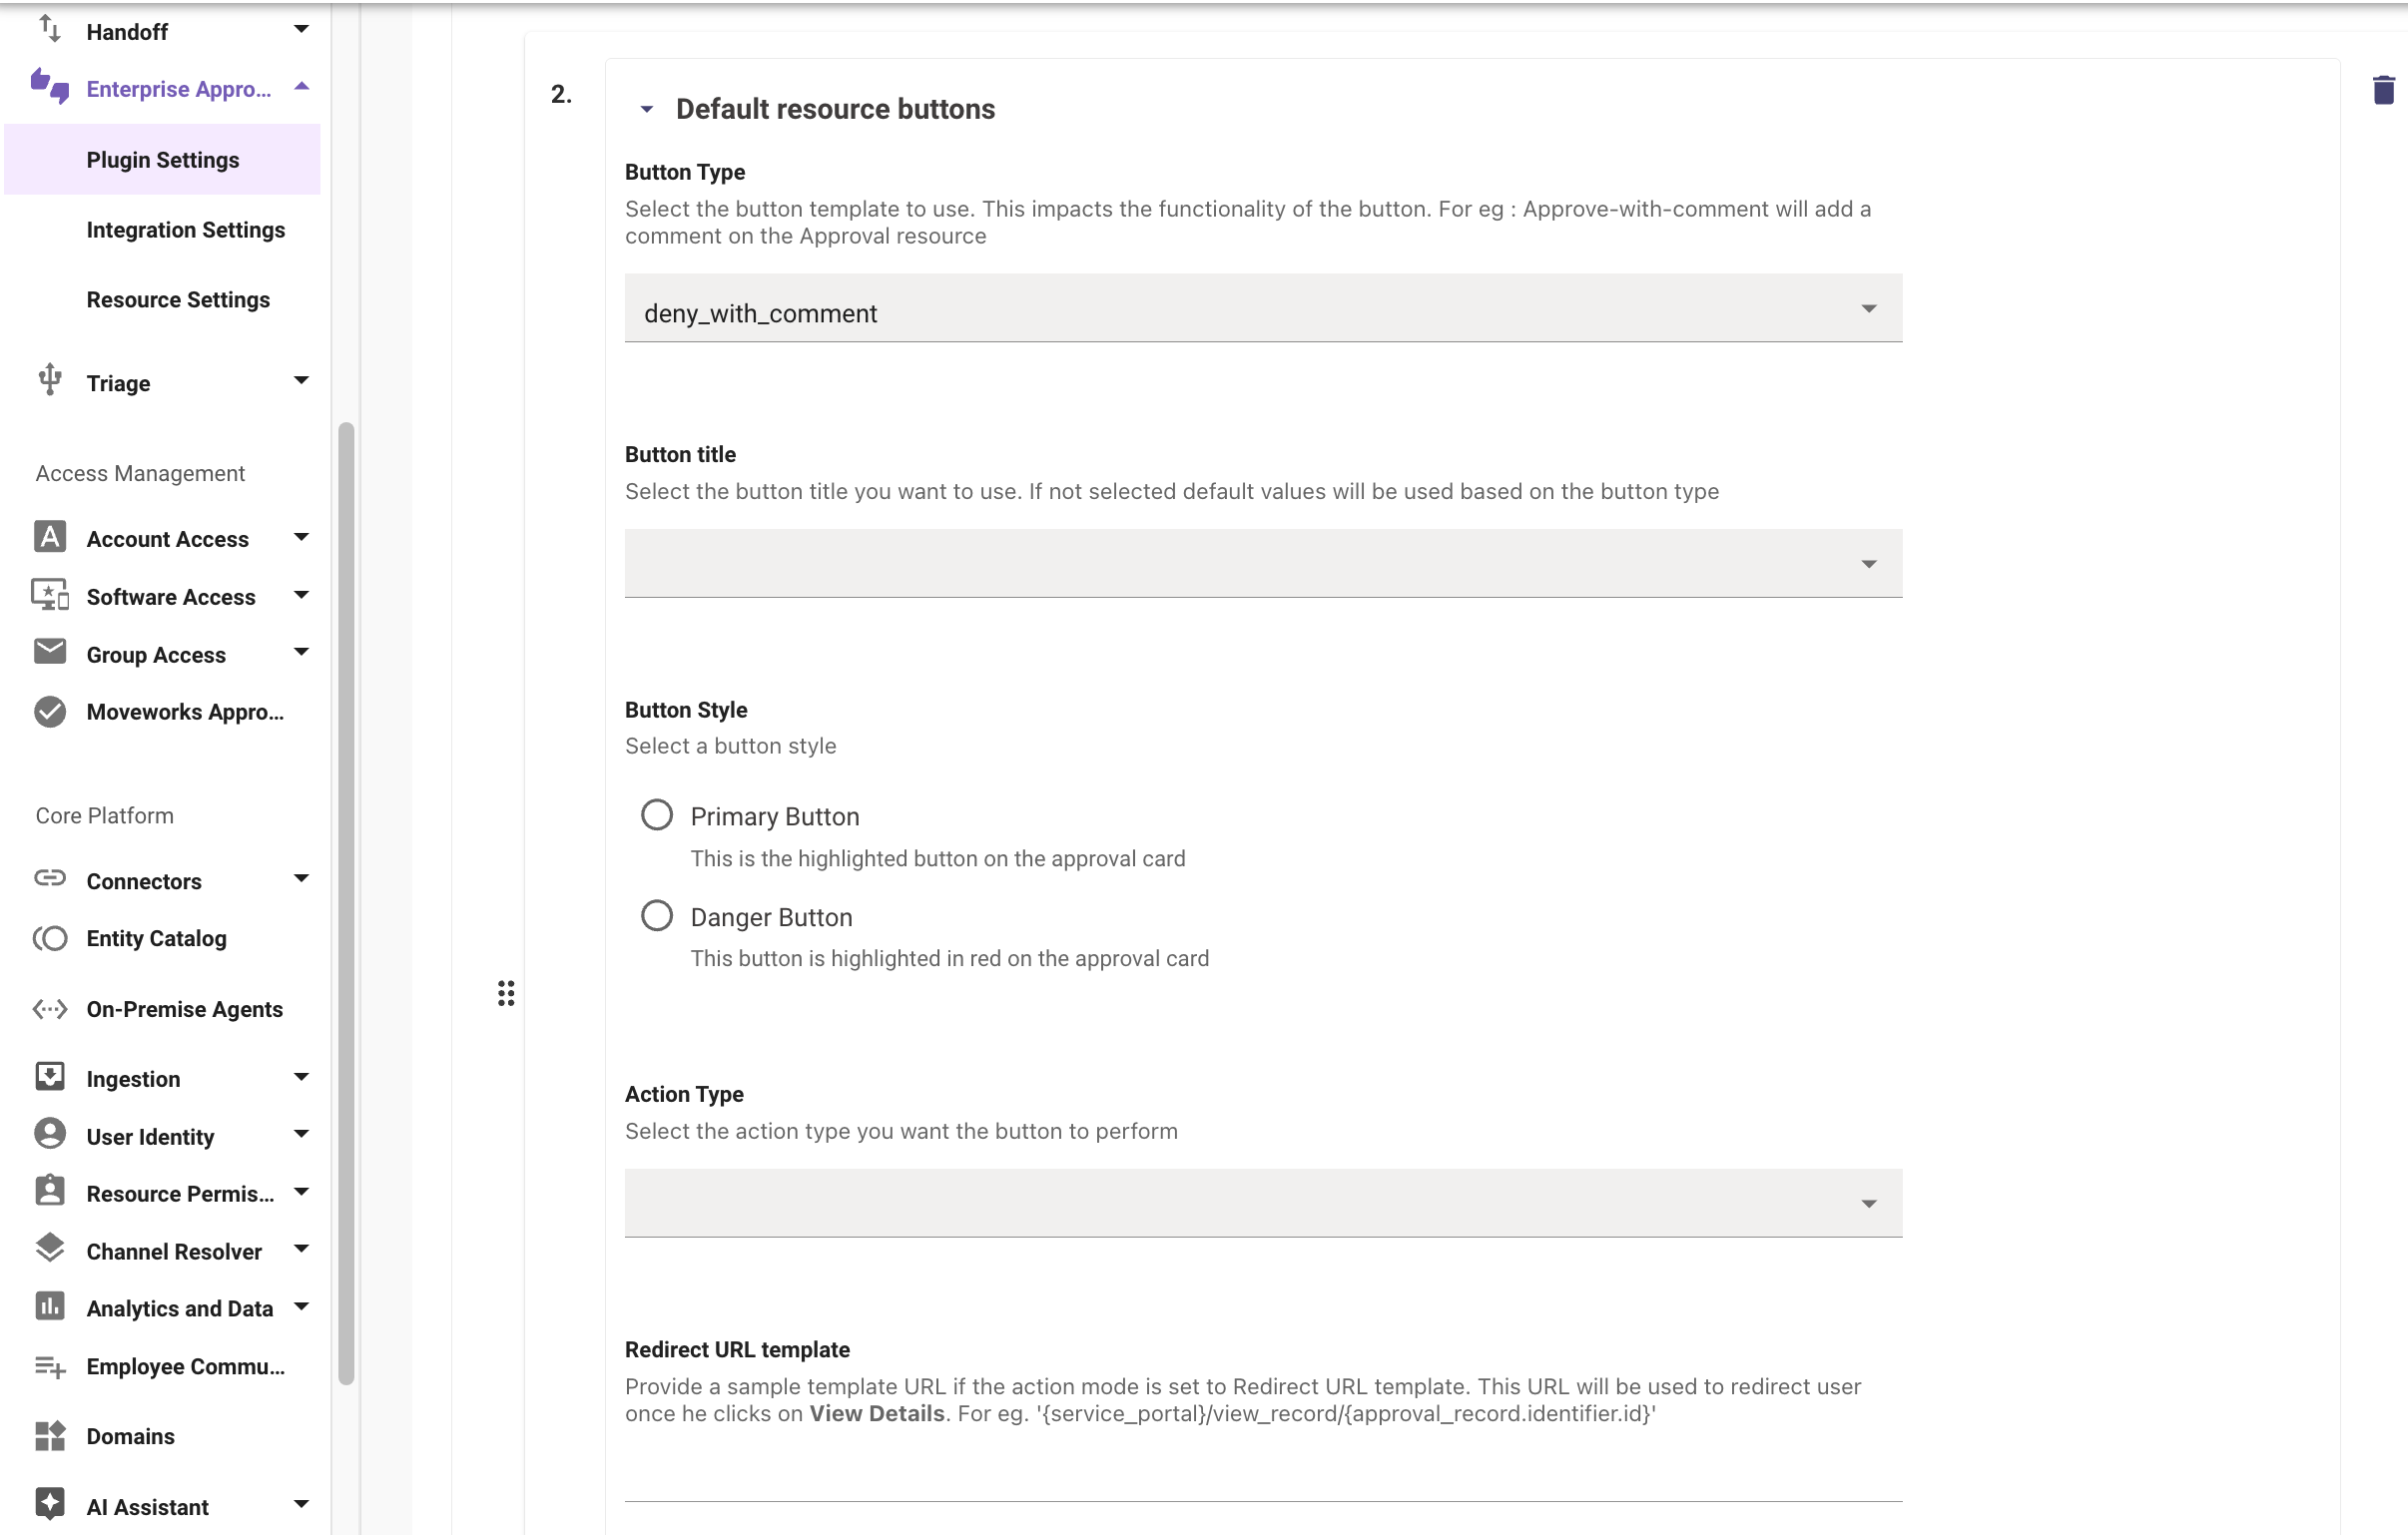
- Again, click the Add + under Default resource buttons to create another toggle for the deny button. Set Button Type to deny_with_comment and set Button Style to Danger Button.
-
Open the Resource Settings toggle and set theEnable polling of enterprise approvals DSL to TRUE.
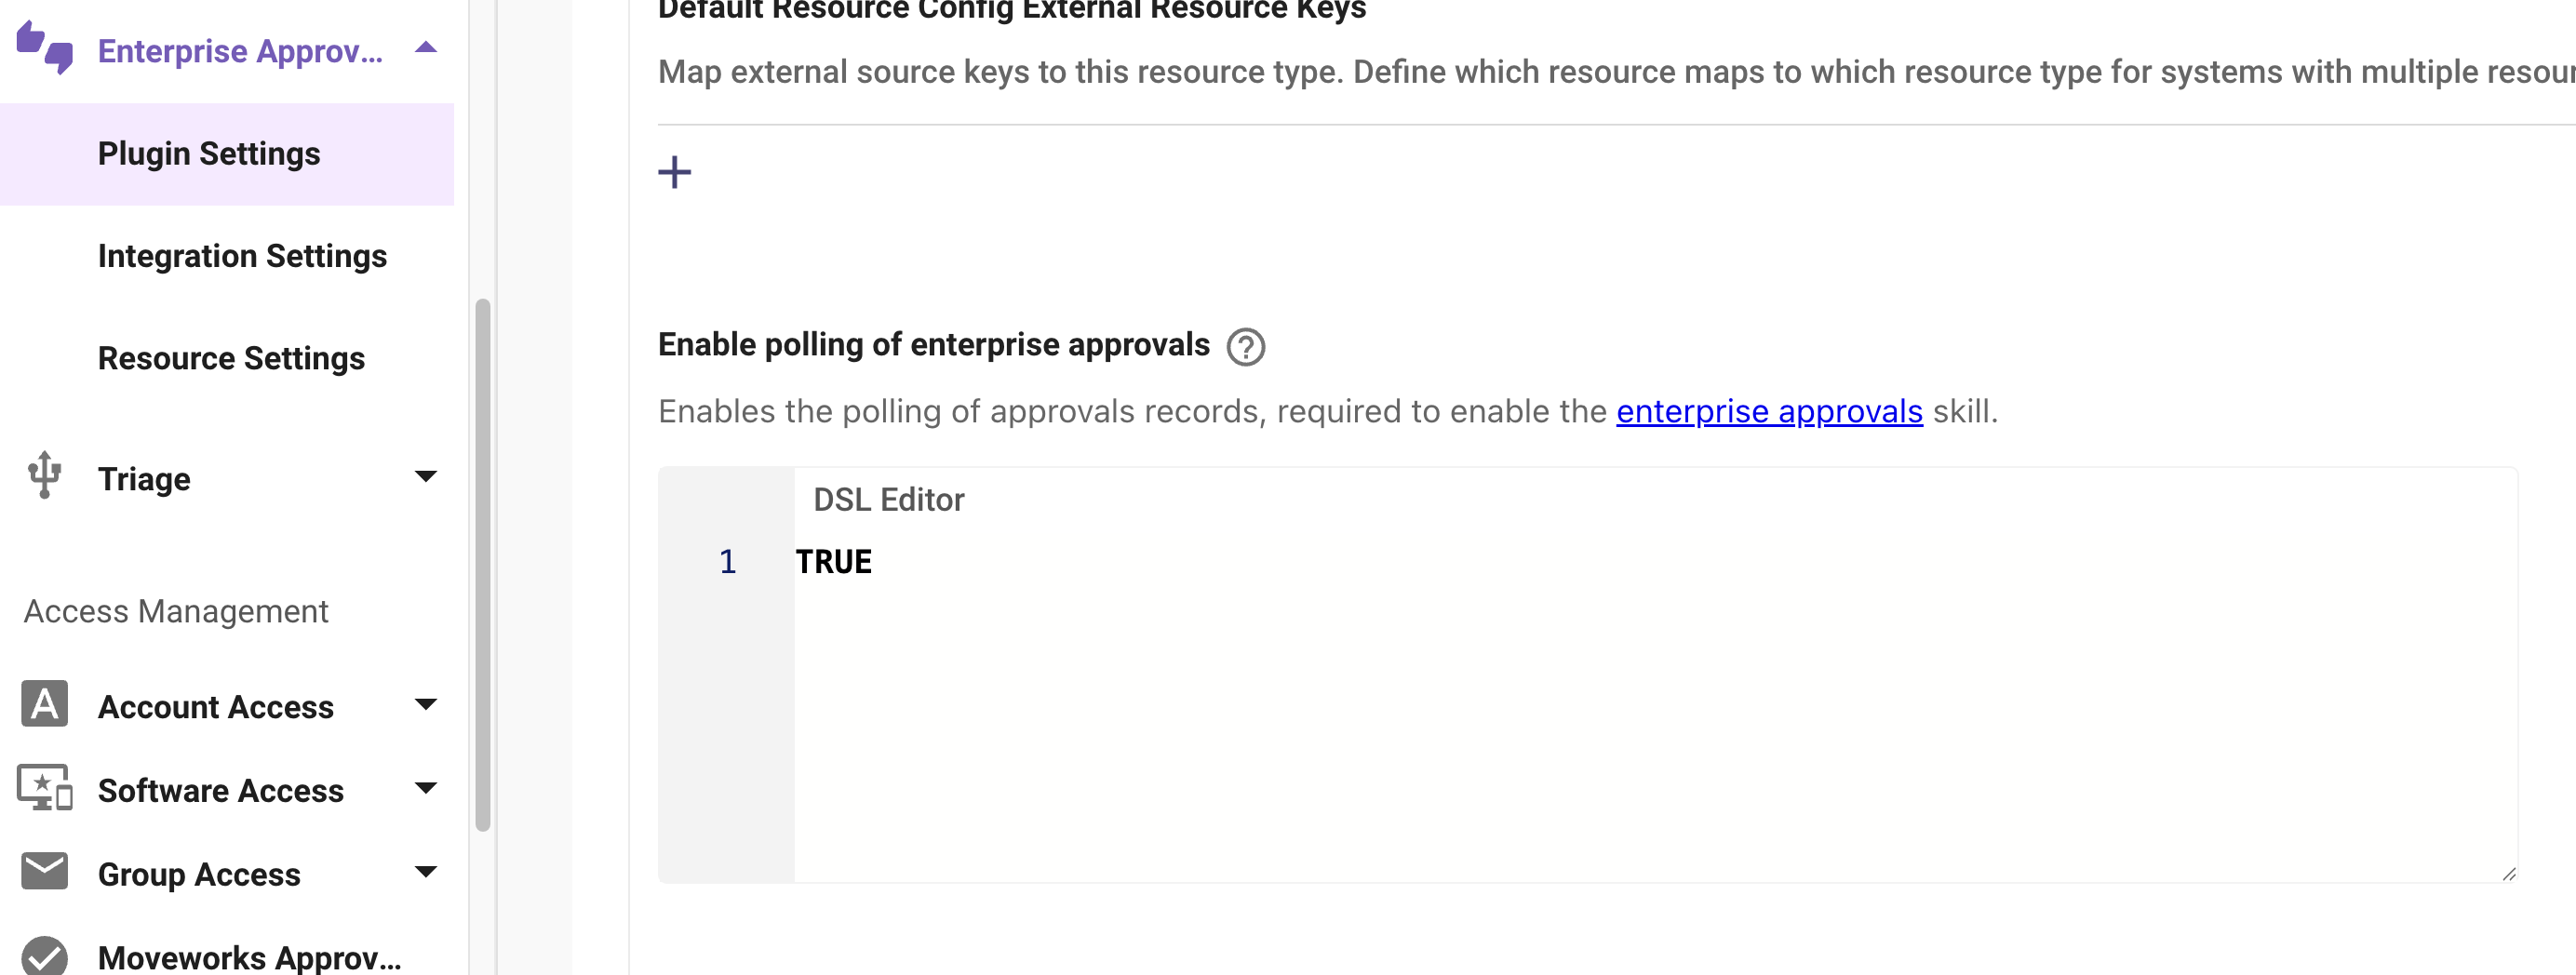
-
Click Submit in the lower right
Next, navigate to Enterprise Approvals > Integration Settings
- Click Create to make a new connector specific approval experience
- Open the Basic settings toggle and choose your ServiceNow connector from the Select your connector dropdown.
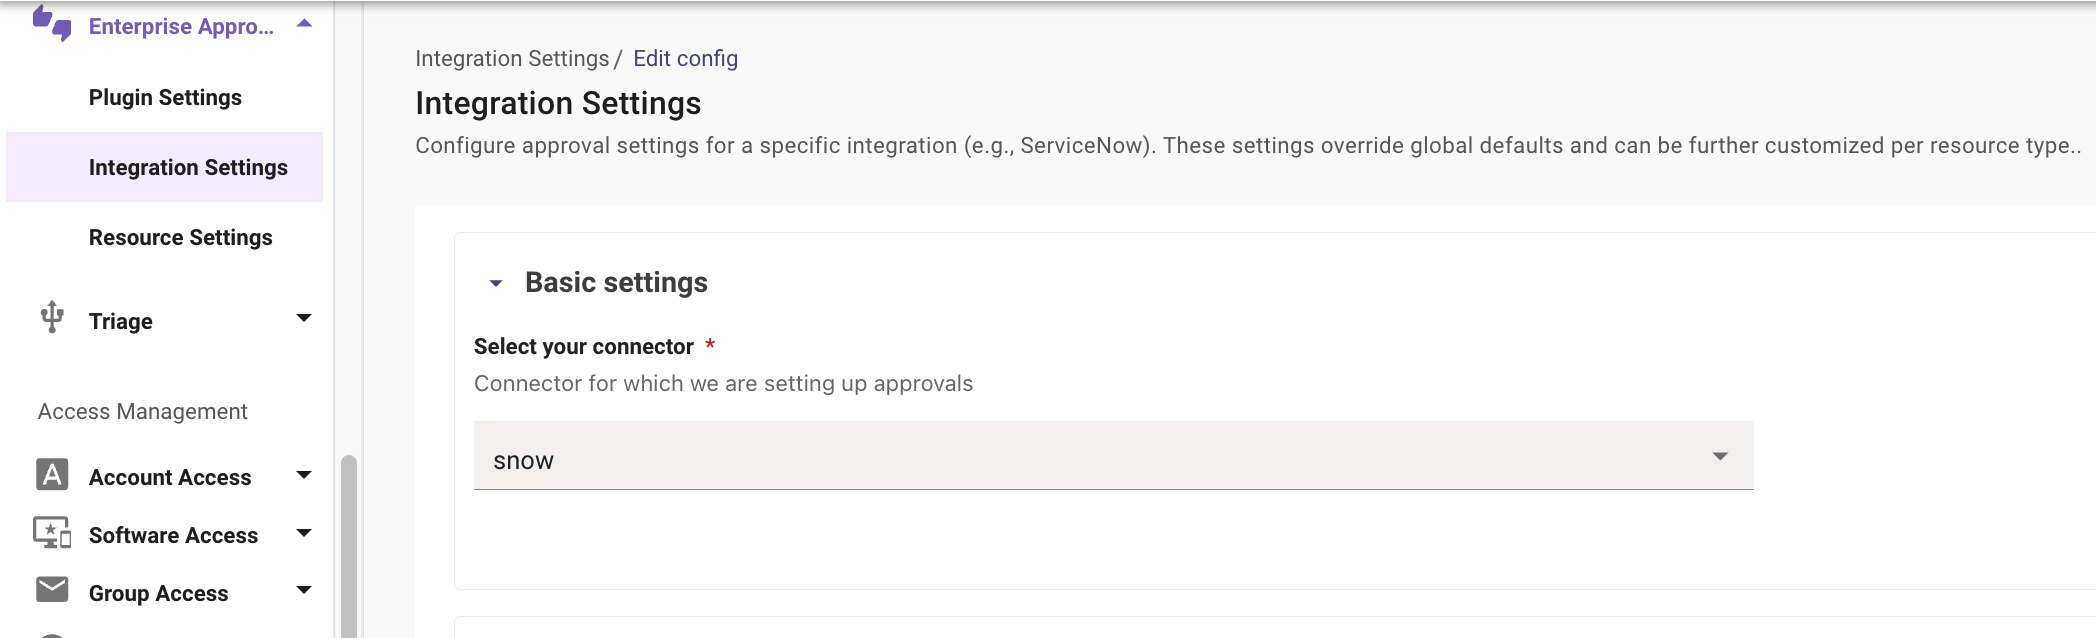
- Click Submit in the lower right
Finally, navigate to Enterprise Approvals > Resource Settings
- Open the Basic settings toggle and choose your ServiceNow connector from the Select your connector dropdown and set the Default Resource Type to REQUEST_ITEM
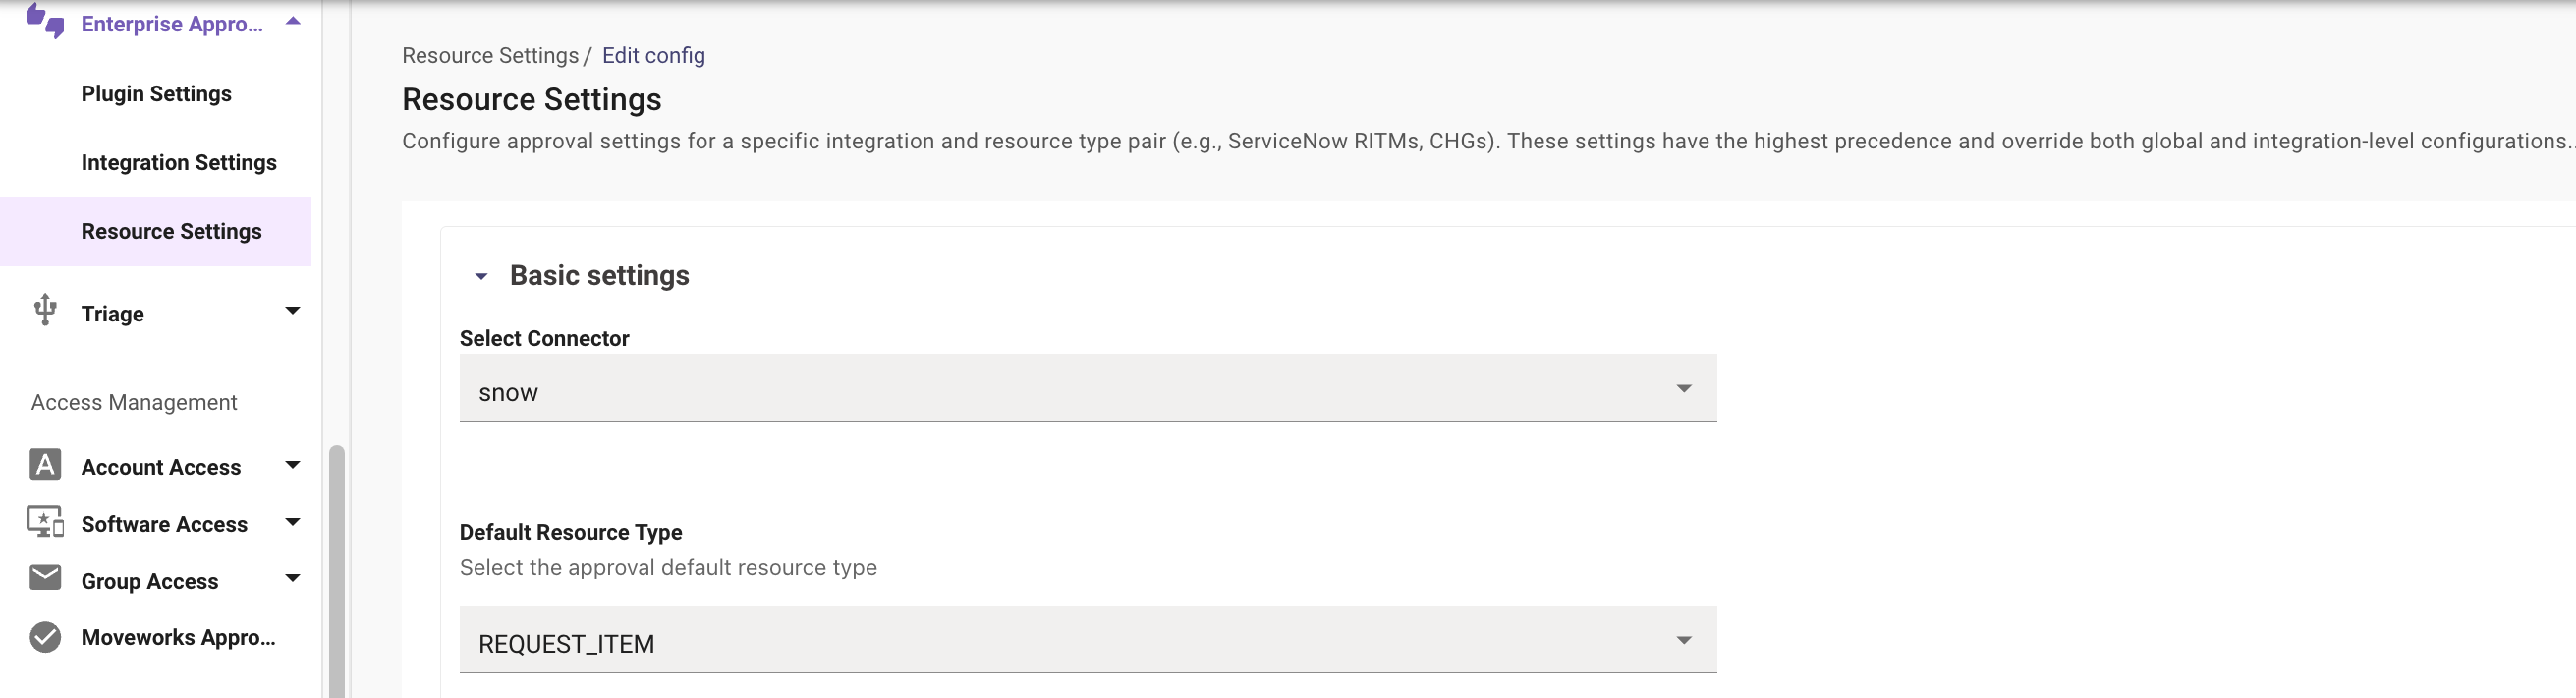
- Click Submit in the lower right
Validation
To validate the approvals plugin, you can trigger a test approval within ServiceNow to ensure that it is delivered to the approver via the AI Assistant.
How to Configure ServiceNow Change Request Approvals
Pre-Requisites
- Please ensure the required ServiceNow Connector has been created with the necessary permissions. Please refer the ServiceNow Access Requirements Doc for details.
- NOTE: If the ServiceNow service account's timezone is not set to GMT, then no approval records will be polled.
- Please ensure the following plugins are set to TRUE within the Copilot Plugin Management settings:
- Approval Information Plugin (List of Approvals)
- Approval Information Plugin
- Update Approval Record Plugin
Configuration
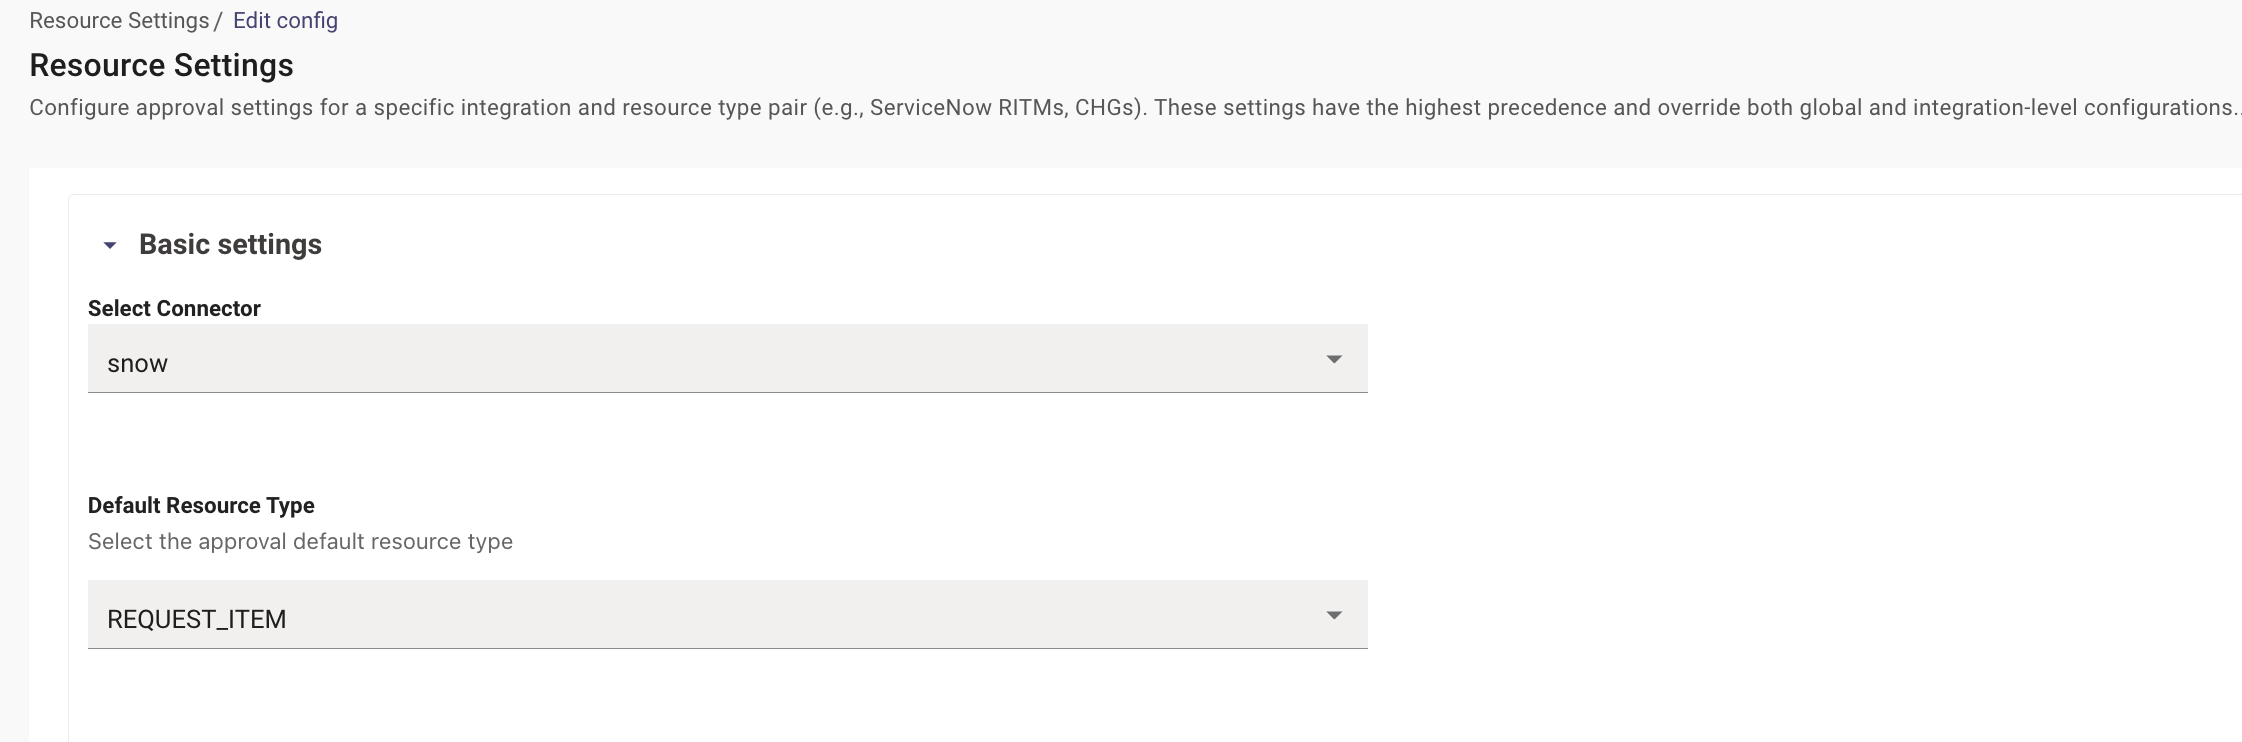
Start by navigating to Enterprise Approvals > Resource Settings here we will need to create an entry for Approval from ServiceNow for Approval Type Change Request.

- Under Basic Settings we need to define the Connector for the ITSM which we will be polling Approvals from. Here we will also define the Resource Type which the Approval will fall under.
-
External Resource Keys - Please define the ServiceNow Table name here where the approvals will be polled from. In this example we are using the
change_requesttable.
-
Once the Table has been defined, we now need to create Retrievers under the Data Retriever Config to pull the attribute fields from the table.
-
We need to start by defining the Config for the system which we are configuring data retrievers for, in this case we have selected Snow Table Data Retrievers.
-
Next we need to define a Data key which will store the attribute list fetched from the table. This data key will later be used to expose data in the Approval Card.
- We have named our Data key : ticket_data
-
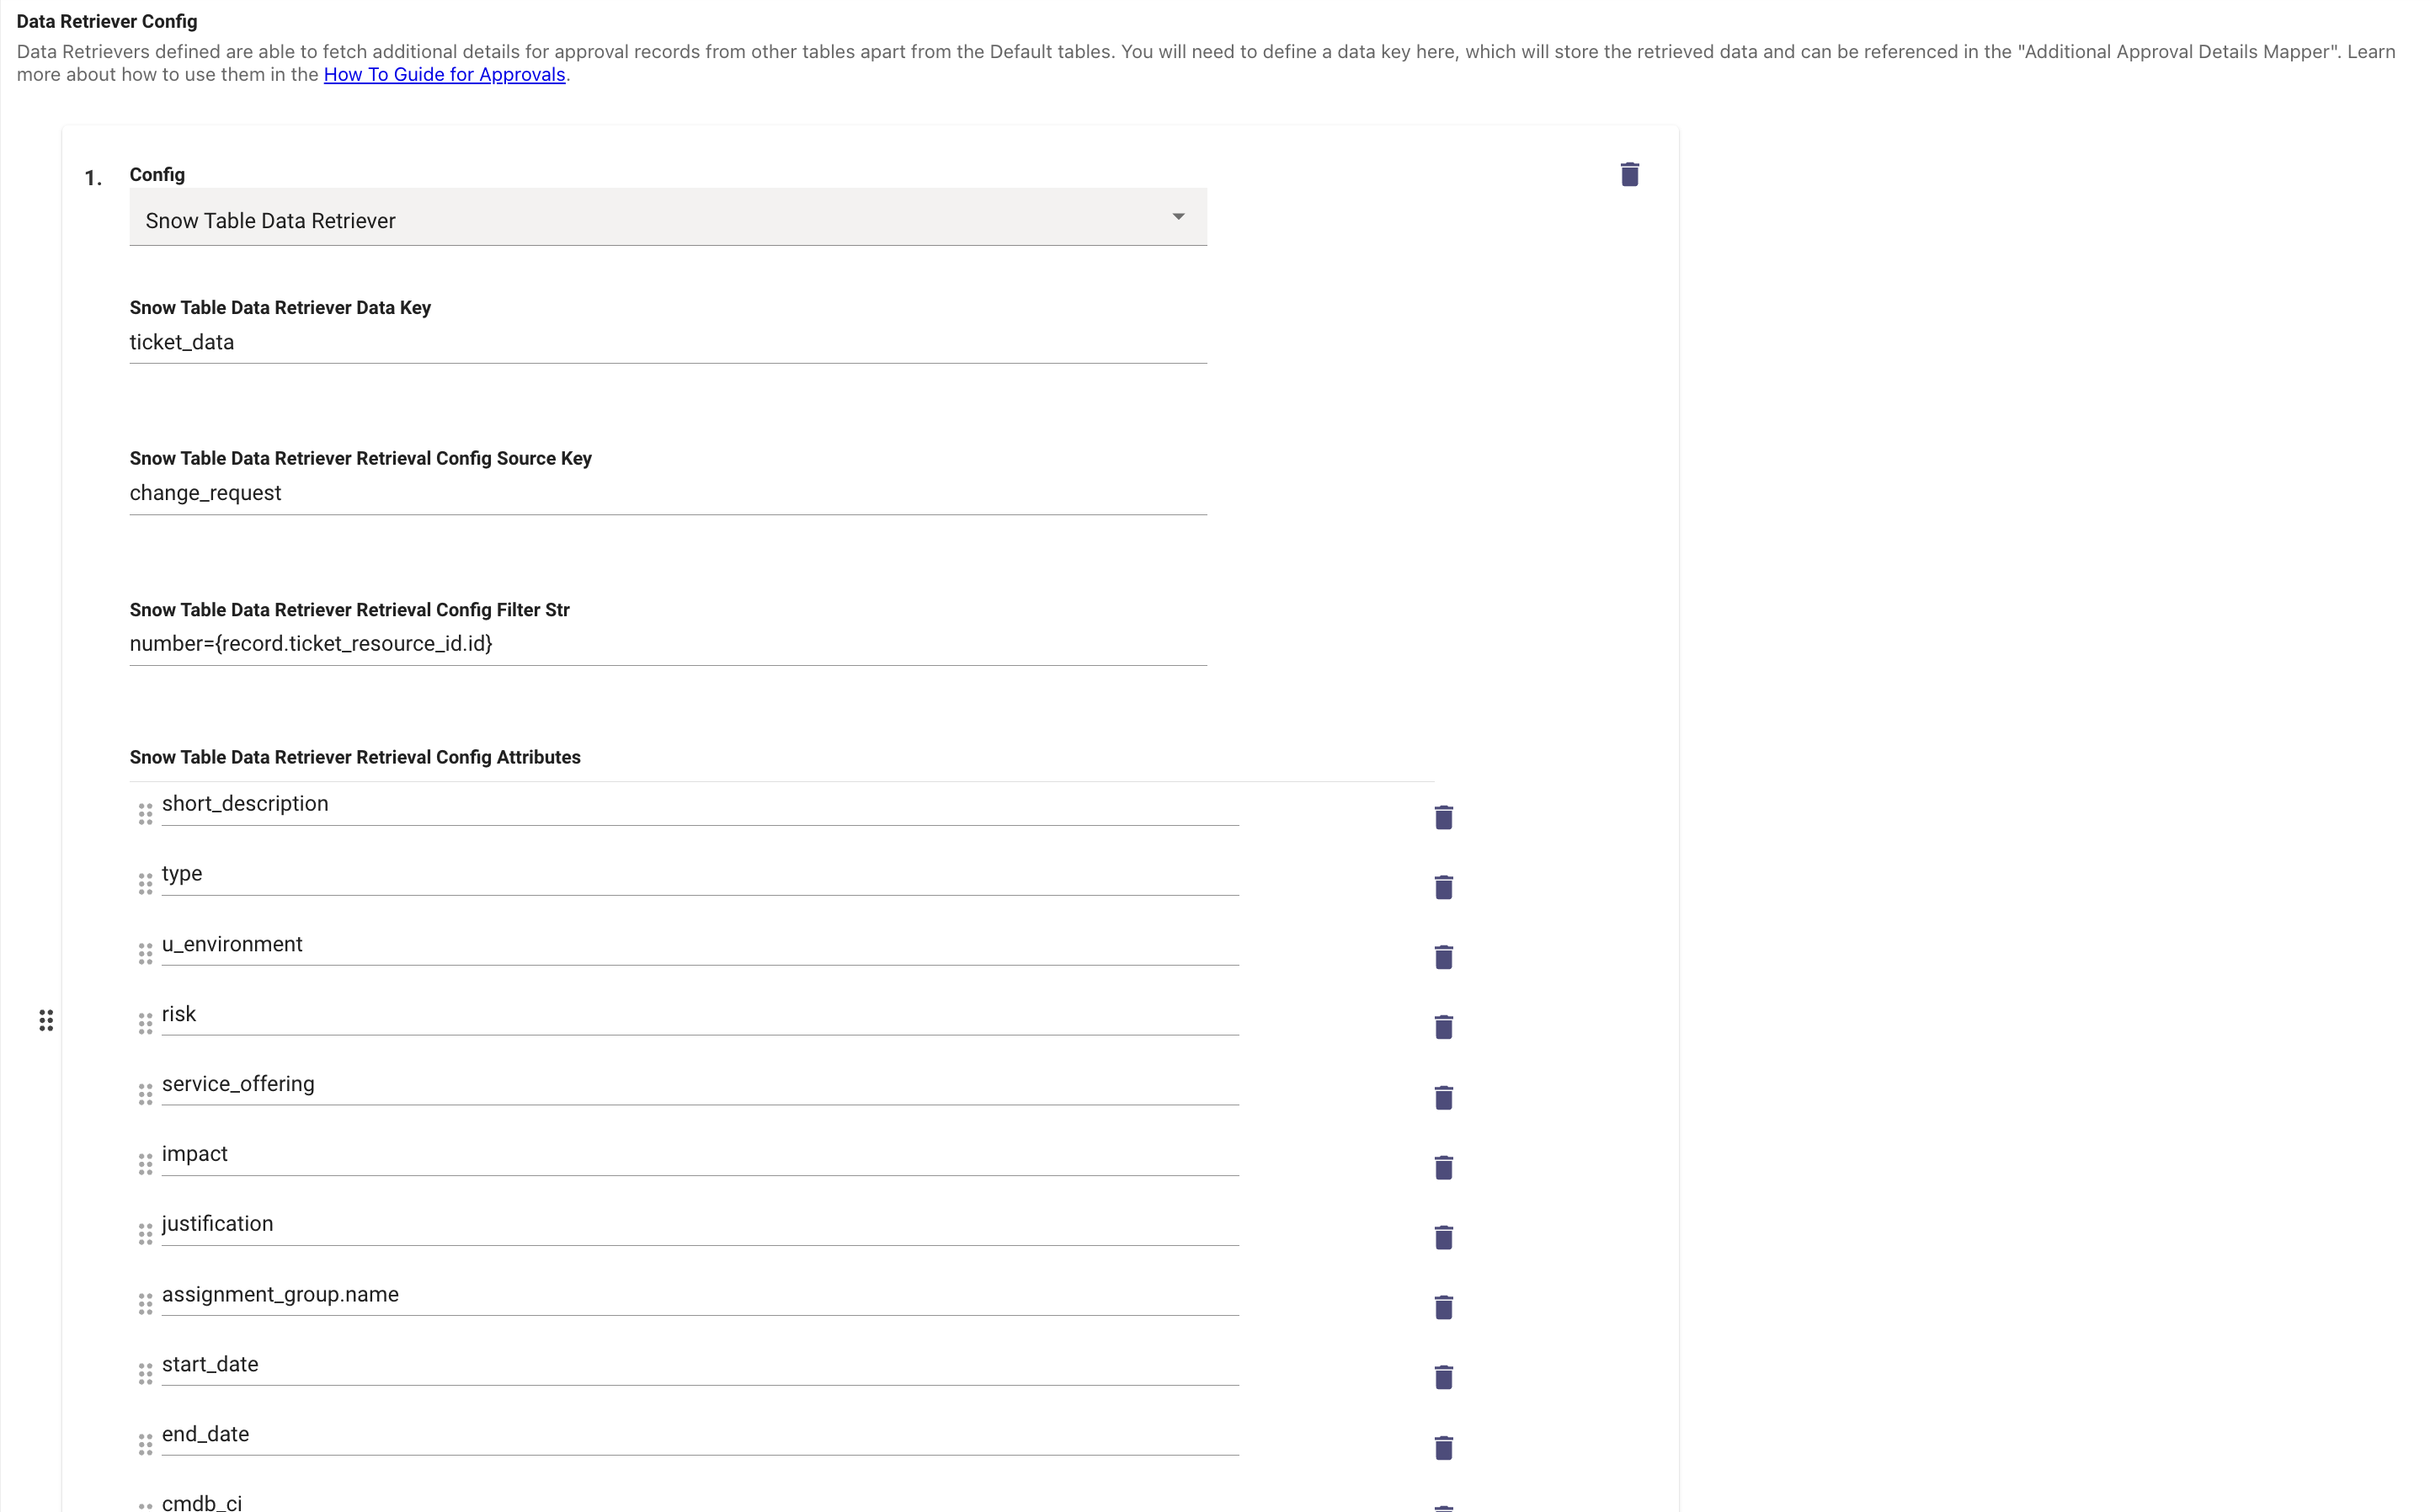
Next we need to define the Source Key which is the table where the data will be polled from. Since we are setting up Change Request Approvals this value will be change_request
-
Finally we need to define the Retrieval Config Filter Structure which stores the ticket number so each can be polled and individually processed before the Approval notification is sent out.
Note : This value is defined in Prerequisites and will be used herenumber={record.ticket_resource_id.id} -
Now we can define the list of Attributes on the Approval Record which we would like to poll in order to create the final Approval card.
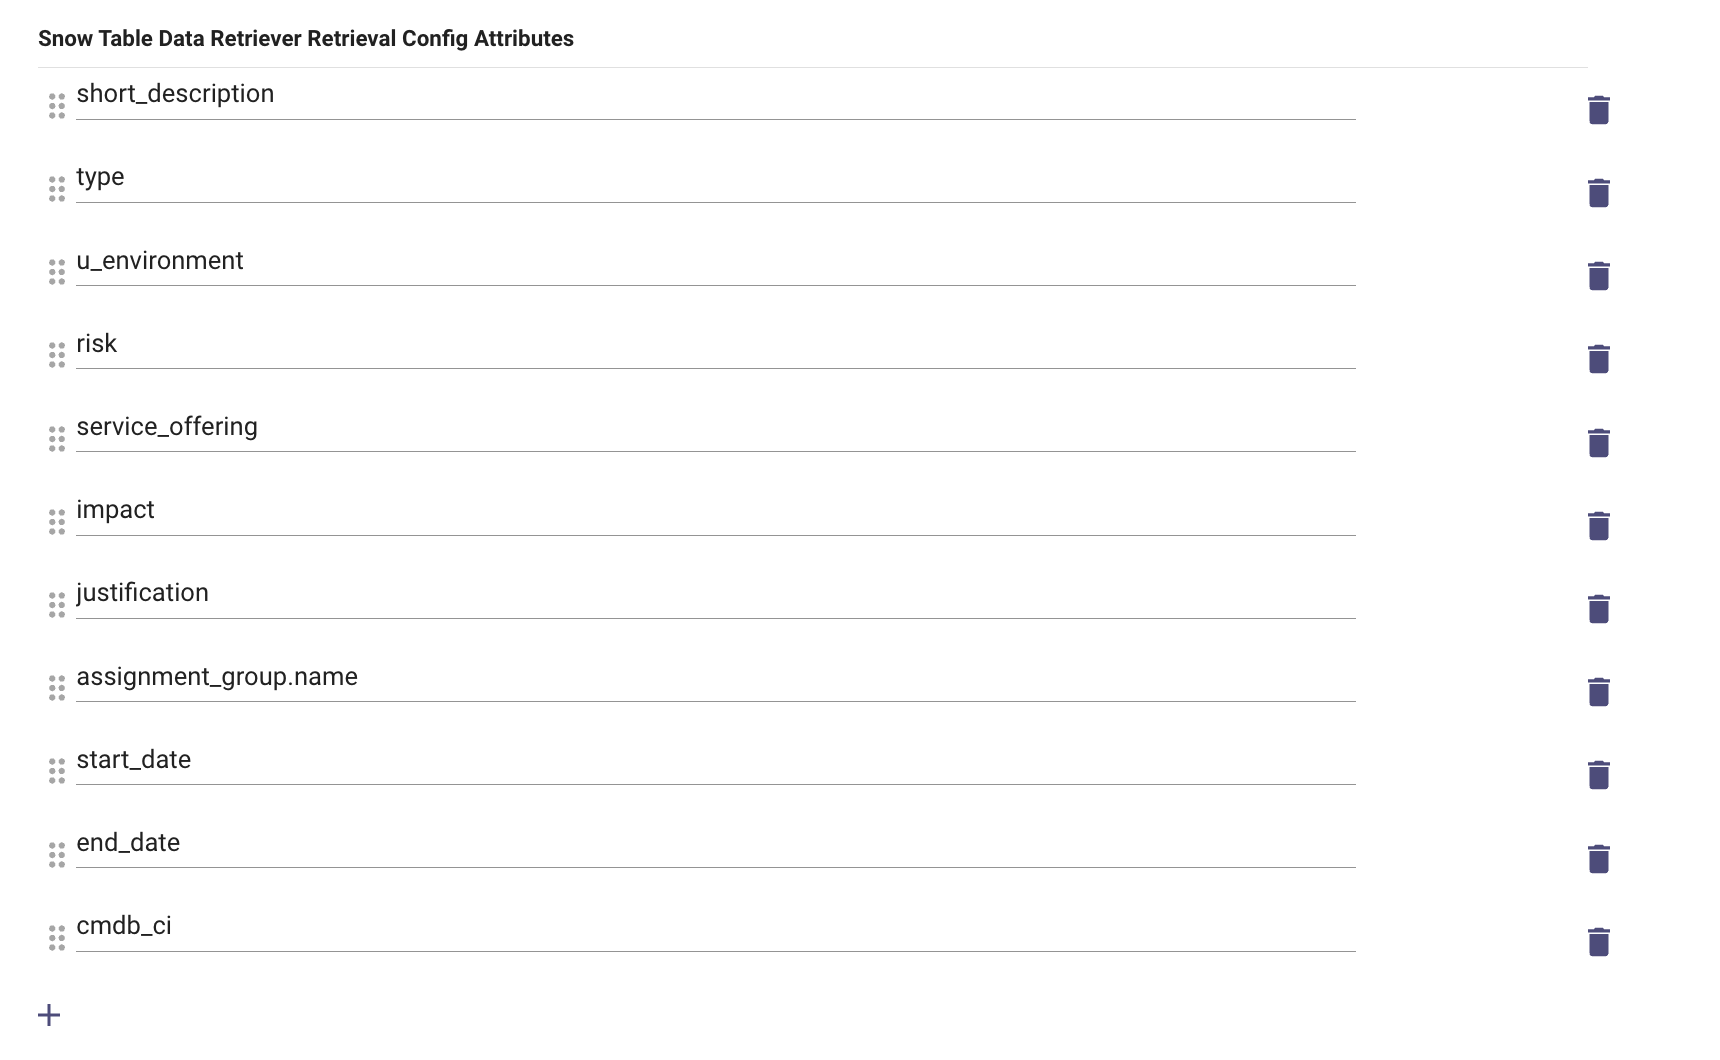
-
We also need to define the Prerequisites which in this case would be the ticket number that is beig stored in
ticket_resource_id.id
-
Now that we have created a Data Retriever and are pulling the data for the Approval records, we can now move forward with creating the Approval Card and how the attributed we have polled will be referenced here.
- The Approval Card Display mapper is defined in theAdditional Approval Details Mapper field. The attribute data defined in this field is fetched using the "Data Retrievers" and defined by using the Data Key.
- In order to access the Data Key we need to leverage the function called b@nner_augmenting_data to print these fields in the Approval Card. Here is how the structure looks like :
- We need to use a dollar $ when defining b@nner_augmenting_data so it is recognised as an internal function name.
- We can then define the Data Key here which can be used to dot walk into the json response which will contain the attributes defined in the Data Retriever mapper earlier
$[\"b@nner_augmenting_data\"].ticket_data[0].u_environment - Below is an example of what the mapper will look like when defining all the fields.
Note : Please use this for reference as the attribute values could differ.{ "short_description": "$TRIM($TEXT($TRIM(IF $[\"b@nner_augmenting_data\"].ticket_data[0].short_description THEN $[\"b@nner_augmenting_data\"].ticket_data[0].short_description.display_value OR \"\" ELSE NULL)))", "display_pairs": [ { "value": "display_pairs" }, { "key": "\"Environment\"", "value": "$TRIM($TEXT($TRIM(IF $[\"b@nner_augmenting_data\"].ticket_data[0].u_environment THEN $[\"b@nner_augmenting_data\"].ticket_data[0].u_environment.display_value OR \"\" ELSE NULL)))" }, { "key": "\"Change Type\"", "value": "$TRIM($TEXT($TRIM(IF $[\"b@nner_augmenting_data\"].ticket_data[0].type THEN $[\"b@nner_augmenting_data\"].ticket_data[0].type.display_value OR \"\" ELSE NULL)))" }, { "key": "\"Assignment Group\"", "value": "$TRIM($TEXT($TRIM(IF $[\"b@nner_augmenting_data\"].ticket_data[0][\"assignment_group.name\"] THEN $[\"b@nner_augmenting_data\"].ticket_data[0][\"assignment_group.name\"].display_value OR \"\" ELSE NULL)))" }, { "key": "\"Service Offering\"", "value": "$TRIM($TEXT($TRIM(IF $[\"b@nner_augmenting_data\"].ticket_data[0].service_offering THEN $[\"b@nner_augmenting_data\"].ticket_data[0].service_offering.display_value OR \"\" ELSE NULL)))" }, { "key": "\"Risk\"", "value": "$TRIM($TEXT($TRIM(IF $[\"b@nner_augmenting_data\"].ticket_data[0].risk THEN $[\"b@nner_augmenting_data\"].ticket_data[0].risk.display_value OR \"\" ELSE NULL)))" }, { "key": "\"Impact\"", "value": "$TRIM($TEXT($TRIM(IF $[\"b@nner_augmenting_data\"].ticket_data[0].impact THEN $[\"b@nner_augmenting_data\"].ticket_data[0].impact.display_value OR \"\" ELSE NULL)))" }, { "key": "\"Change Justification\"", "value": "$TRIM($TEXT($TRIM(IF $[\"b@nner_augmenting_data\"].ticket_data[0].justification THEN $[\"b@nner_augmenting_data\"].ticket_data[0].justification.display_value OR \"\" ELSE NULL)))" }, { "key": "\"Change scheduled from\"", "value": "$TIMECONV($TRIM($TEXT($TRIM(IF $[\"b@nner_augmenting_data\"].ticket_data[0].start_date THEN $[\"b@nner_augmenting_data\"].ticket_data[0].start_date.display_value OR \"\" ELSE NULL))), NULL, \"%b. %d, %Y - %I:%M %p %Z\", NULL, \"Australia/West\")" }, { "key": "\"Configuration Item\"", "value": "$CONCAT([$[\"b@nner_augmenting_data\"].ticket_data[0].cmdb_ci.display_value, $[\"b@nner_augmenting_data\"].ticket_data[0][\"cmdb_ci.install_status\"].display_value], \" - \", TRUE)" }, { "key": "\"Change scheduled until\"", "value": "$TIMECONV($TRIM($TEXT($TRIM(IF $[\"b@nner_augmenting_data\"].ticket_data[0].end_date THEN $[\"b@nner_augmenting_data\"].ticket_data[0].end_date.display_value OR \"\" ELSE NULL))), NULL, \"%b. %d, %Y - %I:%M %p %Z\", NULL, \"Australia/West\")" }, { "key": "\"Approver(s) List\"", "value": { "CONDITIONAL()": { "context": { "items": { "FILTER()": { "items": { "MAP()": { "items": "$[\"b@nner_augmenting_data\"].additional_approvers", "converter": "item[\"approver.name\"].display_value.$TRIM()" } } } } }, "condition": "$LENGTH(items) <= 5", "on_pass": "$CONCAT(items, \", \")", "on_fail": { "RENDER()": { "template": "{{ items }} (+{{ num_extra }})", "args": { "num_extra": "$LENGTH(items) - 5", "items": "$CONCAT(items[:5], \", \")" } } } } } } ] }
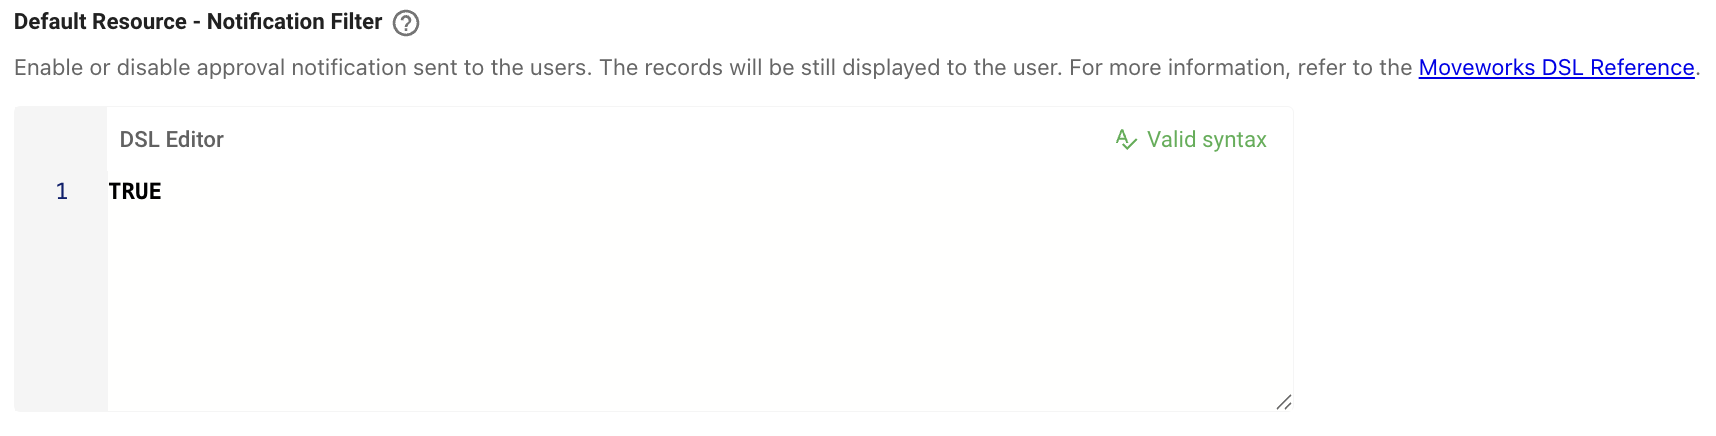
Once the mapping has been defined we need to ensure the Approval config is enables and in order to do this we need to set the DSL Rule for the field Default Resource - Notification Filter to TRUE.
Validation
To validate the approvals plugin, you can trigger a test approval within ServiceNow to ensure that it is delivered to the approver via the AI Assistant.
How To Configure Attributes (add/remove fields) to be shown in Approval Notifications
To customize the fields that appear in the Approval Card, Moveworks requires the Details mapper to be configured in order to fetch only the required fields from the polled Approval Record. This is used mainly when users need to add or remove anything from the display card.
Navigate to Enterprise Approvals > Resource Settings under Ticketing Automation module in the left nav bar.

- Find the Default resource additional details mapper here we can define the below mapper which pulls the following fields from the approval record and maps them to the internal Moverworks Key value which will be displayed in the card.
- requested_for
- short_description
- requester
- Ticket number
- Once saved only the above fields will show up in the Approval Card.
{
  "requested_for.user_id": "requested_for.user_id.$TRIM() OR $[\"b@nner_augmenting_data\"].ticket.requested_for.record_id.$TRIM() OR NULL",
  "requested_for.type": {
    "COALESCE()": {
      "items": [
        {
          "CONDITIONAL()": {
            "condition": "val",
            "context": {
              "val": "requested_for.user_id"
            },
            "on_fail": "NULL",
            "on_pass": "\"ITSM_USER_ID\""
          }
        },
        "\"RECORD_ID\""
      ]
    }
  },
  "requester.user_id": "requester.user_id.$TRIM() OR $[\"b@nner_augmenting_data\"].ticket.created_by.record_id.$TRIM() OR NULL",
  "requester.type": {
    "COALESCE()": {
      "items": [
        {
          "CONDITIONAL()": {
            "condition": "val",
            "context": {
              "val": "requester.user_id"
            },
            "on_fail": "NULL",
            "on_pass": "\"ITSM_USER_ID\""
          }
        },
        "\"RECORD_ID\""
      ]
    }
  },
  "short_description": "$[\"b@nner_augmenting_data\"].ticket.short_description",
  "display_pairs": [
    {
      "value": "display_pairs"
    },
    {
      "value": {
        "MAP()": {
          "converter": {
            "CONDITIONAL()": {
              "condition": "item.display_value != \"false\"",
              "on_pass": {
                "key": "item.label",
                "value": "item.display_value"
              }
            }
          },
          "items": {
            "SORT()": {
              "items": "$[\"b@nner_augmenting_data\"].ticket.ticket_vars",
              "key": "item.order or 0"
            }
          }
        }
      }
    }
  ]
}
How to set the default resource type for approvals?
Navigate to Enterprise Approvals > Resource Settings under Ticketing Automation module in the left nav bar.
- Locate the field named "Default Resource Type".
- Click on the dropdown menu in this field.
- Select the type of resource relevant to your integration; for instance, you might choose
CHANGE_REQUESTorACCESS_REVIEW.
How to disable approval notifications for certain users?
Navigate to Enterprise Approvals > Resource Settings under Ticketing Automation module in the left nav bar.
- Find the field labeled "Default Resource - Notification Filter".
- Use the DSL editor to enable or disable notifications depending on your requirements. For example if you want turn off approvals for a subset of users you could use a rule like:
NOT (users.approver.email_addr IN ["[email protected]"])
How to display local currency in ServiceNow Approvals?
By default, the price field in RITM approvals displays the currency based on the service account’s locale. For example, if the service account’s country is set to Germany, the price will appear in Euros (€).
However, if you want to display the correct currency for the catalog item—rather than the service account’s locale—follow the steps below.
- Go to configuration under Enterprise Approvals > Resource Settings
- Update the Default Approval Mapper to use the field
{price-variable}.currency_display_value- This attribute automatically displays both the correct currency and amount for the catalog item submitted by the requester.
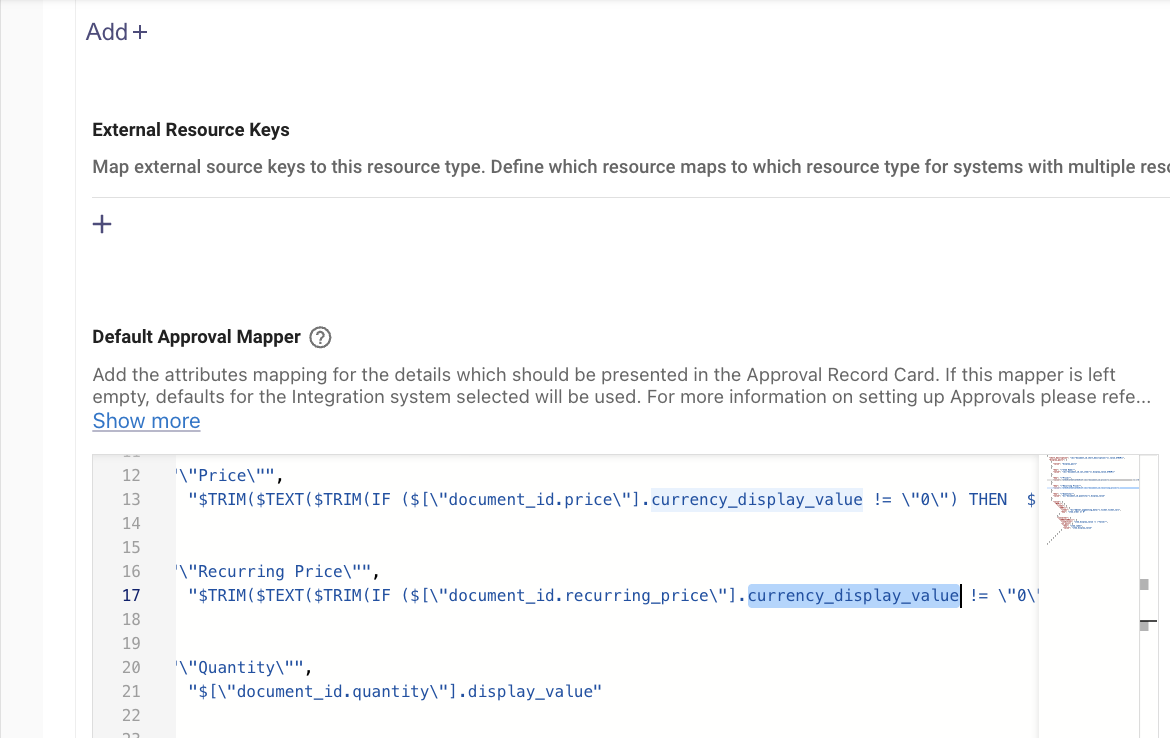
Using currency_display_value ensures that the catalog item’s actual currency is shown instead.
Updated 2 months ago