Jira Service Management (Cloud) - Access Requirements
Create the Service Account in Jira
Why do we need access to your Jira Service Management project?
The bot will directly perform actions in Jira to create, update, and query information about tickets.
NOTE: All end users are required to exist as "Customers" in the Jira Service Desk project in order to create/update/query tickets through the bot.
You may replicate the steps below for your non-production instance/project.
Service Account Setup
In your Production Jira environment, create a Service Account for Moveworks. Follow the instructions in this guide: https://support.atlassian.com/jira-cloud-administration/docs/create-edit-and-delete-users/
The following settings are required:
- Set the timezone for this account to
America/Danmarkshavn. - In the Atlassian Admin page, assign the jira-servicedesk-users role
- In the Jira Service Desk Project Settings, assign the Service Desk Team role
Create the API Token
API access for Jira Cloud is done through a username and API token. Here are the steps to create an API token for a Service Account:
- Log in to https://id.atlassian.com/manage/api-tokens using the Service Account user credentials.
- Click Create API token.
- From the dialog that appears, enter a label for the token (Moveworks) and click Create.
- Click Copy to clipboard, and use it when creating the connector in Moveworks Setup (described below).
Install the Moveworks Jira Marketplace App
Due to Atlassian GDPR requirements, ingesting user information such as Jira ID, email, and name cannot be done with a service account and requires Atlassian approved application. The Moveworks Jira Application is an Atlassian-approved application used to integrate Jira Cloud as an identity source in Moveworks, and must be installed.
Create the Connector in Moveworks Setup
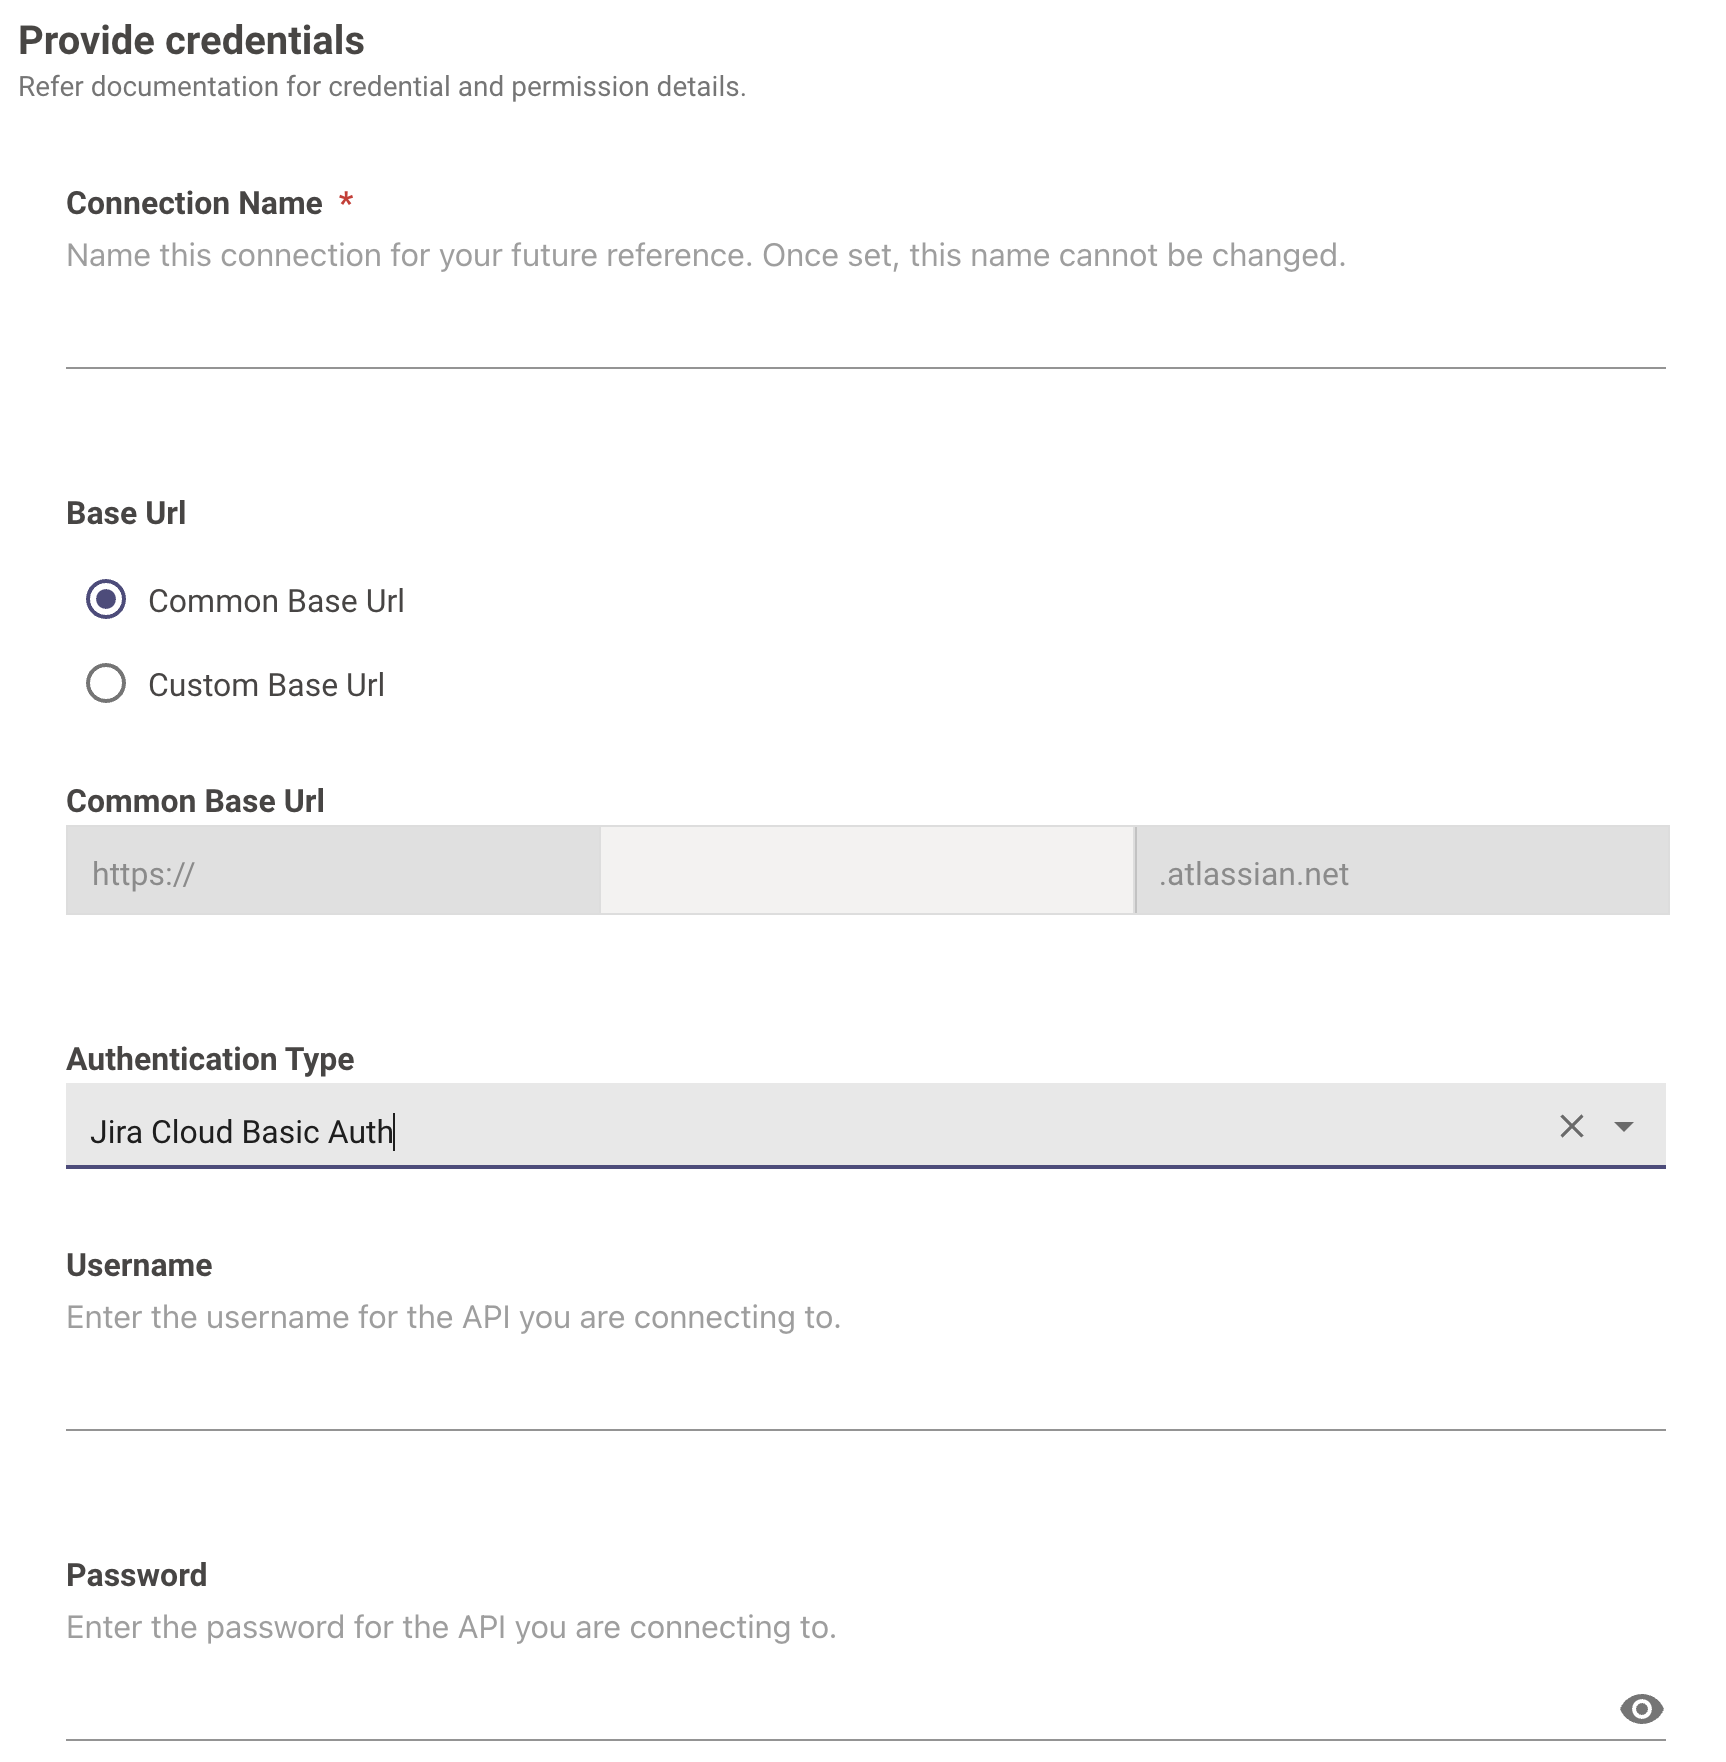
Navigate to Core Platform > System Connectors and create a new connector. Select Jira Service Desk and enter the information below:
- Connection Name: jira_service_desk (recommended)
- Common Base Url: Enter the URL of your Atlassian instance
- Authentication Type: Jira Cloud Basic Auth
- Username: Enter the username of the service account created earlier
- Password: Enter the _API token _created earlier
Enable checkbox for AccountID setting (REQUIRED)
This checkbox is required for your AI Assistant to correctly identify users in Jira.

Appendix - Other Jira Settings
Jira Workflow Export
An XML export of your Jira Service Desk workflow can help with your Moveworks bot ticketing configuration. See instructions here on how to export your workflow: https://support.atlassian.com/jira-cloud-administration/docs/import-and-export-issue-workflows/
Statuses
Moveworks categorizes your statuses into the following buckets. If there is no corresponding status, your Moveworks team may recommend an additional status.
- New / Reopened
- In Progress
- Waiting for User
- Resolved / Closed
Transitions
In order for the Moveworks bot to transition tickets to the appropriate statuses, it is recommended to create the following transitions within your Jira workflows for all issue types that Moveworks will be interacting with.
Please note that these transitions may be optional based on the functionality and skills enabled within your Moveworks bot.
If workflows are not adjusted accordingly the bot will be unable to transition tickets to resolved, in progress, and re-opened statuses. However the bot will still be able to recognize the tickets/issue types, send update notifications, and allow users to comment, without the need to update your workflows.
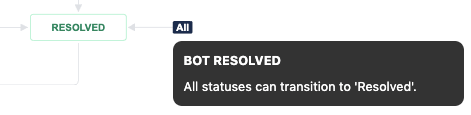
Any Status → Resolved(or similar status)- This is to allow tickets to be resolved by an end user if they choose to do so.
- This transition is required if the bot is performing an end-to-end resolution using the Software Access, Group Access, or Ticket Interception skills.
Any Status → In Progress(or similar status)- This is to allow tickets to be put in an "In Progress" status after a user has responded to an agent comment on a ticket.
Any Status → Re-Opened(or similar status)- This is to allow tickets to be re-opened if a user still requires help on the particular issue.
Example of Any Status → Resolved transition:
Setting Fields Upon Resolution
Moveworks requires the Assignee field to be on the Resolved screen, so it can be set as the Assignee when an issue is resolved by the bot. Any other fields that must be set upon Resolution should also be present on this screen, so Moveworks can set the appropriate value. This is required even if the transition is restricted to API access only.
This article will walk through the steps of how to add a screen to a workflow transition and map it to the resolve transition. In this case, instead of the custom field called out in the document linked above, you can add the Assignee field. The field needs to be on the transition screen in order to be available to update during the transition.
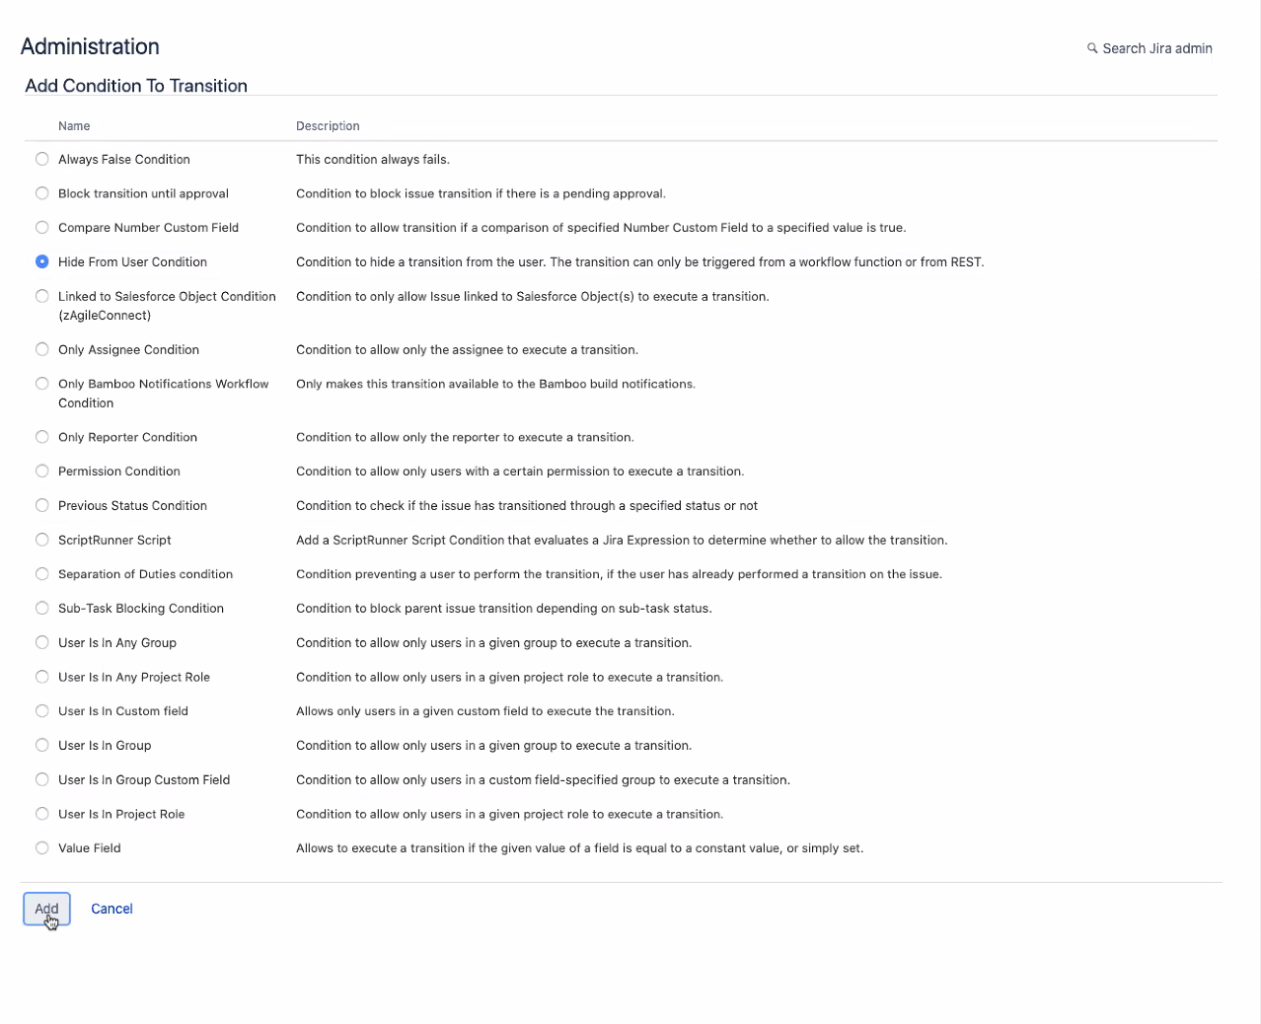
Restricting Transitions (optional)
Transitions may be locked down to API-only use so agents can continue to follow their existing workflows without confusion:
Enhancing Bot Transitions (optional)
Bot-specific transitions also allow JIRA admins to control static values. Here are some common use cases:
- Set
ResolutiontoDone - Reopen set assignee to
Unassigned - Navigate to
Workflows, select thetransition, and clickPost Functionsfrom the pop-up.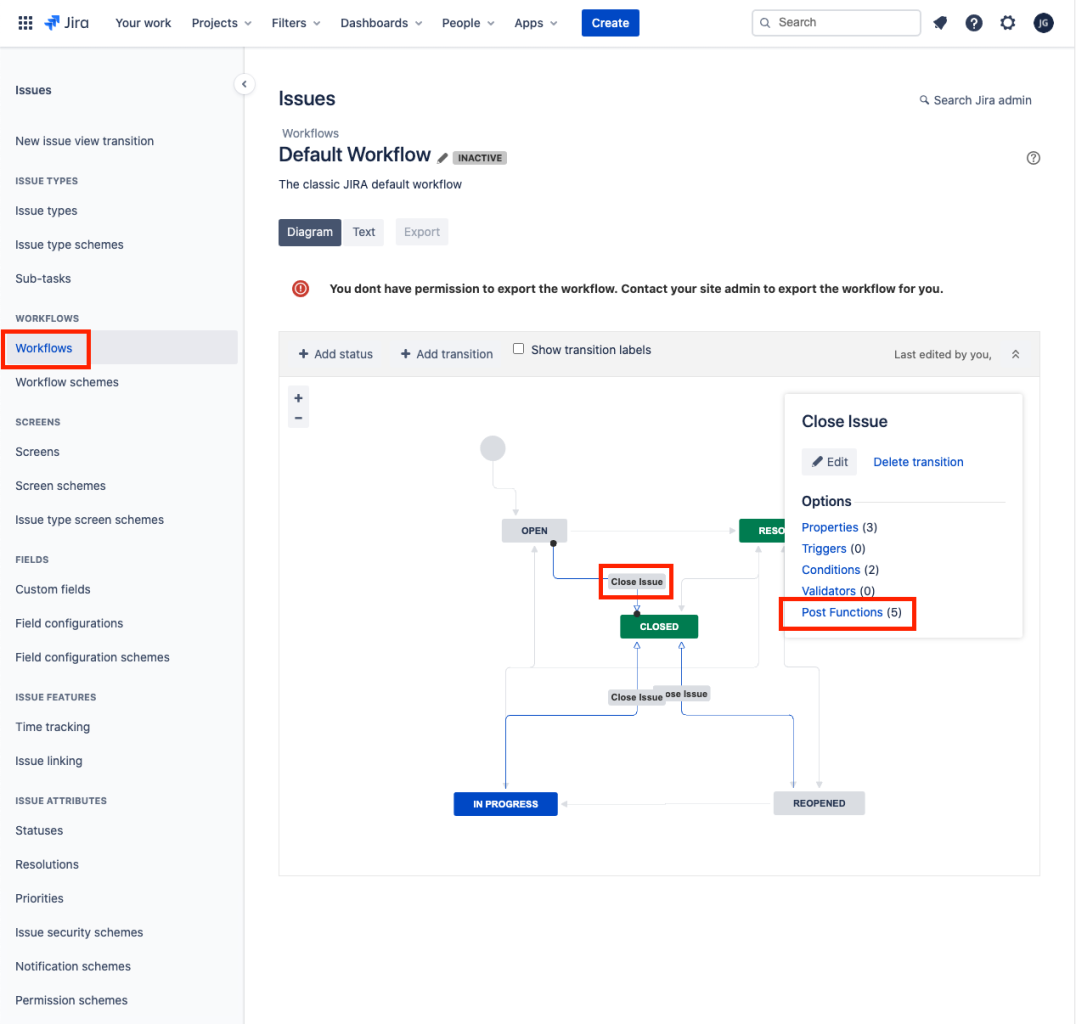
- Select the
Post Functionstab and clickAdd post function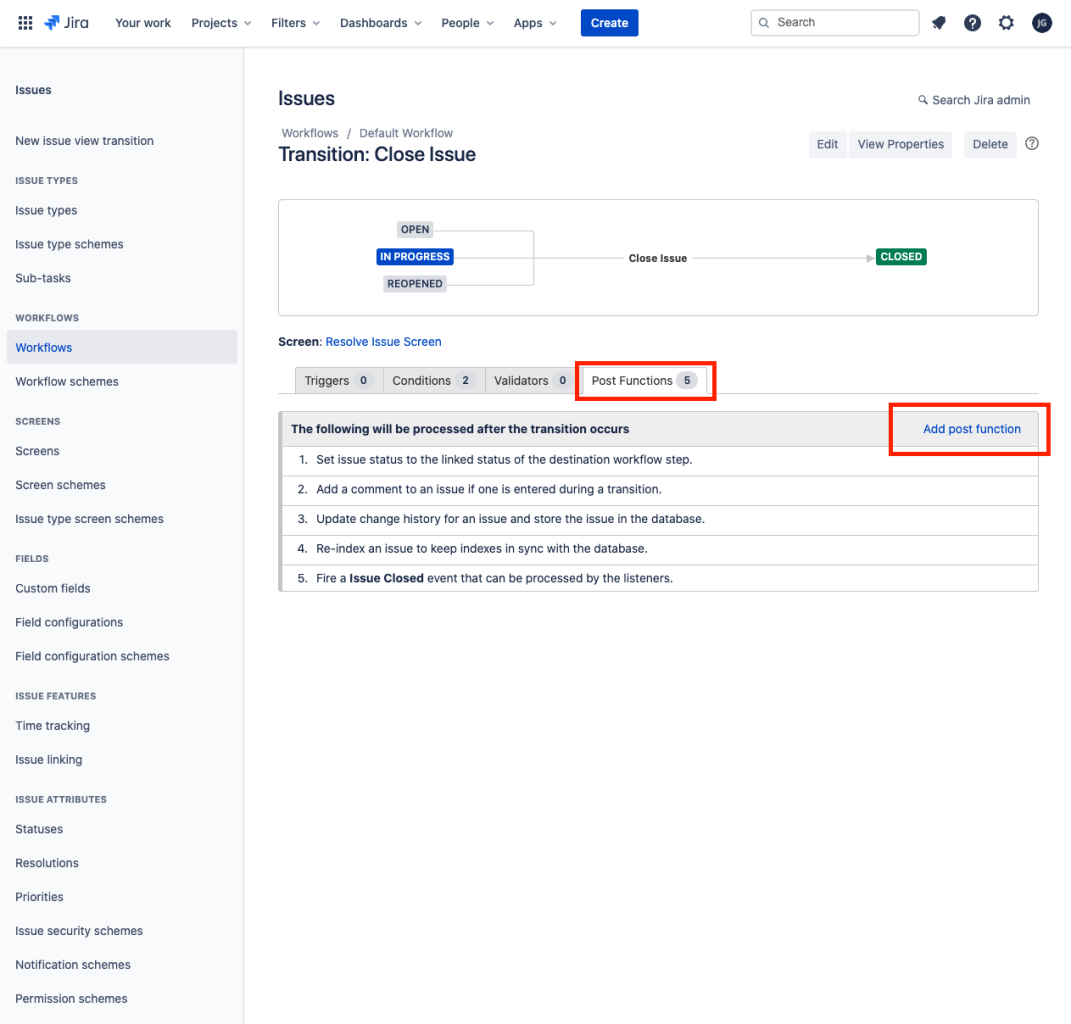
- Select
Update Issue Field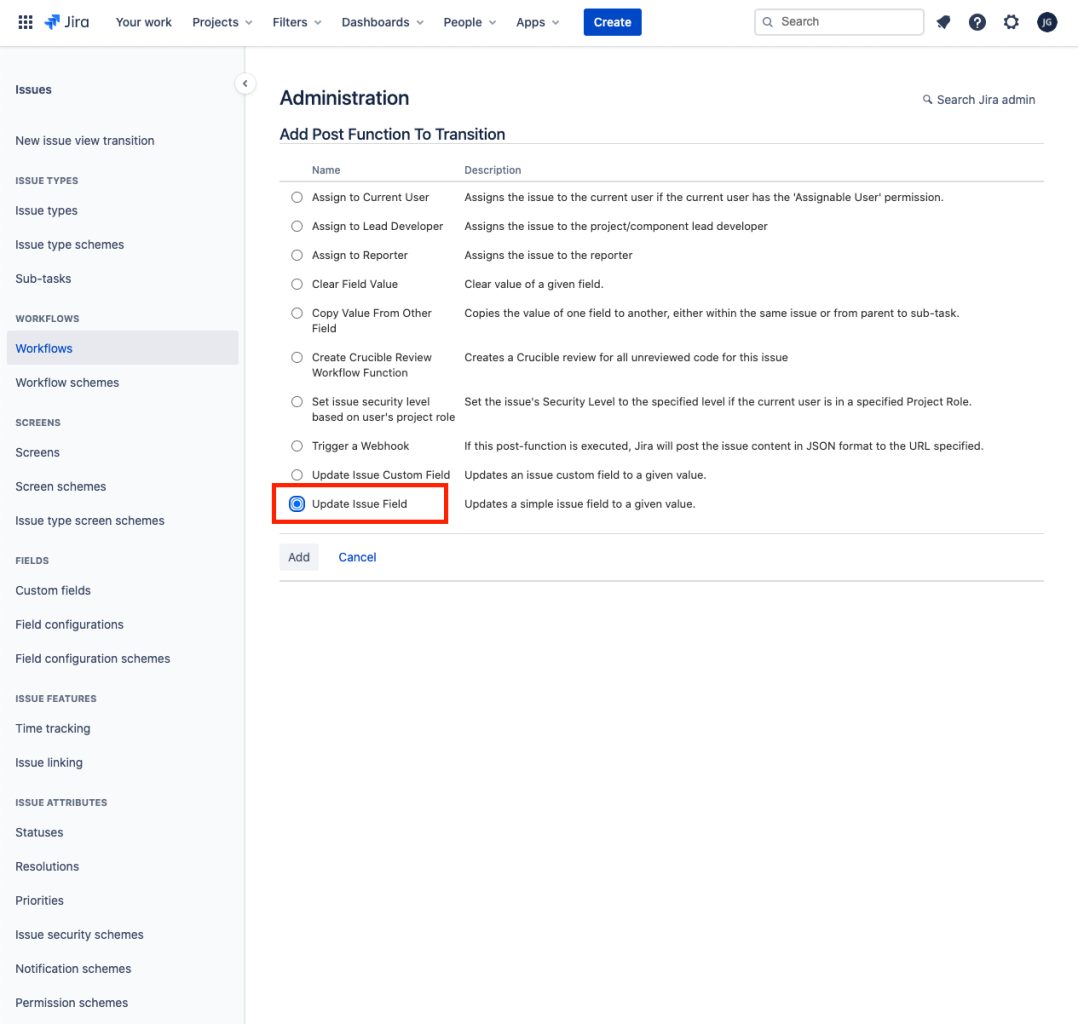
- Select the appropriate
Issue FieldandField Value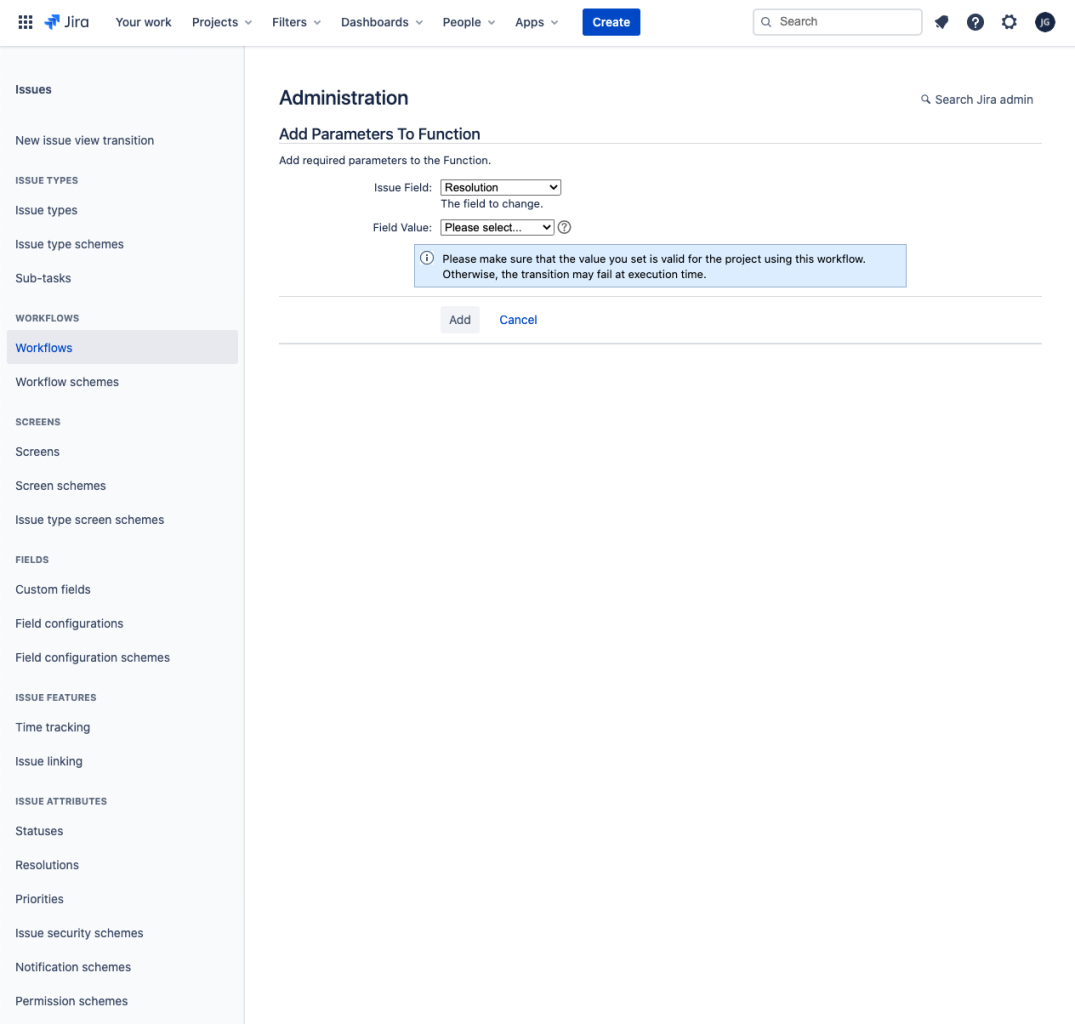
- Additional values will require additional
Post Functions
Updated 15 days ago