Configure Approval Mirroring
What is Approval Mirroring?
Moveworks Approvals Mirroring allows your users to be able to poll and manage their approvals from their external systems — natively in-chat via natural language where the user can take action on it. Refer to Approvals Overview
Overview
This configuration guide provides step-by-step instructions to configure Moveworks Approvals Mirroring. Each external system integrated with Moveworks—be it a ticketing platform, a human resources management system, or a project management tool—can have its own unique set of rules and behaviors for Approvals based on this layer.
In the below example we are using ServiceNow as the Source System for Approvals and setting a configuration for Approvals in ServiceNow.
Terminology
As you go through the approval configurations it's important to be aware of the following terminology.
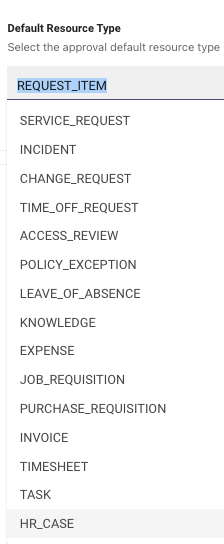
- Resource Type - This is the type of approval resource e.g:
REQUEST_ITEM
Configuration Overview
Enterprise Approval mirroring configurations consists of 3 types of configurations. To configure approvals you will need to configure all 3 configurations, but based on your organizations requirements you may need to leverage Advanced Settings if the behavior of your approvals differs by approval type.
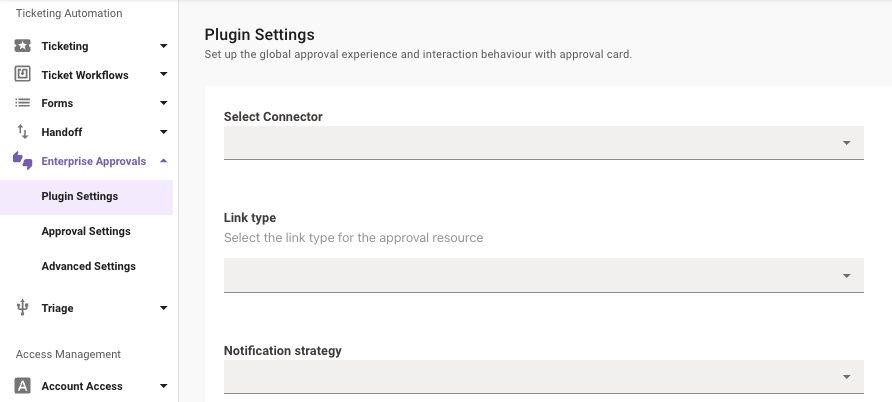
- Plugin settings configurations apply to ALL approvals no matter which system they came from.
- Approval settings configurations provide system-specific configurations for Approvals. Each external system integrated with Moveworks—be it a ticketing platform, a human resources management system, or a project management tool—can have its own unique set of rules and behaviors for Approvals based on this layer.
In this step, you need to adjust three key components:- Approval Card Behaviour: This controls how approval requests are presented to users, affecting the layout and interactivity of the approval cards. Admin's can define the buttons which should be provided to the user when they are notified of an Approval.
- Approval Filters: These are the most important controls for Approvals which specify the criteria or conditions under which an item will be considered for approval polling and notification, defining the conditions helps provide control over exactly what kinds of approval requests should get processed and notified to users.
- Data Mappers: These define how data from the external system should be interpreted or transformed within Moveworks.
- Advanced settingare where you specify the approval type you want to set up (RITM, CHG, etc.). This is also the most detailed configuration layer, enabling you to customize settings for individual resources or approval types within each integrated system (e.g., CHG, RITM). If you need rules for approval record types that differ from global and connector-specific settings, specify them here. For instance, you can define differences between RITM and CHG approvals.
Configuration Steps
1. Approval Settings: Select your Connector
This field needs to be set at the Approval layer as the configuration defined here will apply only to only that specific source system based on the Connector.

2. Approval Settings: Link Type (optional)
Suggested configuration is to leave this as empty, since it will default to the value Ticket, which is expected for most approval configurations such as ServiceNow Request Item approvals. In other scenarios, the following options are available:
- Template - Admins can define the structure of the ticket which users will be redirected to when the click on the Approval.
- Ticket - Provides the link of the Approval Ticket which is picked up from Ticketing Configuration.
3. Approval Settings: Notification Strategy (optional)
The default value here is set to Direct Notify which is the most common case in case of Approvals.
4. Approval Settings: Default Resource Type (optional)
Set this to empty at the Approval Settings layer as this is the top most layer of configuration.
5. Approval Settings: Default Resource Buttons (optional)
Choose and customize the buttons presented to the approver. These can include specific actions to "Approve" or "Reject". Optionally, you can chose to not include any actions and simply link to the external systems. You can add multiple buttons to the approval card which can be included by clicking the Add + button.
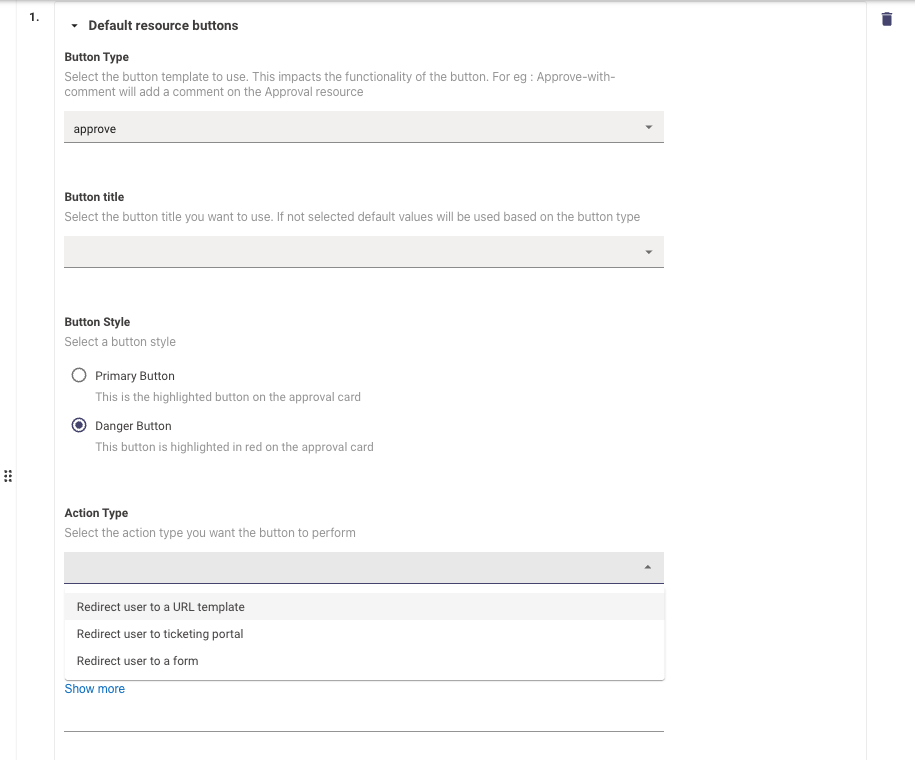
The Resource Buttons can be configured individually with the following configurations :
- Button Type - List of button type templates which defines the action the approver will take when clicking on it. Note : Please try to map the Button type to the Action Type appropriately as it could impact functionality of the button
- Button Title - Select the button title you want to use. If not selected default values will be used based on the button type
- Button Style - Select a button style, there are 2 choices here :
- Primary Button - This is the highlighted button on the approval card
- Danger Button - This button is highlighted in red on the approval card
- Action Type - Select the action type you want the button to perform. These choices require the appropriate URLs to be provided.
Note : Please ensure to always have 2 default button for Approve and Reject Configured.
6. Approval Settings: Default resource - Filter approvals (optional)
Control the processing and storing of approval records. If filters are set at this configuration, specific records will not trigger notifications AND will not appear in the user's approval queue.
This also controls completely enabling or disabling processing and storing of approval records by using TRUE or FALSE as the value.
NOT (ticket.assignment_group IN ["Assignment Group 1", "Assignment Group 2"])7. Approval Settings: Default Resource - Notification Filter (optional)
Manage the approval notifications sent to users. Records will still be stored in Moveworks backend, and displayed in the user's approval queue if the user asks about their approvals, however notifications will be disabled. Setting this configuration at the "Approval Settings" layer, will apply to ALL approvals for that connector/system. If you need to modify filters based on the type of approval, you will need to do so under Enterprise Approvals > Advanced Settings.
This also controls completely enabling or disabling approval notification sent to the users by using TRUE or FALSE as the value.
If you do not need to add any filters based on the system, it is recommended to set this to TRUE.
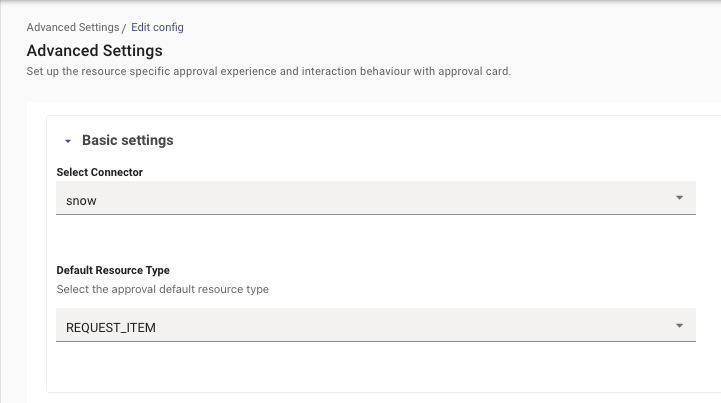
8. Advanced Settings: Select your Connector
Select the connector where your approval Resource Type exists:
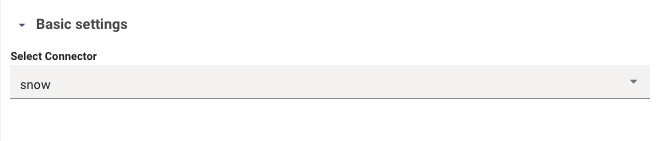
Note: This field can be left empty at the Advanced layer and the configuration defined here will apply to all Approval systems irrespective of the Connector, which is why one is not set.
9. Advanced Settings: Configure Default Resource Type
This is where you select the resource type that you want to create the configuration for e.g: REQUEST_ITEM.
✅ You are now complete!
The rest of the configurations under Advanced Settings are the same configurations as approval settings and are only required if you need to configure separate behavior per Approval Resource Type. For other common customizations, please leverage the "Approvals How to Guide".
Updated 17 days ago