Build a Change Account Owner HTTP Action
Let’s walk through a tutorial on building an action with Salesforce. In this case we will build the “Change Account Owner” action.
-
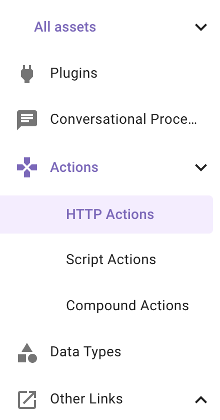
Once in Agent Studio, navigate to “HTTP Actions”
-
On the top right, click the “CREATE” button

-
Since we are using a shared Salesforce Sandbox instance, the connector has already been set up for you. Choose “Inherit from existing connector” and select “salesforce_developer_labs”.

-
After choosing this connector, you can see the Base URL is already populated for you as “[https://moveworks--devlabs.sandbox.my.salesforce.com ”. We are going to be using the Objects API in Salesforce in order to update the account. The path for this is /services/data/v59.0/sobjects/Account/{{account_id}}. Also note that this is a PATCH method, so change the GET in the dropdown to PATCH as seen below.

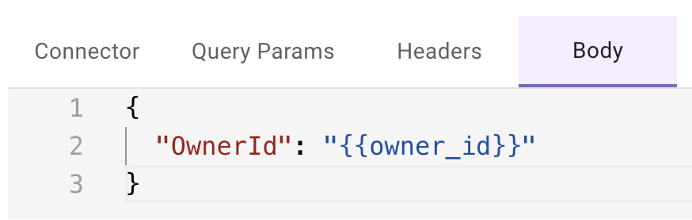
Since this is a PATCH, we won’t need any Headers or Query Params, however we do need a Body. Navigate to the Body tab and paste in the following JSON
{
 "OwnerId": "{{owner_id}}"
}
-
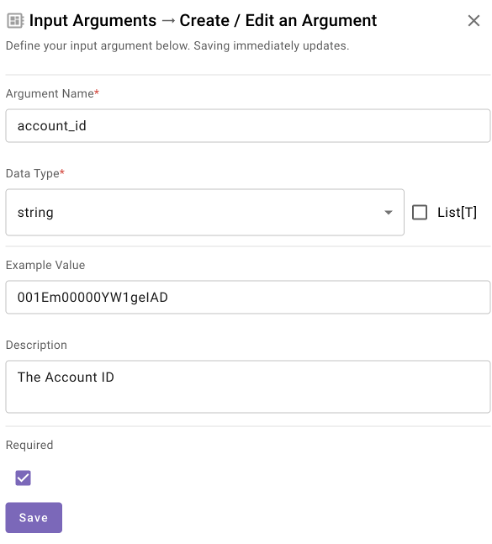
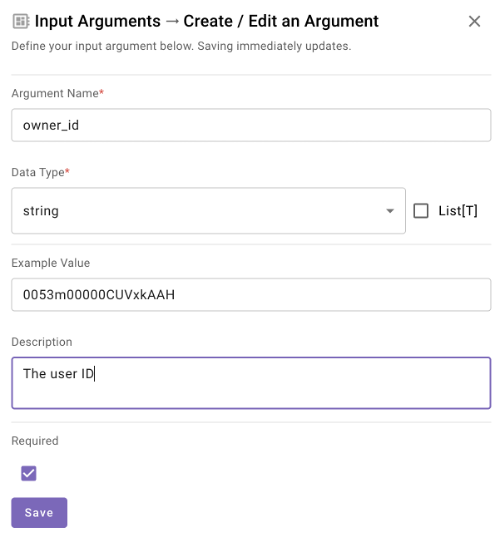
Now if you click on Input Args, the Action has determined we need 2 inputs, the account_id and the owner_id.

-
In order to find example values for each, you can navigate back to your other HTTP Actions to retrieve these values. Click on the “Home” tab.

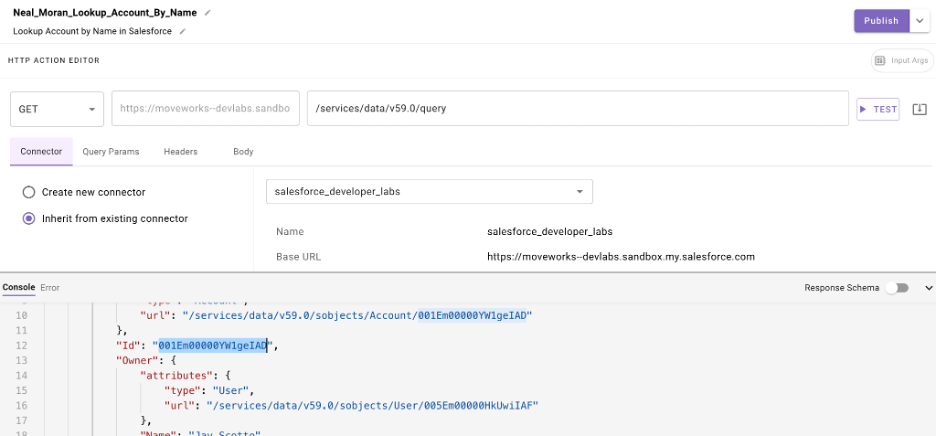
Go back to your HTTP Actions and find the corresponding one for each action - “firstname_lastname_Lookup_Account_By_Name” and “firstname_lastname_Get_Salesforce_User_By_Full_Name”
NOTE: When you open these, notice that the tabs remain open on the top pane so that you don’t have to leave the current page.You can get the relevant IDs by testing out the API. See the two examples below. In my case its:
User ID: 0053m00000CUVxkAAH Account ID: 001Em00000YW1geIAD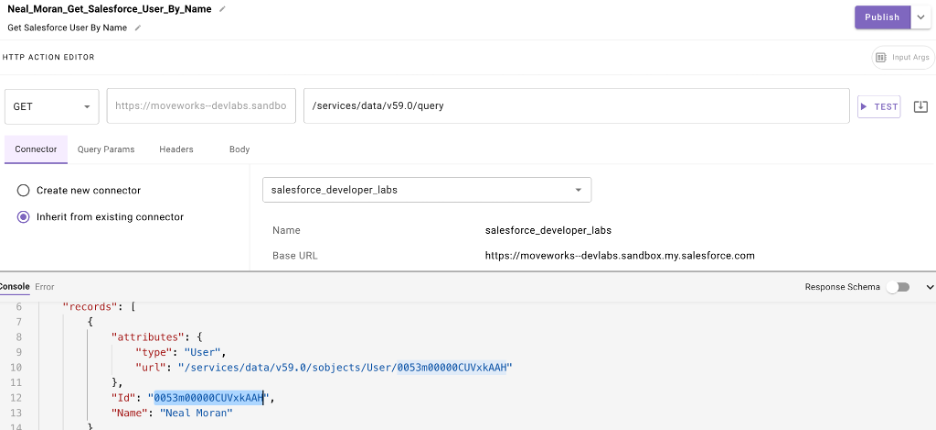
-
Now you can use these example values for each Input Arg as seen below.
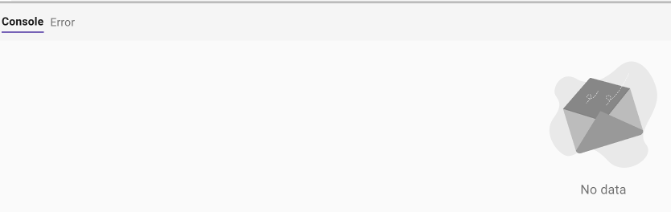
- Click the Test button - the returned data will actually be “No Data” which is expected. This API call, when successful, returns a 201 - No Data - meaning it succeeded and there is nothing more to relay.
- Now we must name our HTTP Action. At the top, select the title bar to name your HTTP Action (see the note below before doing so). Your description can be anything that describes the Action such as “Update the owner of an account in Salesforce”
IMPORTANT: Ensure you name the action in this format ”firstname_lastname_update_salesforce_account_owner”. This will ensure you know you are using YOUR action since there are many people at once doing the same exercise in this environment.

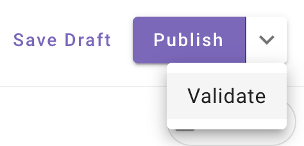
On the top right, click the dropdown and choose “Validate”. This will ensure everything is correct before publishing. If everything checks out, choose “Publish”.
You should see the following upon success.
Updated 7 months ago