
Quickstart #5: Notification Ambient Agent
Limited Preview: Webhook Triggers & Listener
Webhook Triggers and the Webhook Listener are currently in Limited Preview and may change without notice. Access is invite-only. Self-nomination form is here. Production use is approved but may be subject to interruptions or breaking changes.
What You'll Build
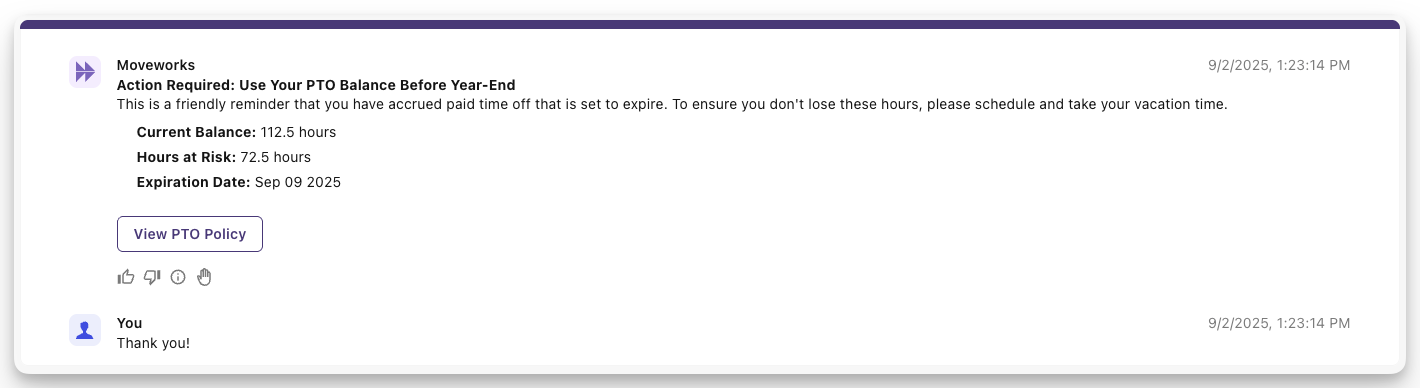
You’ll create an Ambient Agent that receives a webhook (e.g., from HR system), finds the right user by email, generates a smart notification, and sends it directly in chat.
The plugin you will build solves a common, practical problem: notifying users about specific updates or action items.
Before starting to build, we always recommend that you first map out the desired end user experience and the overall building blocks of an Ambient Agent.
Here is an example of the end-user experience we hope to enable:
Learning Objectives
- Build a Listener to receive webhooks
- Create a Compound Action to process payload → message
- Wire everything in a Plugin
- Test your webhooks using our Purple Suite tool.
Architecture Overview
To get to this experience, the Ambient Agent will consist of one Compound Action and two input arguments: the user's email and the payload of the webhook.
graph TD
    A[Webhook Trigger] --> B[Listener]
    B --> D

    subgraph compound [Send User Notification Compound Action]
        D[Action: mw.get_user_by_email]
        E[Action: mw.generate_text_action]
        F[Action: Notify]
        D --> E --> F
    end

    subgraph inputs [Inputs]
        G[payload]
        H[user_email]
    end

    style A fill:#ff9999,stroke:#333
    style B fill:#99ccff,stroke:#333
    style compound fill:#ccffcc,stroke:#333
    style D fill:#99ccff,stroke:#333
    style E fill:#99ccff,stroke:#333
    style F fill:#99ccff,stroke:#333
    style G fill:#ffff99,stroke:#333
    style H fill:#ffff99,stroke:#333

    classDef input fill:#ffff99,stroke:#333
    class G,H input
Let's get started!
Plan Your Data Flow
Let's map the data journey to understand how the data travels from the external systems to the user's chat.
1. Expected sample payload from external system
{ "email": "[email protected]", "data": { "title": "PTO Expiring", ... } }2. Listener -> parsed_body
parsed_bodyWhen the Listener receives the request:
| Step | What Happens | Result |
|---|---|---|
| 1 | Listener validates the payload | - |
| 2 | The entire payload is automatically parsed | variable parsed_body (object) |
| 3 | parsed_body becomes available inside the Plugin | - |
// The plugin will have access to the following:
{
  "parsed_body": {
    "email": "[email protected]",
    "data": { "title": "PTO Expiring", "val": "..." }
  },
  "raw_body": "...",
  "headers": {},
  "query_params": {},
}
3. Plugin Input Mapping → Compound Action Arguments
In the Plugin editor you map fields from parsed_body to the input arguments of your Compound Action:
user_email: parsed_body.email
payload:    parsed_body.data
4. Compound Action runs the logic
Your Compound Action receives:
data.user_email  → string   (e.g. "[email protected]")
data.payload     → object   (the whole `data` block)
It then:
mw.get_user_by_email→ resolves to a user IDmw.generate_text_action→ turnspayloadinto a polished messagenotify→ sends the message to that user ID
Now you know exactly where every piece of data lives.
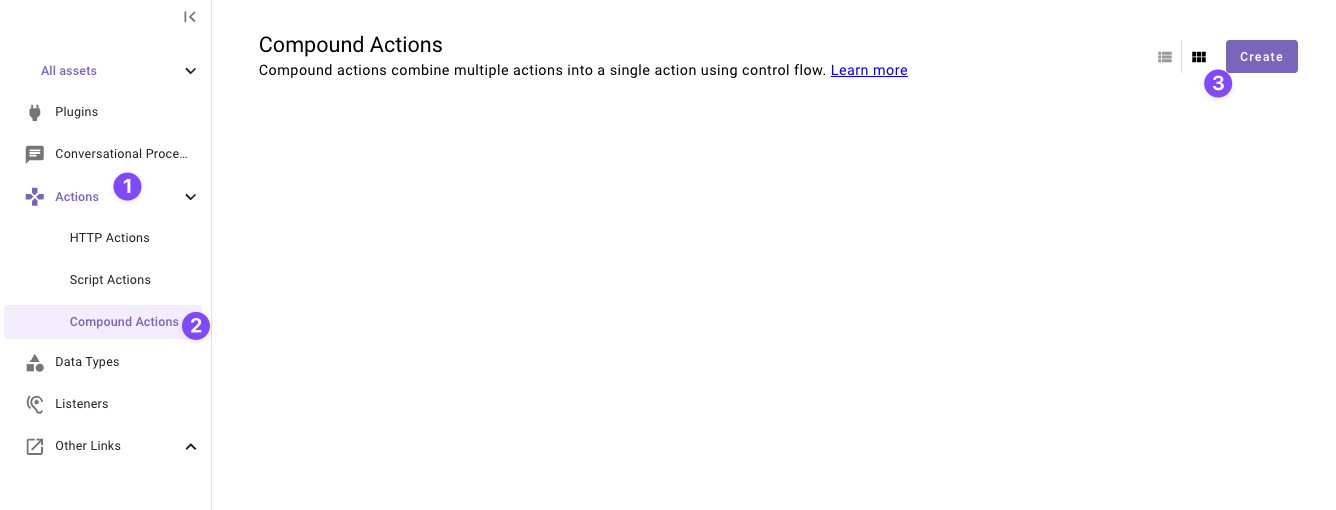
Phase 1: Create Your Compound Action
You will now create a compound action to handle the incoming webhook routed by the listener.
In this phase you will build a compound action with 1) user_email and payload input arguments, and 2) two actions to resolve the user by email and then notify them with the message. Here's a reminder of the bird's-eye view for our Compound Action
graph TD
    subgraph compound [Send User Notification Compound Action]
        D[Action: mw.get_user_by_email]
        E[Action: mw.generate_text_action]
        F[Action: Notify]
        D --> E --> F
    end

    subgraph inputs [Inputs]
        G[payload]
        H[user_email]
    end

    style compound fill:#ccffcc,stroke:#333
    style D fill:#99ccff,stroke:#333
    style E fill:#99ccff,stroke:#333
    style F fill:#99ccff,stroke:#333
    style G fill:#ffff99,stroke:#333
    style H fill:#ffff99,stroke:#333

    classDef input fill:#ffff99,stroke:#333
    class G,H input
-
Navigate to a new “Compound Action” in the left nav and then click “Create”.
-
Set the following title and description for your Compound Action (be sure to replace "first" and "last" with your corresponding information).
Field Value Title quickstart_first_last_message_notification_caDescription Sends a message to a user -
Copy the following expression into the Compound Action Editor
steps: - action: output_key: target_user action_name: mw.get_user_by_email input_args: user_email: data.user_email - action: output_key: generate_text_action_result action_name: mw.generate_text_action progress_updates: on_complete: ON_COMPLETE_MESSAGE on_pending: ON_PENDING_MESSAGE input_args: system_prompt: '''Based on the provided user message, provide an actionable alert and formatted message for the user''' user_input: RENDER(): template: "{{webhook_data}}" args: webhook_data: $STRINGIFY_JSON(data.payload) - notify: output_key: notification_output recipient_id: data.target_user.user.id message: data.generate_text_action_result.generated_outputUnderstanding the Compound Action
This Compound Action executes three actions in sequence, with the output of one step feeding into the next:
mw.get_user_by_email(Built-in Action)- Purpose: To identify the notification recipient.
- Process: It takes a user's email address (from the webhook) as its input and retrieves that user's unique Moveworks profile ID.
mw.generate_text_action(Built-in Action)- Purpose: To create a polished message for the user.
- Process: This action uses an LLM to interpret the raw data in the webhook payload and generate a structured, readable message.
notify(Compound Action Expression)- Purpose: To send the final notification.
- Process: This action takes two inputs from the previous steps:
- Recipient ID: It uses the user ID that was retrieved by the
mw.get_user_by_emailaction. - Message: It uses the formatted text that was generated by the
mw.generate_text_actionaction.
- Recipient ID: It uses the user ID that was retrieved by the
-
Define two formal input arguments to represent the
user_emailandpayloadinputs that this Compound Action Requires-
Click on the "Input Args" button near the top right corner

-
Click "Create New" in the "Input Arguments" pop up.
-
Fill out the following details for your
user_emailargument:Field label Value to enter/select Argument Name user_emailData Type Select "string" Example Value Leave this field empty Description The email of the user that will be notifiedRequired Check the box -
Hit "Save"
-
Click "Create New" again to the "Input Arguments" pop up.
-
Fill out the following details for your
payloadargument:Field label Value to enter/select Argument Name payloadData Type Select "object" Example Value Leave this field empty Description The payload of the webhook sent from an external systemRequired Check the box Known Issue: The Example Value field is optional but currently if left empty, you may see a red validation message (“Must be a valid object”) and a warning icon next to the argument name after saving. This is a known issue (currently expected behavior) and will not block publishing — you can safely ignore it.
-
Hit "Save" and hit the "X" icon to close this "Input Arguments" pop up.
-
-
Click "Publish"
All done with Actions!You're ready to move on — time to create your Listener to start listening to webhooks.
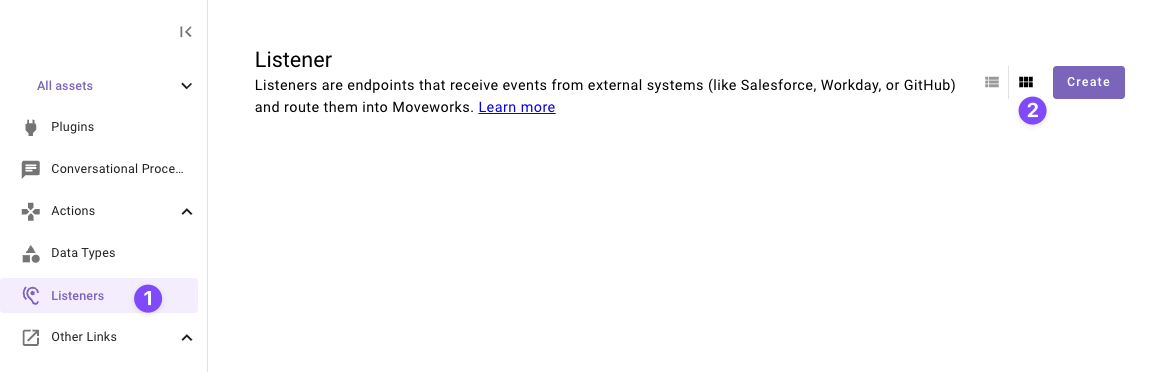
Phase 2: Set Up Your Webhook Listener
-
Navigate to a new Listener.
-
Click "Create".
-
Set the following Title and Description for your listener (be sure to replace firstand lastn with your corresponding information).

Field Value to enter (replace "first" & "last" with your info) Title quickstart_first_last_notification_listenerDescription Listens for simple notifications -
Click "Copy URL" and paste the webhook URL somewhere you can get back to it quick, we will need it in future steps.
-
Click "Publish" to save your listener.
-
When prompted with a confirmation message about security, click "Publish Anyway" to proceed.

Note: Unsecured listeners are intended for testing only. For production environments, always enable signature verification to secure your webhook listener.
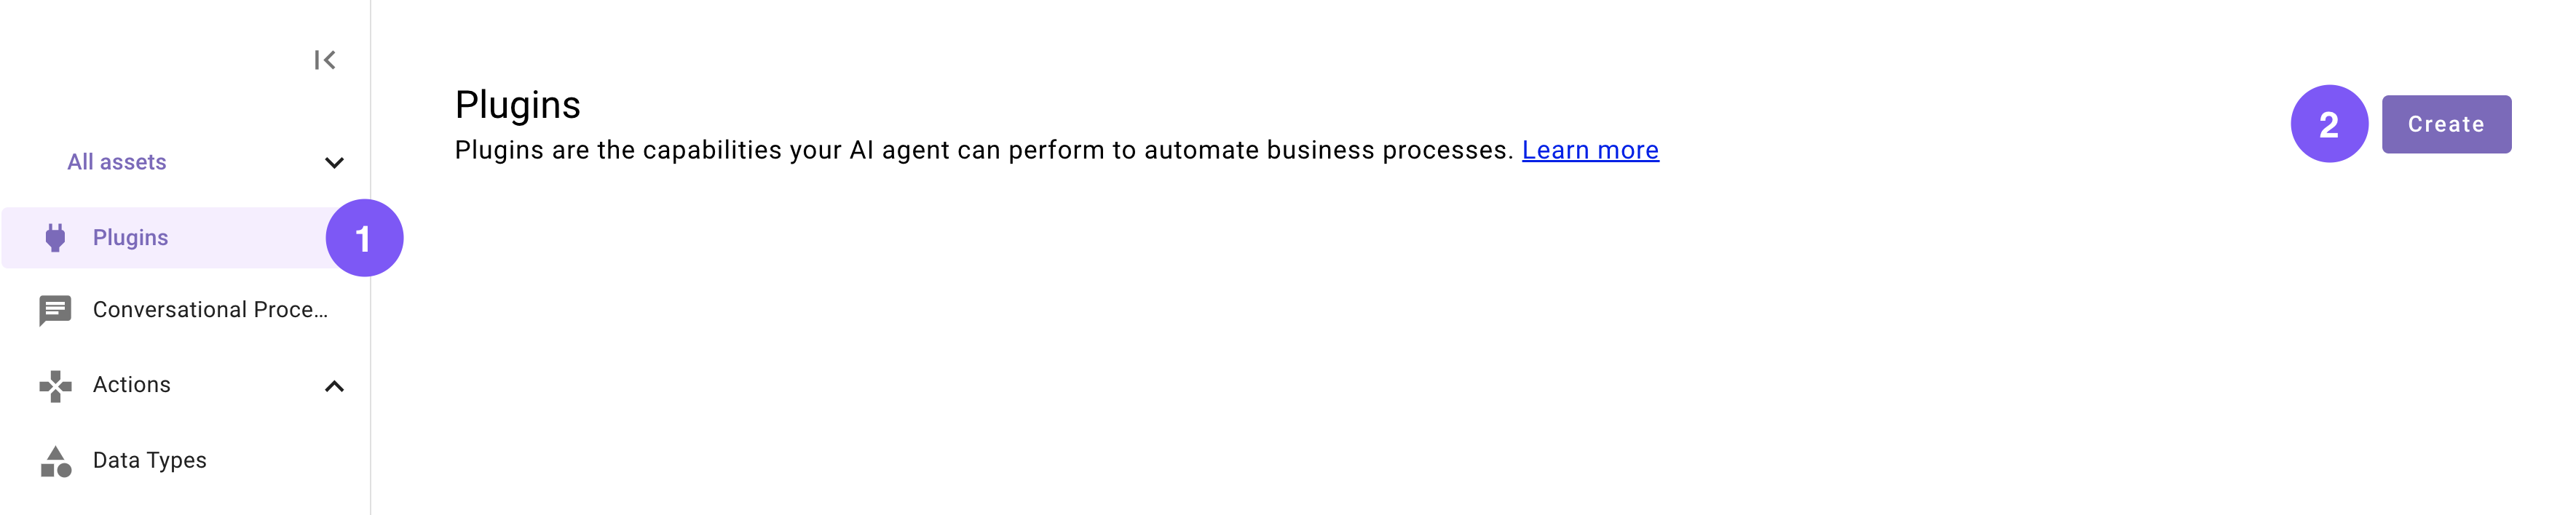
Phase 3: Configure and Launch Your Plugin
This section guides you through adding your Listener and Compound Action to a Plugin. A key step will be configuring the data flow, where you'll specify exactly which fields from the webhook you want to forward to your action.
-
Navigate to a new Plugin (navigate to the library and click "Create").
-
Set the following title and description for your Plugin (be sure to replace "first" and "last" with your corresponding information).
Field Value to enter Title quickstart_first_last_message_notificationDescription Sends a message to a user based on a webhook with an email and payload. -
In the “Workflow Overview” section click “System” in the Trigger box.

-
Configure your system trigger to connect your Listener in the slide-out pop up with:
Field Label Value to enter/select Select Trigger Type WebhookSelect Listener quickstart_first_last_notification_listener(Select yours)Event Filter Leave this field empty -
Click on the "Body" in the "Workflow Overview
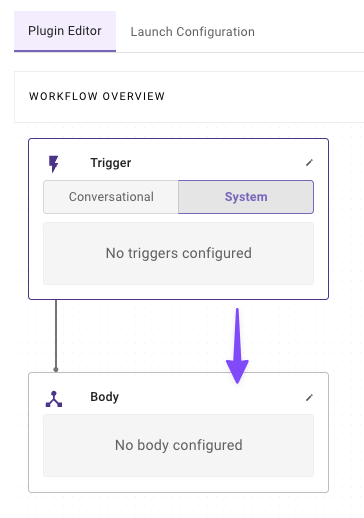
-
Configure your system body to connect your compound action to the plugin
Field label
Value to enter/select
Select Type
System bodySelect an Action
quickstart_first_last_message_notification_ca(Select yours)Input mapping
user_email: parsed_body.emailpayload: parsed_body.data
Understanding the Input Mapping
When the listener receives a webhook, we expect a JSON payload structured like this:
{
  "createdAt": "2025-09-02T18:10:28Z",
  "data": {
    "actions": [
      {
        "text": "View PTO Policy",
        "url": "https://internal-hr.example.com/policies/pto-2025"
      }
    ],
    "alert_code": "PTO-EXP-WARN-90",
    "details": {
      "accrual_policy": "use-it-or-lose-it",
      "current_balance_hours": 112.5,
      "hours_at_risk": 72.5,
      "policy_id": "pol_hr_pto_standard_2025"
    },
    "last_date": "Tue Sep 09 2025",
    "message": "This is a friendly reminder that you have accrued paid time off that is set to expire. To ensure you don't lose these hours, please schedule and take your vacation time.",
    "object": "alert",
    "priority": "medium",
    "title": "Action Required: Use Your PTO Balance Before Year-End"
  },
  "email": "[email protected]",
  "eventId": "evt_alert_2b3c4d5e6f7G8h9I0jK",
  "eventType": "alert.pto_expiration_warning"
}
The listener automatically parses this JSON payload into a
parsed_bodyobject. To access the data you need, you simply use dot notation to reference the keys:parsed_body.emailparsed_body.data
This method gives you the flexibility to extract only the specific data your compound action requires, even if the webhook sends a much larger payload.
Note: While this mapping is currently a manual process, we are developing an "Auto Configure" feature to streamline this setup in the future.
-
-
Click "Publish" to launch your Plugin.
And just like that — you've finished building your Plugin, and now it's ready to use!Congrats! You are now ready to test your plugin. In the next section, you will provided with required tools to help you test it.
Phase 4: Testing
This section guides you through the Moveworks Purple API tool to help you test your plugin by sending webhooks to your listener.
-
Go the Moveworks Purple API Tool
-
Click "Create New Session ID"
-
Click on the "Webhooks" Tab

-
Configure the field values with your listener information
Field Value to enter Webhook URL Enter the Webhook URL you created in Phase 1 API Key Leave empty -
Select the "Simple Notification" tab and click on "Generate Webhook Payload"
-
A payload will be generated for your upcoming webhook
{ "createdAt": "2025-09-02T18:10:28Z", "data": { "actions": [ { "text": "View PTO Policy", "url": "https://internal-hr.example.com/policies/pto-2025" } ], "alert_code": "PTO-EXP-WARN-90", "details": { "accrual_policy": "use-it-or-lose-it", "current_balance_hours": 112.5, "hours_at_risk": 72.5, "policy_id": "pol_hr_pto_standard_2025" }, "last_date": "Tue Sep 09 2025", "message": "This is a friendly reminder that you have accrued paid time off that is set to expire. To ensure you don't lose these hours, please schedule and take your vacation time.", "object": "alert", "priority": "medium", "title": "Action Required: Use Your PTO Balance Before Year-End" }, "email": "[email protected]", "eventId": "evt_alert_2b3c4d5e6f7G8h9I0jK", "eventType": "alert.pto_expiration_warning", "sessionId": "C7KOA5KoumkgsTiXDHa4" // This sessionId will be based on your session } -
Change the
dataandemailfields to the corresponding values you would want.
-
-
Click on Trigger Webhook
Success! Check Your NotificationsExcellent work! You have successfully tested your plugin. Check your chat, where you should now see a notification from the AI Assistant containing the message from your webhook payload.
Reflecting on this Plugin
The plugin you just created uses several key Agent Studio concepts, from Webhook Listeners to Compound Actions. You've successfully built a plugin that:
- Listens for webhooks from other apps.
- Grabs only the specific data it needs from the webhook payload.
- Processes that data to find the right user and send them a direct message.
Awesome work sticking with it! Your plugin is now ready to notify users of important messages and updates.
Updated about 1 month ago