
Configure Ticketing for Ivanti (COPY)
Pre-Requisites
- Please ensure the required Ivanti Connector has been created with the necessary permissions to support ticket actions. Please refer the Ivanti Service Manager Access Requirements Doc for details.
- Moveworks will require the following information for Service Request ticketing configuration which this guide will go through:
- Name of the Service Request
- Service Request’s subscriptionId
- Service Request’s parameters
APIs Leveraged
Moveworks leverages the /api/rest/ServiceRequest/new API to create Service Requests.
The /api/odata/businessobject/ServiceReqsAPI is not supported.
Configuration
Step 1: Navigate to Ticketing
Start by navigating to Ticketing > Ticketing Setting > Ticket Mapping where you can create a new mapping for your ITSM system. Start by clicking on Create.
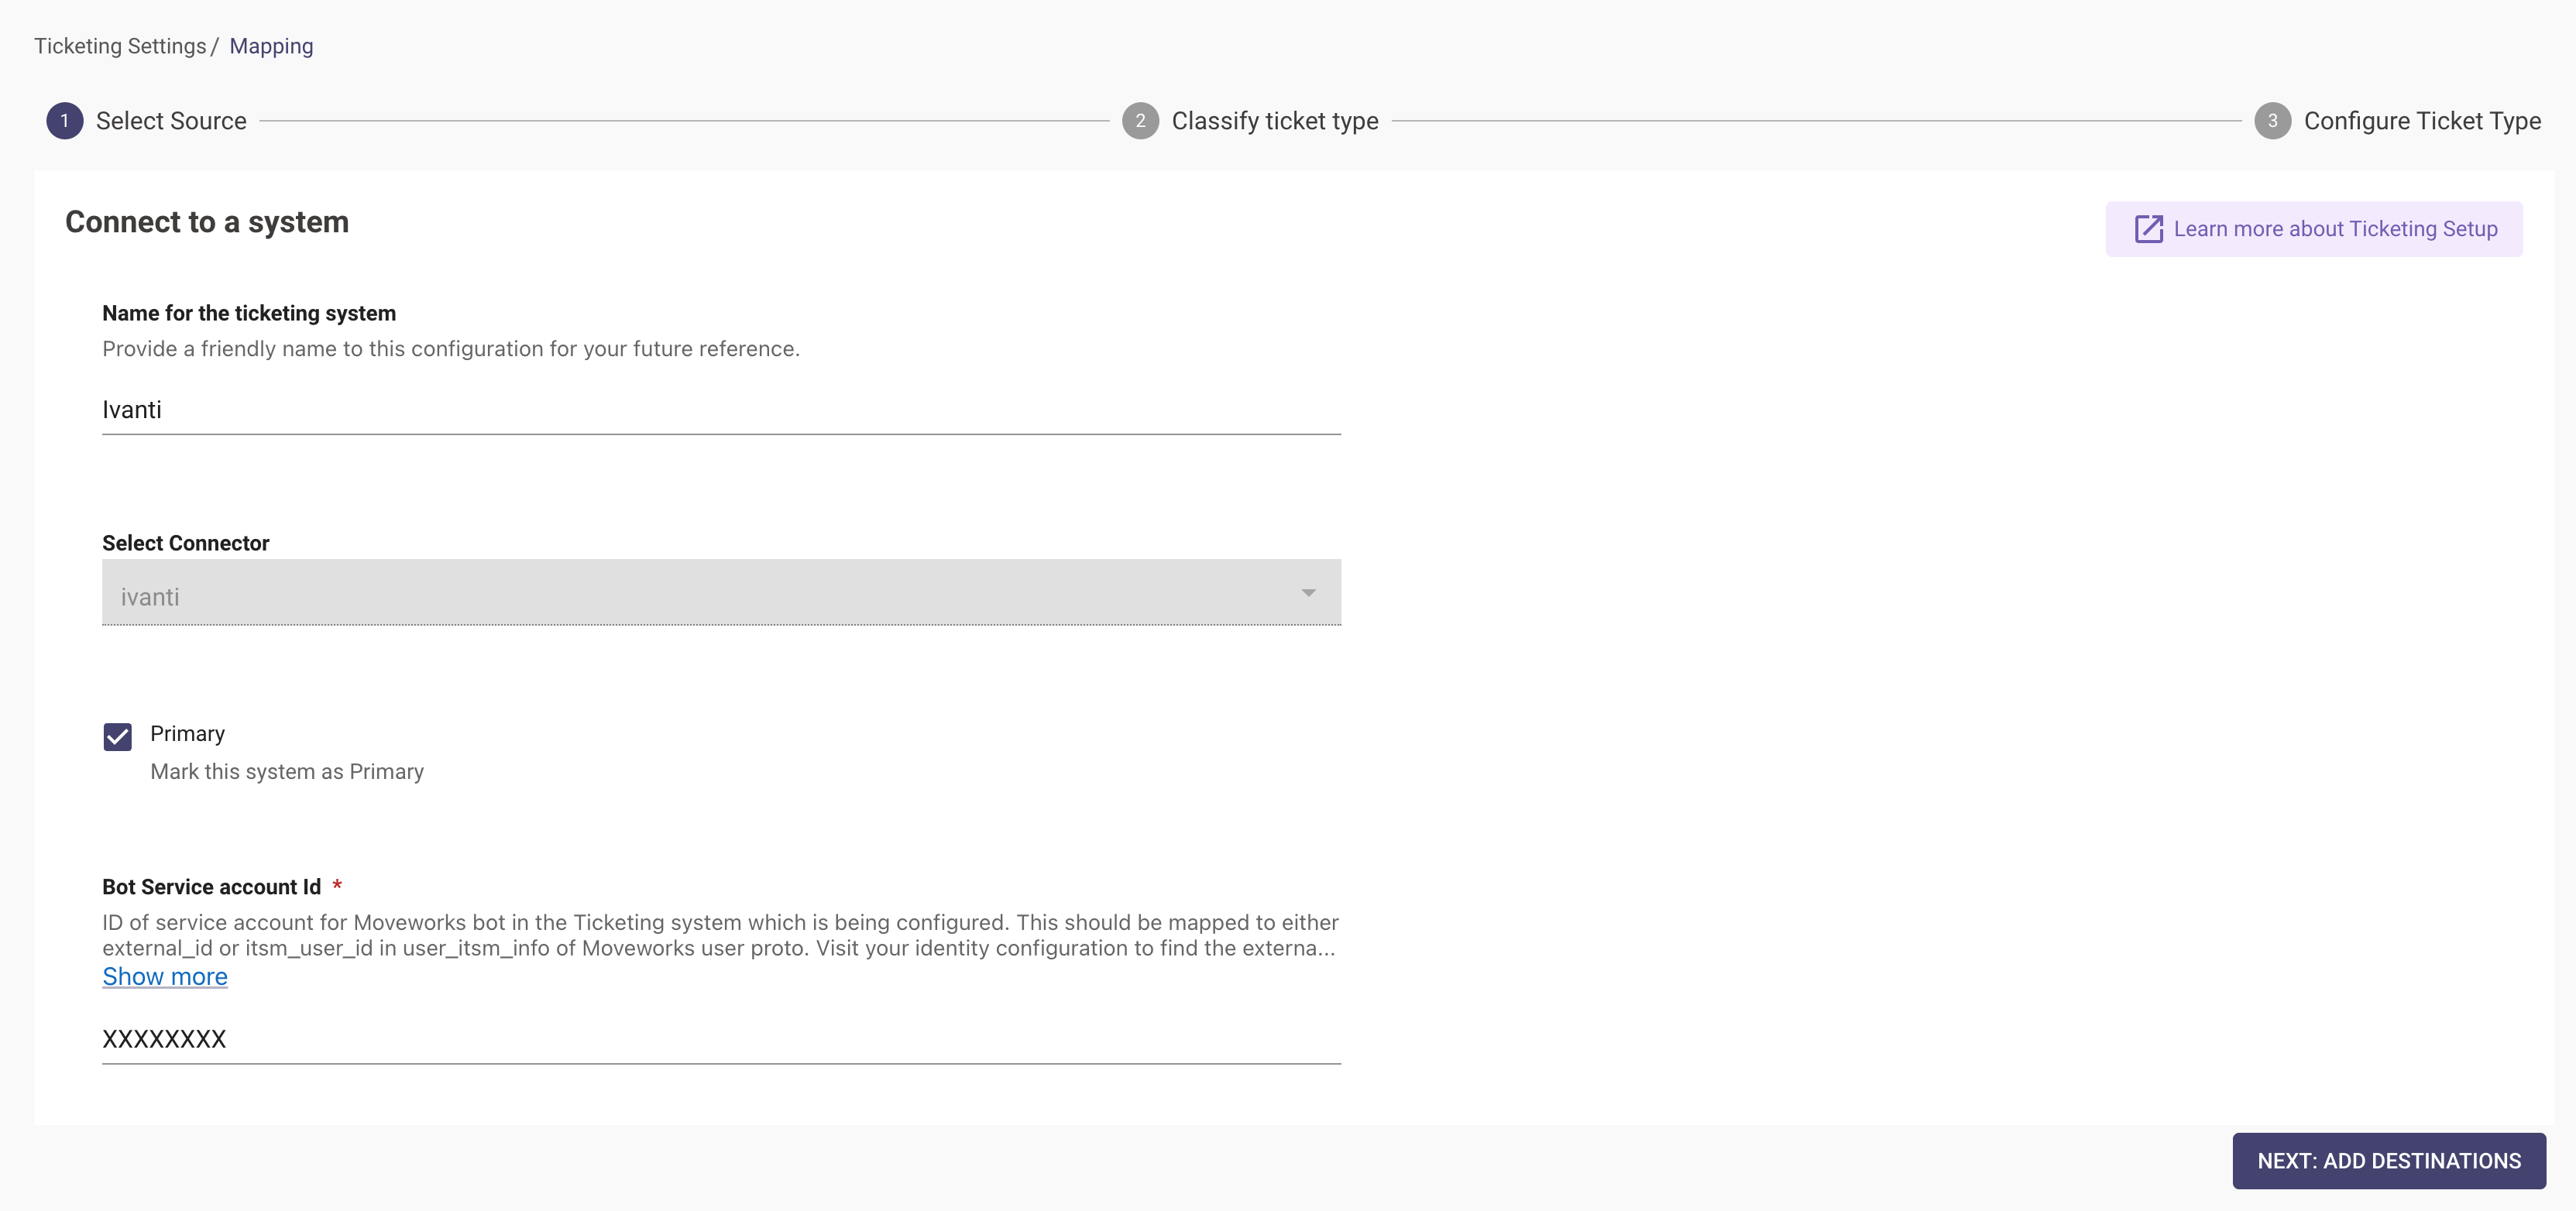
Name for the ticketing system - Please name your ticketing system configuration
Select Connector - Select the connector which was configured by following the steps in the Guide here.
Bot Service account Id - ID of service account for Moveworks bot in the Ticketing system which is being configured.
Step 2: Classify Ticket Type
Define what Ticket Types you want Moveworks to support and the tables which are categorised into the predefined types which are provided by Moveworks.
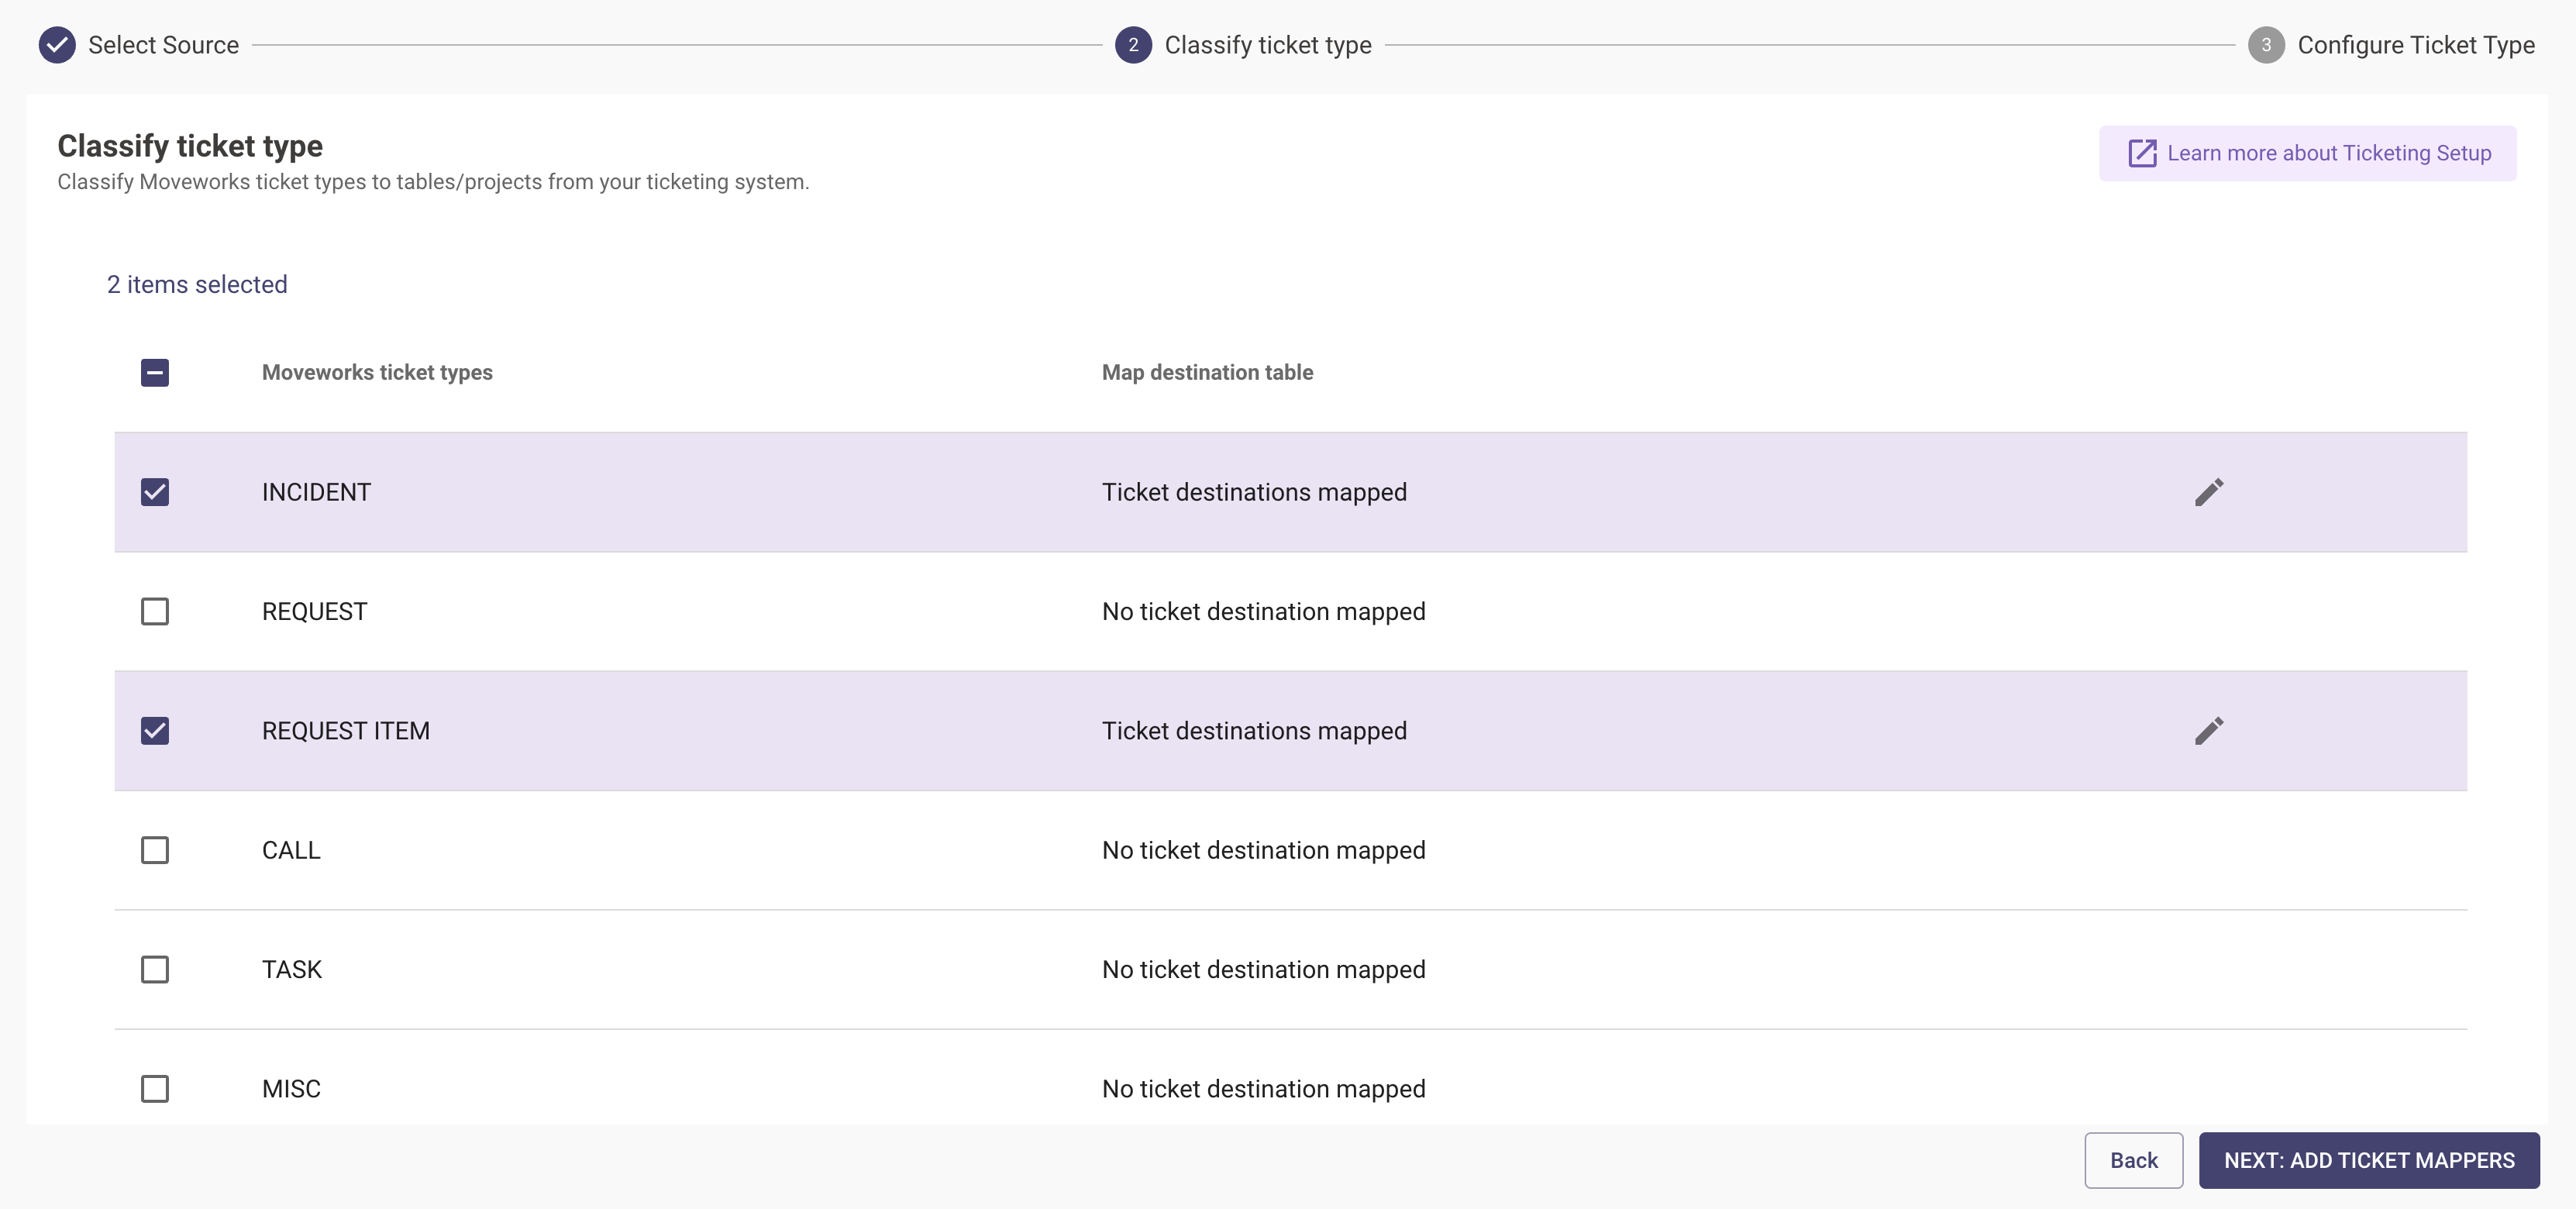
In this scenario we are defining an Incident & Request Time type ticket where we will need to set the Business Object Names.
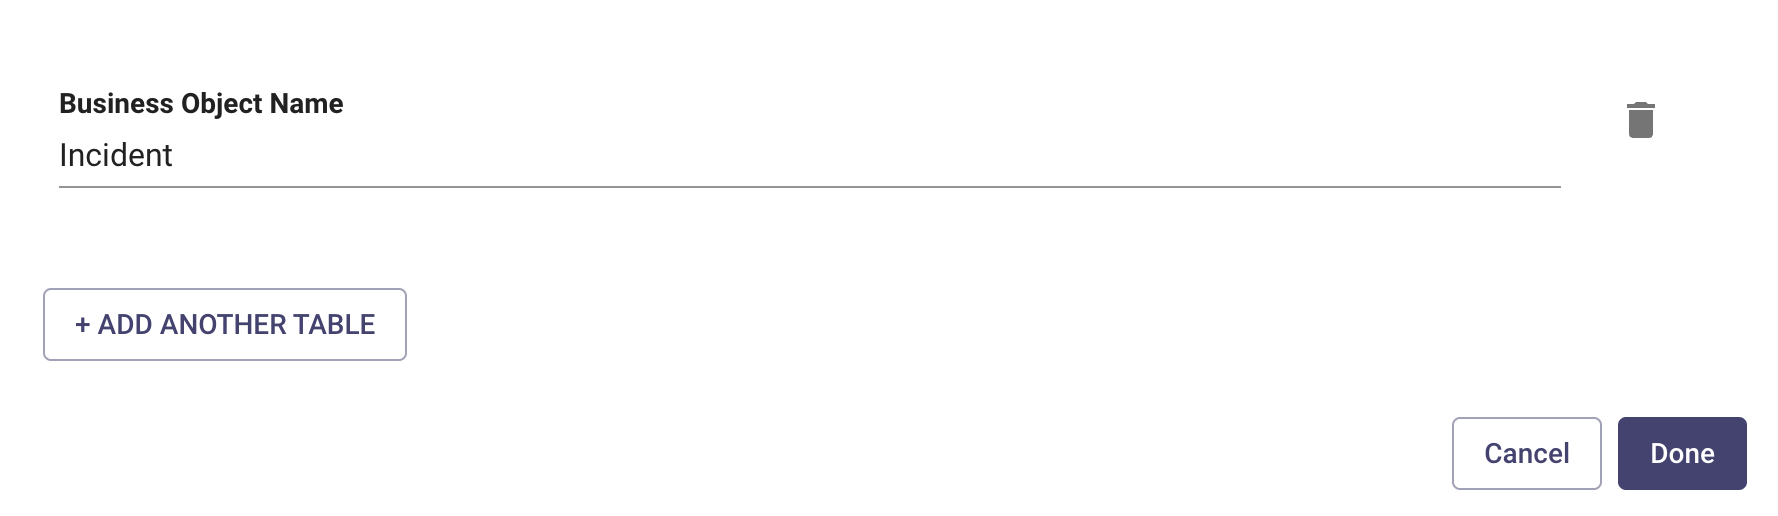
Step 3: Set Business Object Name
For Incidents, set the “Business Object Name” to Incident:
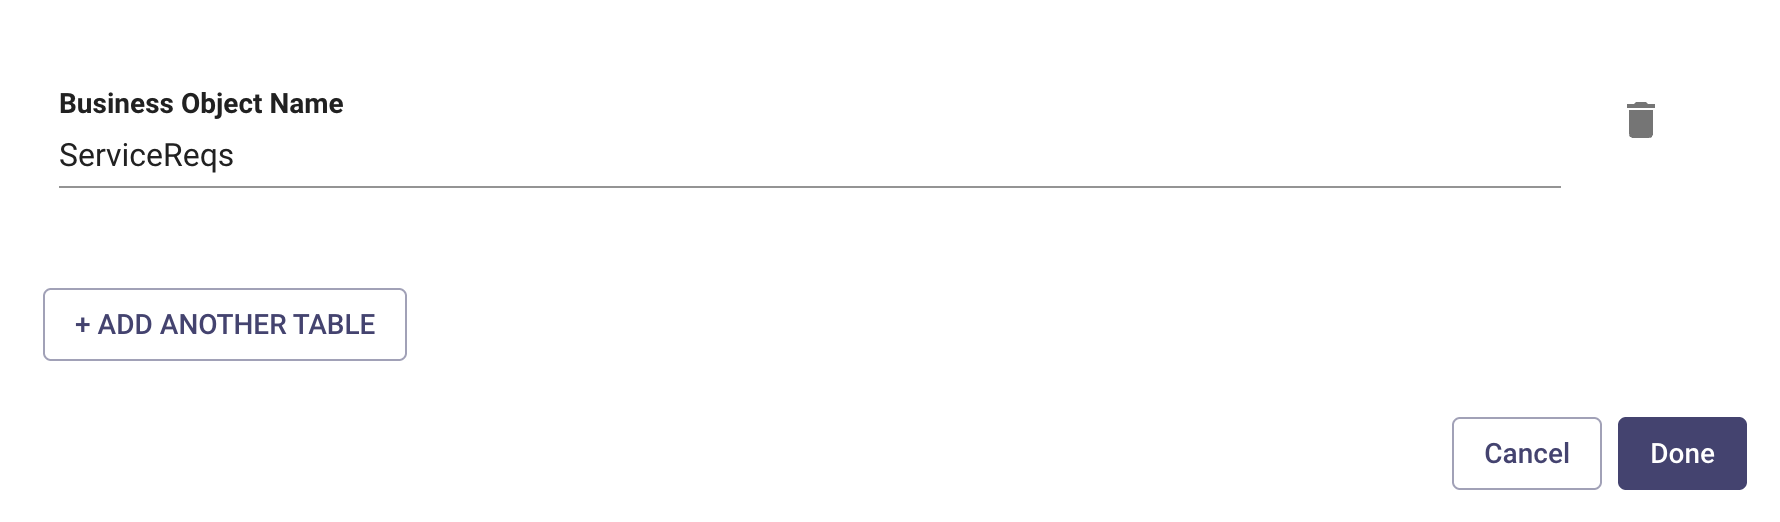
For Request Item (Service Request), set the "Business Object Name" to ServiceReqs:
Step 4: Configure the Map Ticket Structure
In order for Moveworks to poll/query your tickets from the external ITSM system we need to map the structure of the ITSM Ticket payload to the internal Moveworks Attribute Structure which is defined under Ticket Attribute Mapping. Mapping ticket structure allows Moveworks to understand what the ticket data contains.
For example :
- Understanding who the requestor of the ticket is.
- Understanding what the state ticket is currently under.
- Understanding what is the Ticket number.
The below fields need to be defined in order for the Ticketing Mapping to be created.
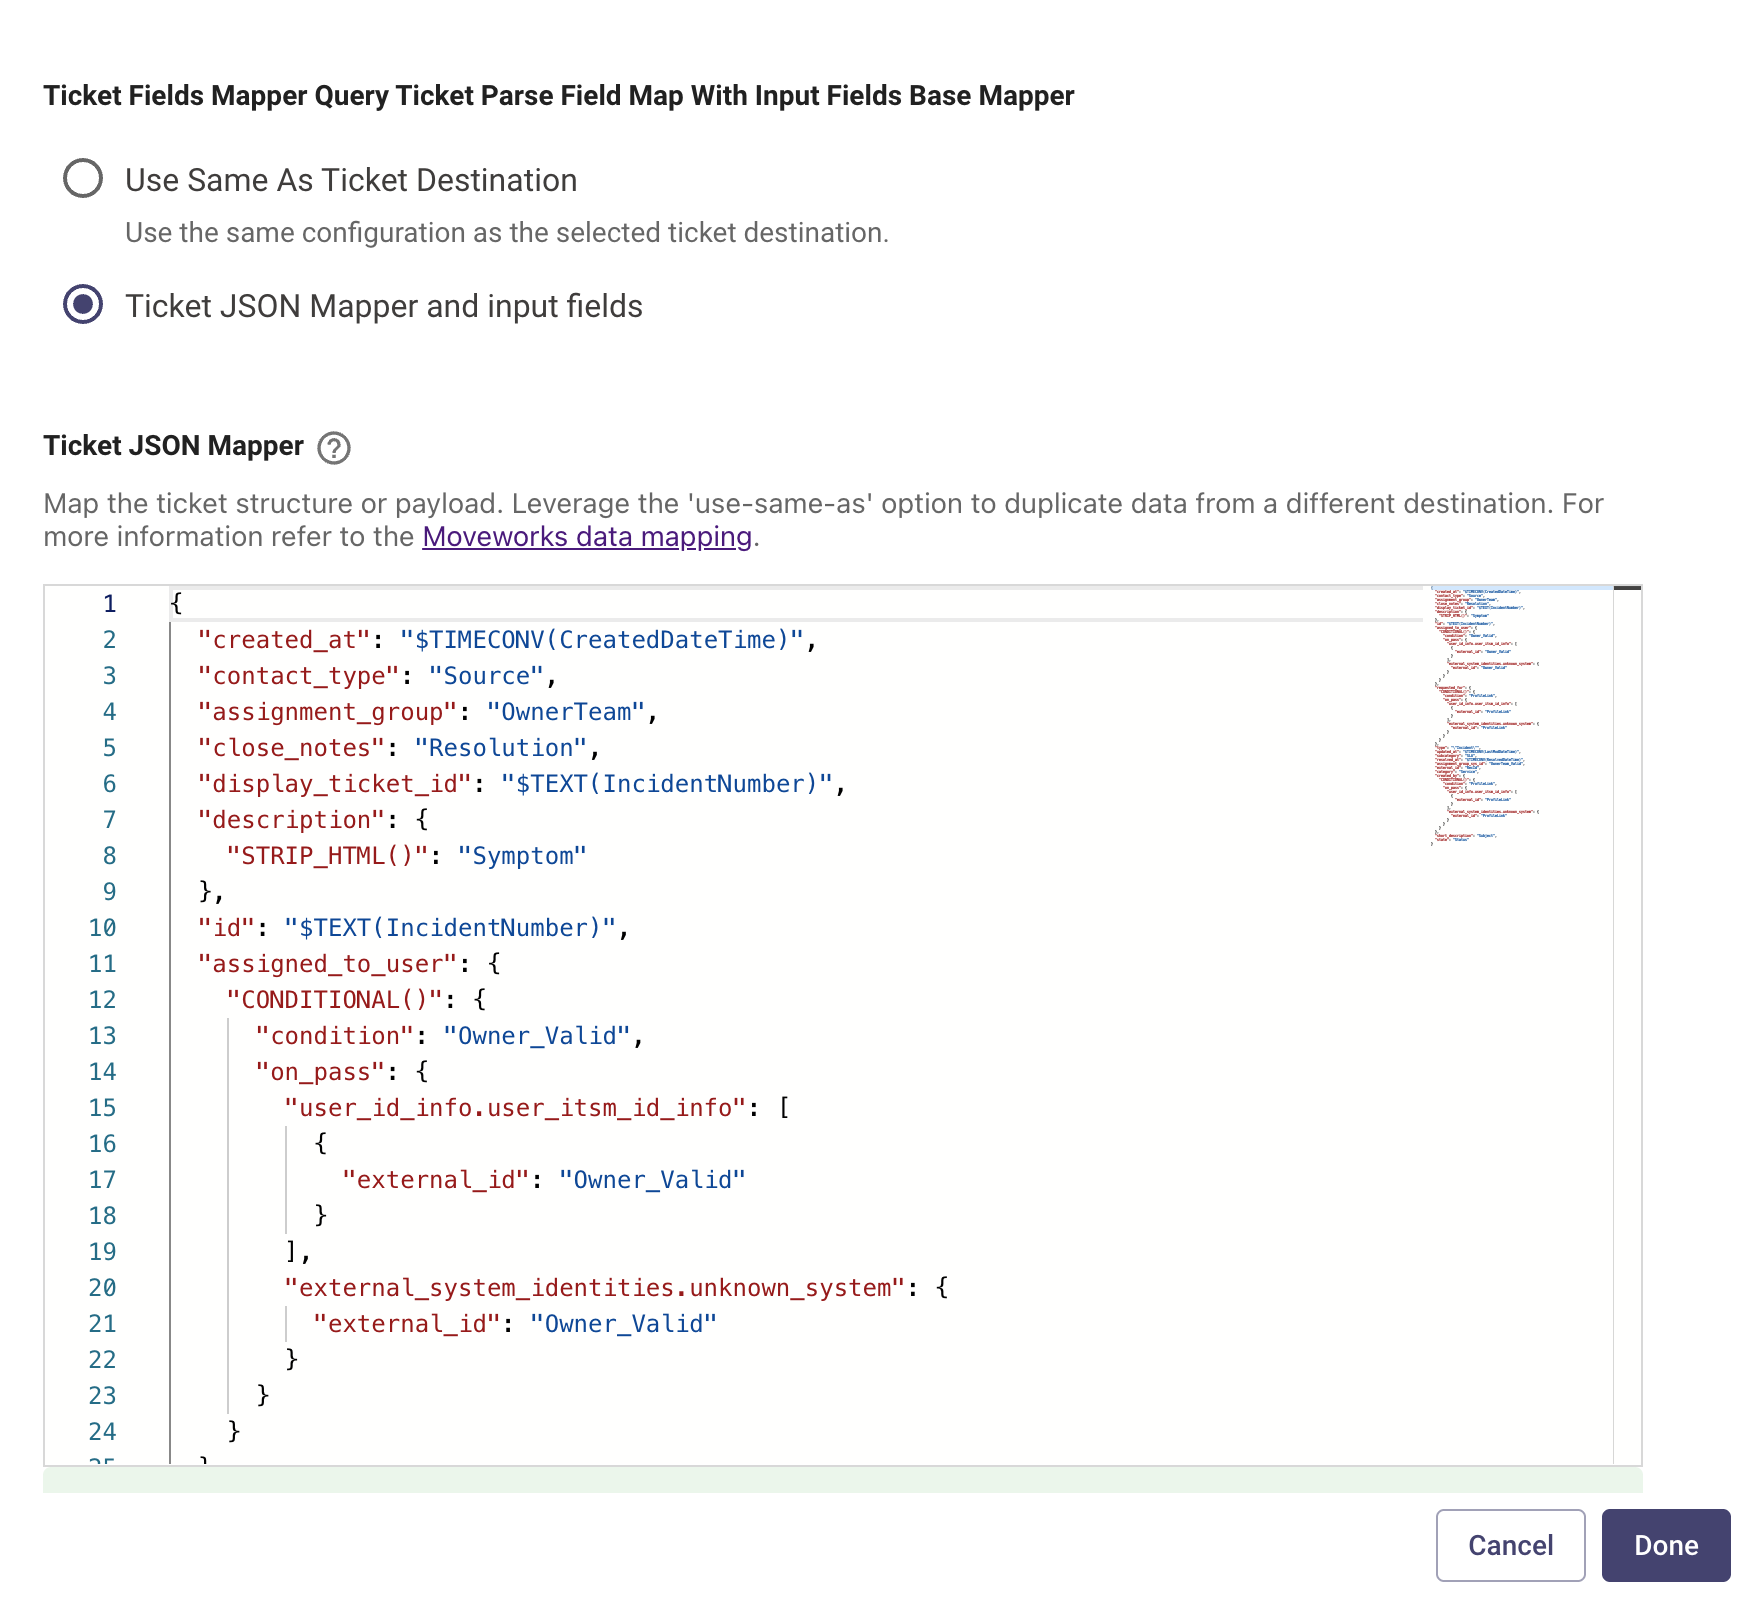
Query Ticket Field Map
-
Use Same as Ticket Destination - This option is selected when there is already a pre-existing ticket type mapper which can be reused.
-
Ticket JSON Mapper and input fields - Map the ticket structure or payload. Leverage the 'use-same-as' option to duplicate data from a different destination. For more information refer to the Moveworks Data Mapping.
- Ticket JSON Mapper - The attributes in red are the Moveworks attributes which are mapped to the External ITSM attributes marked in blue.
Step 5: Configure Ticket State Mapping
This configuration is used for Mapping state transition, which allows Moveworks to understand the ticket workflow in your system. This can be simply done in two states.
- From states - Choose the states from your current system and link them with Moveworks' system. This will help Moveworks identify and understand your system's states
- To states - Choose the state in your current system that you want to match with a state in the new system. This match is important when you’re performing actions in your current (external) system.
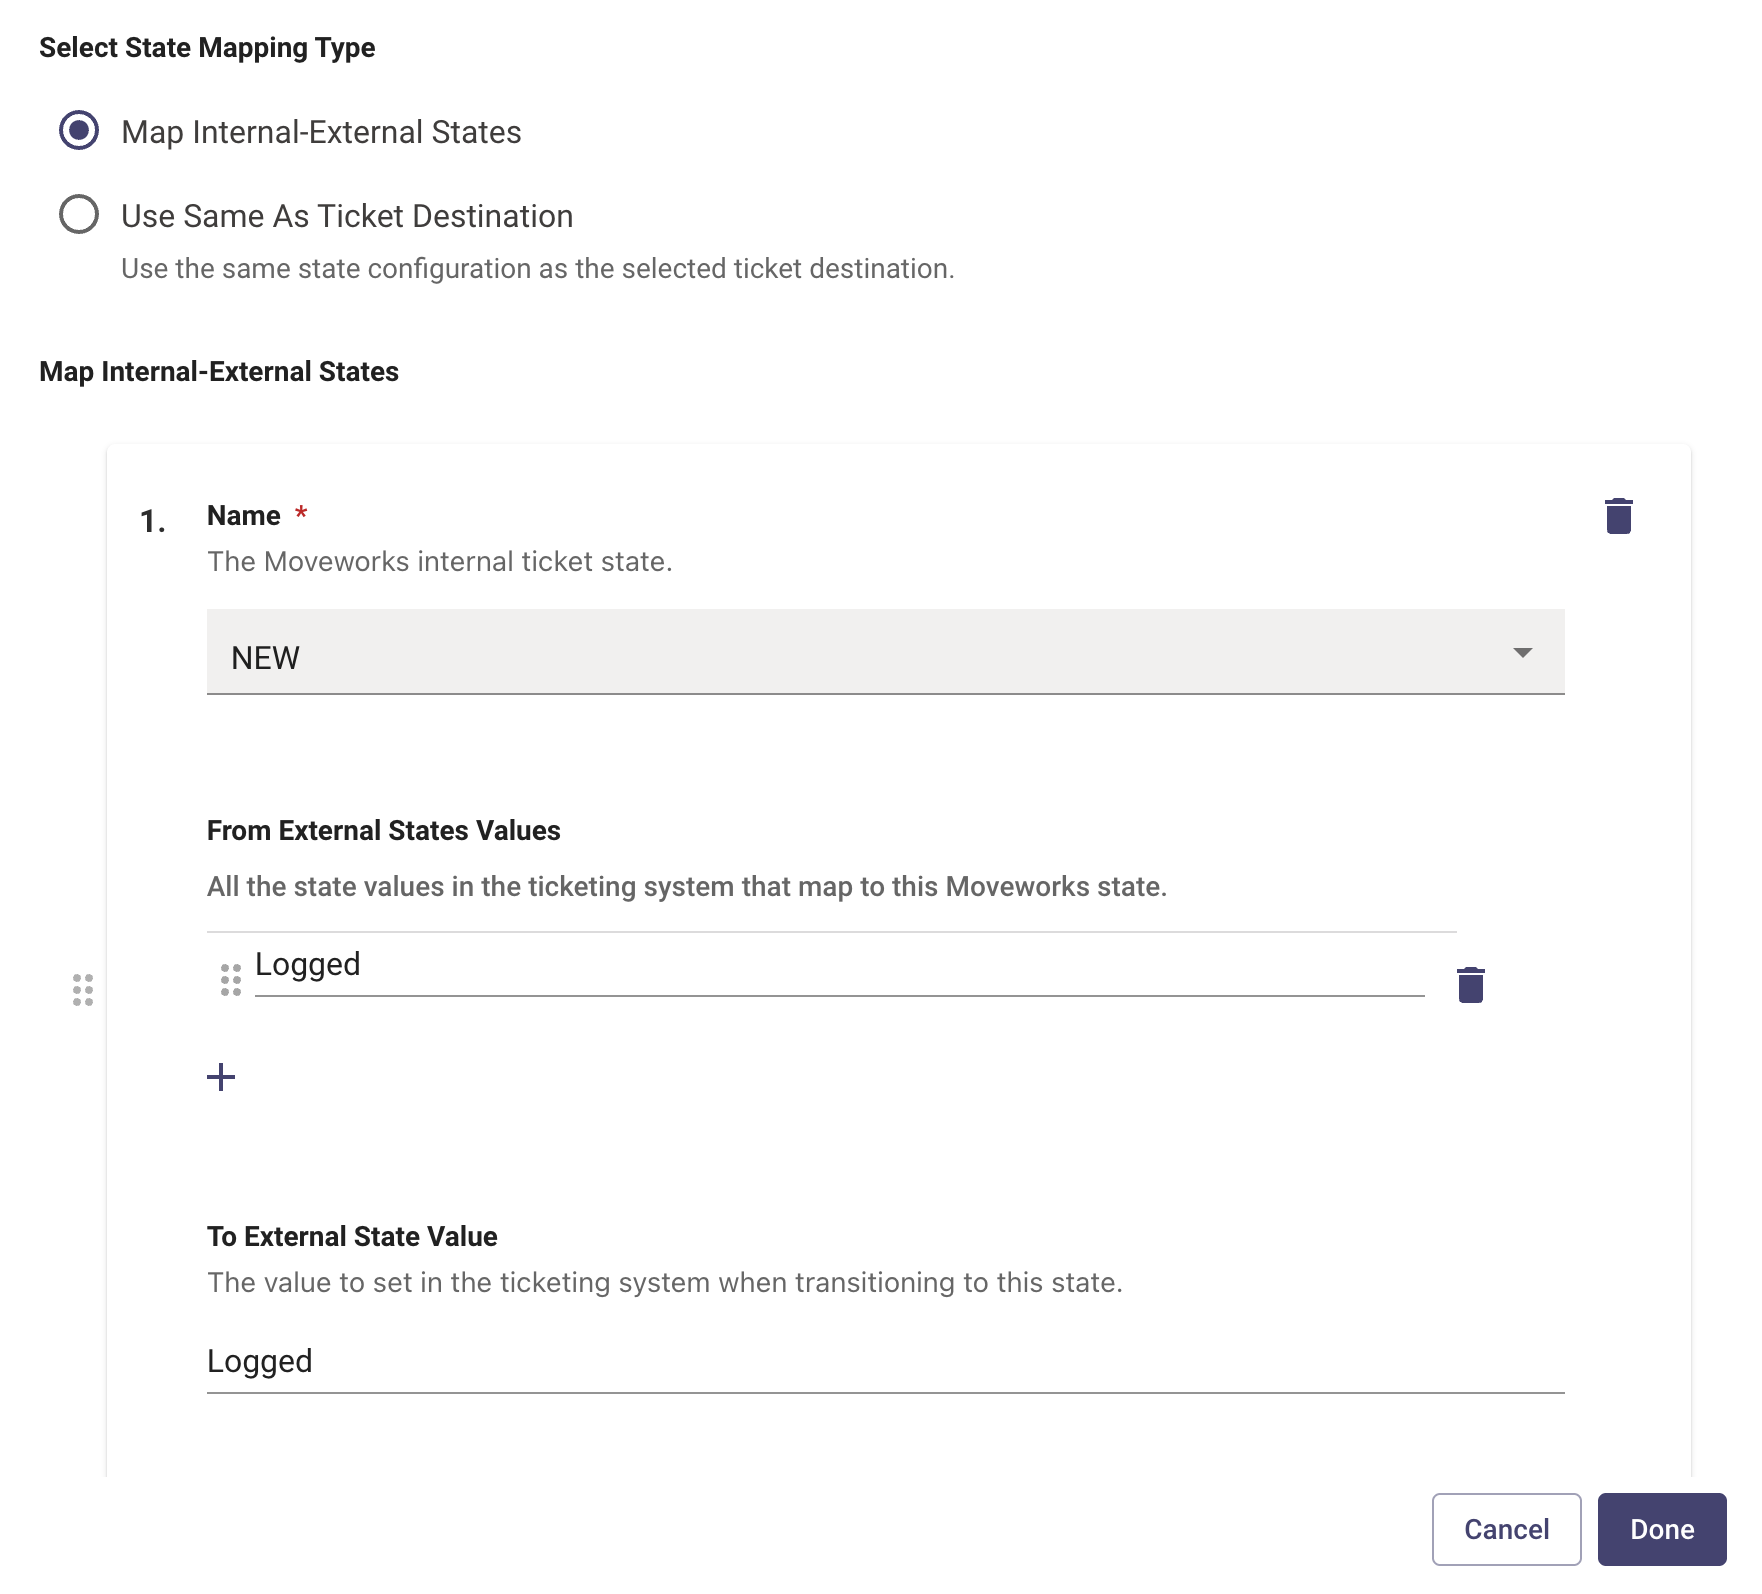
- Name - Pick from a list of internal ticket states which are present on the Moveworks end so these can be mapped back to the Ticket states on the ITSM end.
- From External States Values - These are all the states on the ITSM end which map to the Internal Moveworks State. There could be multiple states on the ITSM end which map to a single Internal Moveworks State.
- From External States Proto State Field To Use - The Ticket attribute field which should be used to read the current ticket state. Only applicable for ServiceNow.
- To External State Value - This is the state value on the ITSM end which will be set when Transitioning to the next state from the current one.
- To External State Column - The attribute field on the ticket which will used to set the State value.
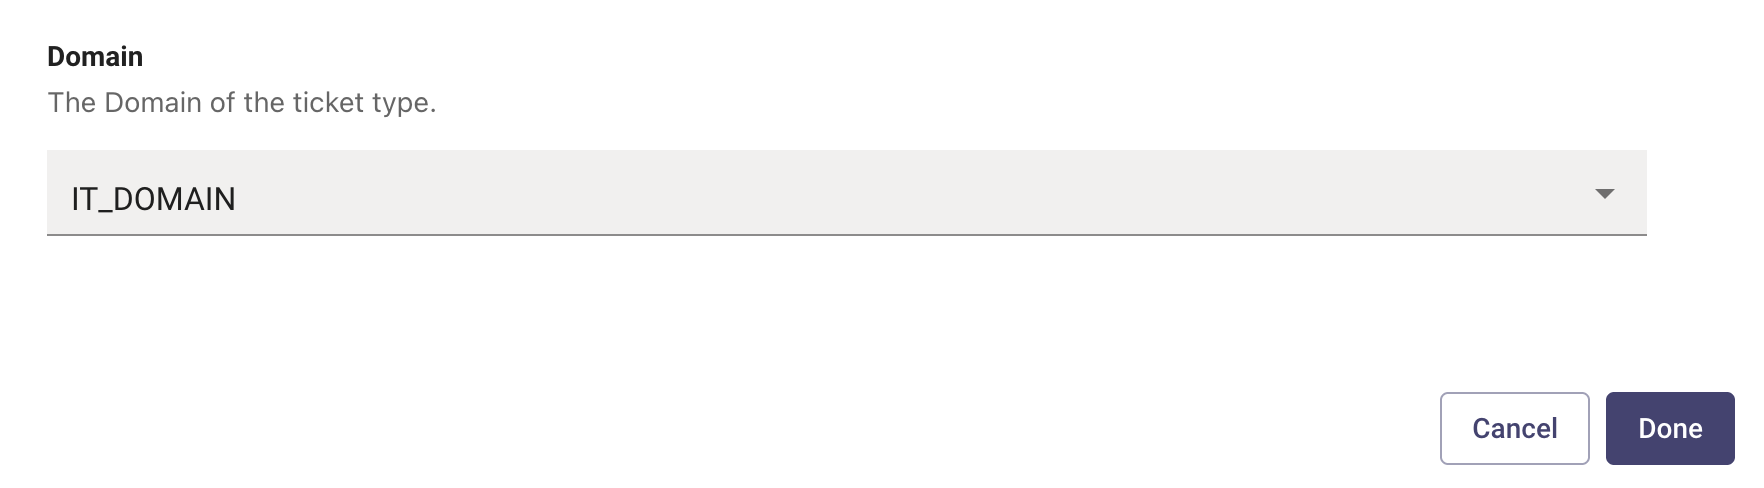
Step 6: Configure the Ticket Domain
The Domain the ticket type falls under, for instance break/fix issues are part of IT_DOMAIN. While payroll issues are part of FINANCE_DOMAIN
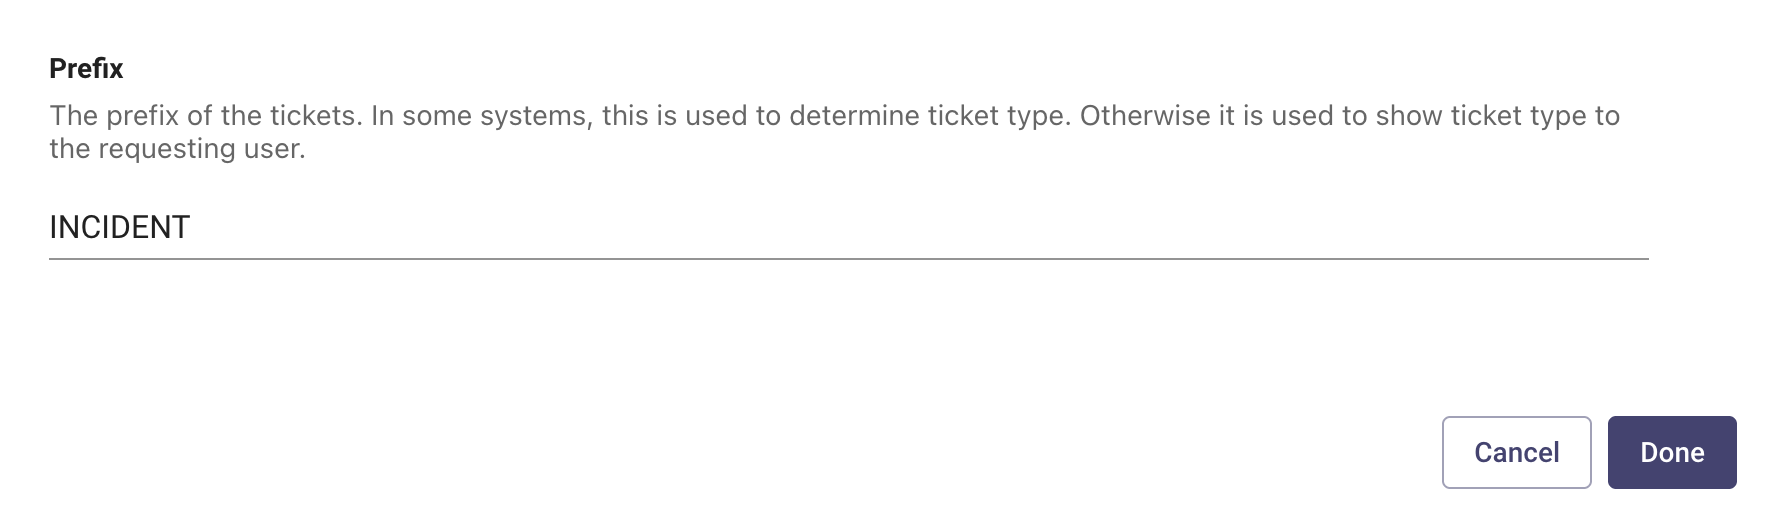
Step 7: Configure the Prefix
Prefix adds a prefix to a ticket type. This will help identify unique ticket types within AI Assistant and define how the ticket numbers are represented in the Notifications.
For Incidents, use INCIDENT:
For Request Items (Service Requests), use ServiceReqs:

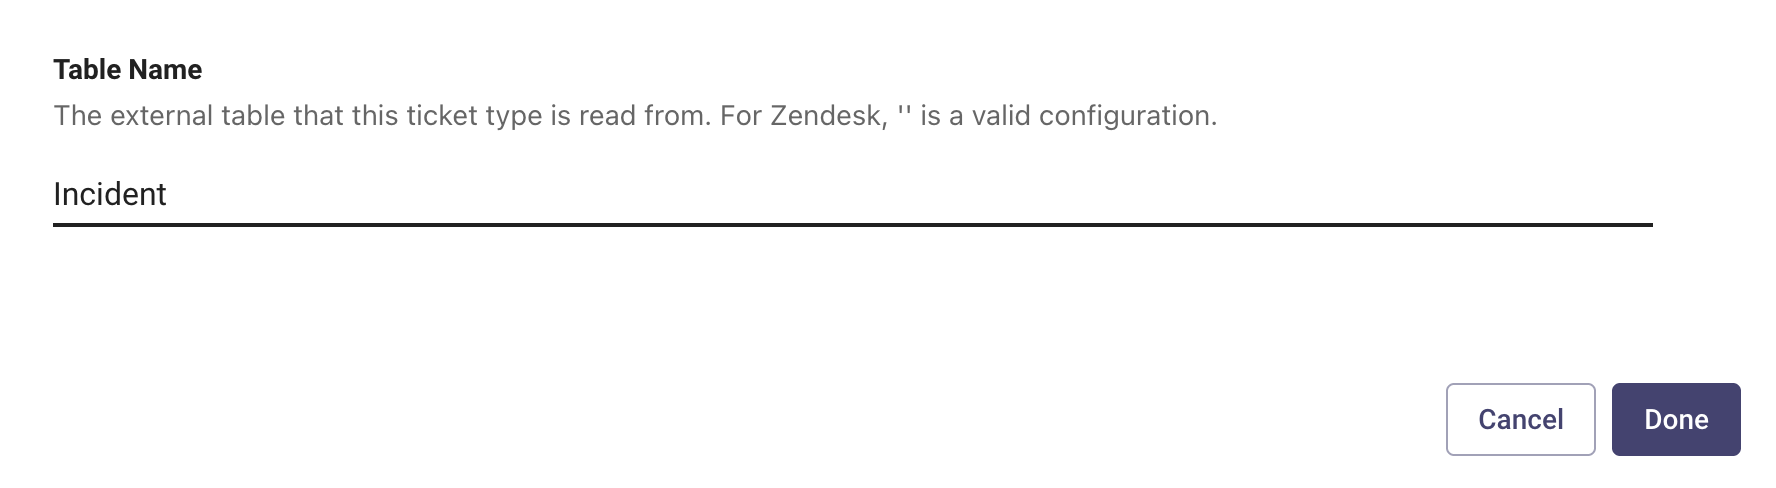
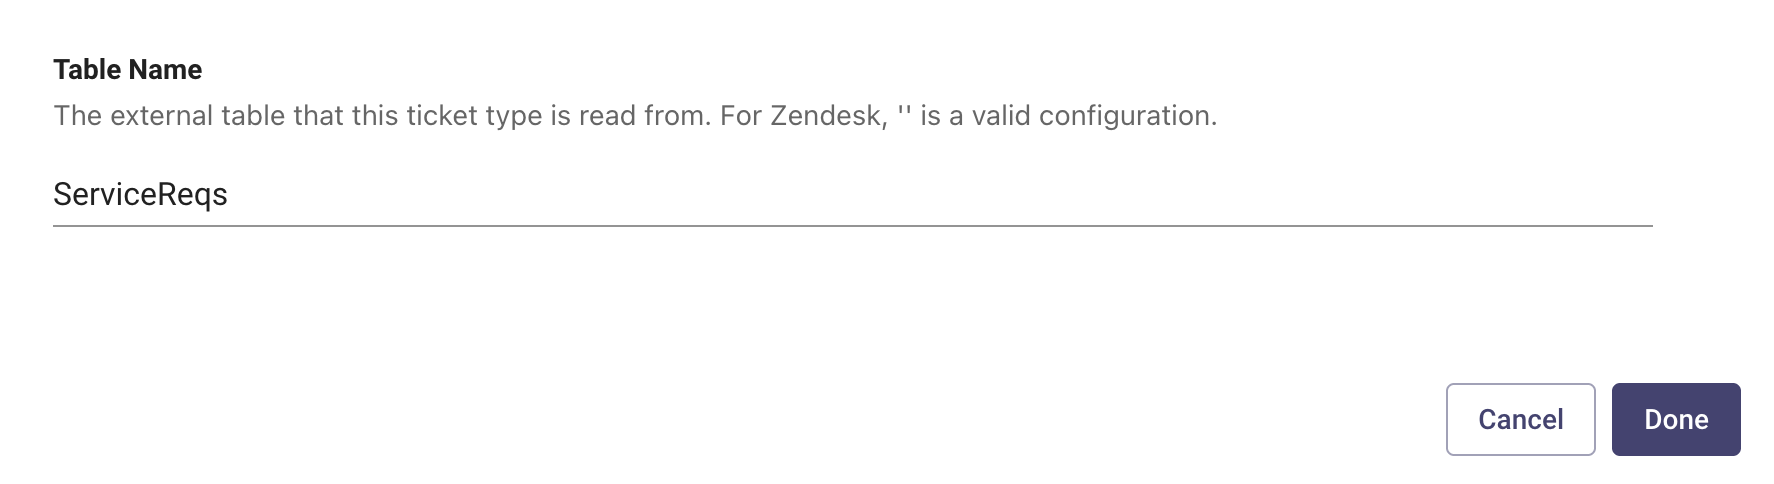
Step 8: Configure the Table Name
The External Table on the ITSM end where the tickets are polled and created by the AI Assistant.
For Incidents, use Incident:
For Request Items (Service Requests), use ServiceReqs:
Step 9: Configure the Ticket External URL Template
The Ticket External URL Template needs to be defined for routing purposes.
For Incidents, an example of the URL should look similar like this:
https://{{tenant}}.ivanticloud.com/Login.aspx?Scope=SelfService&role=SelfService&CommandId=OpenMyItem&ItemType=Incident&ItemId={ticket_id}For Request Items (Service Requests), an example of the URL should look similar like this:
https://{{tenant}}.ivanticloud.com/Login.aspx?Scope=SelfService&role=SelfService&CommandId=OpenMyItem&ItemType=Service Request&ItemId={ticket_id}Step 10: Configure the Incident Ticket Action Payloads
Each of these payloads are defined to support a specific ticket action.
Create Ticket Payload
These are the ticket attributes which need to be defined in the JSON payload in order to submit the API call which will create the ticket. The Attributes which the ITSM system is expecting is on the left.
While the Moveworks variables which will slot and populate the data are defined on the right. Some of these values can be static as well and can be explicitly defined as strings.
{
  "Impact": "\"Medium\"",
  "Service": "\"Service Desk\"",
  "Status": "\"Logged\"",
  "Subject": "short_description",
  "ProfileLink": "requested_for",
  "Symptom": "description",
  "CallBackNumber": "u_call_back",
  "Urgency": "\"Low\"",
  "OwnerTeam": "\"Service Desk\""
}
Update Ticket Payload
{
  "Owner": "assigned_to",
  "Status": "state",
  "OwnerTeam": "assignment_group",
  "Owner_Valid": "assignee_id"
}
Step 11: Configure the Service Request Ticket Action Payloads
Ticket Attribute Mapping
Under “Configure REQUEST ITEM”, you need to make the following mapping changes to the Ticket Attribute Mapping:
"display_ticket_id": "$TEXT(ServiceReqNumber OR ServiceRequests[0].strRequestNum)"
"id": "$TEXT(ServiceReqNumber OR ServiceRequests[0].strRequestNum)"
"state": "IF Status THEN Status ELSE \"Active\""- The reasoning this is done is due to the response payload that is returned after submitting the Service Request POST call, for example:
{
    "IsSuccess": true,
    "ErrorText": "",
    "ServiceRequests": [
        {
            "bNew": true,
            "strSubscriptionRecId": "D4A1FE3C57B84921A6F3C4B7E89237EC",
            "strRequestRecId": "5A9E2C3D6B1F4A7E2186C5E3B9D048F2",
            "strIssueRecId": null,
            "strRequestNum": "1234567",
            "strName": "Generic Service Request",
            "strStatus": null,
            "strStatusId": null,
            "strService": null,
            "strServiceId": null,
            "strDetails": null,
            "parameterTemplateParameterIds": {
                "C8A1374F6BDF98E0A5B4E1926F7C589D": "E2B6D8491C7A5F3B8E4C21A7D9F6B345",
                "7F3C8E1B2A5D4B69E0F1C6A3D8E9B247": "1B3D6F4A85C9E2F7B0A7C1D8E49635AB"
            },
            "DateApproved": null,
            "DateCancelled": null,
            "DateCompleted": null
        }
    ],
    "InvalidServiceRequests": {}
}- As seen above, instead of Status and ServiceReqNumber, we get strStatus and strRequestNum. strStatus will always be null.
Create Ticket payload
In “Create Ticket Payload”, fill in the payload information, for example:
{
  "serviceReqData": {
    "Symptom": "description",
    "Subject": "short_description"
  },
  "subscriptionId": "\"D4A1FE3C57B84921A6F3C4B7E89237EC\"",
  "attachmentsToDelete": "[]",
  "strUserId": "mw_user.requested_for.$TRIM()",
  "parameters": "{\"par-C8A1374F6BDF98E0A5B4E1926F7C589D\": short_description, \"par-7F3C8E1B2A5D4B69E0F1C6A3D8E9B247\": description}"
}
Step 12: Ensure Ticket Workflow Configured
This should be automatically created but if not, verify that under “Workflow Conditions” your generate ticket workflow has the Conditional Action for the Request Item set, like:

You have completed the configuration ✅
Validation
We can now try performing the ticket action like create or query depending on the Workflow which was created. Try to validate each ticketing action independently to ensure it is working as expected.
Updated about 5 hours ago