File Search Google Drive Setup Guide: Google Workspace User with Custom Admin Role
The recommended approach for access is with a custom admin role. The following instructions are functional but Moveworks is unsure if Google has any plans to deprecate this.
Note: If you wish to leverage an existing Google Workspace user email with admin privileges to read all Workspace Users and Groups, you can skip ahead to Step 3, and use that Admin email for all following steps. This document describes the option available to create a new user email with Custom Admin privileges, dedicated for Moveworks to ingest your Google Drive files, users, and groups for permission-enforced File Search.
1. Create a new Google Workspace User, dedicated for Moveworks Search
- Create a new Google User Account to your Google Workspace Admin Console, via the instructions here from Google
- This is the user email for which you will:
- Create andassign a custom admin role (in Step 2), that allows the user to read users and groups for permissions
- Use to grant access via the Google OAuth2.0 three-legged handshake with Moveworkslater in Step 5 – Moveworks will then have access to read Google Drive files that the user can access, as well as groups/users for permissions
- This is the user email for which you will:
2. Create a Custom Admin Role and Assign to the Workspace User
- Create a Custom Admin Role, via these instructions here from Google
- Navigate to Google Admin Console, and create a new Admin Role
- Select the following privileges to assign to the Role
- Users → Read Users
- Groups → Read Groups
- Create the Role
- Assign the new custom admin role to the Google Workspace user you created in Step 1 Above from the steps here
3. Create Google Cloud Project and Grant Scopes to Moveworks Project
1. Create Google Cloud Project
Note: If you have already configured a Project, jump to
- Create a Google Cloud Project for Moveworks
- Sign into https://console.cloud.google.com/cloud-resource-manager using an account with Google Workspace Super Admin privileges
- Click +Create Project
- Name the project Moveworks and select the top-level organization OU for your Google Workspace
- Click Create
- Once completed, click Select Project from Notifications or via Search
2. Grant SDK and API Scopes to Project
- Turn on the Admin SDK and Google Drive APIs for your Google Cloud Project
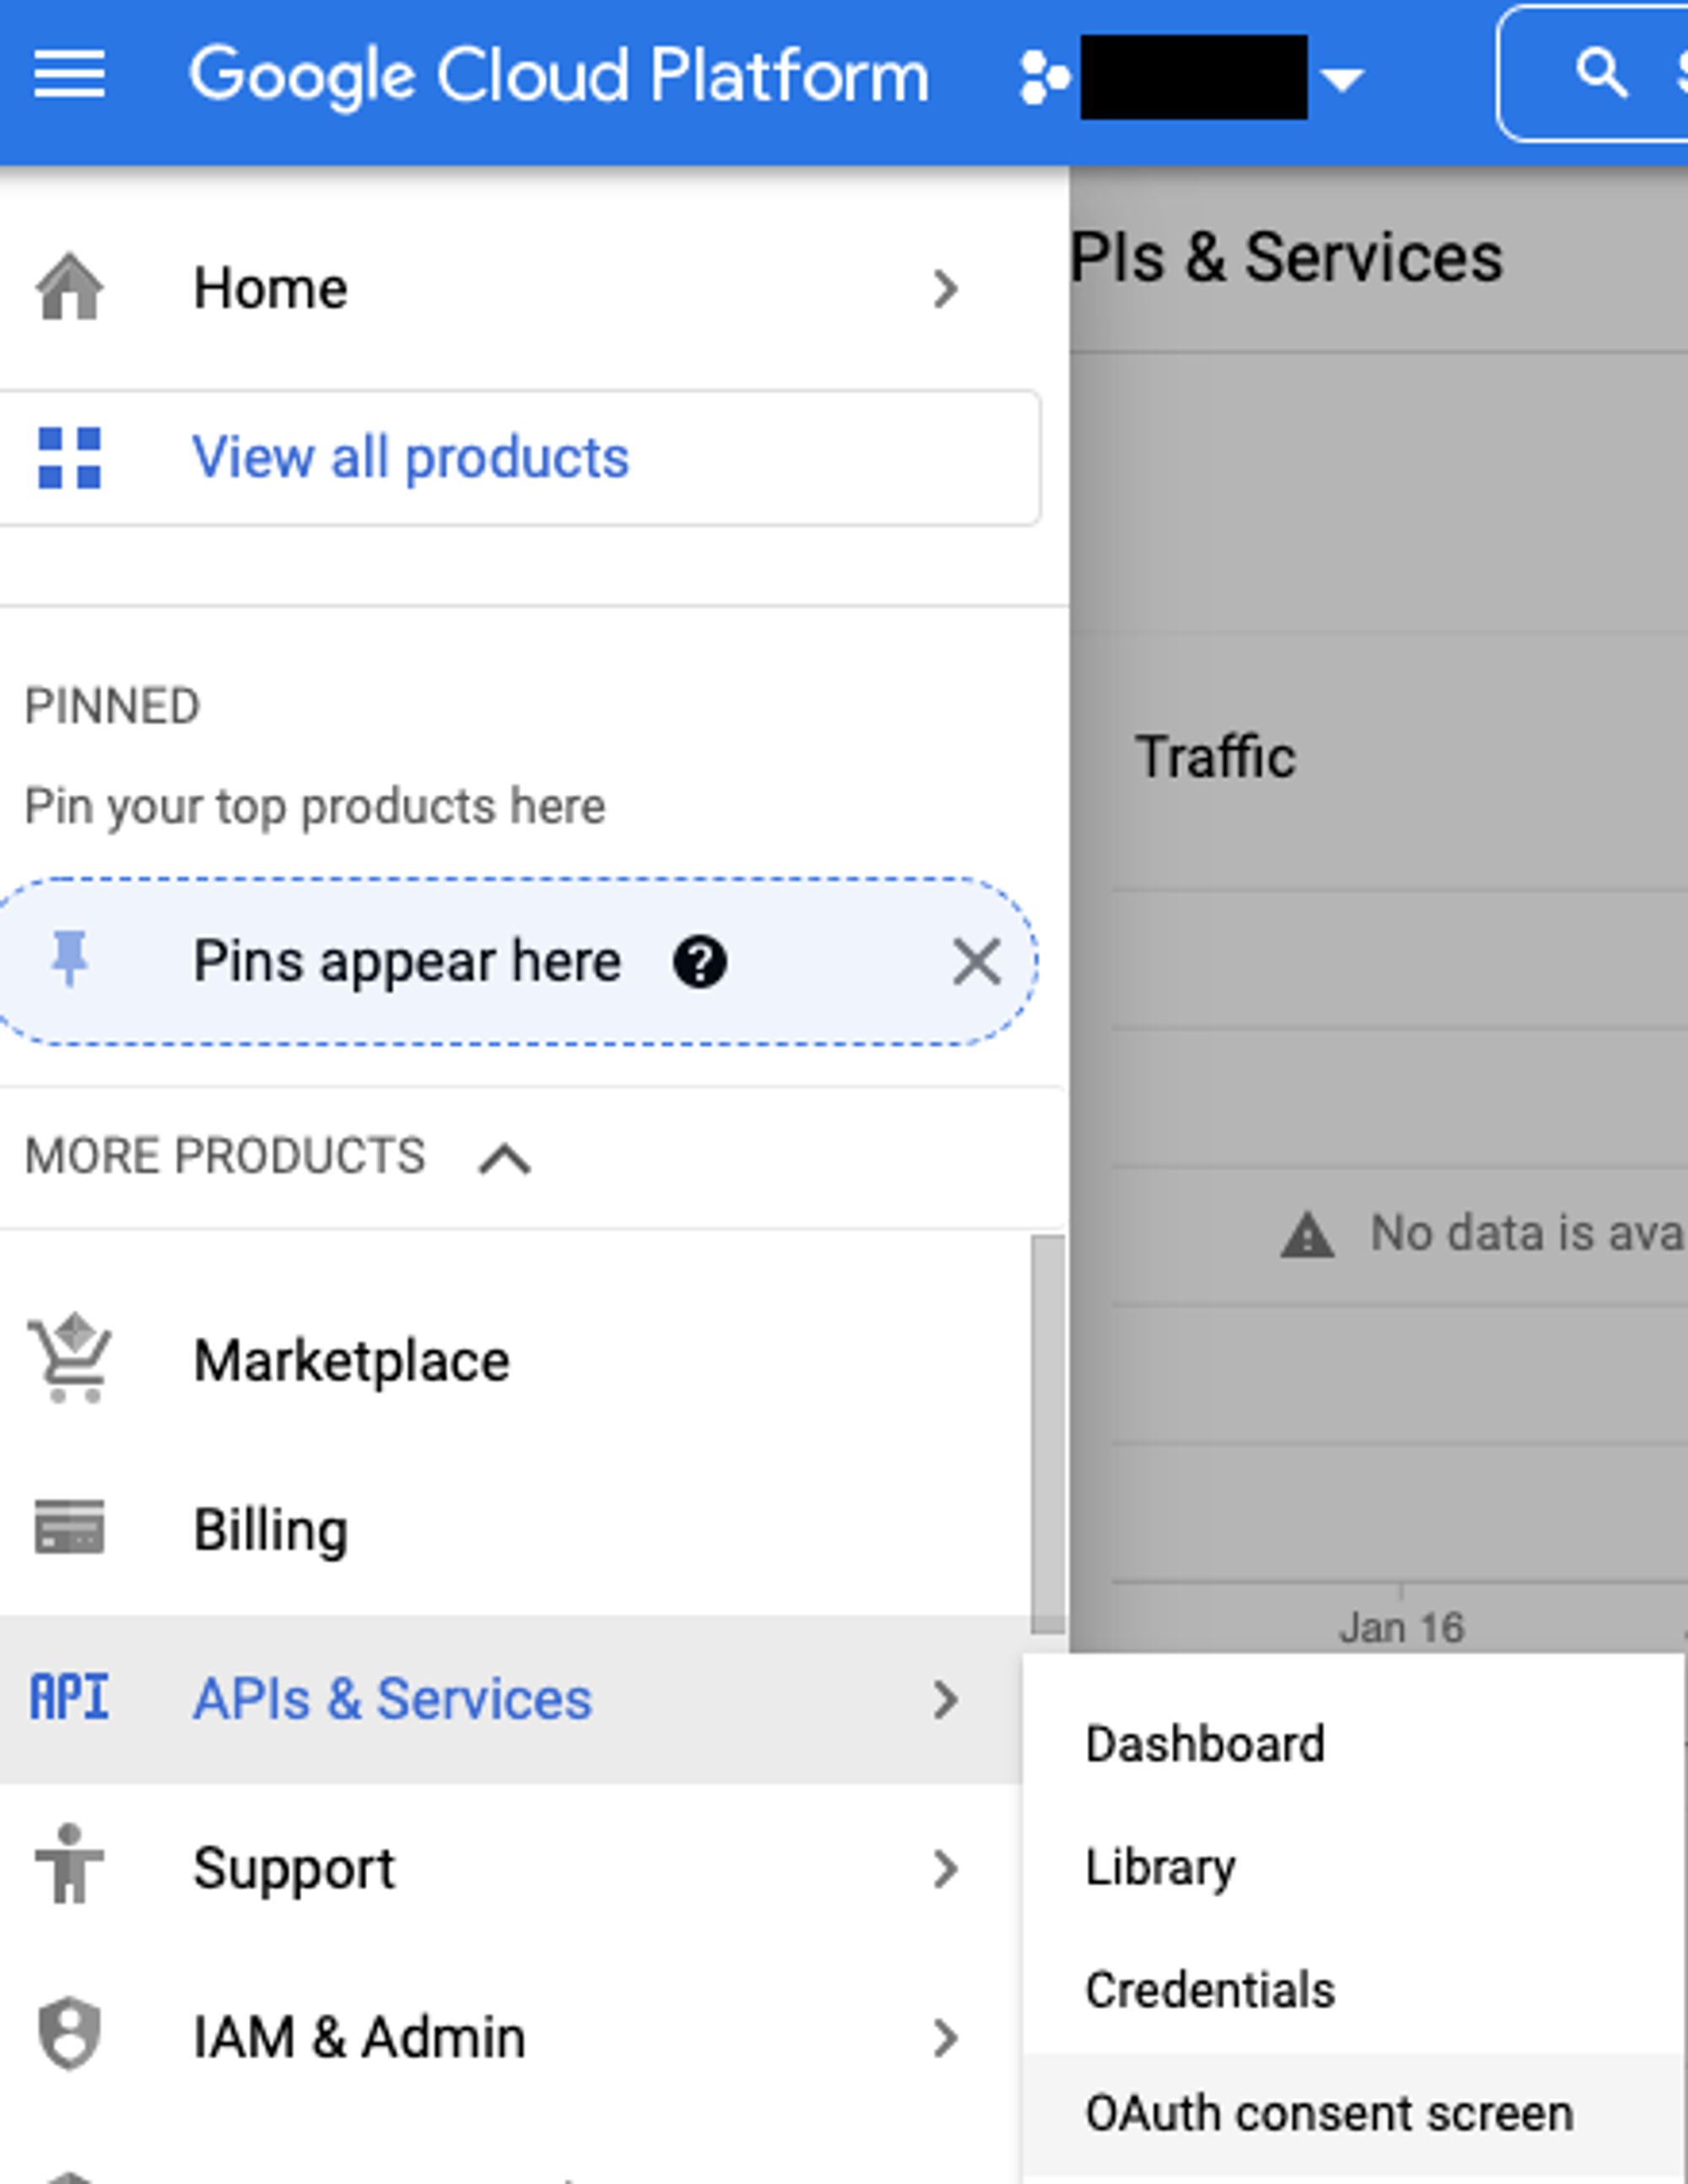
- From the top-left Navigation Menu, click APIs & Services > Enabled APIs & Services.
- Click +Enable APIs & Services.
- Search for each of the following APIs, and select Enable:
- Admin SDK
- Google Drive API
4. Set up the OAuth Consent Screen and Add Scopes
1. Set up the OAuth Consent Screen
-
After you have enabled the API, you will be presented with a dashboard. On the left panel, Navigate to APIs & Services > OAuth consent screen from the left menu side.
-
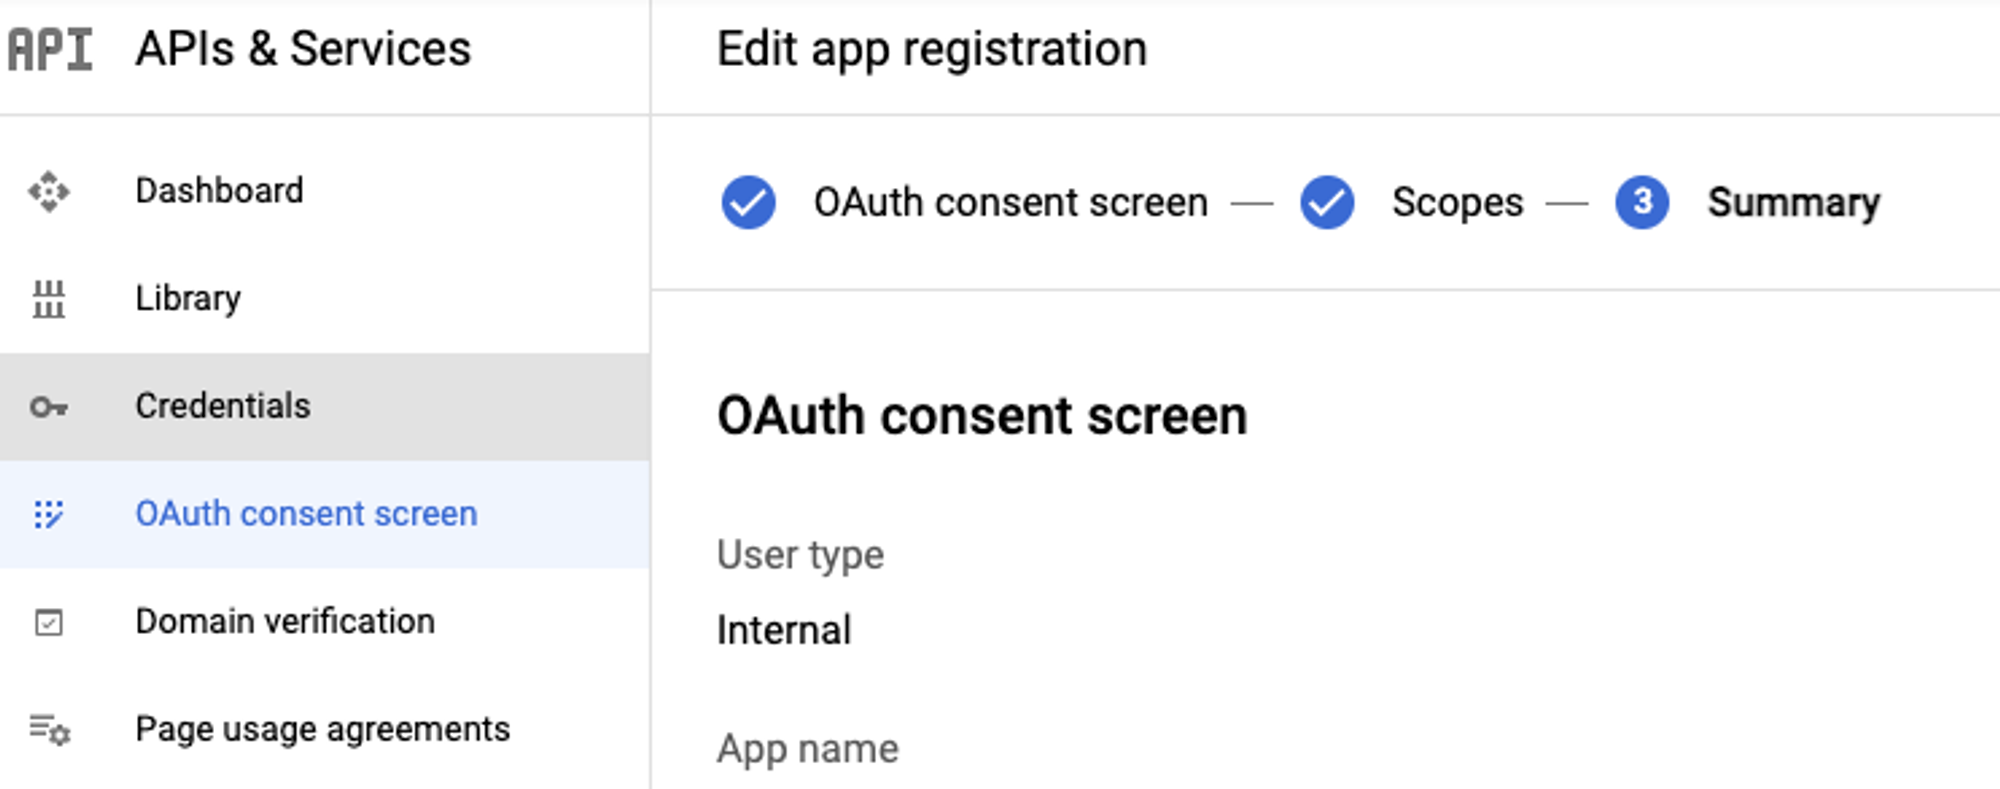
Select Internal under the User Type and click CREATE
-
Add an Application name (e.g Moveworks) and User support email (e.g Google admin email)
-
Add moveworks.com as an Authorized domain
-
Add Developer contact information (e.g. Google admin email)
-
Click SAVE AND CONTINUE to next step, to add OAuth Scopes
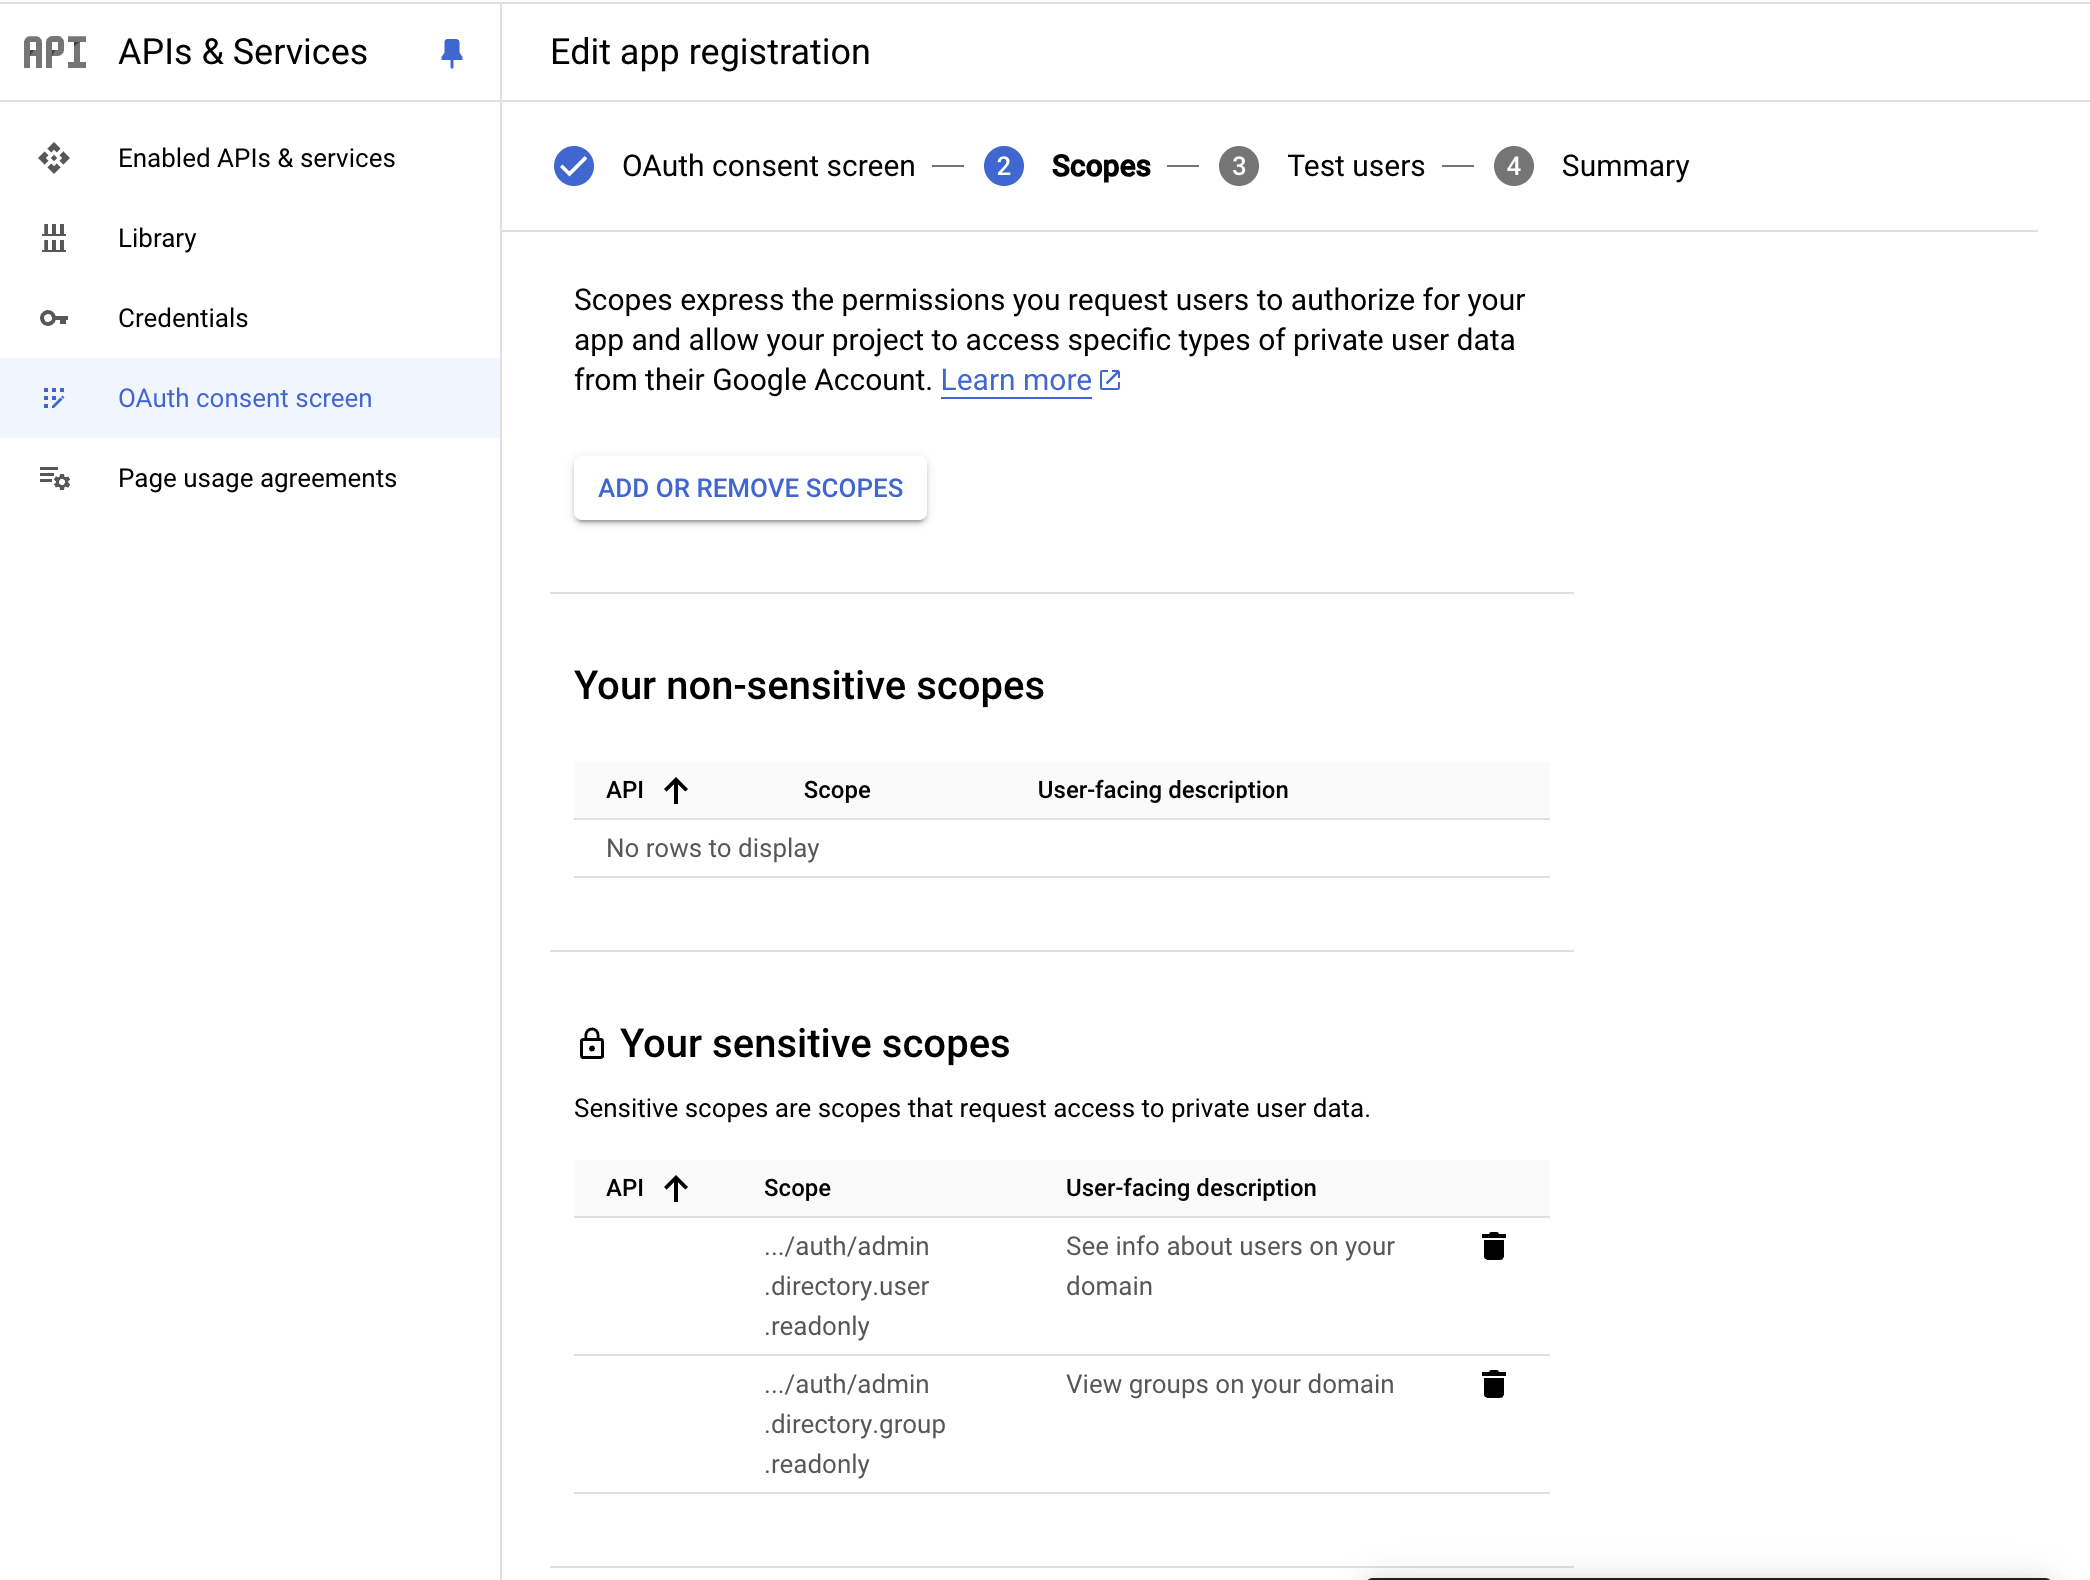
2. Add Scopes to the OAuth Consent Screen
-
Select ADD OR REMOVE SCOPES, and check the following scopes:
…/auth/drive.readonly…/auth/drive.metadata.readonly.../auth/admin.directory.user.readonly.../auth/admin.directory.group.readonly
-
Click Update.
5. Create OAuth Credentials and Work w/ Customer Success Team
-
From the Summary screen, go to the Credentials page
-
Select + Create Credentials and create a new OAuth client ID.
-
Select Web application for Application type on the following page.

-
Add
https://www.moveworks.com(or another Moveworks CS-team provided Authorized Redirect URI) as an Authorized redirect URI. -
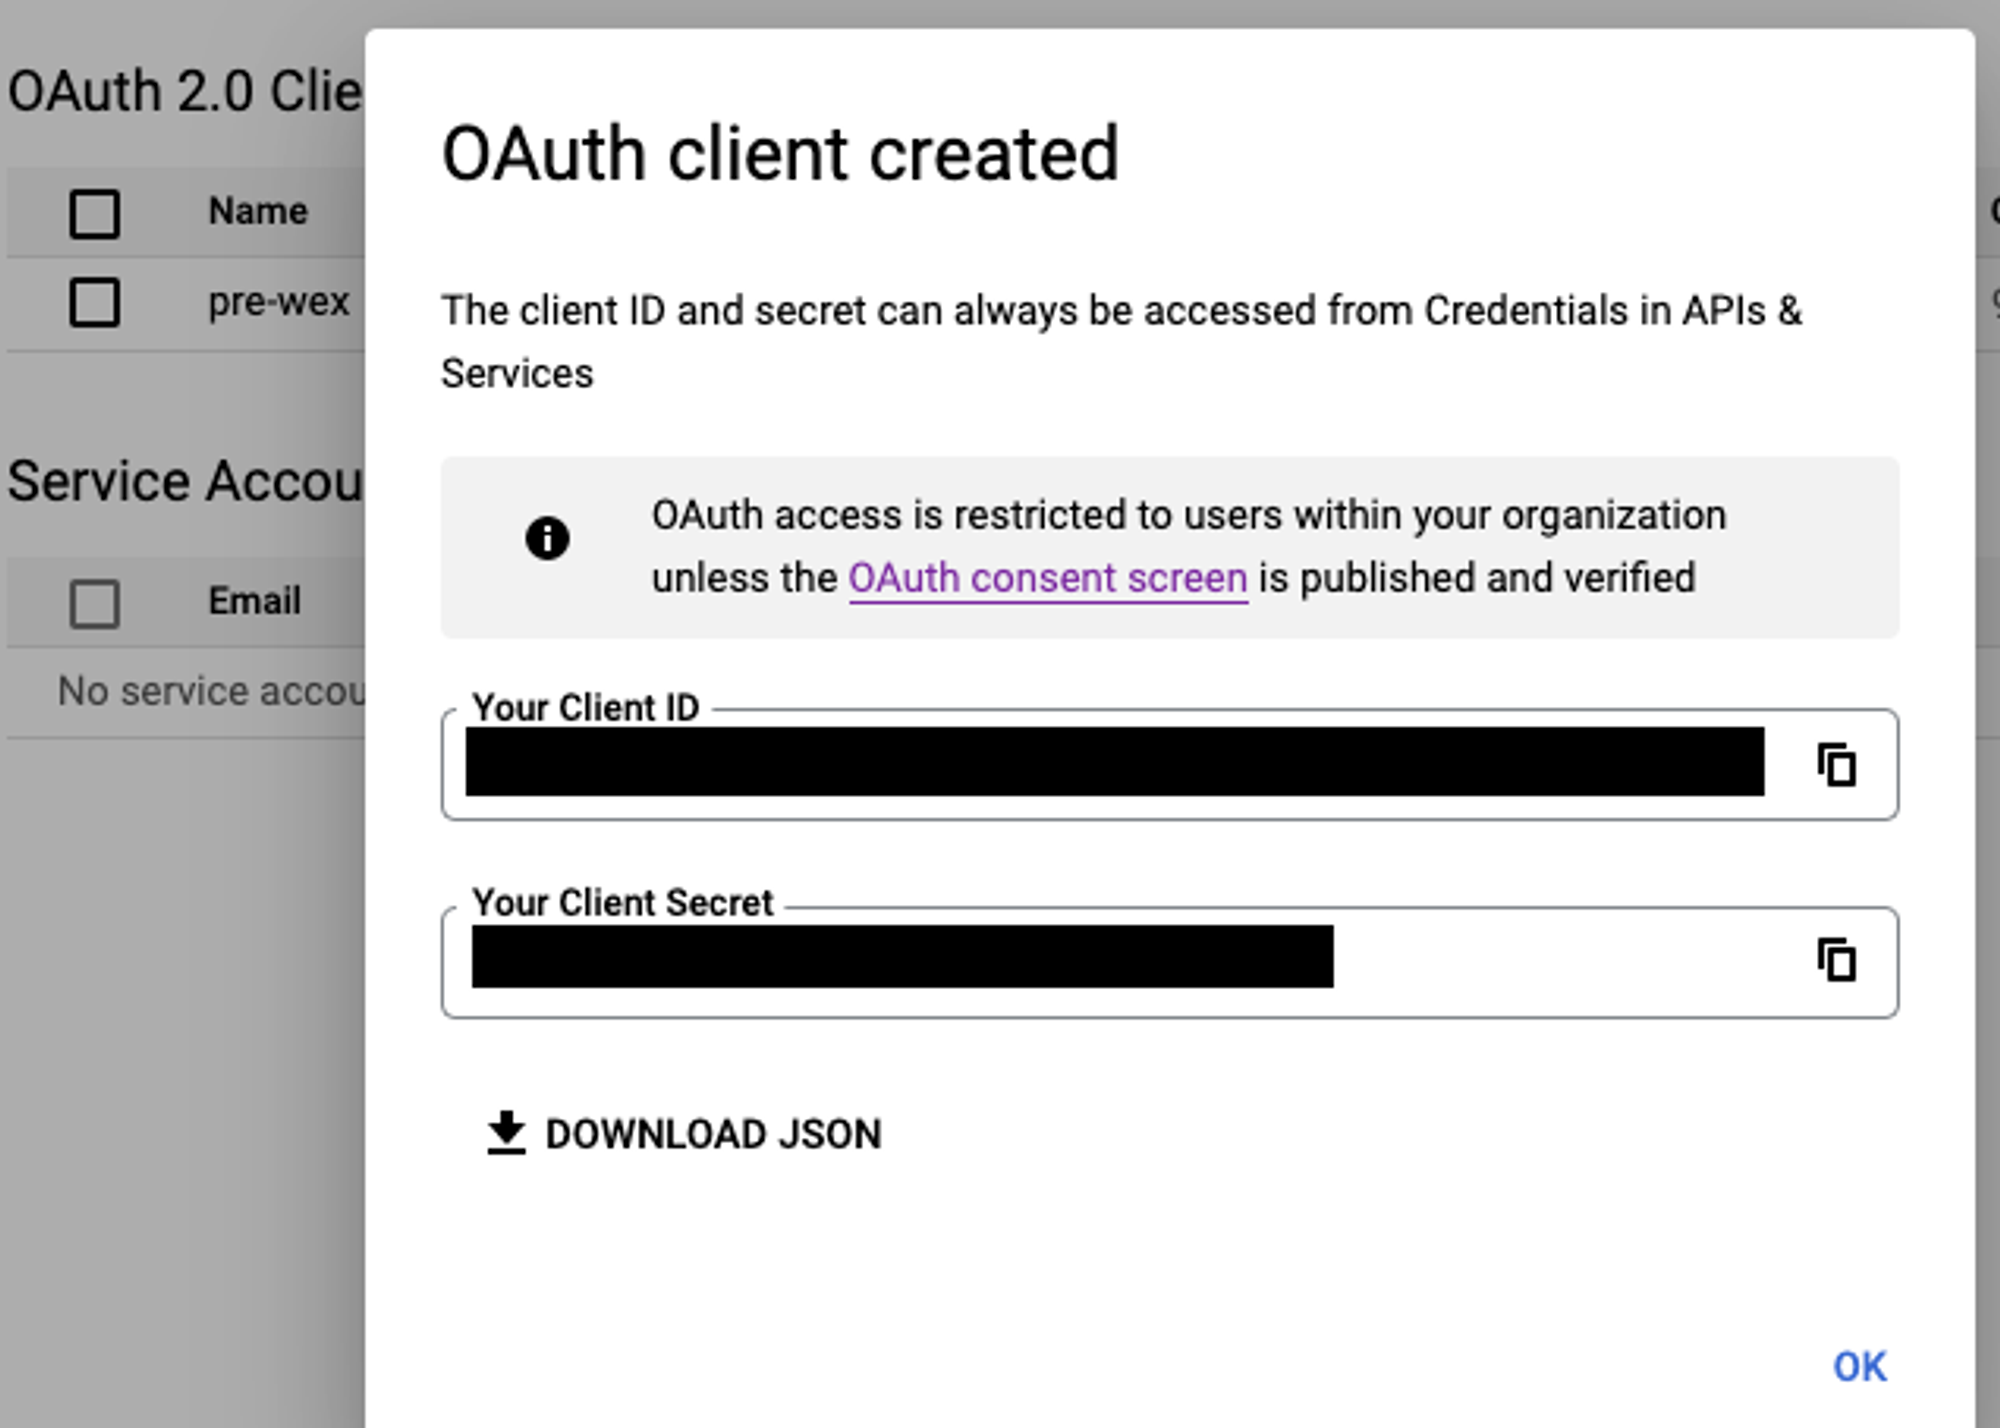
Once complete, a confirmation modal should display your client ID and client secret. Download the JSON file to a secure environment.
-
Once you have the JSON file securely stored, set up time with your Moveworks Customer Success team to transfer and authorize the credentials securely. The Customer Success Team will then generate a URL (using the JSON file and Redirected URI). You must use the Workspace User you created to authenticate the credentials (3-legged authentication). Any file/folder that this Workspace User has access to will be accessible via API using these OAuth credentials.
-
To allow the bot access to a particular Shared Drive and the contents within, click on + Add members when in the Shared Drive.
6. Configure File Ingestion using the Google Drive Connector
Configure Google Drive Connector in MW Setup
- Your Customer Success team will use the credentials generated from the previous 3-legged handshake to create a Google Drive connector
Configure File Ingestion
Note, if user ingestion has not been set up previously, reach out to your Customer Success team
- In Moveworks Setup, go to the Answers > Ingestions > File Knowledge Screen.
- Select the Google Drive Connector and provide a name for your File ingestion config
- Continue to the Ingestion Details page and Specify each Folder, using the Folder IDs
- Copy and paste Folder IDs in the following manner:
- If the URL of your Google Drive folder is <https://drive.google.com/drive/folders/FOLDERID, then input the FOLDERID
- Please double check that each Folder has been shared access with the new Google Workspace User with Custom Admin privileges that you have built in previous steps
- You can assign a Domain to each Folder, i.e IT, HR, Finance, etc.– this Domain is used for tagging in Analytics, enabling you to filter Search usage for each of your domains
- Copy and paste Folder IDs in the following manner:
- Save the File Ingestions
7. Launch File Search to your employees (if not already)
- Refer back to the main File Search Self-Serve guide: File Search Self-Serve – Configuration Guide.
Updated 3 months ago