Ivanti Neurons ITSM Access Requirement
Moveworks works best with a largely out-of-the-box implementation of Ivanti Neurons. However there are certain aspects required to ensure your Moveworks bot has what it needs to fully integrate into your instance.
Creating the Moveworks Service Account
Step 1: Create the Moveworks Service account role
-
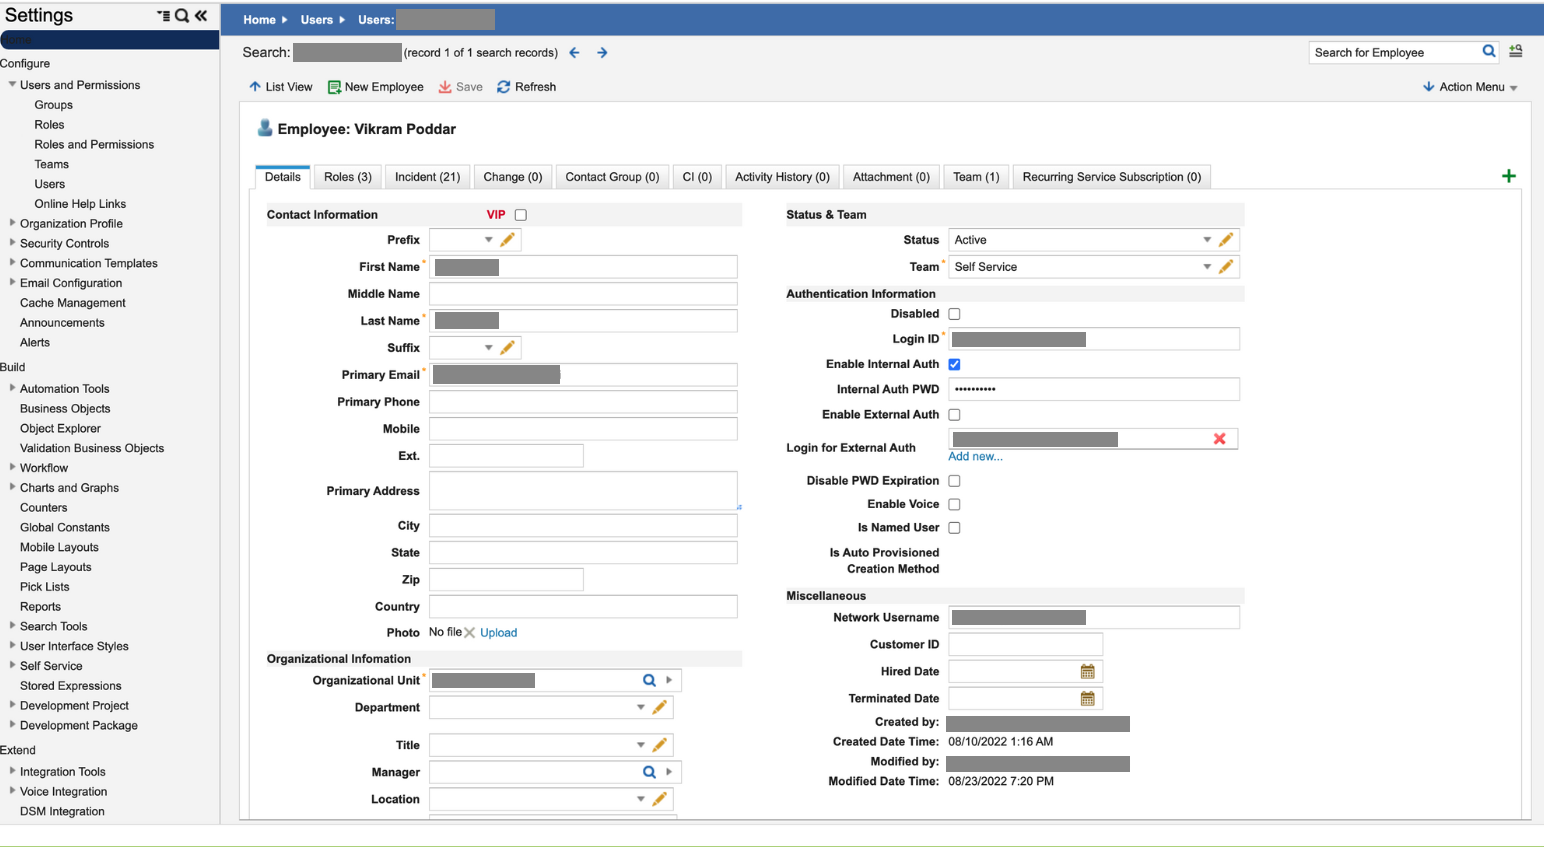
Navigate to Settings > Users and Permissions and create a new user for Moveworks.
-
Next, navigate to Settings > Users and Permissions > Roles and Permissions.
-
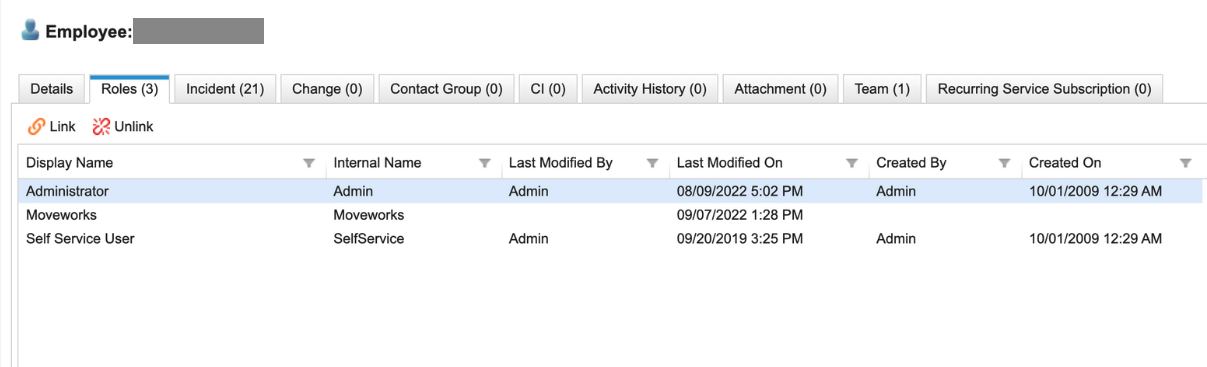
Create a new role called Moveworks and edit the permissions.
-
Add the necessary permissions for the Moveworks bot.
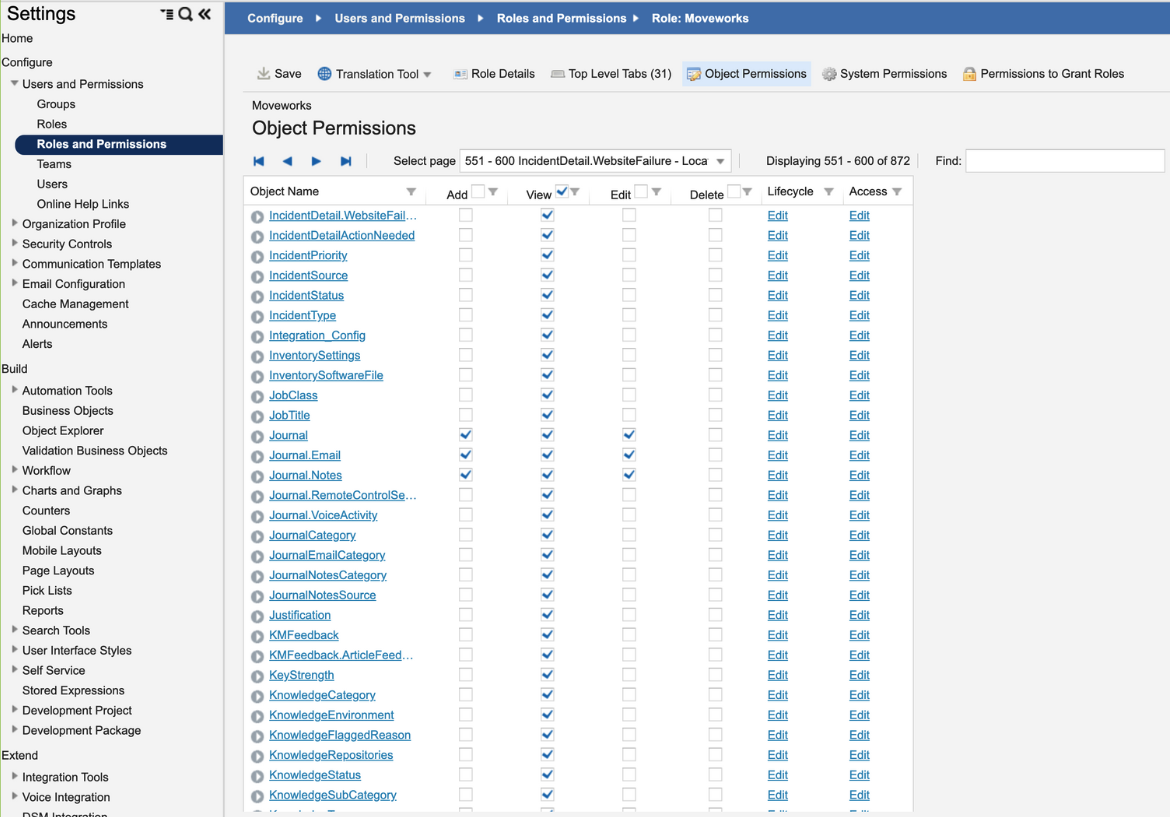
- View access to all users, tickets, and knowledge.
- Need permission to change the status for Incident and SR.
- Edit access to Tickets, Comments, Journals, and Attachments.
- View access to all users, tickets, and knowledge.
Step 2: Create API key with the newly-created role
-
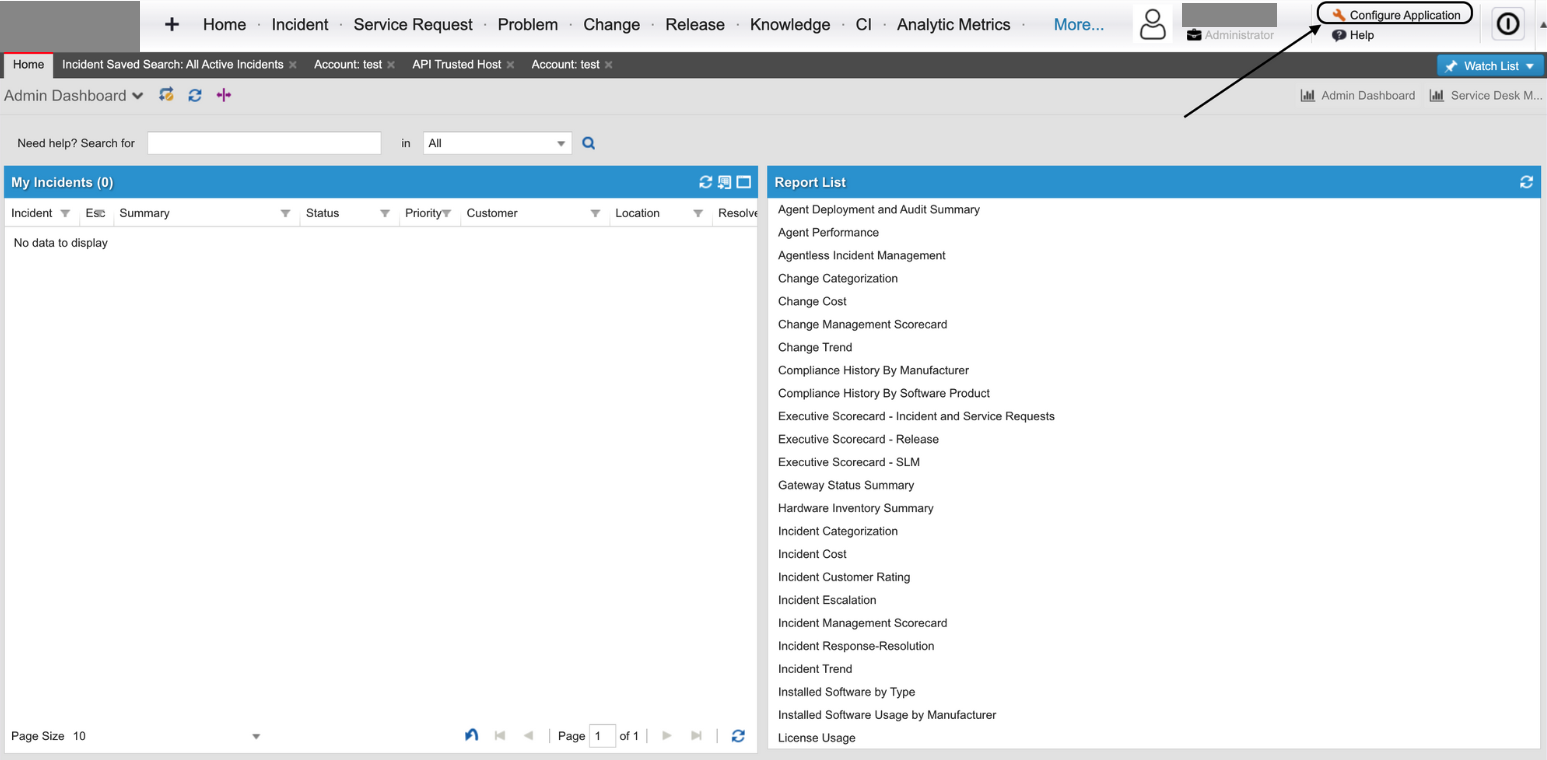
Login into the instance as admin and click on Configure Applications.
-
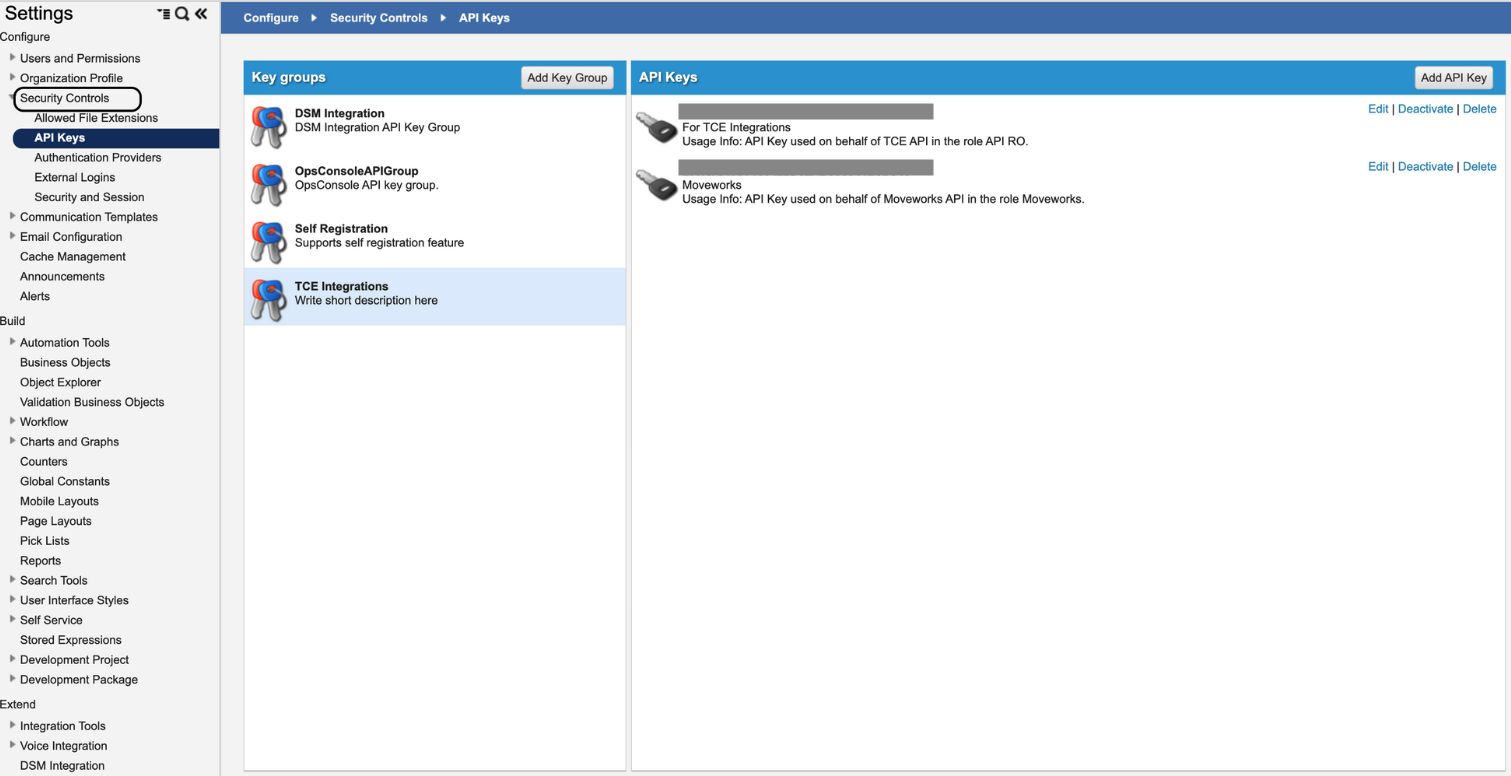
Now click on Security Controls > API Keys located in the left navigation bar.
-
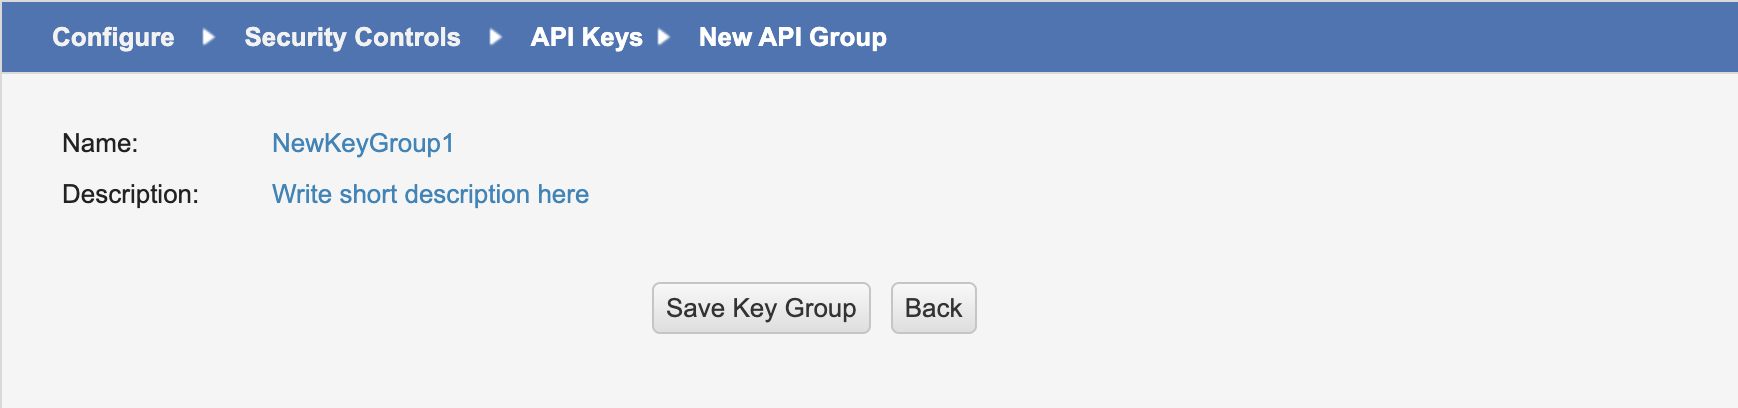
Add a key group for Moveworks.
-
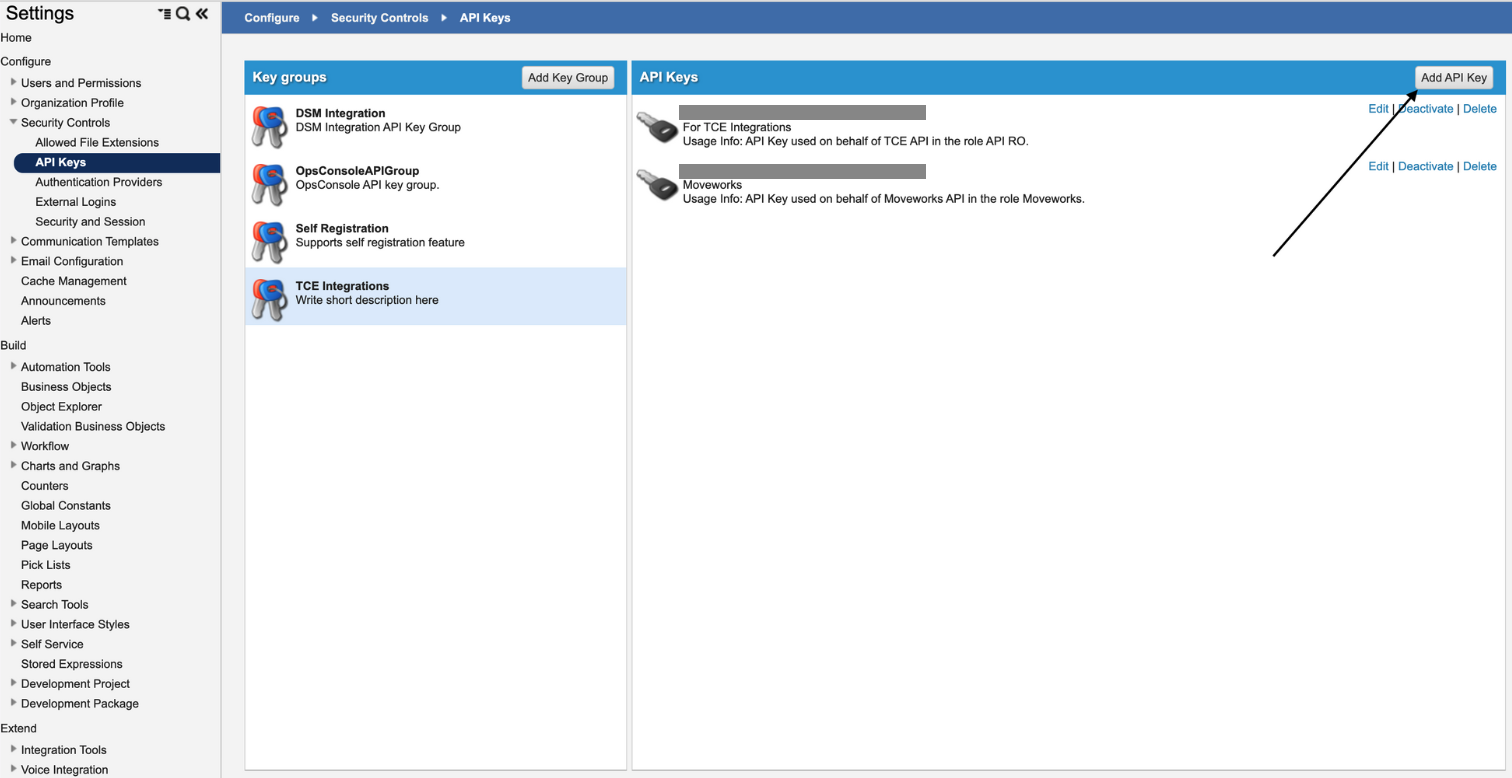
Add a new API key.
-
In the subsequent page, add the following:
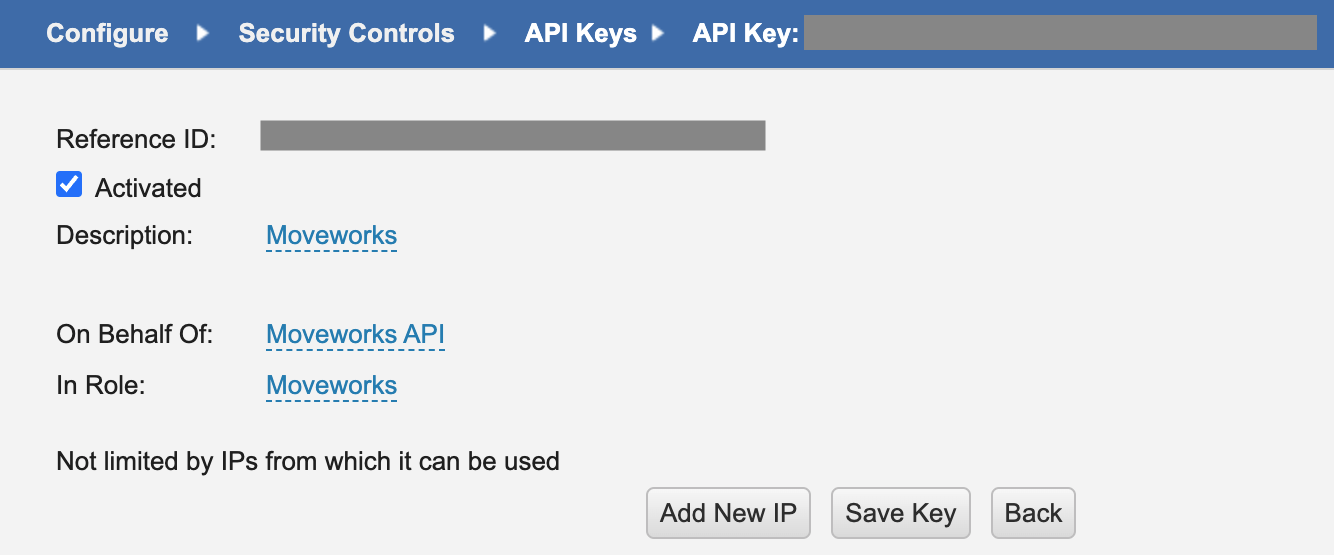
- Description:
Moveworks - On Behalf Of:
<name of service account created in previous section> - In Role:
<name of role created in previous section>
- Description:
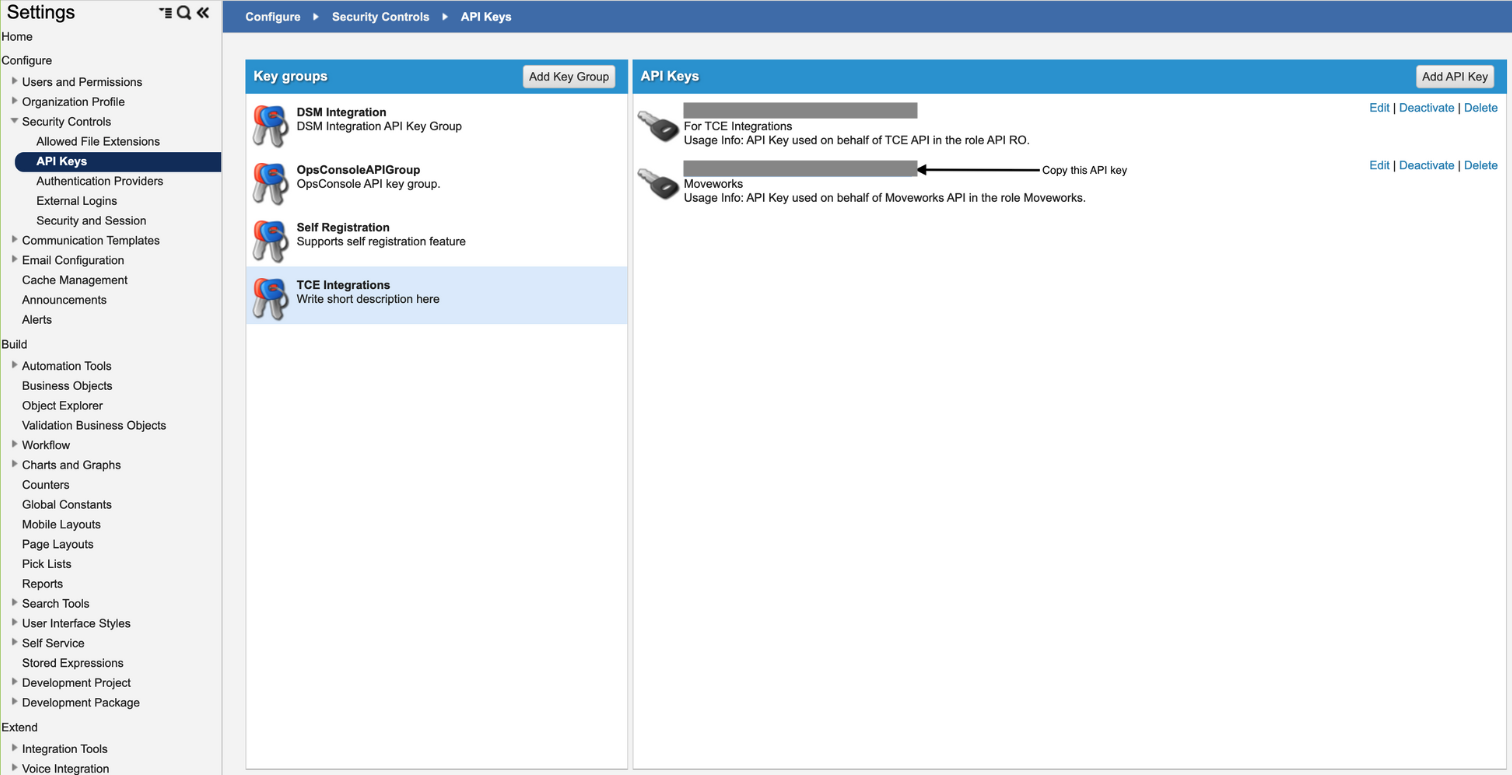
-
Copy the API key and share with your Moveworks team.
Exporting Service Request URLs
When relevant, the Moveworks bot can serve Service Requests to end users to help resolve their question or request. The URLs for these Service Requests must be exported out of Ivanti Neurons and shared with the Moveworks team.
-
Login as an administrator.
-
Navigate to More... > Request Offering.

-
The list of all available forms (Published & Unpublished) will be shown.
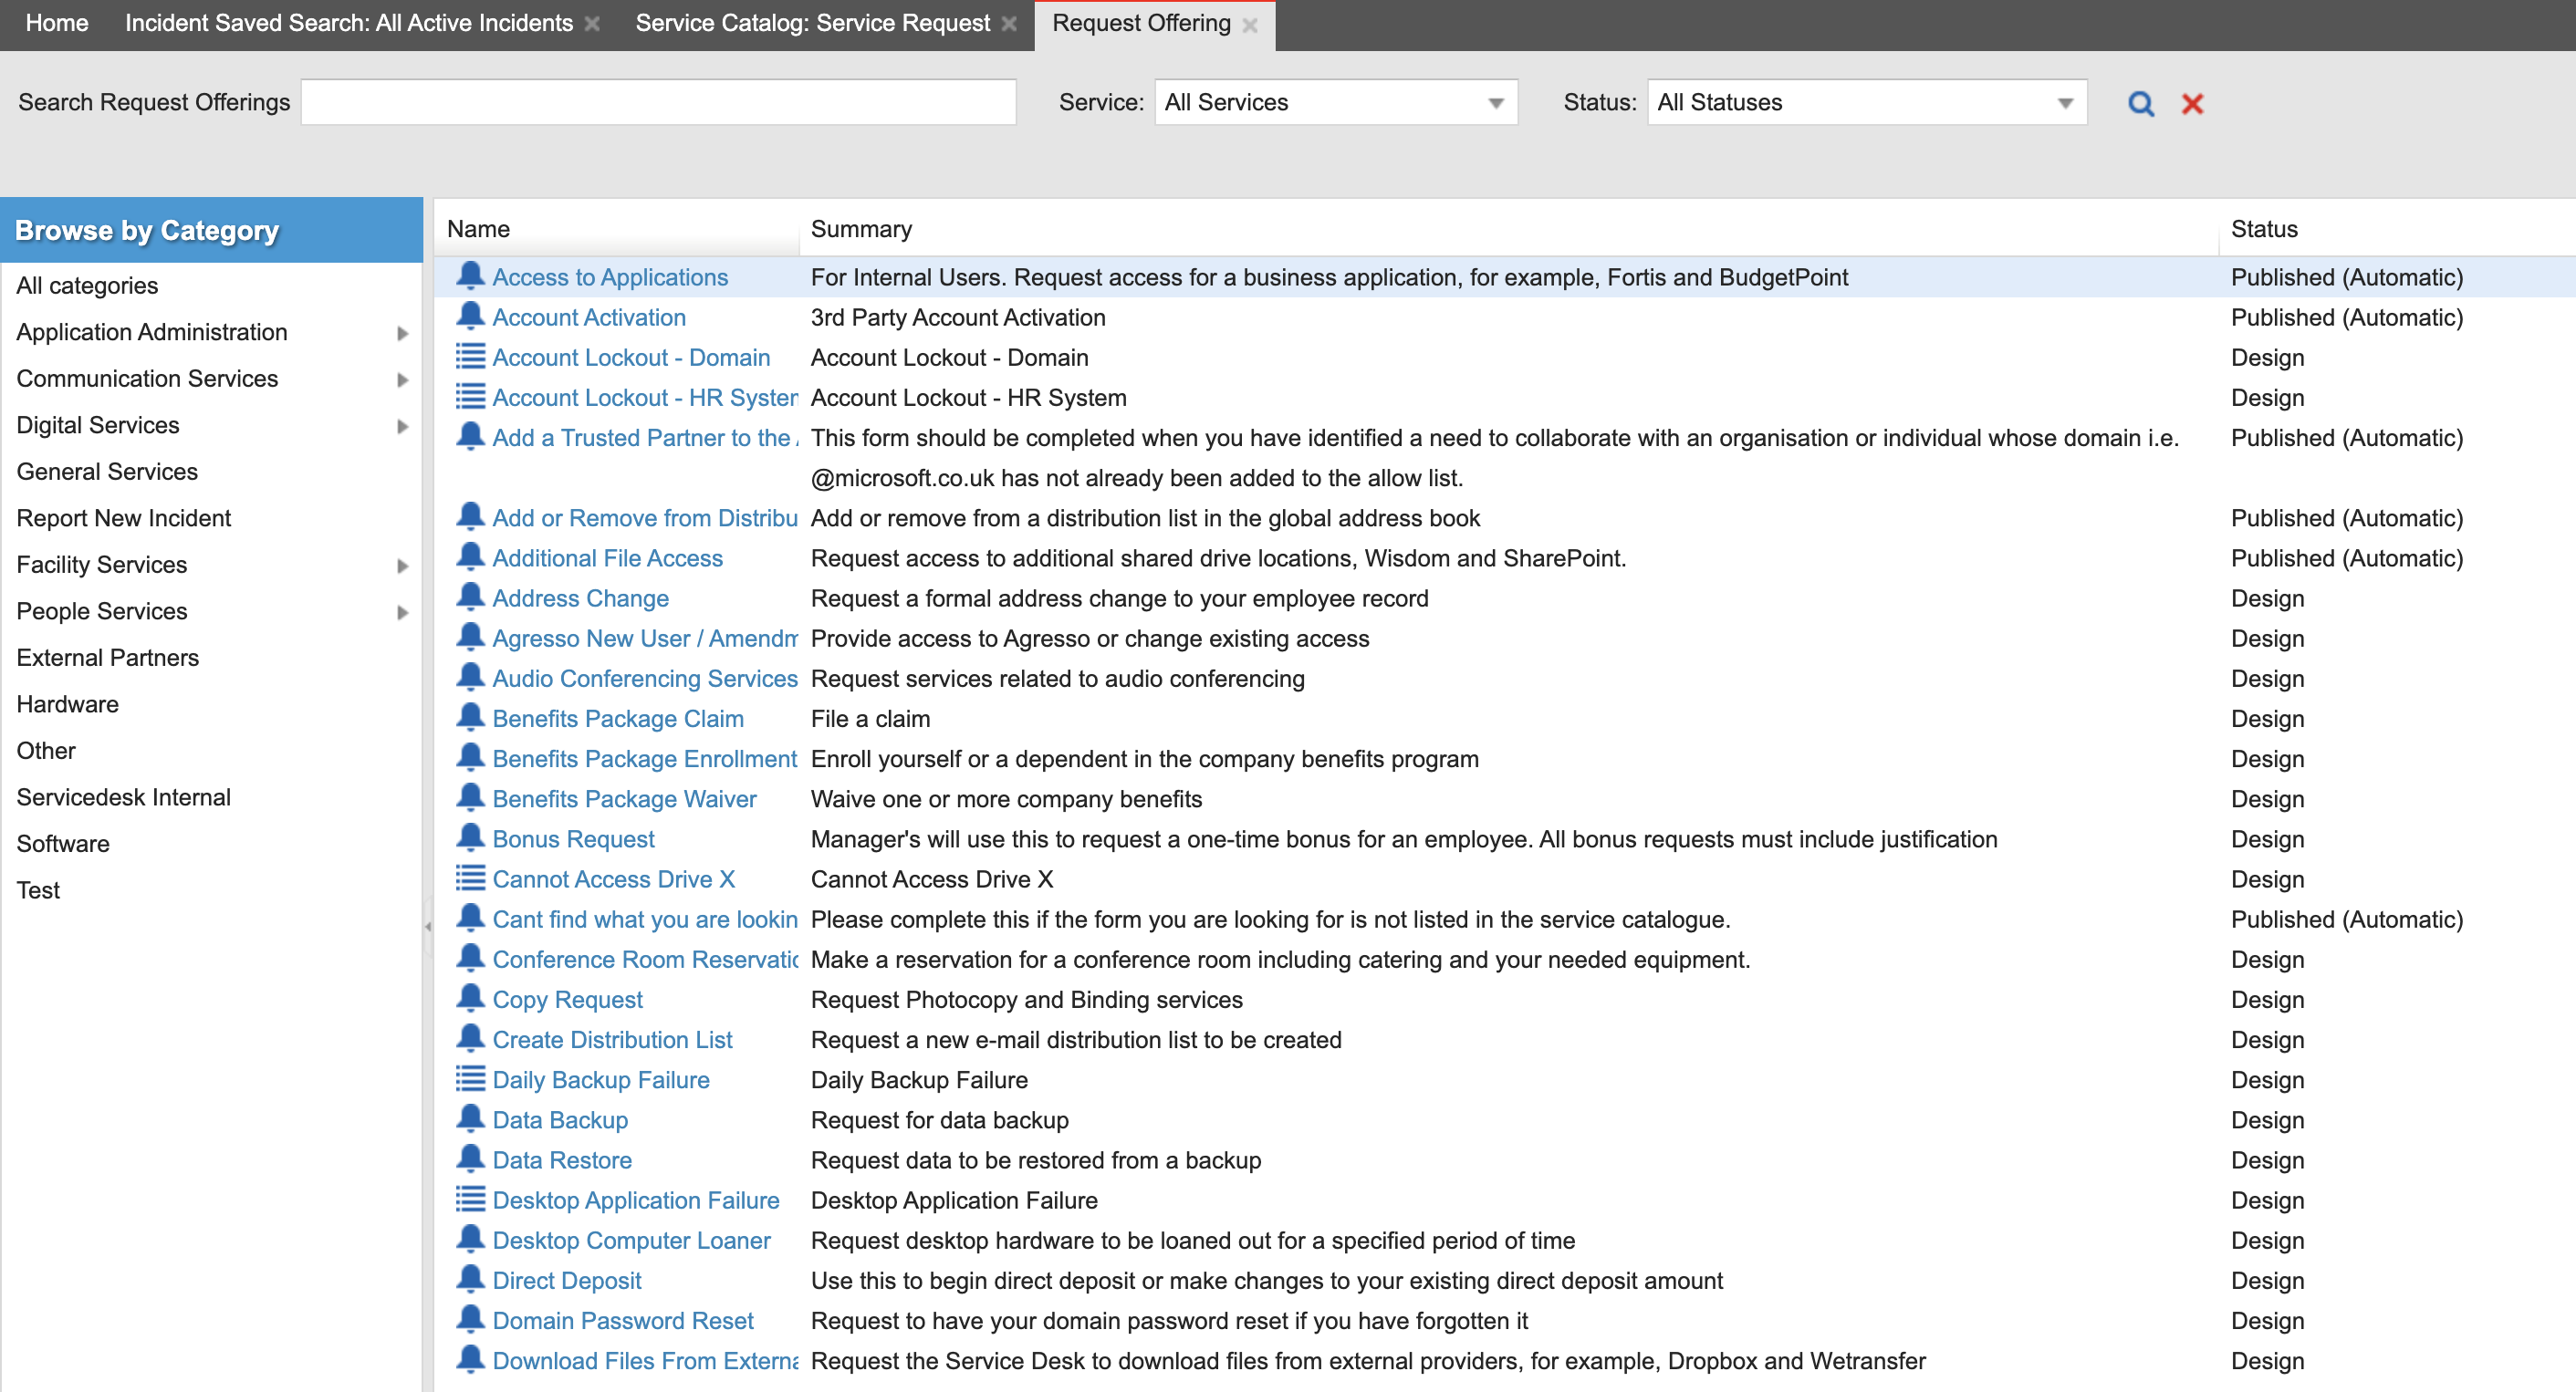
-
Click on the
Nameof the form to view details.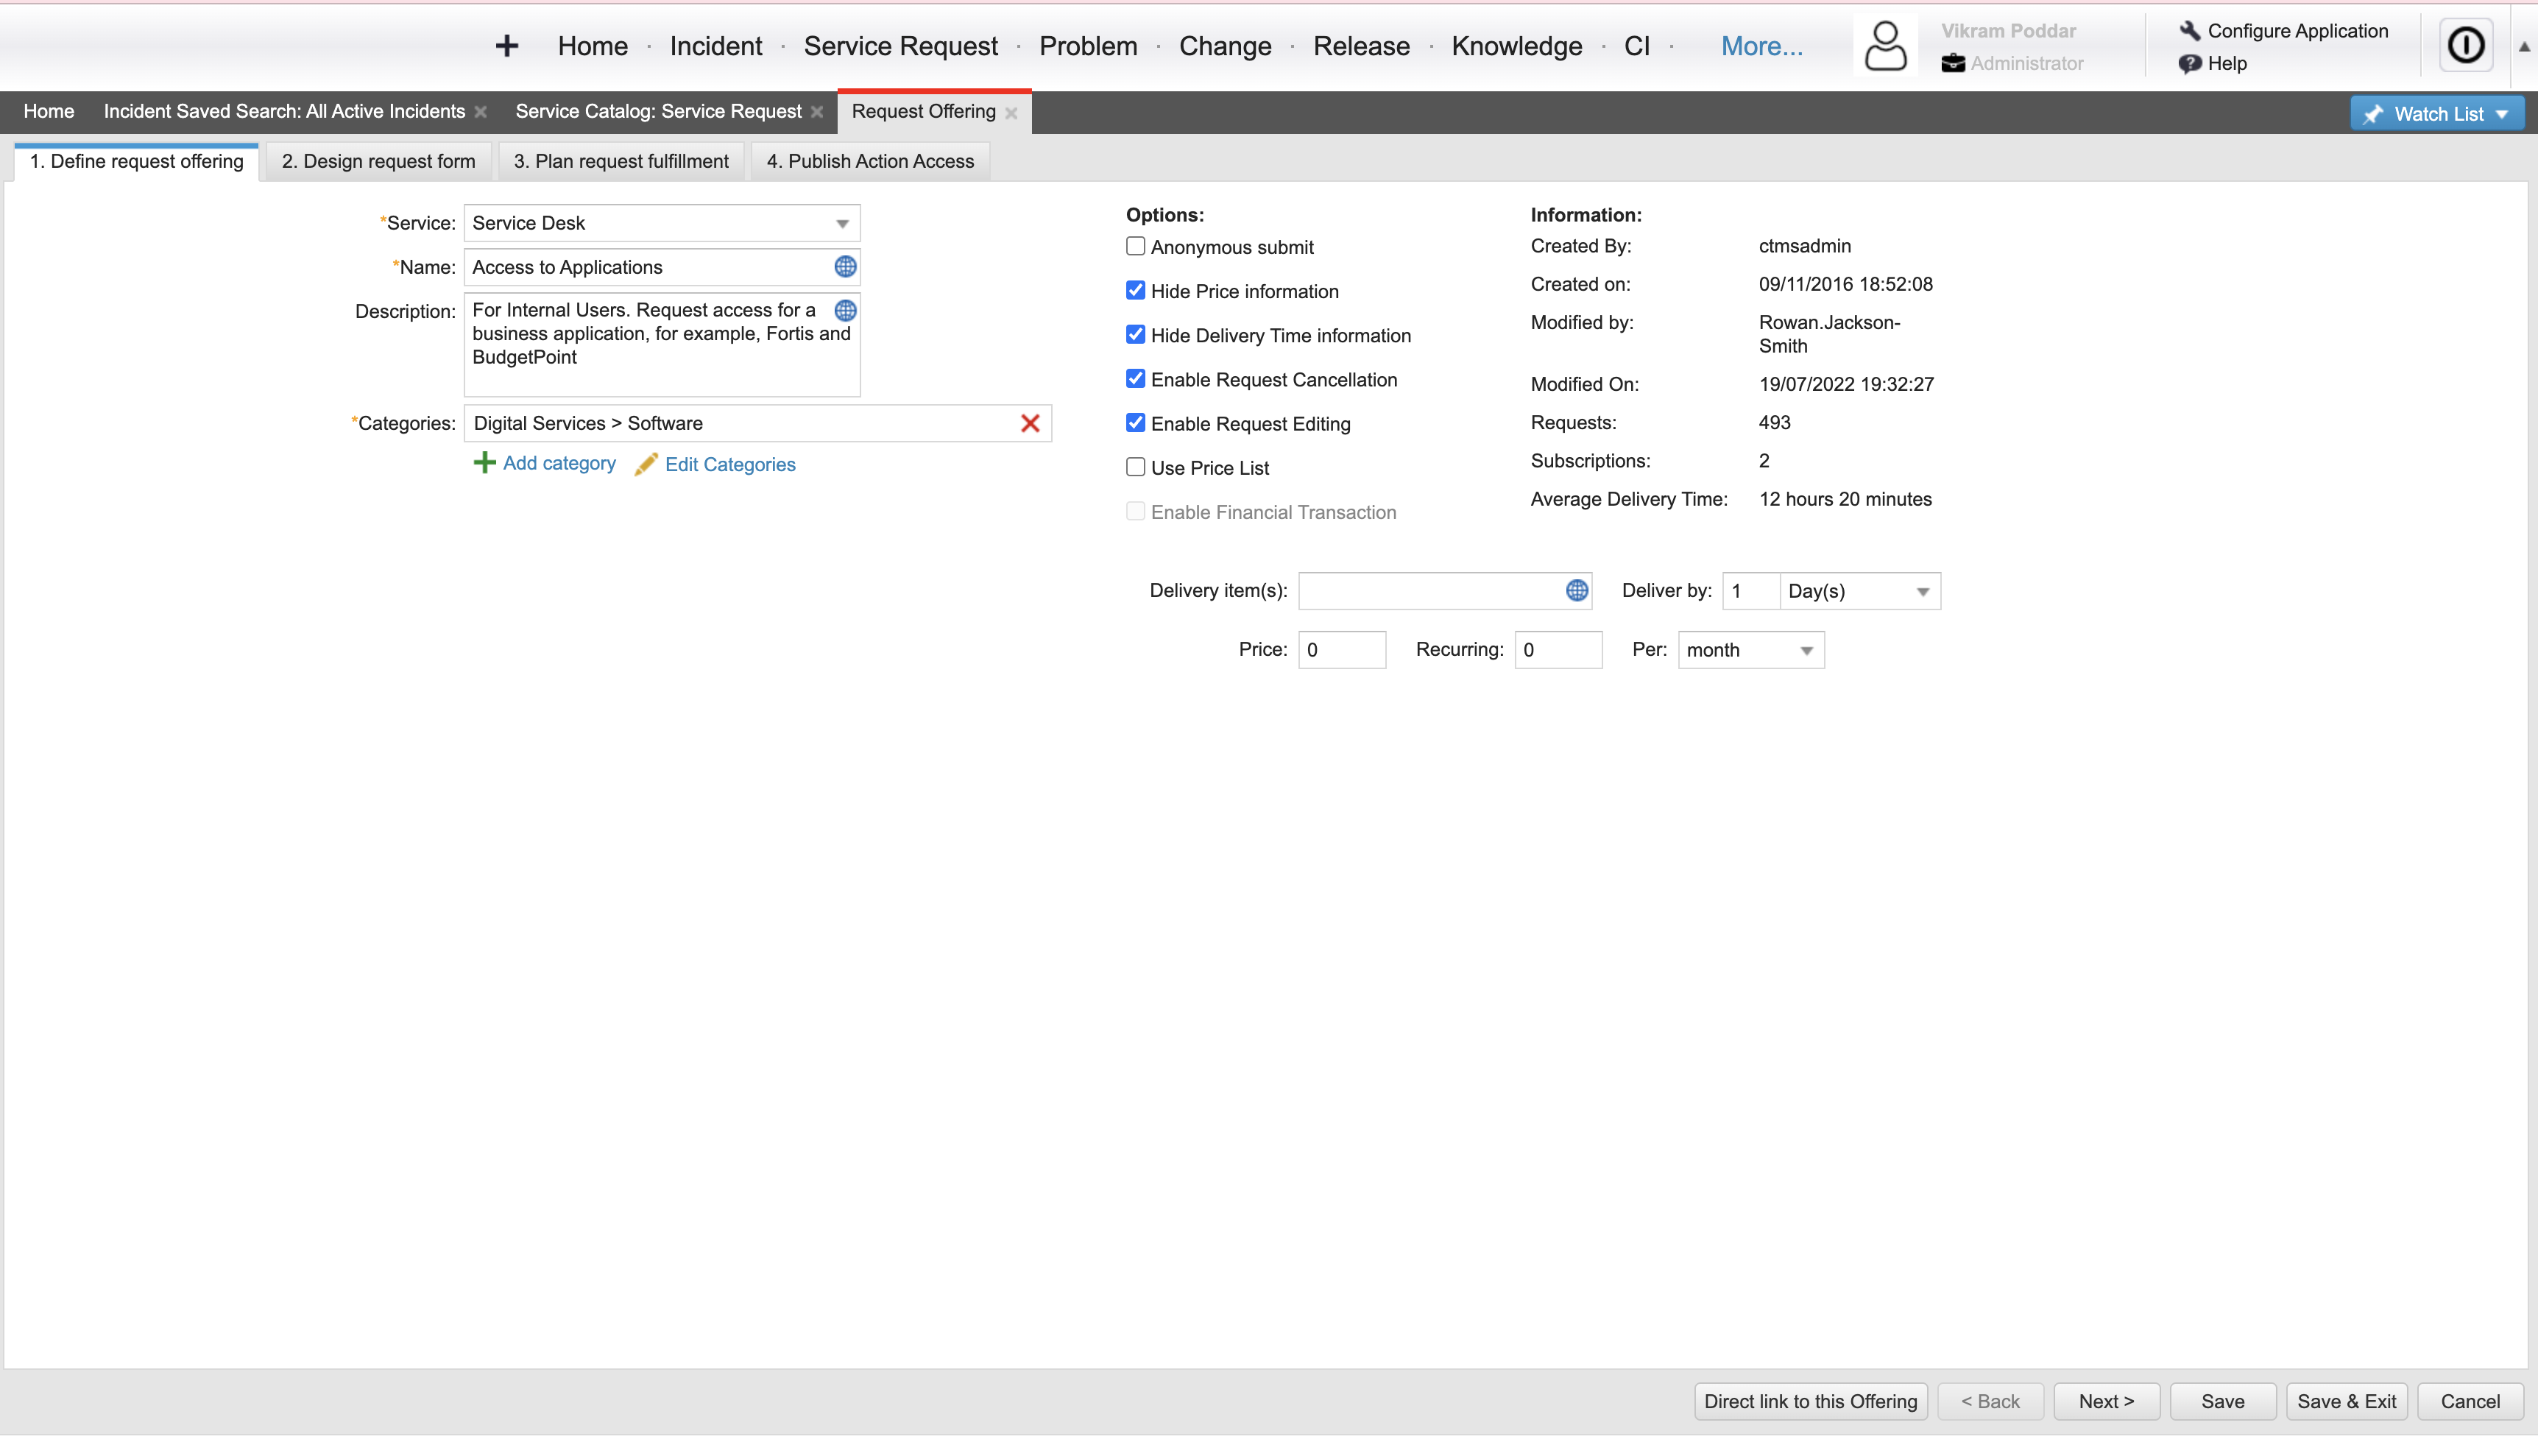
-
In the Define request offering tab click the Direct Link to this offering button.
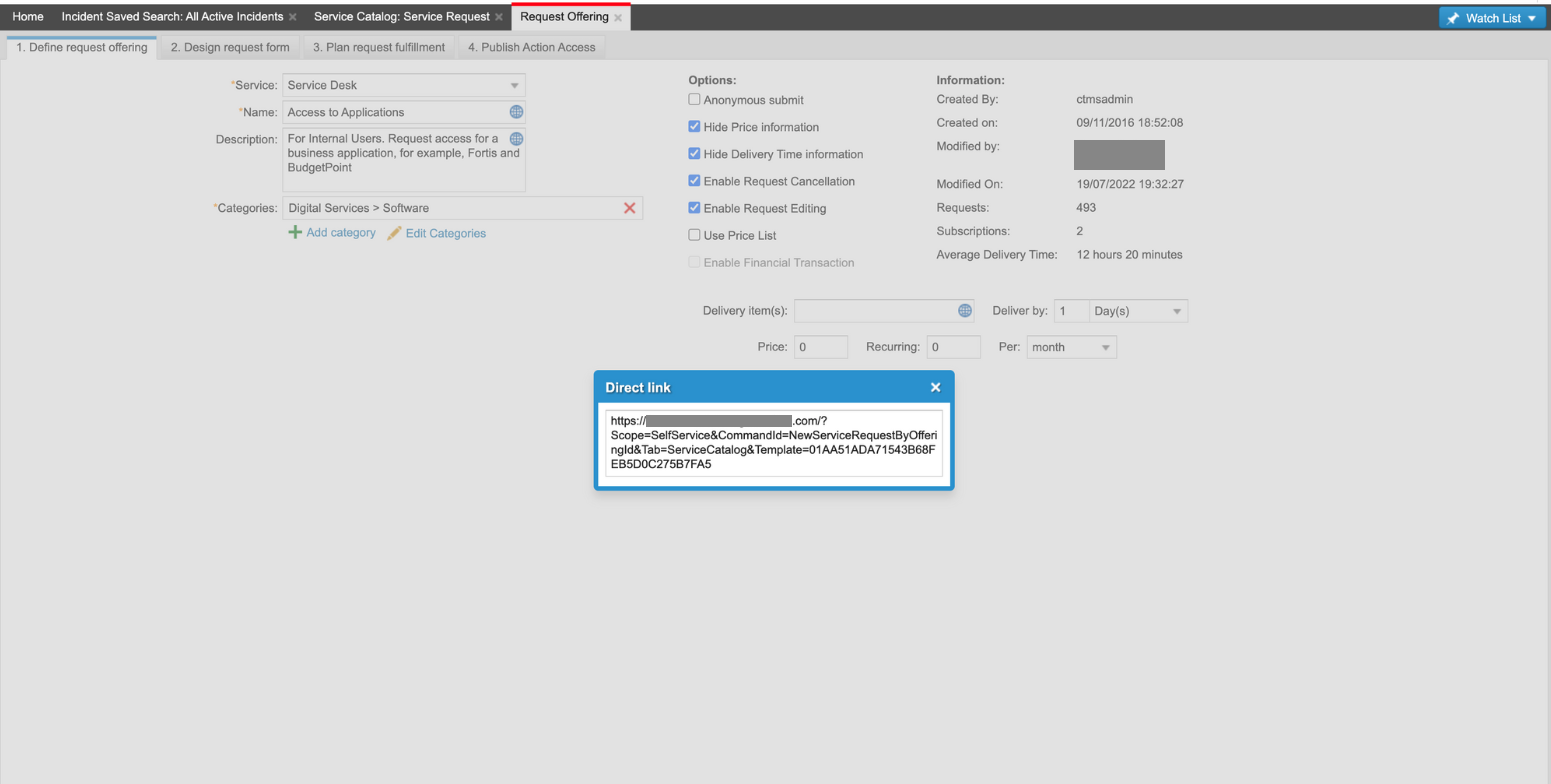
-
Copy the Direct link.
-
Repeat steps 4 through 6 for all forms.
Updated 9 months ago