Create a Conversational Process
In this exercise we will include the Actions and Data Type in a Conversational Process. This will allow us to have control over the logic and execution of one or more actions.
-
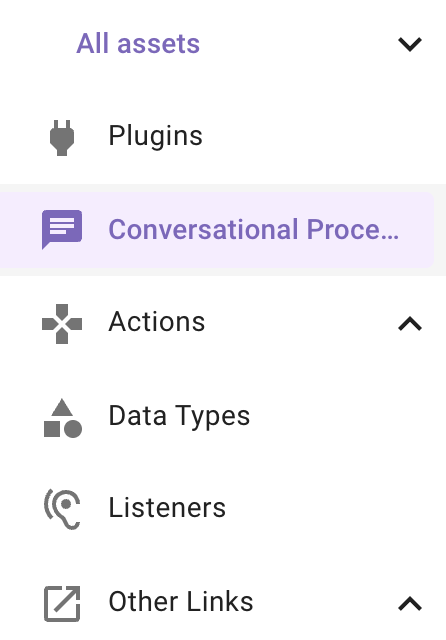
In Agent Studio, navigate to Conversational Process
-
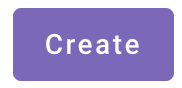
On the top right, click the “CREATE” button
-
Name the conversational process with the same naming convention we used to build an action. . Add the description as seen below as well.
Or copy paste from here: firstname_lastname_create_change_request Creates a Change Request in ServiceNow and assesses risk based on historical data
-
Before we begin, we must determine the inputs we need before running the process. In this case, we need 2 inputs:
- The Configuration Item object - The Configuration Item related to the CR
- The short description - a string representing the feedback comment
-
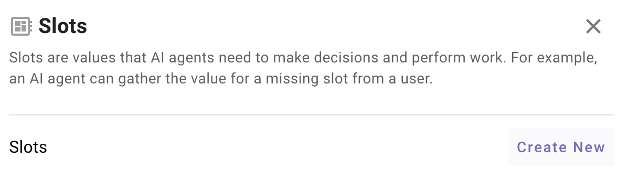
Click on “Slots” and you should see this dialog. We will create 2 new slots and you do this by clicking “Create New”

-
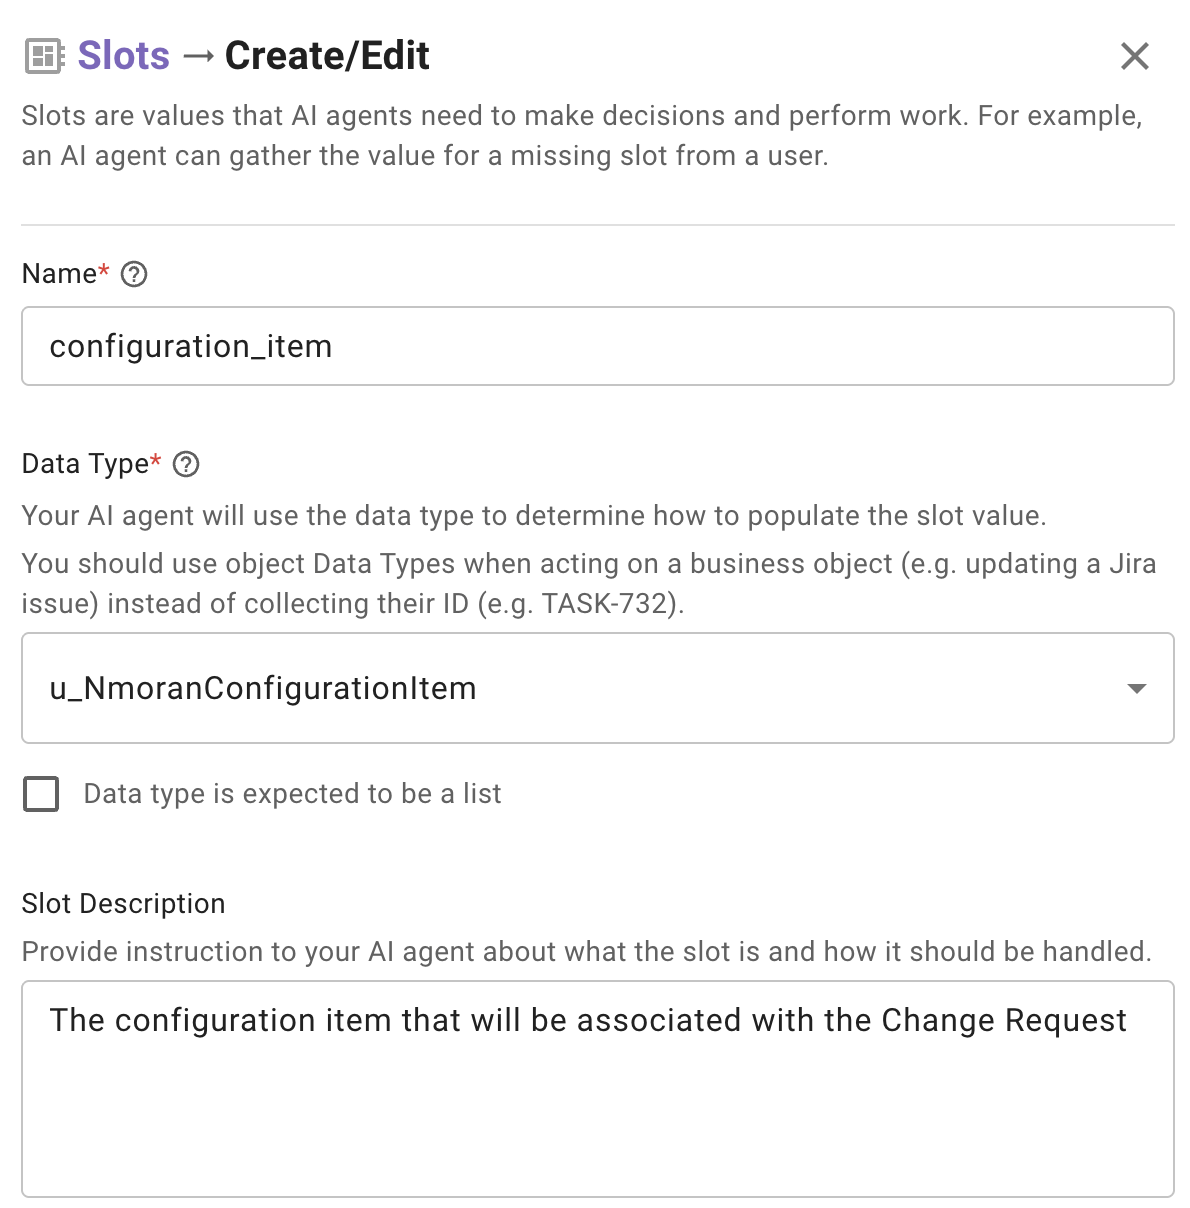
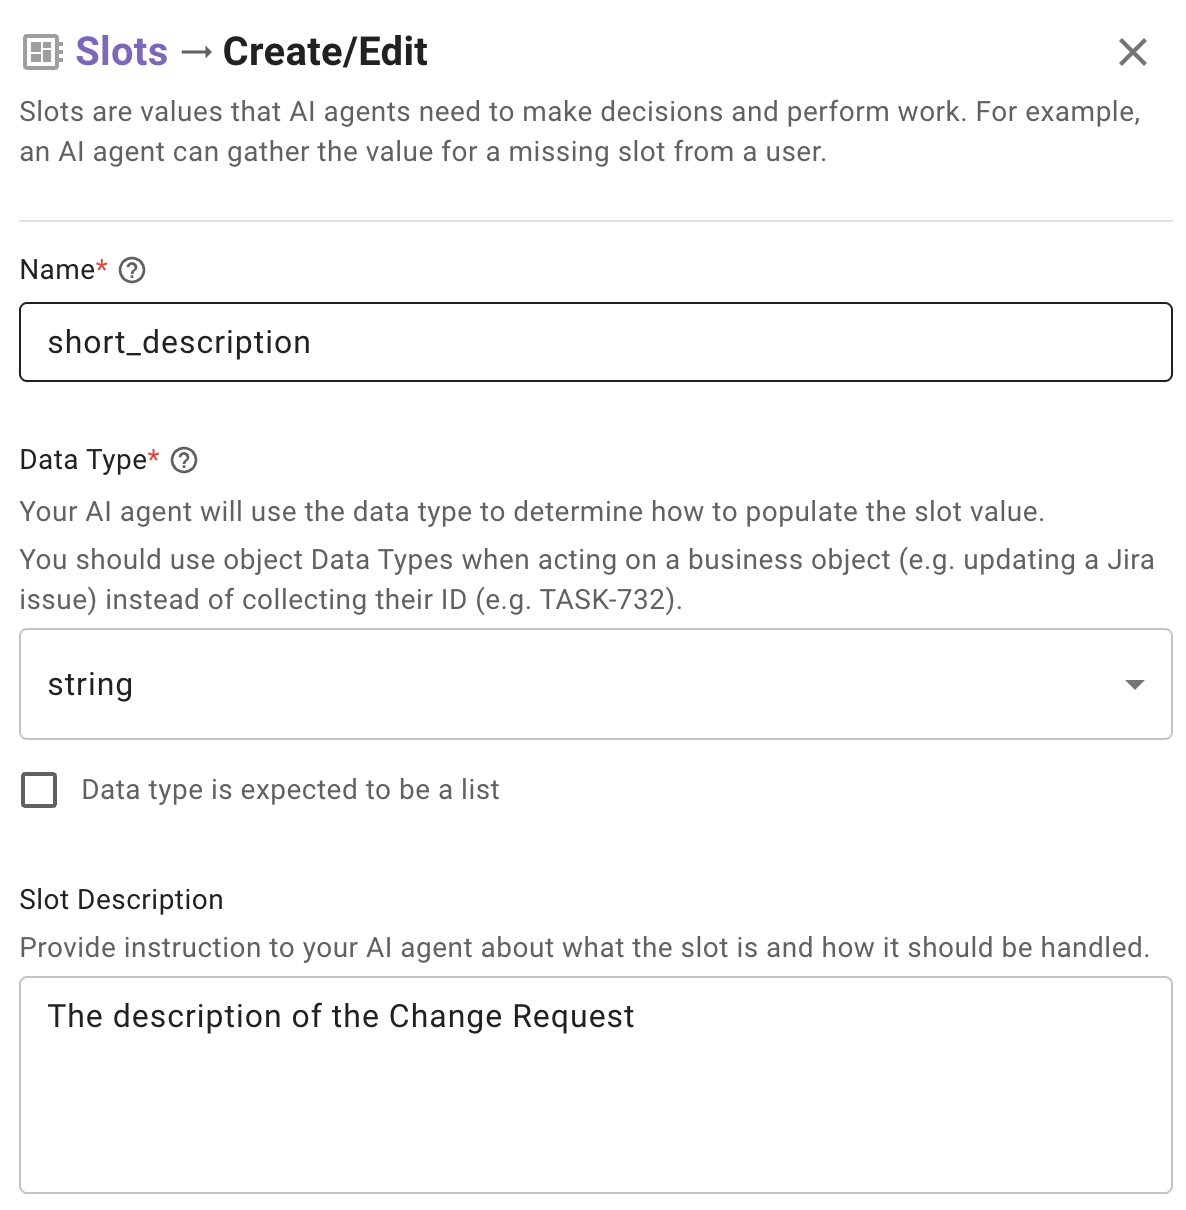
When creating each slot, you will name the input variable, here I named it configuration_item. For the Data Type, choose the data type you just created for the Configuration Item. Add a clear description in “Slot Description”. Leave everything else as is and click the “X” button on the top right. We will do the same for the short description variable of type “string”.
-
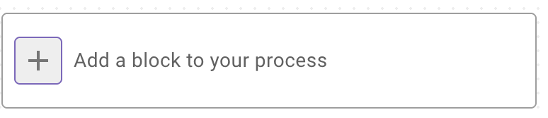
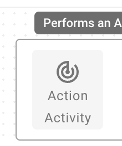
Now that we have our inputs or “Slots” defined, we can proceed with building the conversational process. Click “Add a block to your process” and then “Action Activity”
-
The first step in the process will be to look up the CR close notes based on the related Configuration Item. In the “Action” section, start typing your name to see the Actions that you built and are available to you.

-
Select the “Firstname_Lastname_lookup_cr_notes_by_ci” action.
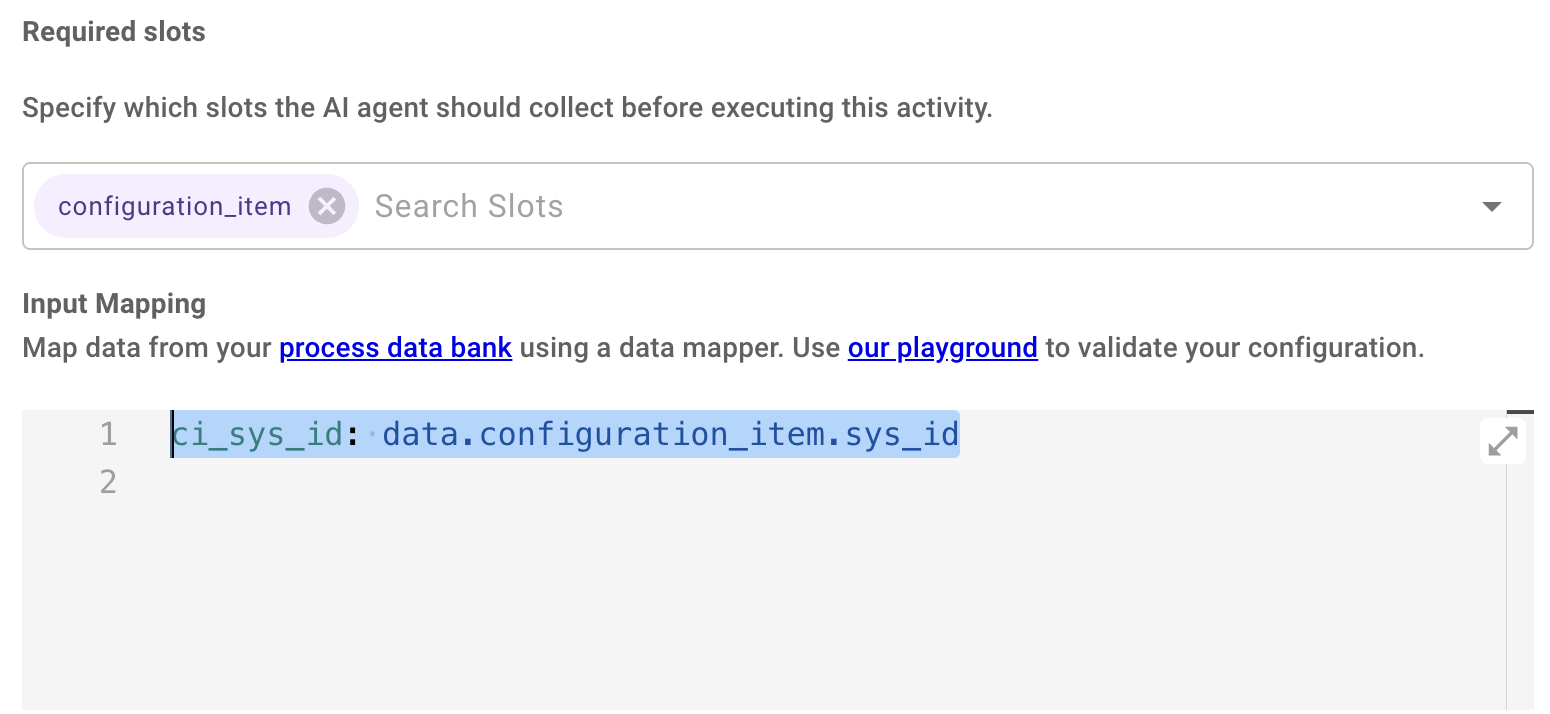
Under “Required Slots” select “configuration_item”. (or whatever you named your variables if different). This action only requires this slot as an input to perform this action.
We only collect 2 inputs at the conversational process. Because we are going to determine risk by feeding close notes to the LLM, we will imply this field rather than having the user explicitly give it to us.
Slots at the Conversational Process Level are referenced using “data.”
Since this HTTP Action requires a ci_sys_id as input, we are going to extract it from the data object we received as an input slot. Our data “Input Mapping” should look something like this
-
Scroll down to the “Output Key” section. Enter historical_data as the output name. This output key is typically used when passing outputs of one action as inputs to another. We will be storing it in a variable named historical_data so we can use it in the next step. You can leave “Output Mapping” blank.

-
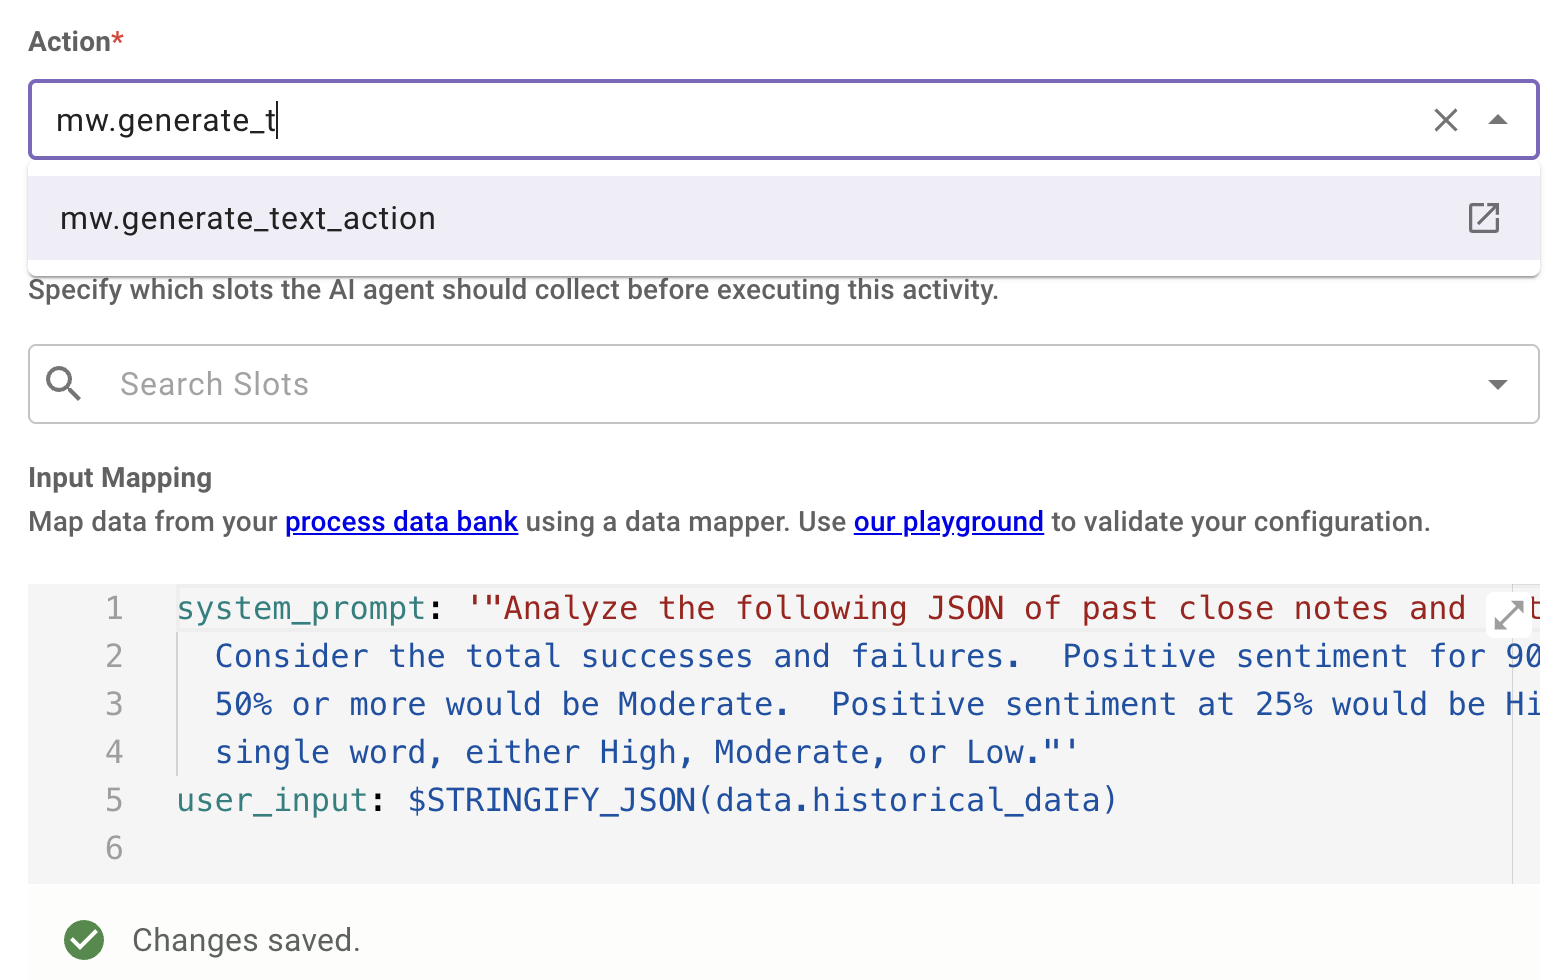
We will now use a Moveworks LLM Action. This is not an HTTP call, rather a built-in action from Moveworks that enables tasks such as summarization, reasoning, classification, data extraction, and content generation, allowing you to build workflows without custom integrations. In this case we are going to use the “Generate Text” action.
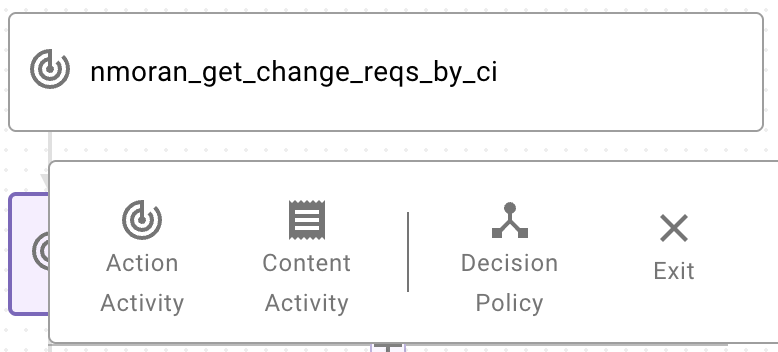
Click the + button below your first action and choose “Action Activity”
- Choose mw.generate_text_action and Input mapping copy and paste the following code snippet. We are using the generate text action to give the system a prompt about how it should evaluate risk based on it’s analysis of the close notes. This is adjustable based on your business needs but serves as an example of how the Moveworks actions can be invoked during a conversational process. There are only 3 risk possibilities - High, Moderate or Low, so we are instructing the model to only give us one of those values based on it’s evaluation. The user_input is the input to the model. Notice that we are passing the historical_data variable that contains all of the close notes from the previous action.
-
Name your variable risk_result as we will need to reference the output of this action in the next step.

-
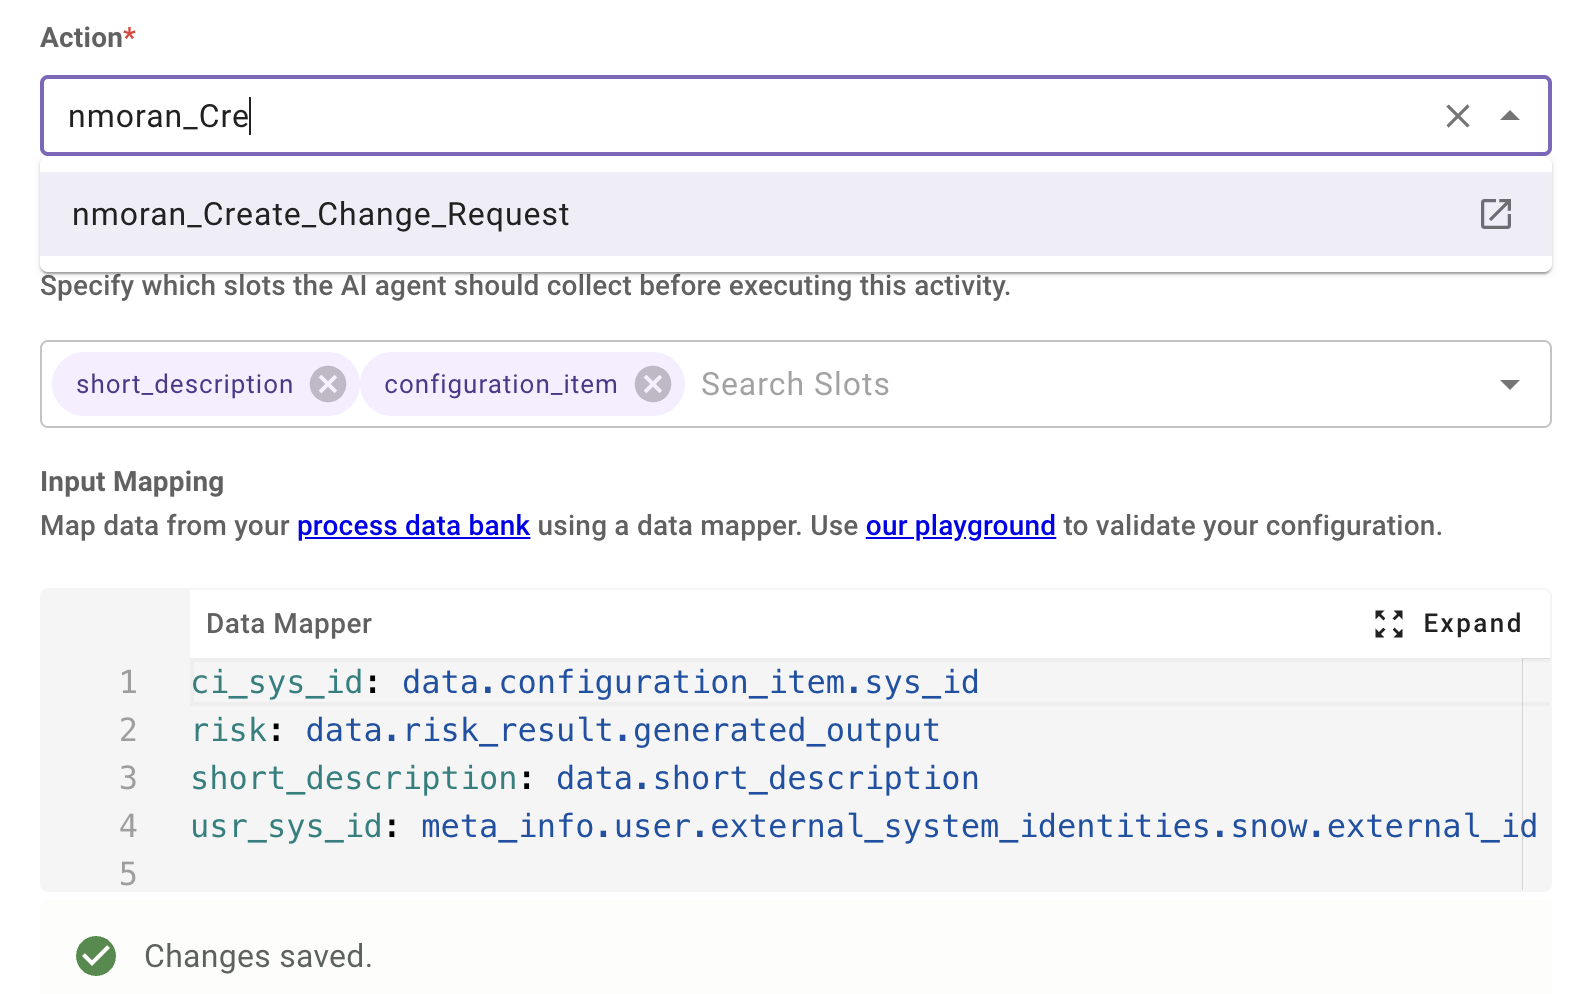
Click the + button below your mw.generate_text_action and choose Action Activity again. Here we will create the Change Request with the assessed risk. Find your Create Change Request HTTP Action in the drop-down. For required slots we will need both short_description and configuration_item. Copy and paste this code snippet into your Input Mapping (assuming you named the variables the same).
NOTE: we are retrieving the sys_id from the configuration_item_object after Moveworks resolved the entity using the Resolver Strategy. Risk is coming from the generate_text_action, and short_description is captured directly from the user as input. The user_sys_id is inferred by referencing your unique sys_id from the Moveworks Unified Roster.
-
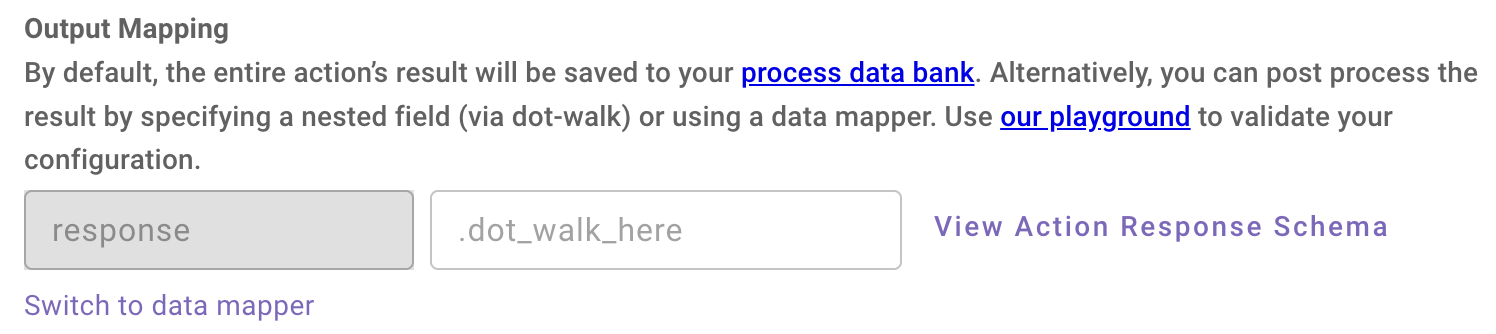
Scroll down to Output Mapping and choose “Switch to data mapper”. The purple text at the bottom of the screenshot.
-
In the text box, copy and paste the following code snippet. Output mapping occurs when you don’t necessarily show all the data that comes back from the Create CR POST method. In this case, we just want to tell the user the category, number, priority, assessed risk, short description and a link directly to the created CR. “response” is an Agent Studio keyword that allows us to directly access the output that came out of the action. From there, we can “dot walk” the payload to pick and choose what we’d like to show the user - which gives us control of what the model is going to show.
-
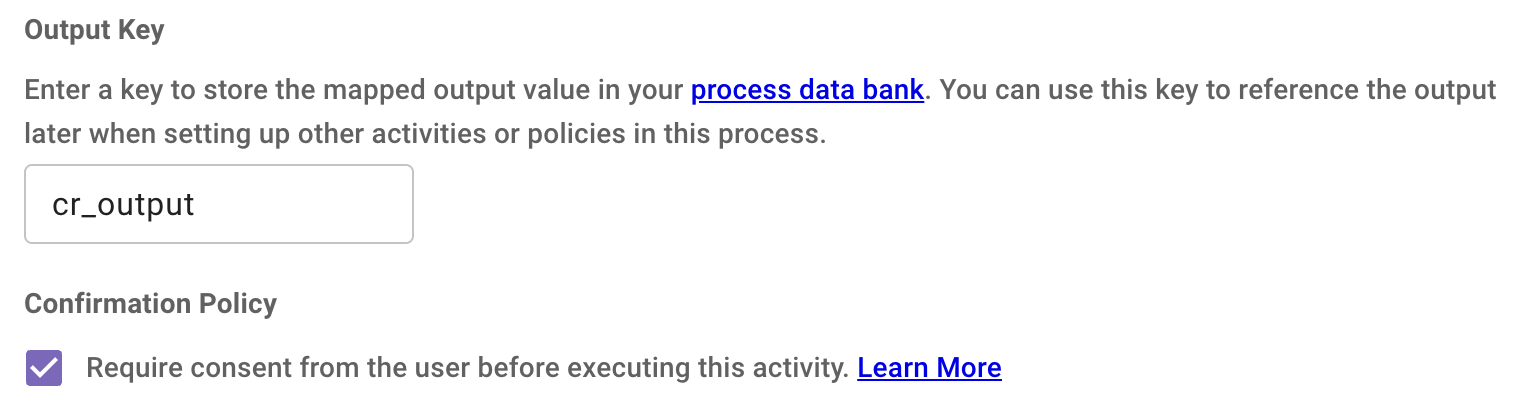
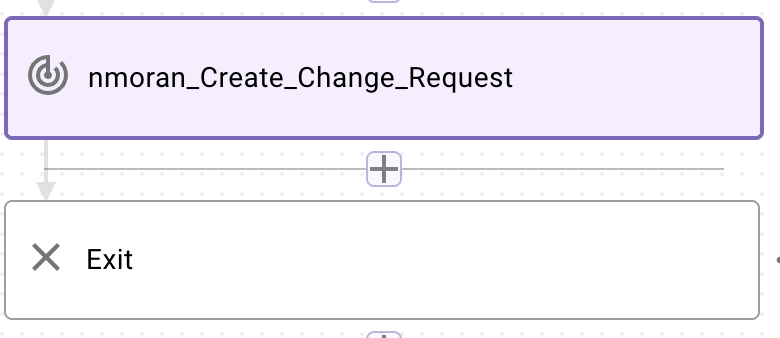
Name your output cr_output or something similar. Also make sure to check the box Require consent from the user before executing this activity. This ensures that this process is confirmed with the user before actually executing the action. Finally, click the + button under your last action and choose the “Exit” block to finalize the process.
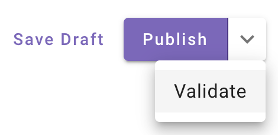
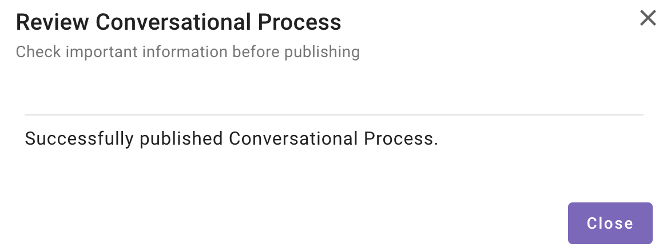
- Click “Save Draft” then “Validate” on the top right. If the validation is successful click “Publish” and you should see this.