Single Tenant Microsoft Teams Moveworks Setup Guide
This guide explains how to set up a single Microsoft Teams chatbot in Moveworks. It covers connector creation, identity ingestion, service account configuration, chatbot setup, roster validation, and notification routing.
Implementation Steps
Step 1: Create MS Teams Connector
-
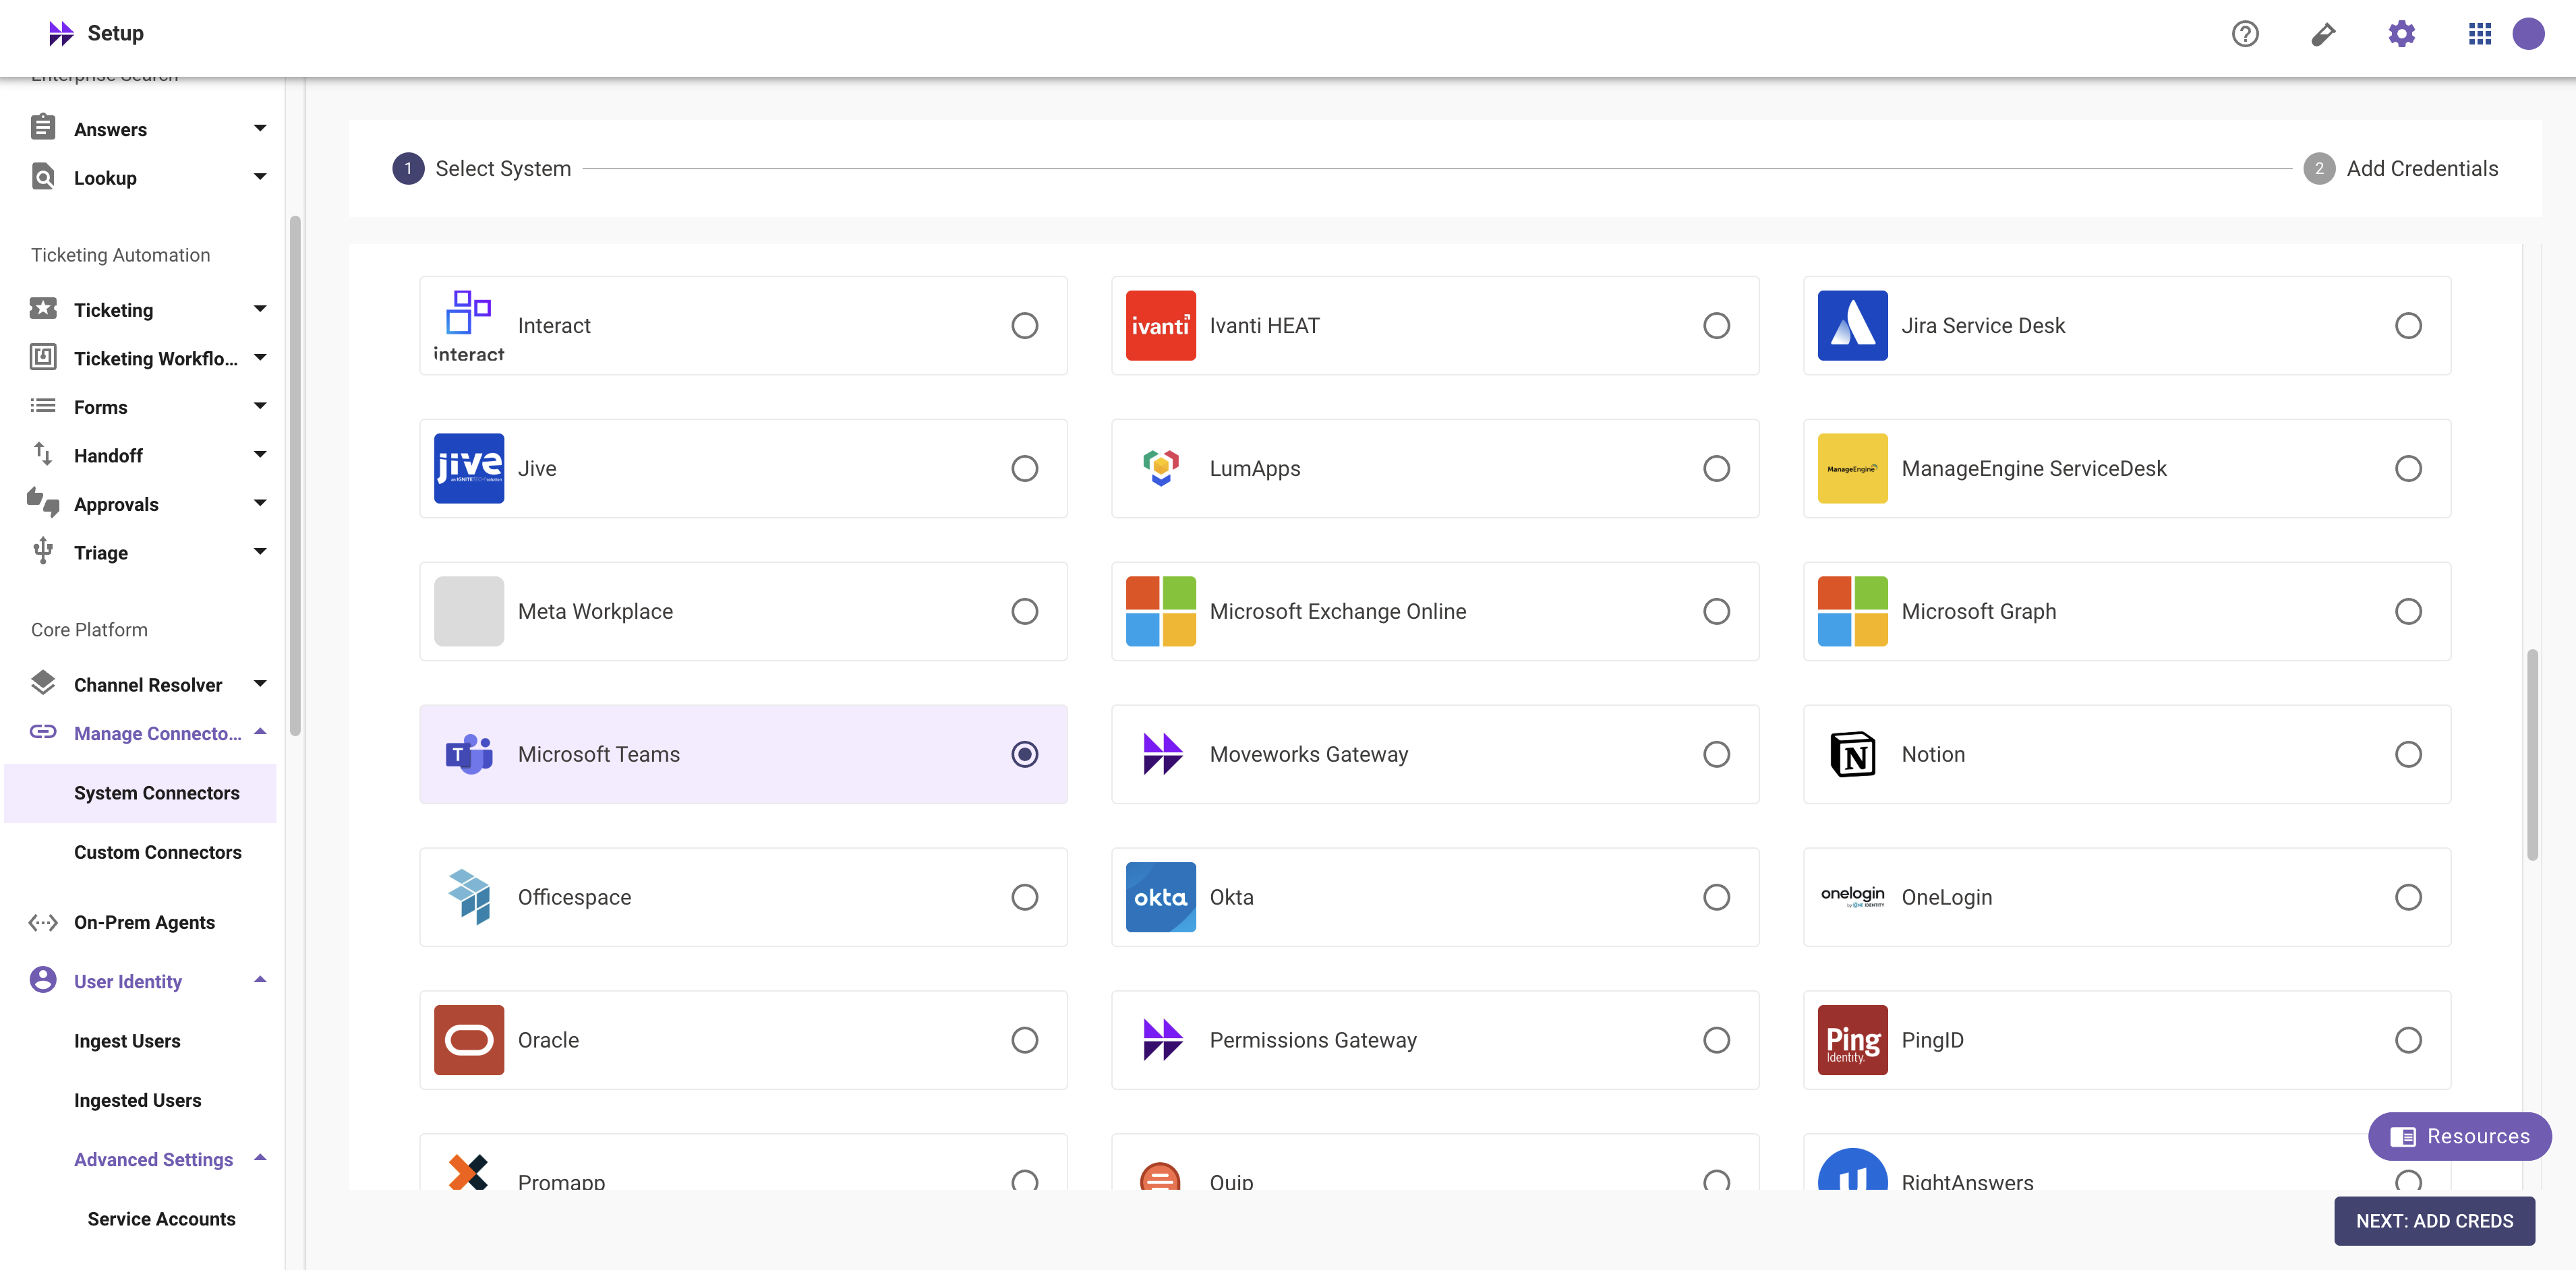
Navigate to Moveworks Setup Portal. Go to Core Platform > Connectors > Built-in Connectors and select Microsoft Teams.
-
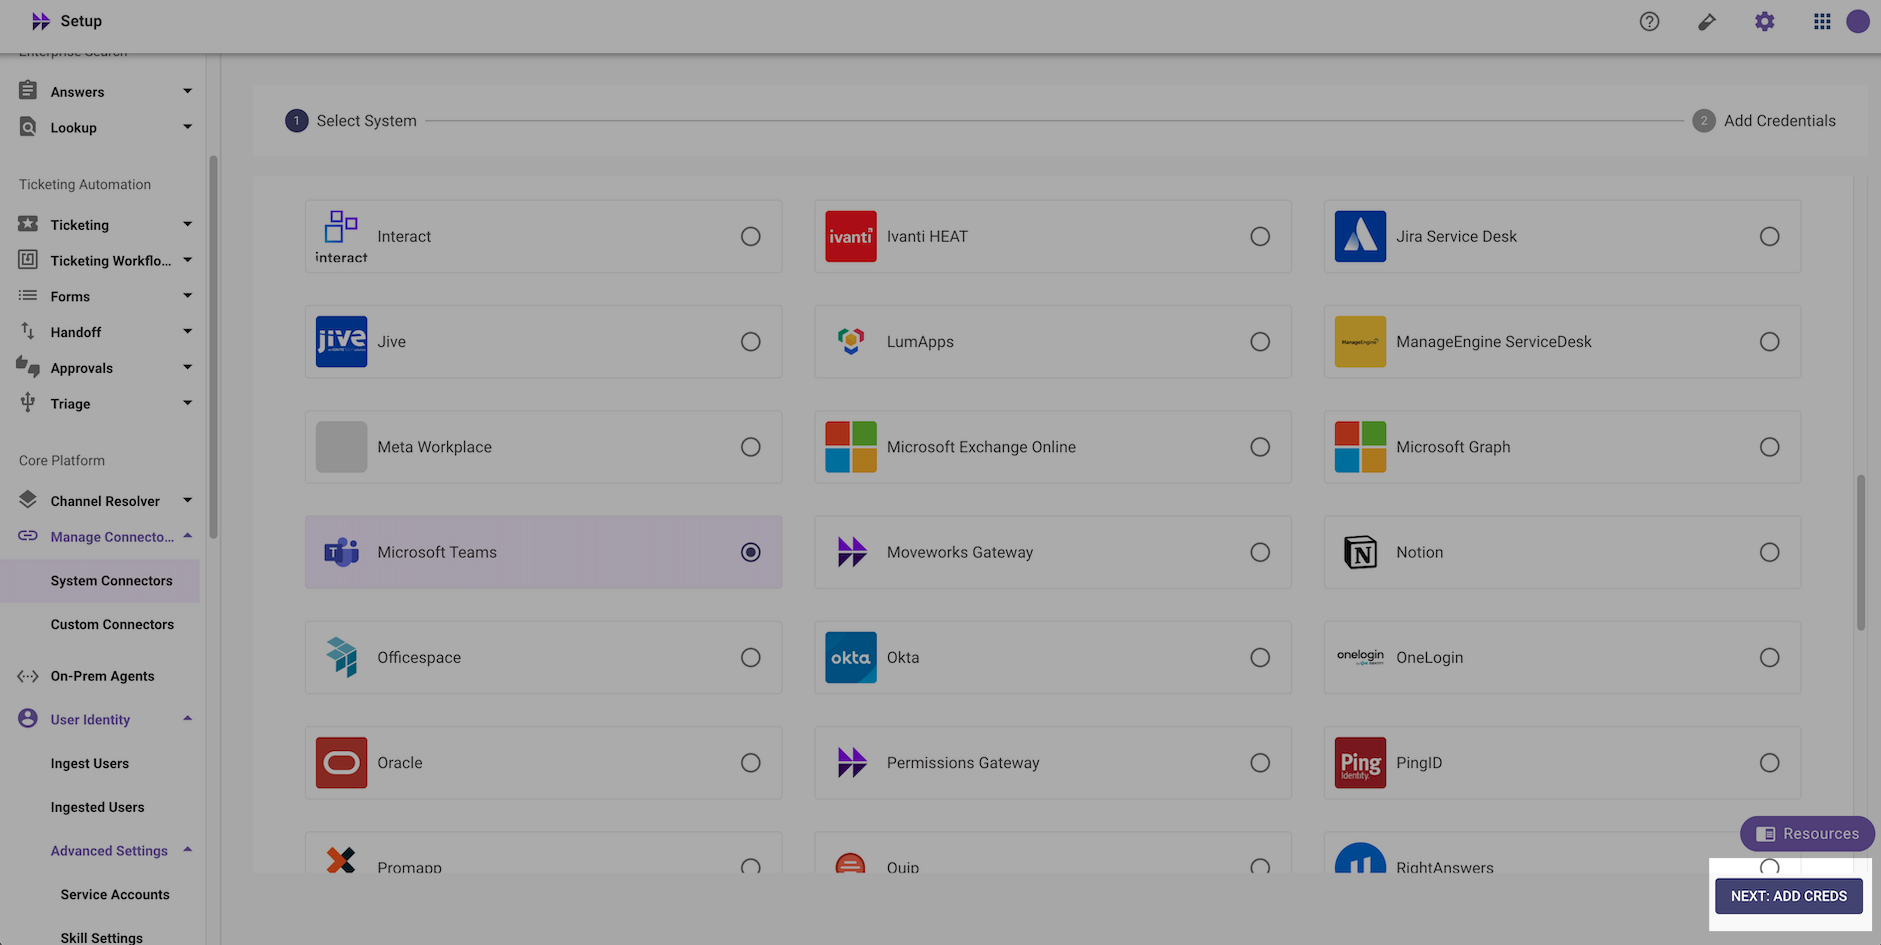
Click on NEXT: ADD CREDS
-
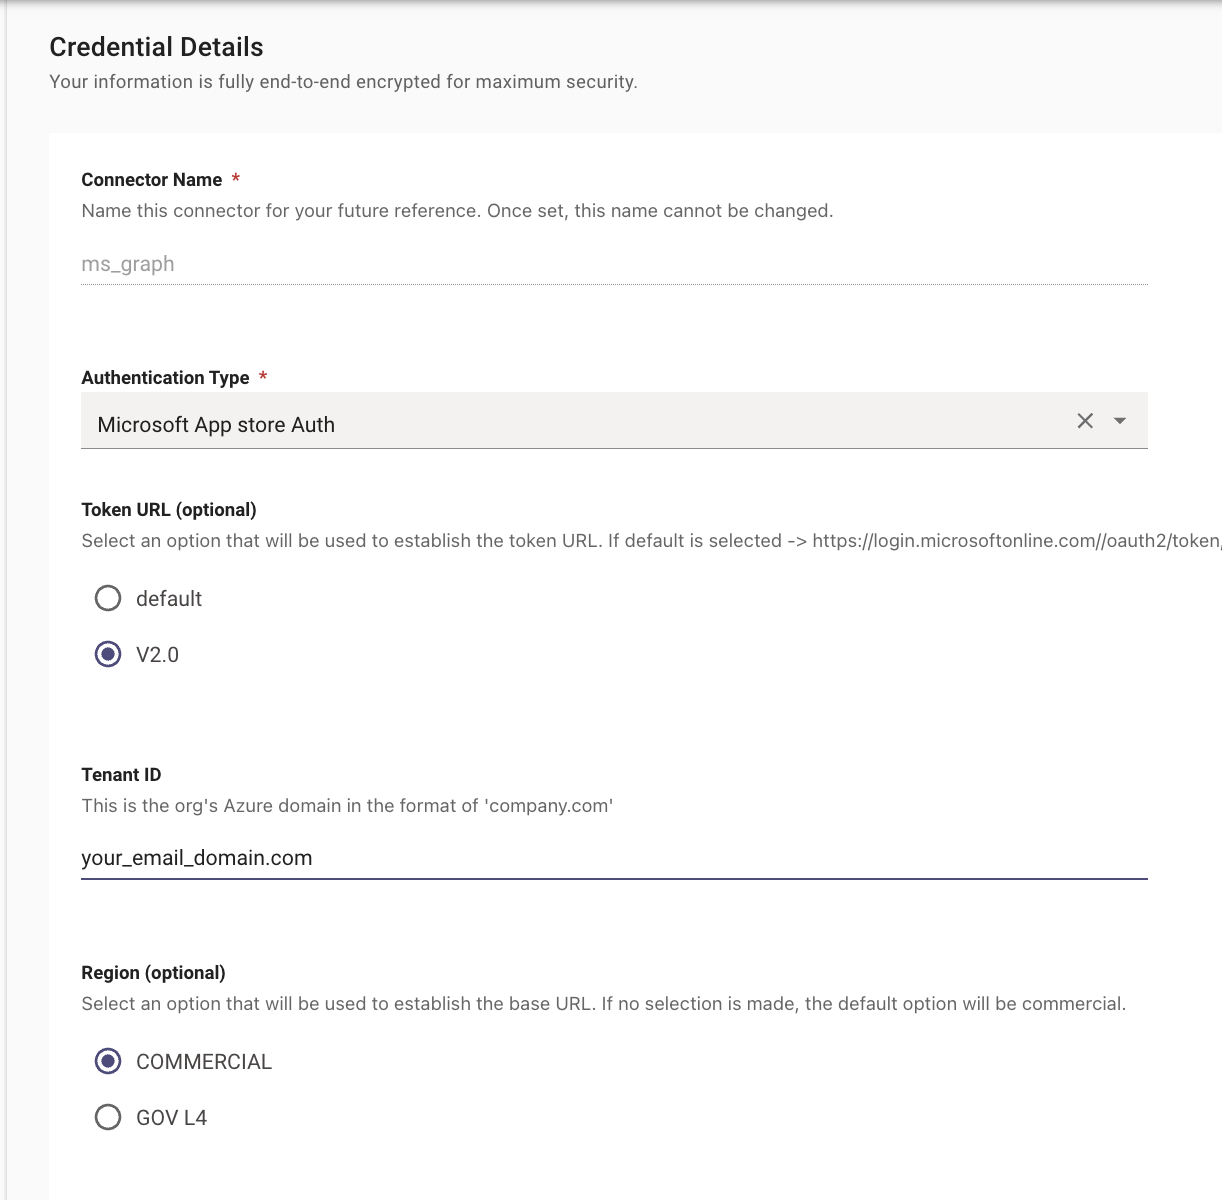
Name the connector “msteams” and for the Authentication Type select Microsoft Bot App Store Auth if you are leveraging the Microsoft Teams App Store, then Click Save.
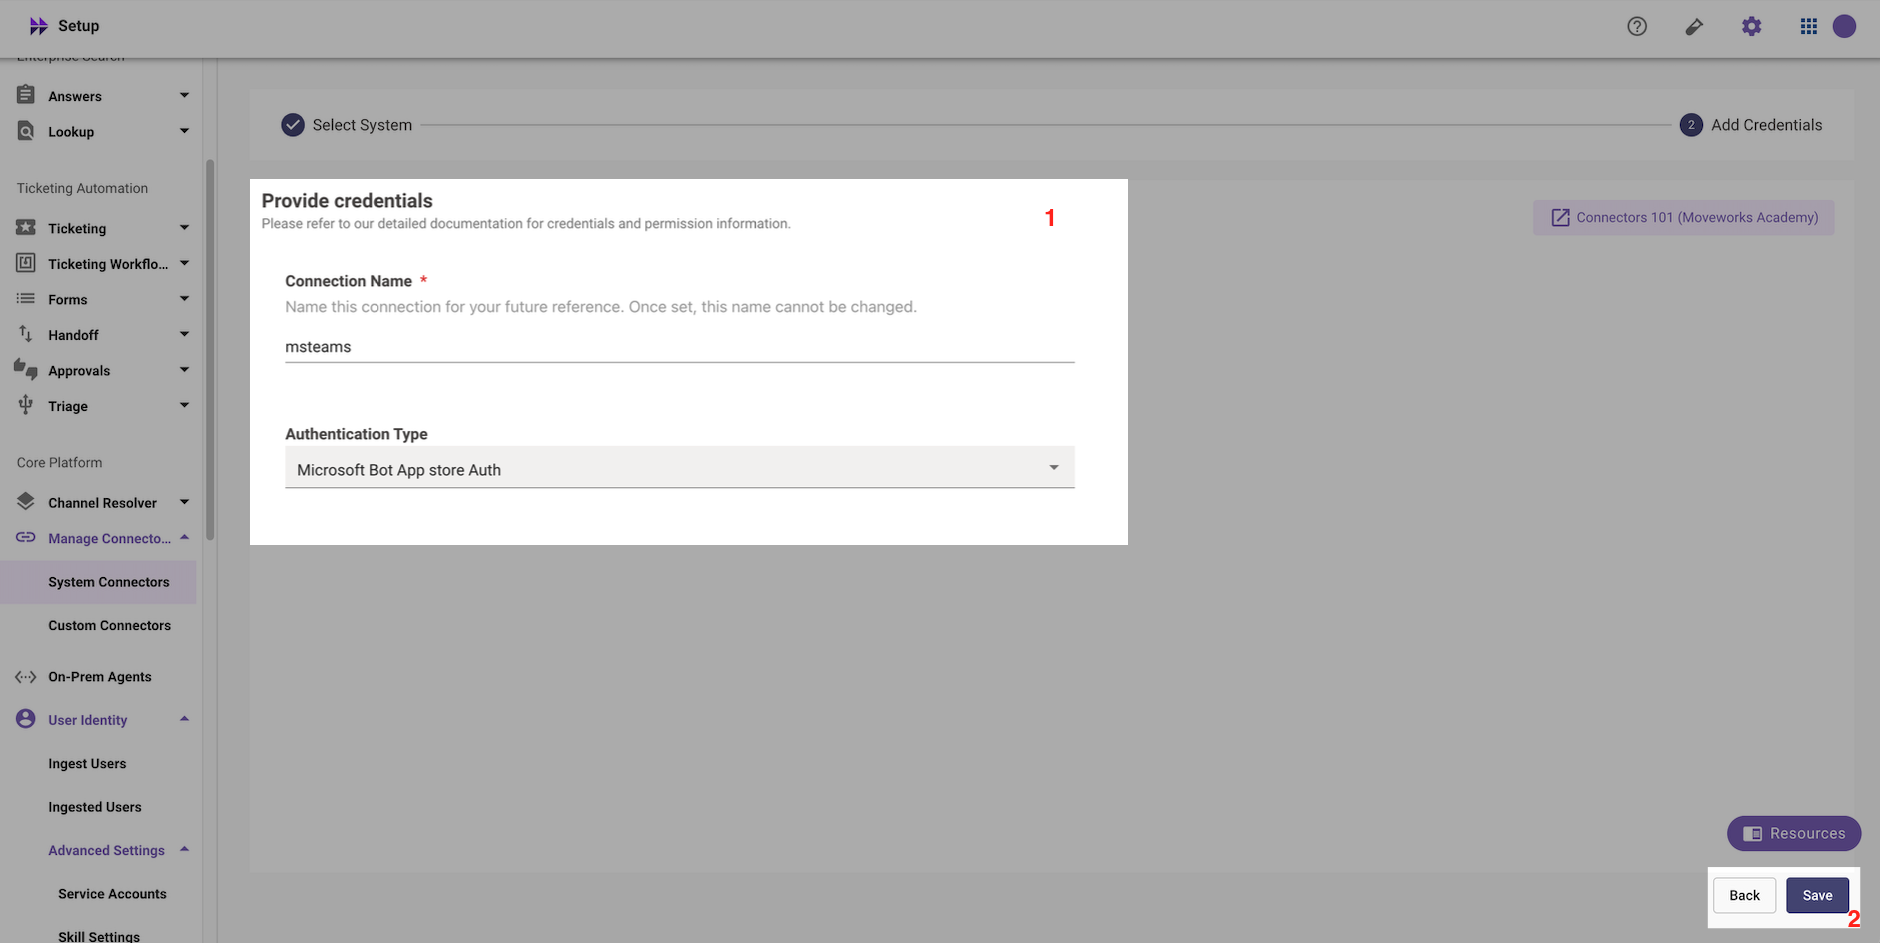
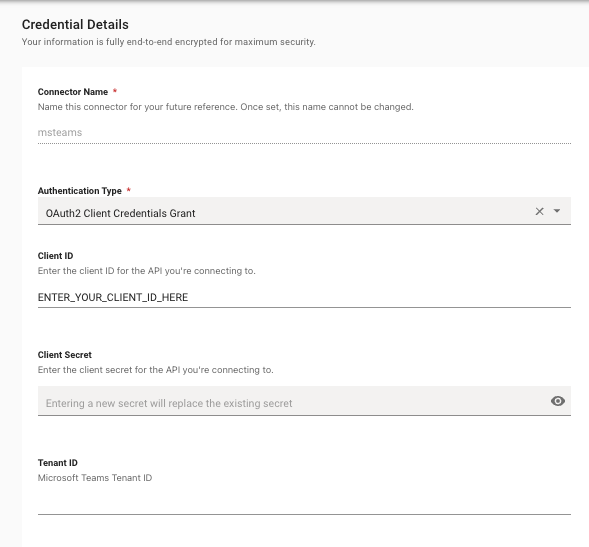
If you are configuring a Non-App Store based installation for a Moveworks sandbox, EU, GovCloud, AU, or CAC based installation you should use OAuth2 Client Credentials Grant.
Certificate-based authentication (Microsoft Entra ID) is also supported. To use it, select OAuth2.0 with JWT Client Assertion as the Authentication Type and provide:
- Application (client) ID — from your Microsoft Entra app registration’s Overview page.
- X.509 Certificate SHA-256 Thumbprint (x5t) — the SHA-256 thumbprint of the certificate uploaded to Microsoft Entra.
- Private Key — the PEM private key that corresponds to that certificate.
- Tenant ID — your Microsoft Teams tenant ID.
For steps to generate the certificate, private key, and x5t thumbprint, see Generating a self-signed certificate, private key, and x5t thumbprint below.
Step 2: Create MS Graph Connector
Similarly, add an MS Graph connector named msgraph. This connector handles identity/user data ingestion from your Microsoft / Entra tenant.
For the Authentication Type, select Microsoft App store Auth if you are leveraging the Microsoft Teams App Store. For the Tenant ID, use the Primary domain of your Entra/Azure tenant (in the format company.com).
If you are configuring a Non-App Store based installation for a Moveworks sandbox, EU, GovCloud, AU, or CAC based installation you should use OAuth2 Client Credentials Grant and enter in the information from the AzureBot you created by following the steps here: Create the Azure Bot in your tenant.
Certificate-based authentication (Microsoft Entra ID) is also supported. To use it, select OAuth2.0 with JWT Client Assertion as the Authentication Type and provide:
- Application (client) ID — from your Microsoft Entra app registration’s Overview page.
- X.509 Certificate SHA-256 Thumbprint (x5t) — the SHA-256 thumbprint of the certificate uploaded to Microsoft Entra.
- Private Key — the PEM private key that corresponds to that certificate.
- Tenant ID — your Entra/Azure tenant’s Primary domain (in the format
company.com). - Region (optional) — select
COMMERCIAL(default) orGOV L4.
For steps to generate the certificate, private key, and x5t thumbprint, see Generating a self-signed certificate, private key, and x5t thumbprint below.
Finding your Tenant ID and Primary domain
To find a tenant ID and a primary domain name, use the following steps:
- Sign in to the Azure portal.
- Select Microsoft Entra ID from the hamburger menu in the top left.
- The Microsoft Entra ID Overview page appears. To find the Microsoft Entra tenant ID or primary domain name, look for Tenant ID and Primary domain in the Basic information section.
You can also find a tenant ID in the Azure portal in other ways:
- Select Microsoft Entra ID from the menu. Then, locate the Manage section on the menu and select Properties. The Properties page also displays a user’s associated Tenant ID.
Generating a self-signed certificate, private key, and x5t thumbprint
If you selected OAuth2.0 with JWT Client Assertion for either connector above, use the steps below to generate the credentials. You need:
- Public certificate (
certificate.cer) — uploaded to your Microsoft Entra app registration. - Private key (
privateKey.pem) — uploaded later in the Moveworks connector.
1. Generate the certificate and private key
macOS/Linux (OpenSSL)
Windows (PowerShell)
Verify the file formats before continuing:
- The certificate must start with
-----BEGIN CERTIFICATE-----and end with-----END CERTIFICATE-----. - The private key must start with
-----BEGIN PRIVATE KEY-----and end with-----END PRIVATE KEY-----. It must not includeRSAin the headers, and must not be encrypted.
Store the private key securely — you will upload it when creating the connector in Moveworks.
2. Bind the certificate to your app
In your Microsoft Entra app registration, go to Certificates & secrets → Certificates → Upload certificate and upload the certificate.cer file.
3. Compute the x5t (SHA-256) thumbprint
macOS/Linux (OpenSSL)
Windows (PowerShell)
Note down the resulting x5t value — enter it in the connector’s X.509 Certificate SHA-256 Thumbprint (x5t) field.
Step 3: Add MS Graph Connector to Identity Configuration
Navigate to Core Platform → User Identity → Import Users, click Add Identity Source, and select the msgraph connector as the source. Add the user_id_info.channel_id_info for the msteams connector so Moveworks identity user records carry the Teams Channel ID.
Note: If your Moveworks org was created after May 2026, you will need to navigate to Core Platform → User Identity → Identity Configuration to add ms_graph as a connector leveraged in Identity Ingestion.
Note: MS Graph does not need to be added as the primary source connector.
Step 4: Create Chatbot Config
Navigate to Setup → Manage Chatbots → Chatbots, click Add New Chatbot, configure it for the Teams tenant, and select the msteams connector created in Step 1. Note the integration_id for use in later steps.
Navigate to Chat Platforms > Manage Chatbots and configure your Chatbot with the following settings. Be sure to replace:
- Bot Name
- Bot Friendly Name
- Microsoft Teams Tenant ID
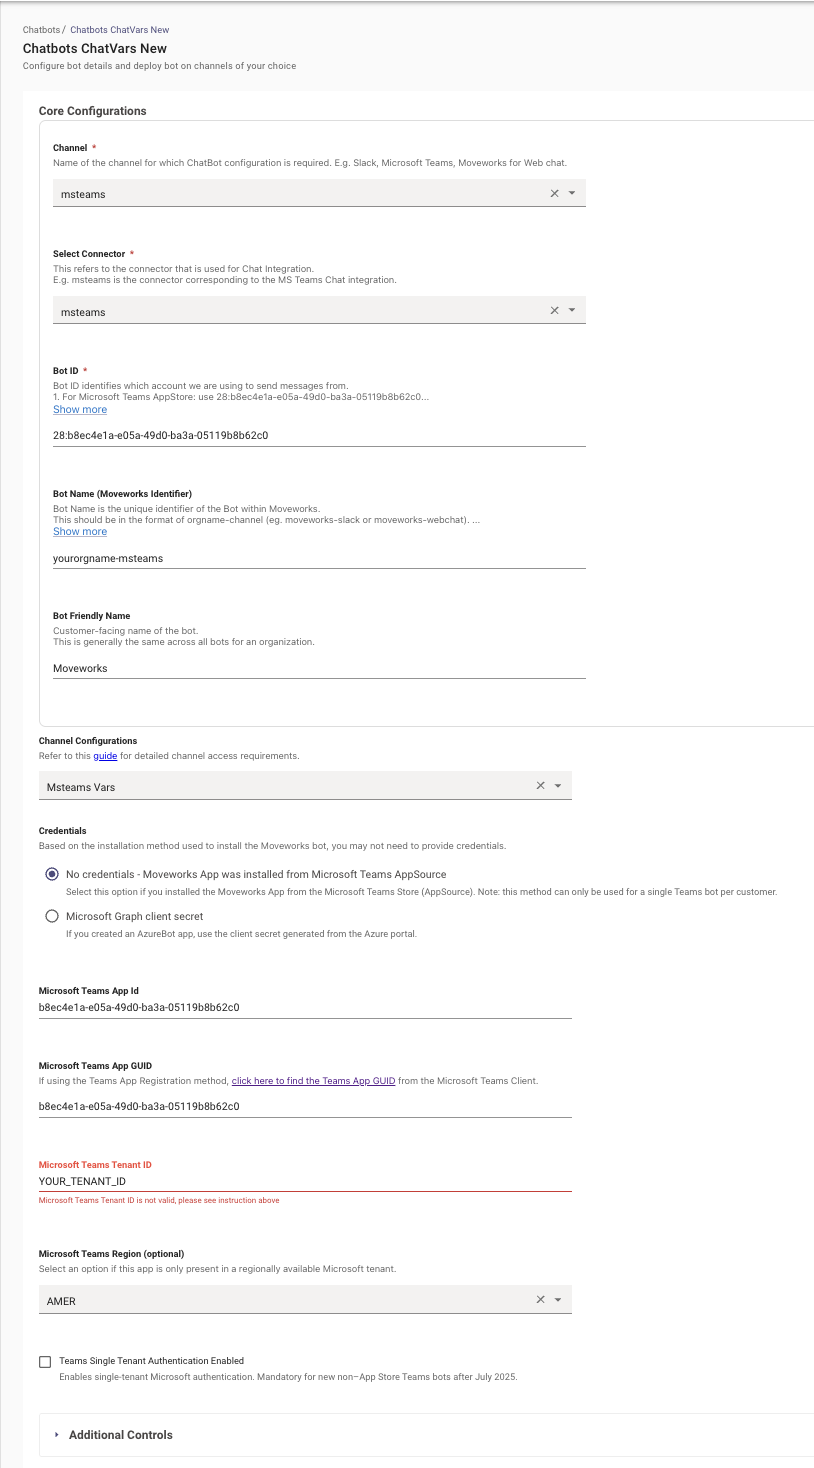
NOTE: For a Microsoft Teams App Store Installation, all other configurations should match the screenshot above exactly.
If you are configuring a Non-Appstore based Installation, be sure to update the Microsoft Teams App Id, and Microsoft Teams App GUID accordingly.
Certificate-based authentication (Microsoft Entra ID) is also supported in the chatbot configuration. Under Credentials, select OAuth2 Client Credentials with JWT Assertion and provide the X.509 Certificate SHA-256 Thumbprint and Private Key (PEM) from your Microsoft Entra app registration, along with the Microsoft Teams App Id, Microsoft Teams App GUID, and Microsoft Teams Tenant ID.
Step 5: Validate User Identity
Once 4 hours have passed, and Moveworks User Import has ran successfuly, navigate to Setup → User Identity → View Users and search for test users. Verify that expected users have a valid channel_id for the msteams integration and that the integration_id appears in user records.
Step 6: Configure Notification Routes
Navigate to Setup → AI Assistant → Notification Routes and confirm msteams is set as the bot channel for outbound notifications.