Build a Lookup Account HTTP Action
Build a Lookup Account HTTP Action
Let’s walk through a tutorial on building an action with Salesforce. In this case we will build the “Lookup Account By Name” action.
-
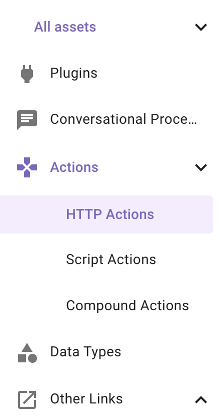
Once in Agent Studio, navigate to “HTTP Actions”
-
On the top right, click the “CREATE” button

-
Since we are using a shared Salesforce Sandbox instance, the connector has already been set up for you. Choose “Inherit from existing connector” and select “salesforce_developer_labs”.

-
After choosing this connector, you can see the Base URL is already populated for you as “https://moveworks—devlabs.sandbox.my.salesforce.com”. We are going to be using the “query” API in Salesforce in order to retrieve the account by name. The path for this is /services/data/v59.0/query

-
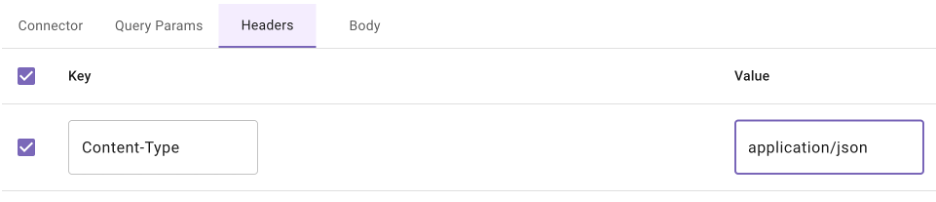
Now that we’ve set up the Auth, move over to the “Header” section and add the following key Content-Type and value application/json. This tells the Salesforce API it will be transacting in JSON.
-
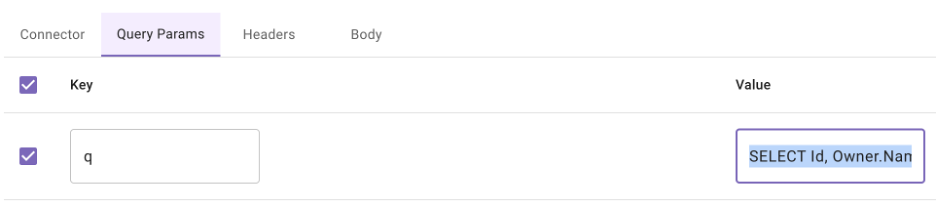
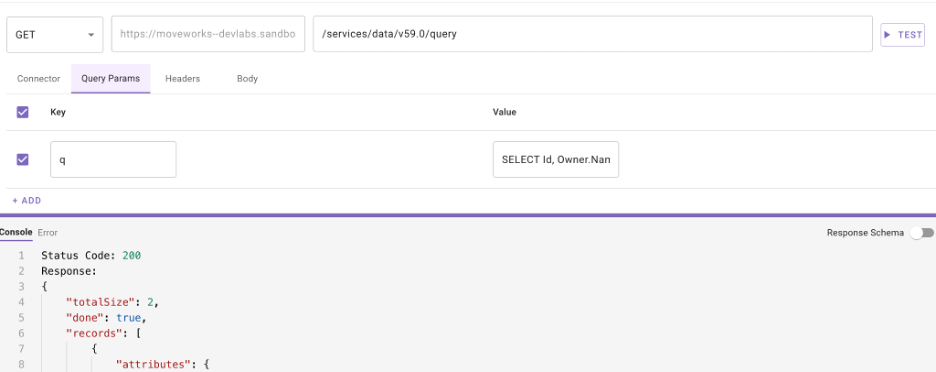
Now navigate to “Query Params”. This is where we will pass the SOQL query to the API. Add a parameter with a key of q and the value will be
Note the “name” field in double curly brackets - this is telling Moveworks it needs to collect the account name within the conversation as a required input in order to proceed with this action. It is dynamically populated and collected within the conversation.
-
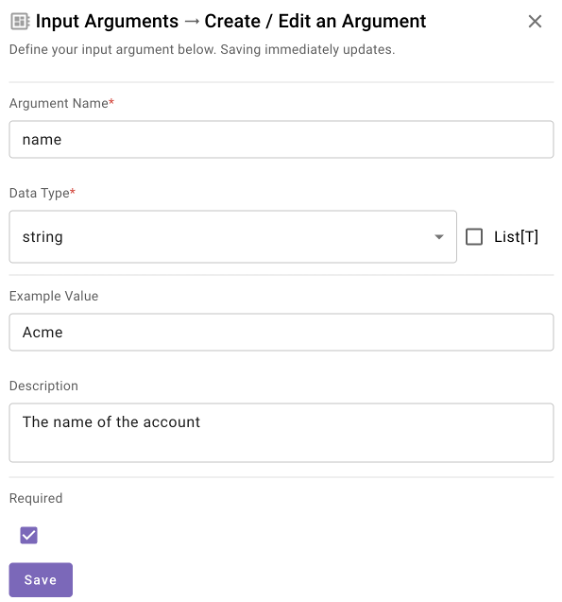
Now navigate to “Input Args” - you should see that the account_name variable has been detected in the API call and it is of type “string” which is correct. You should also provide a “Example Value” so that we can finally test our API by passing an example account name to it and validate the schema is correct. You can use “Acme” as your example value since that account should exist in Salesforce. Make sure you provide a description as well. Tick the “Required” checkbox and click “Save”.

-
Click the “TEST” button. If your API call is successful you should see the output in the Console section below. NOTE: You may need to click the bar at the bottom of the page and drag it up to view more of the Console.
-
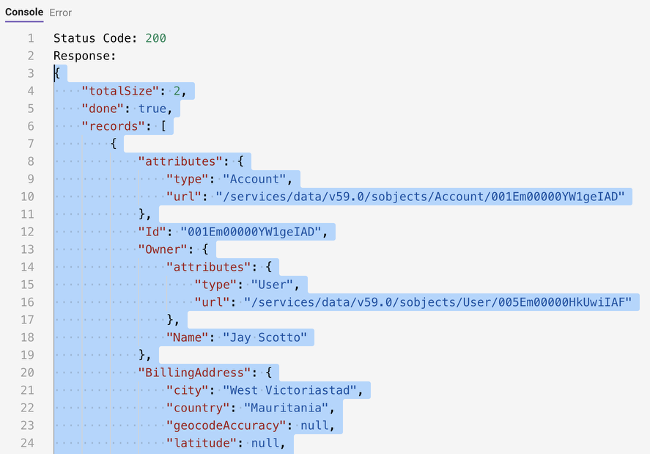
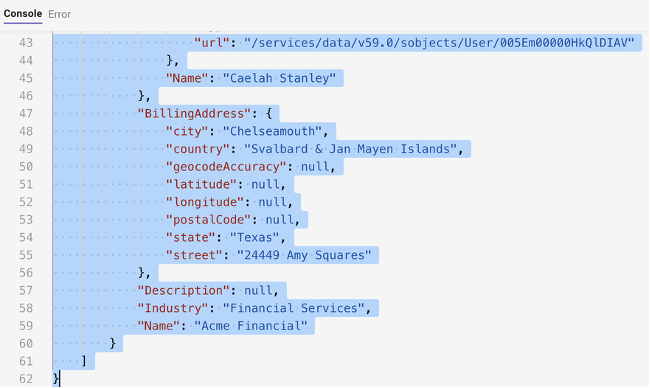
The Status Code of 200 and the payload indicates the API call was successful. Now, starting with the first curly brace under “Response”, select the payload all the way to the end and copy it. Paste this into a Notepad application because we are going to need this later.
-
Now we must name our HTTP Action. At the top, select the title bar to name your HTTP Action (see the note below before doing so). Your description can be anything that describes the Action such as “Lookup Account by Name in Salesforce”
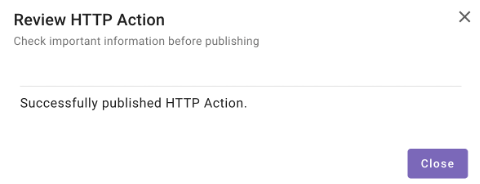
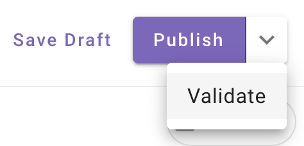
IMPORTANT: Ensure you name the action in this format ”firstname_lastname_lookup_account_by_name”. This will ensure you know you are using YOUR action since there are many people at once doing the same exercise in this environment.On the top right, click the dropdown and choose “Validate”. This will ensure everything is correct before publishing. If everything checks out, choose “Publish”.
You should see the following upon success.