Outlook (Live Search) Setup for Enterprise Search
Outlook (Live Search) Setup for Enterprise Search
This page is for the Outlook (Next Gen) connector and it can only be configured within the new enterprise search configuration experience explained below.
Please visit this documentation to learn more about Max Capacity and Classic connectors.
System Overview
Microsoft Outlook (as part of Microsoft 365) is your organization’s primary hub for email communication and calendar management. From an enterprise search perspective, Outlook is a critical system for knowledge available in emails, attachments, and meeting details. Moveworks connects to Outlook via Microsoft Graph APIs to perform live search across email content, returning results that based on user permissions, without storing or indexing any mailbox data.
Authentication
Authentication is accomplished by creating and registering an Azure App Registration for the following approach for live search:
- Uses delegated OAuth with a separate Azure App Registration and client secret
- End users sign in and provide consent for the first time; Moveworks then searches only the emails they can access in Outlook
- No enterprise-wide indexing of Outlook content occurs
Permissions Enforcement
Live Search: Results are retrieved on behalf of the signed-in user using their delegated token, so source-system permissions are inherently enforced.
API Usage
Moveworks uses the standard Graph API v1.0 to perform live search from Outlook. We use only delegated permissions with admin-granted access for live search.
Content Types
Live Search
- On-demand results from the signed-in user’s accessible Outlook emails
- Not indexed into the enterprise corpus; fetched at query time after user consent
- Note: Currently, calendar events are not supported in live search
Access Requirements
Pre-requisites
Before you get started, make sure you have everything you need:
- Admin roles
- Global Admin permissions to create App registrations and grant admin consent
- Environment details
- Cloud environment: Commercial or GOV L4
Understanding Permissions Scopes required for Enterprise Search
Outlook Live Search uses delegated, read-only Microsoft Graph permissions. Every request runs on behalf of the signed-in user, so search results are always limited to content that user can already access in Outlook. Moveworks requests no write permissions and does not index or store any mailbox or calendar content.
The following scopes are requested when a user first signs in and grants consent:
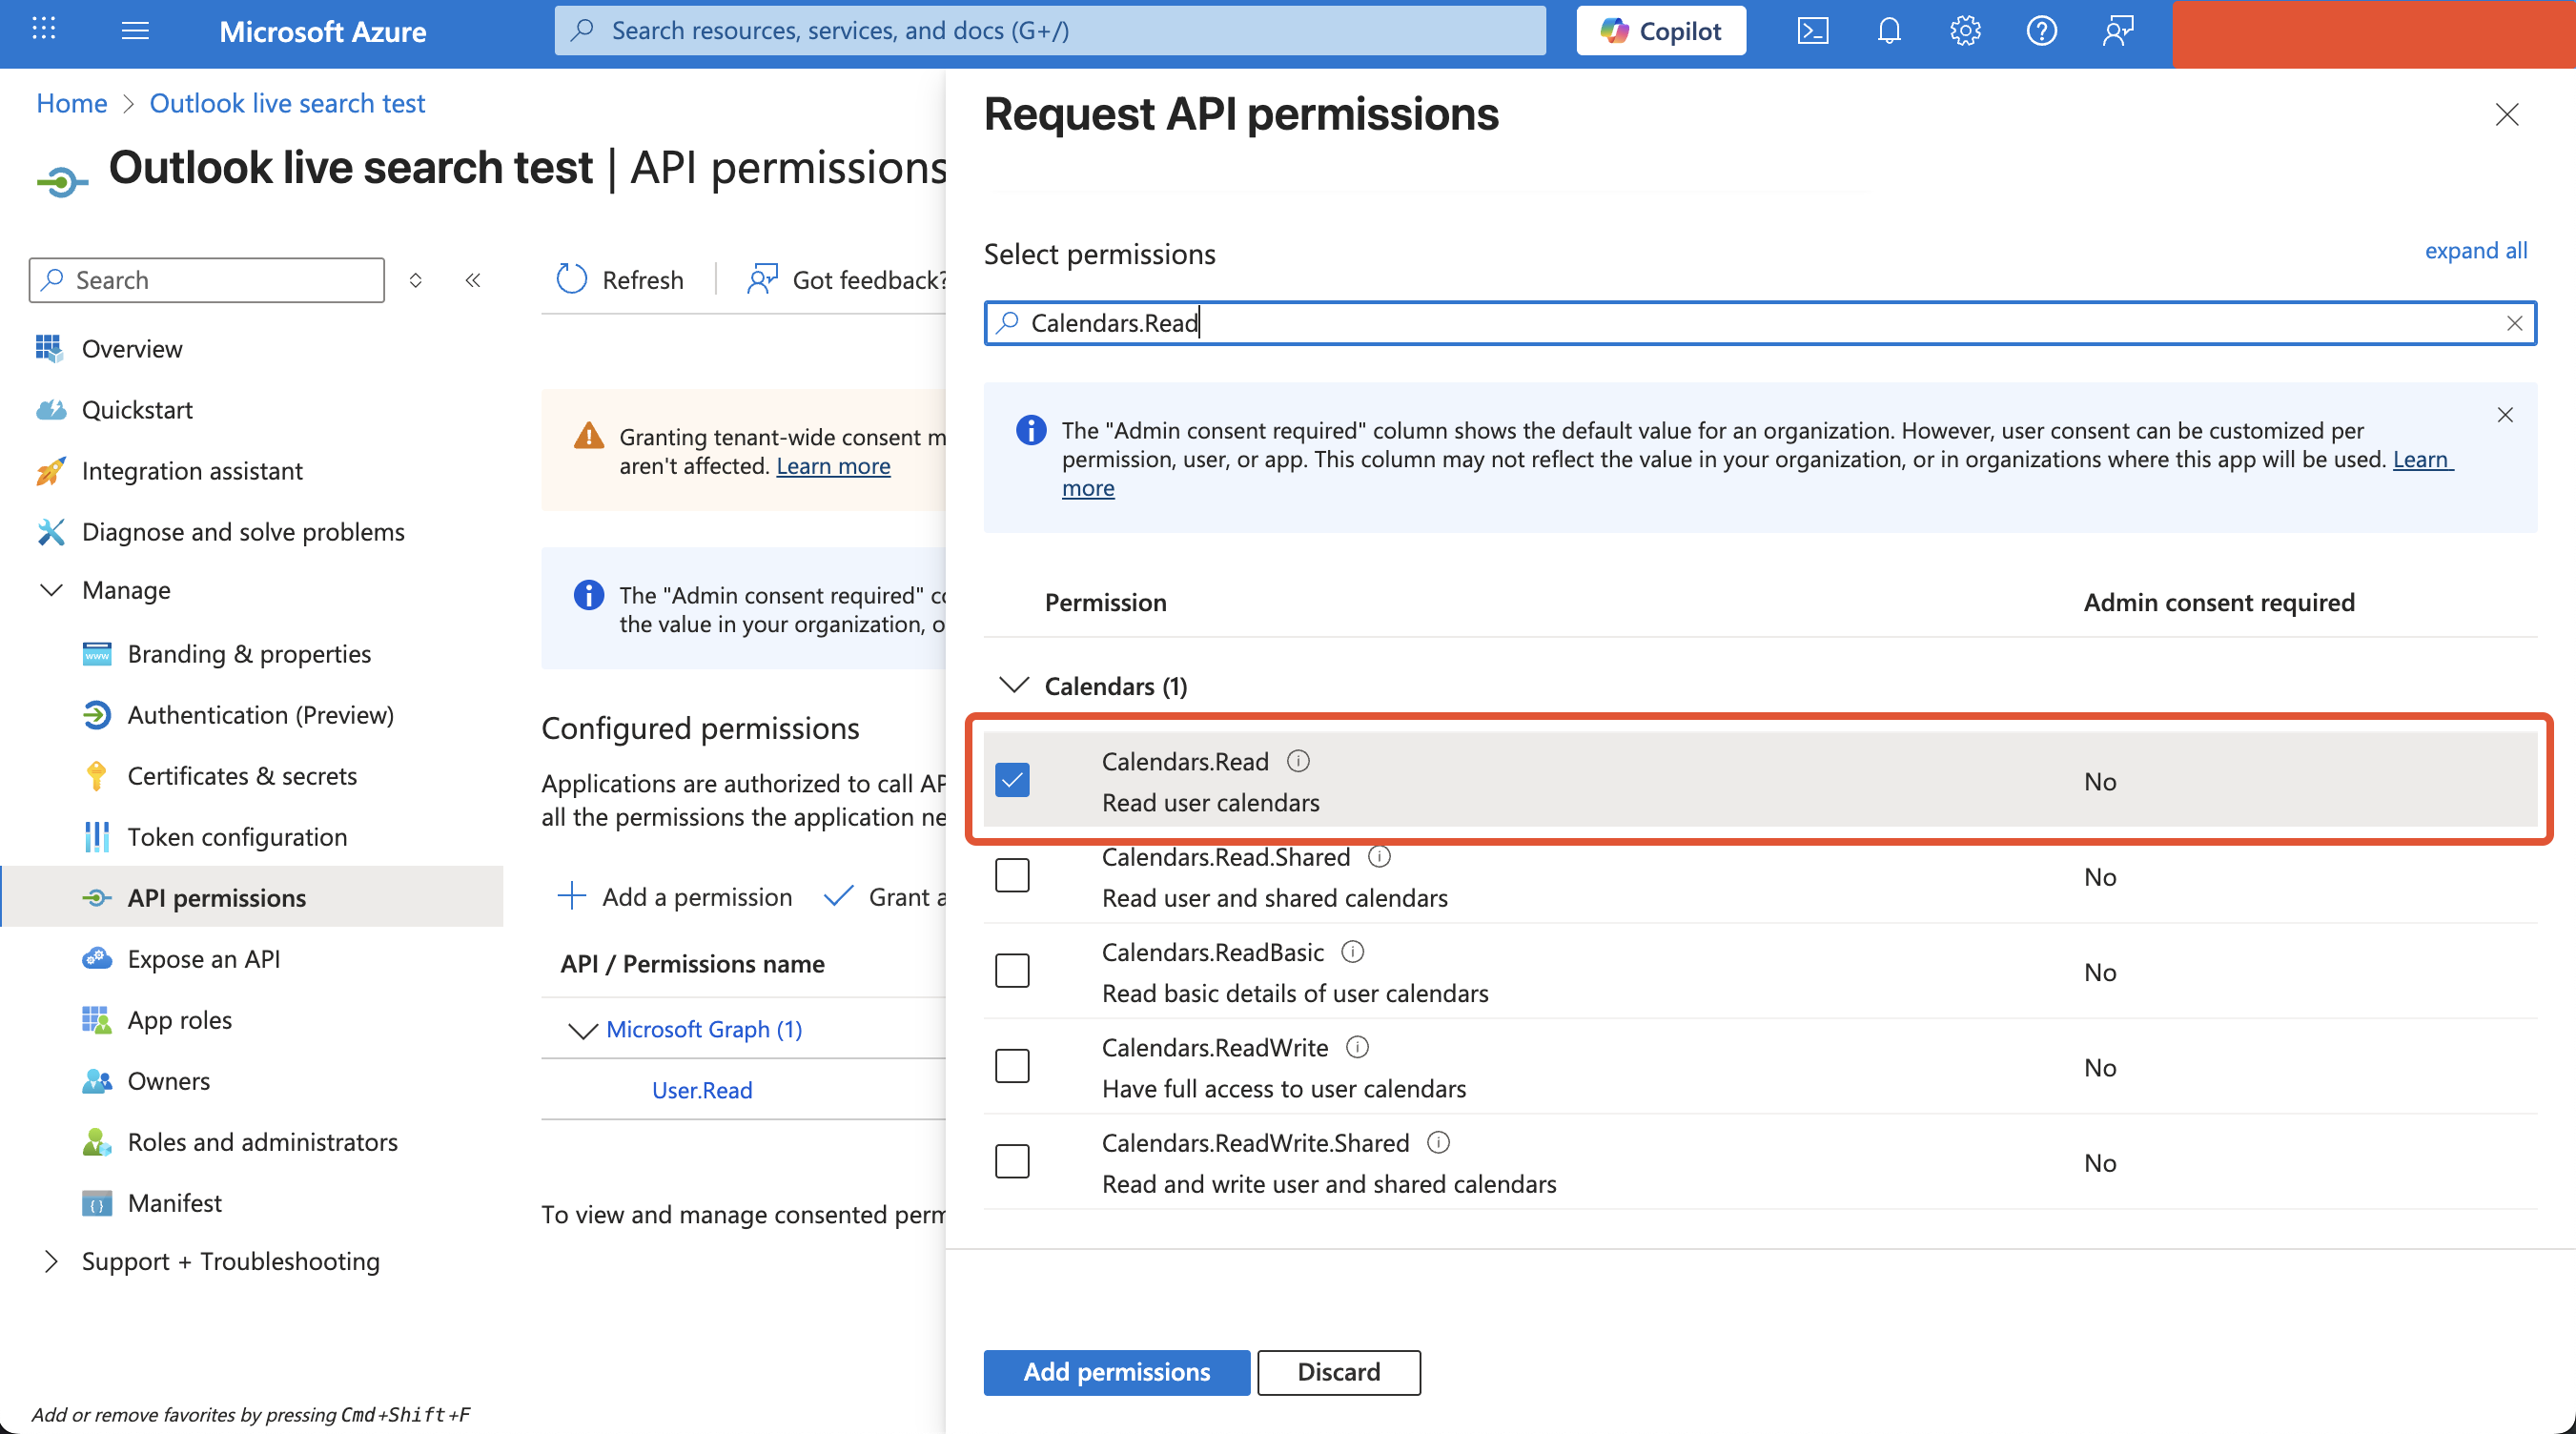
When adding permissions in the Azure portal (Step 3 below), add all five Microsoft Graph delegated permissions: User.Read, Mail.Read, Mail.Read.Shared, Calendars.Read, and Calendars.Read.Shared. offline_access is a standard OpenID Connect scope — it does not need to be added as an API permission and is requested automatically at sign-in, but it will appear on the consent screen.
Instructions for Outlook Live Search
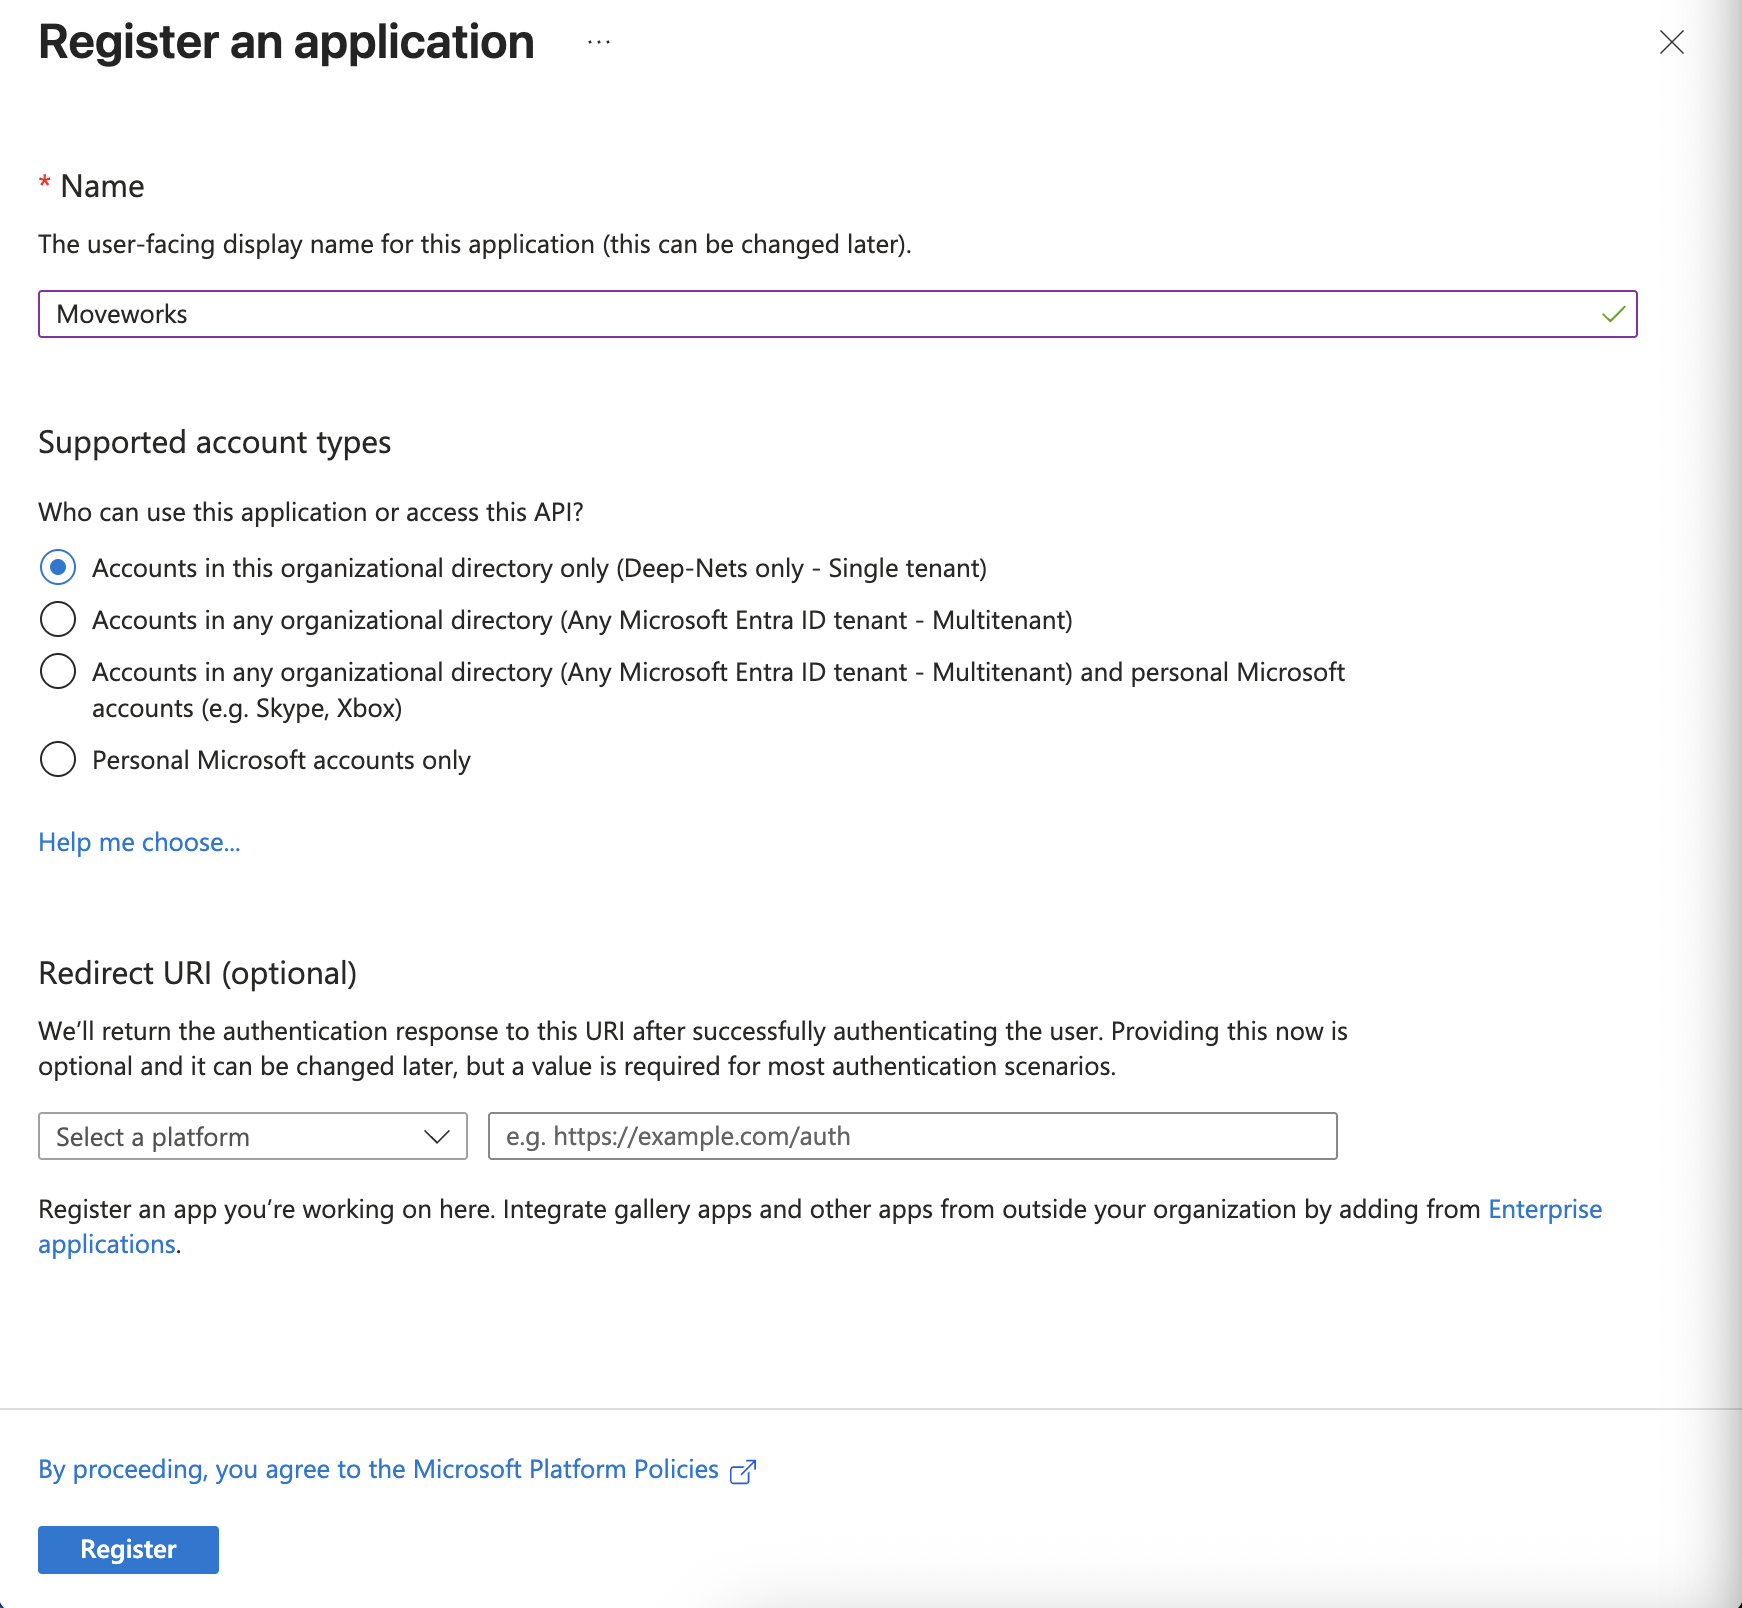
1. Register a new App
-
Sign in to the Azure portal
-
Select Microsoft Entra ID > Manage > App registrations > New registration
-
On the Register an application page, register an app with the following details
-
From the overview page, note down the following values:
- Directory (tenant) ID
- Application (client) ID
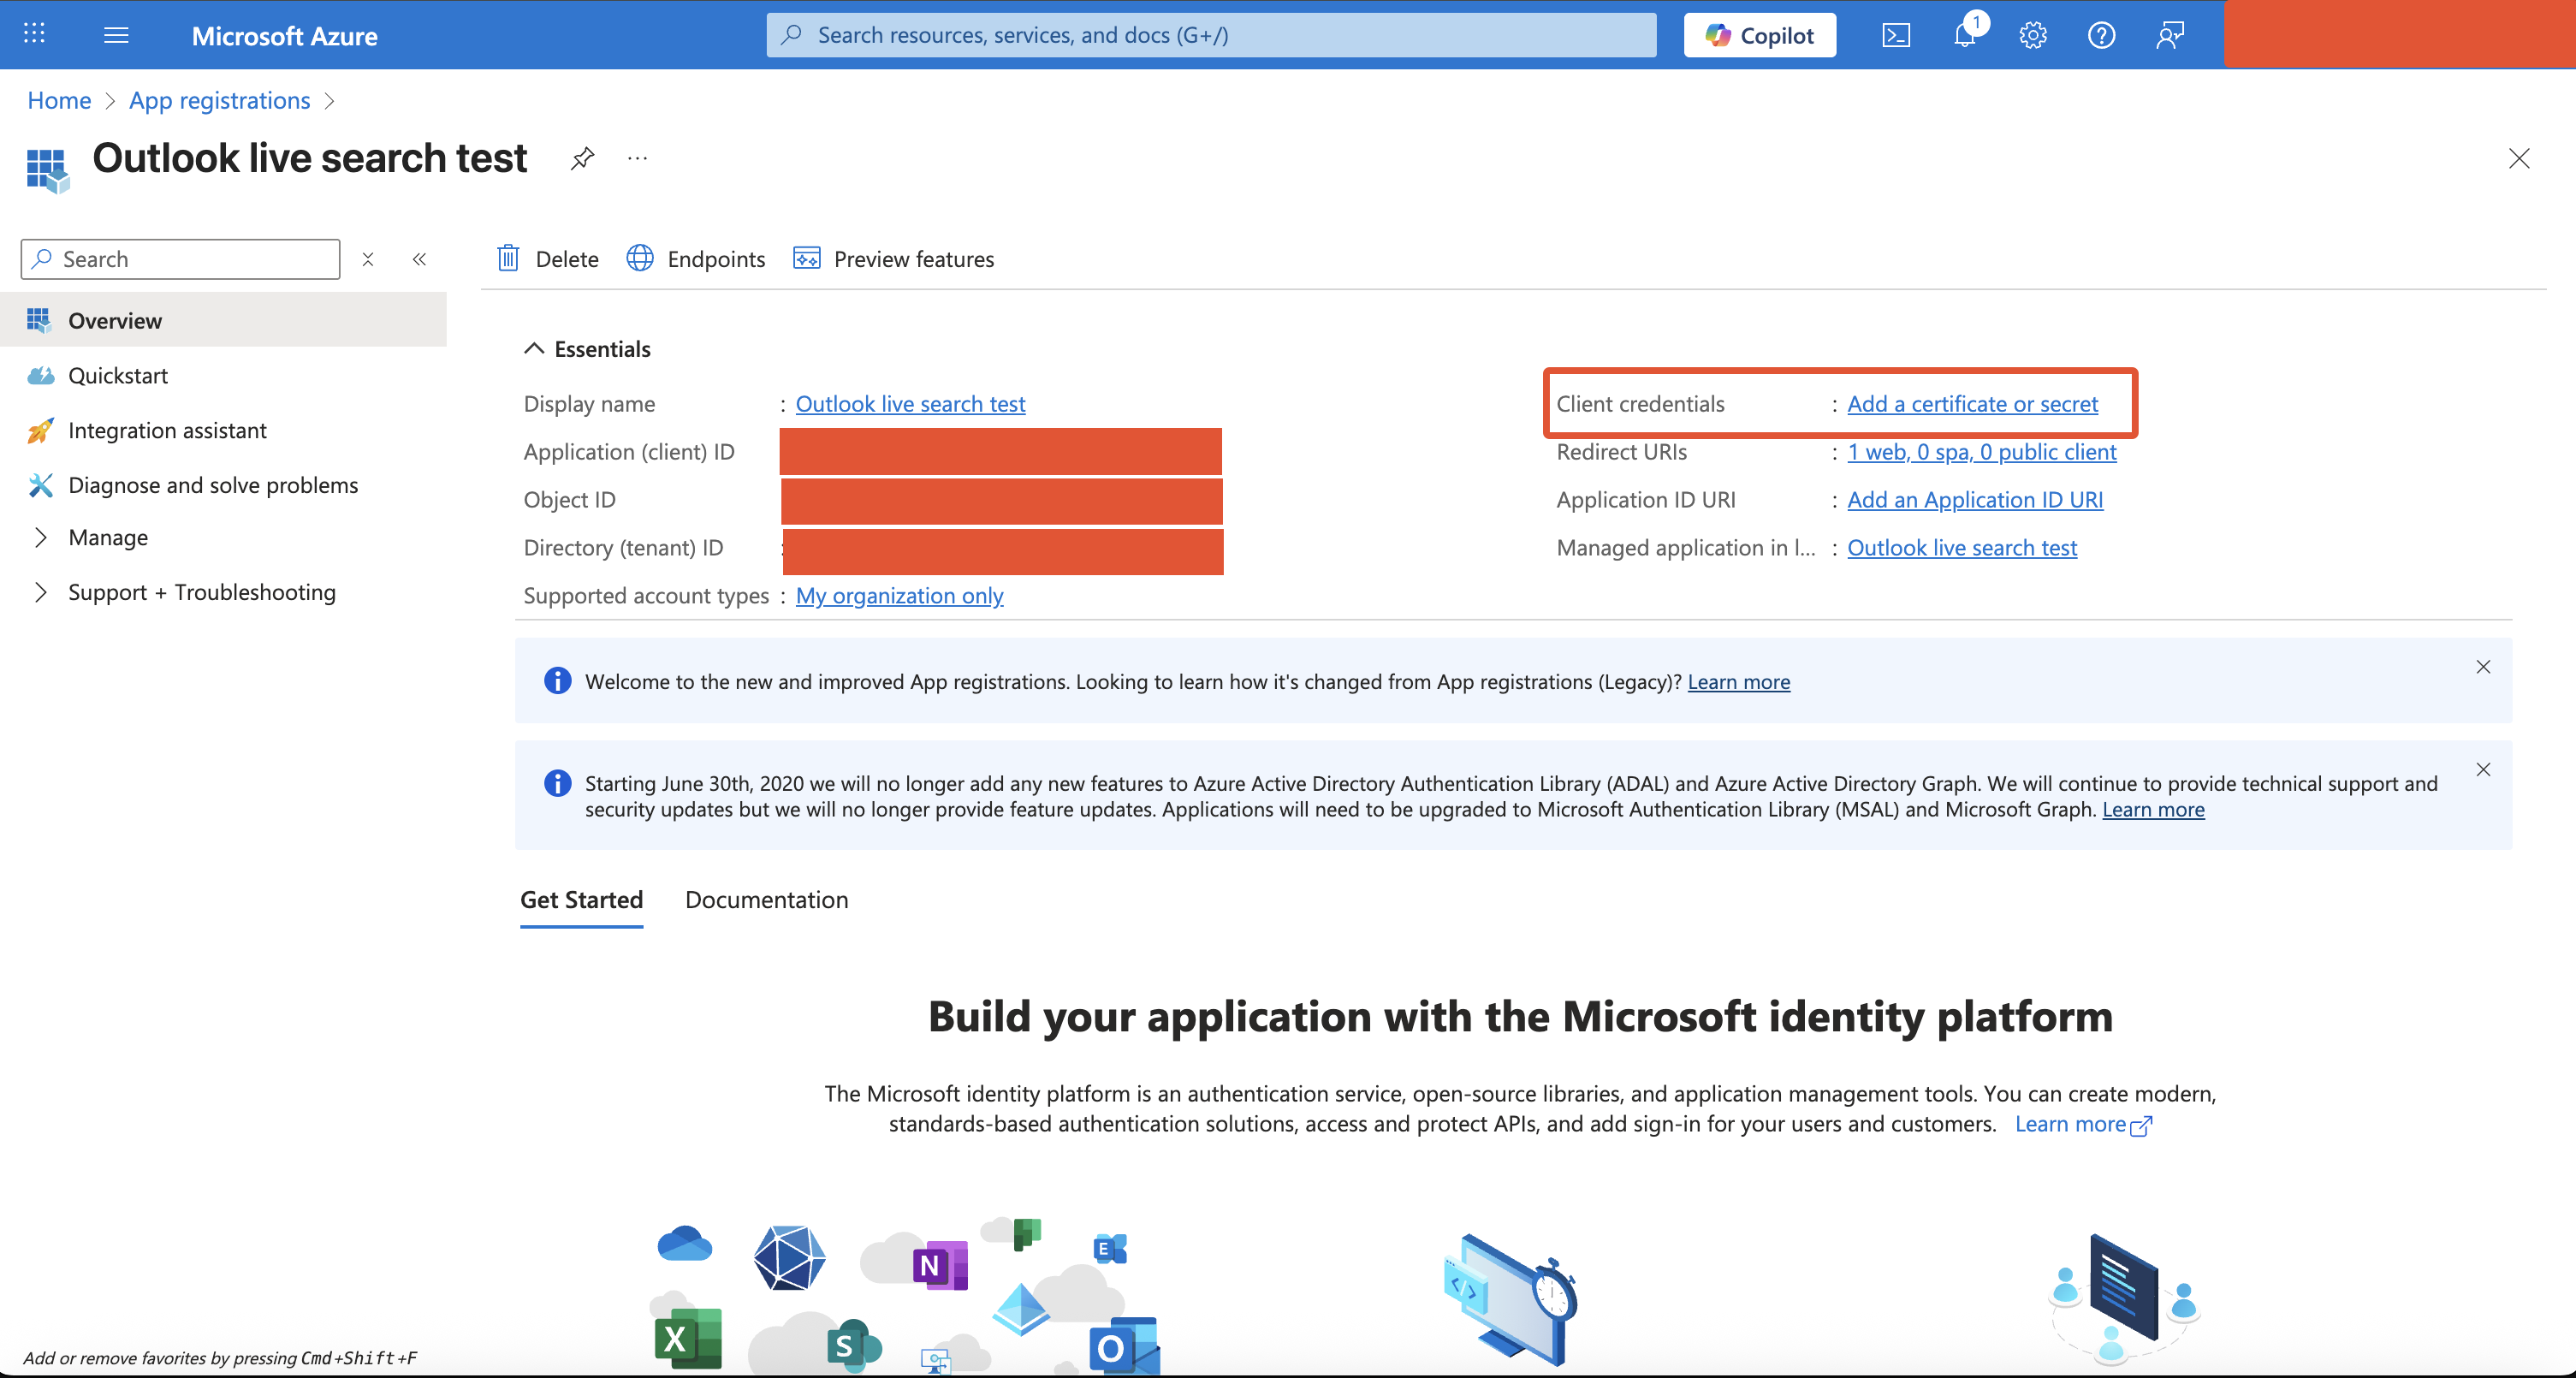
2. Add Client Credentials
-
From the overview page, click on Add a certificate or secret link (Alternatively, Go to Manage > Certificates and Secrets in the left sidebar)
-
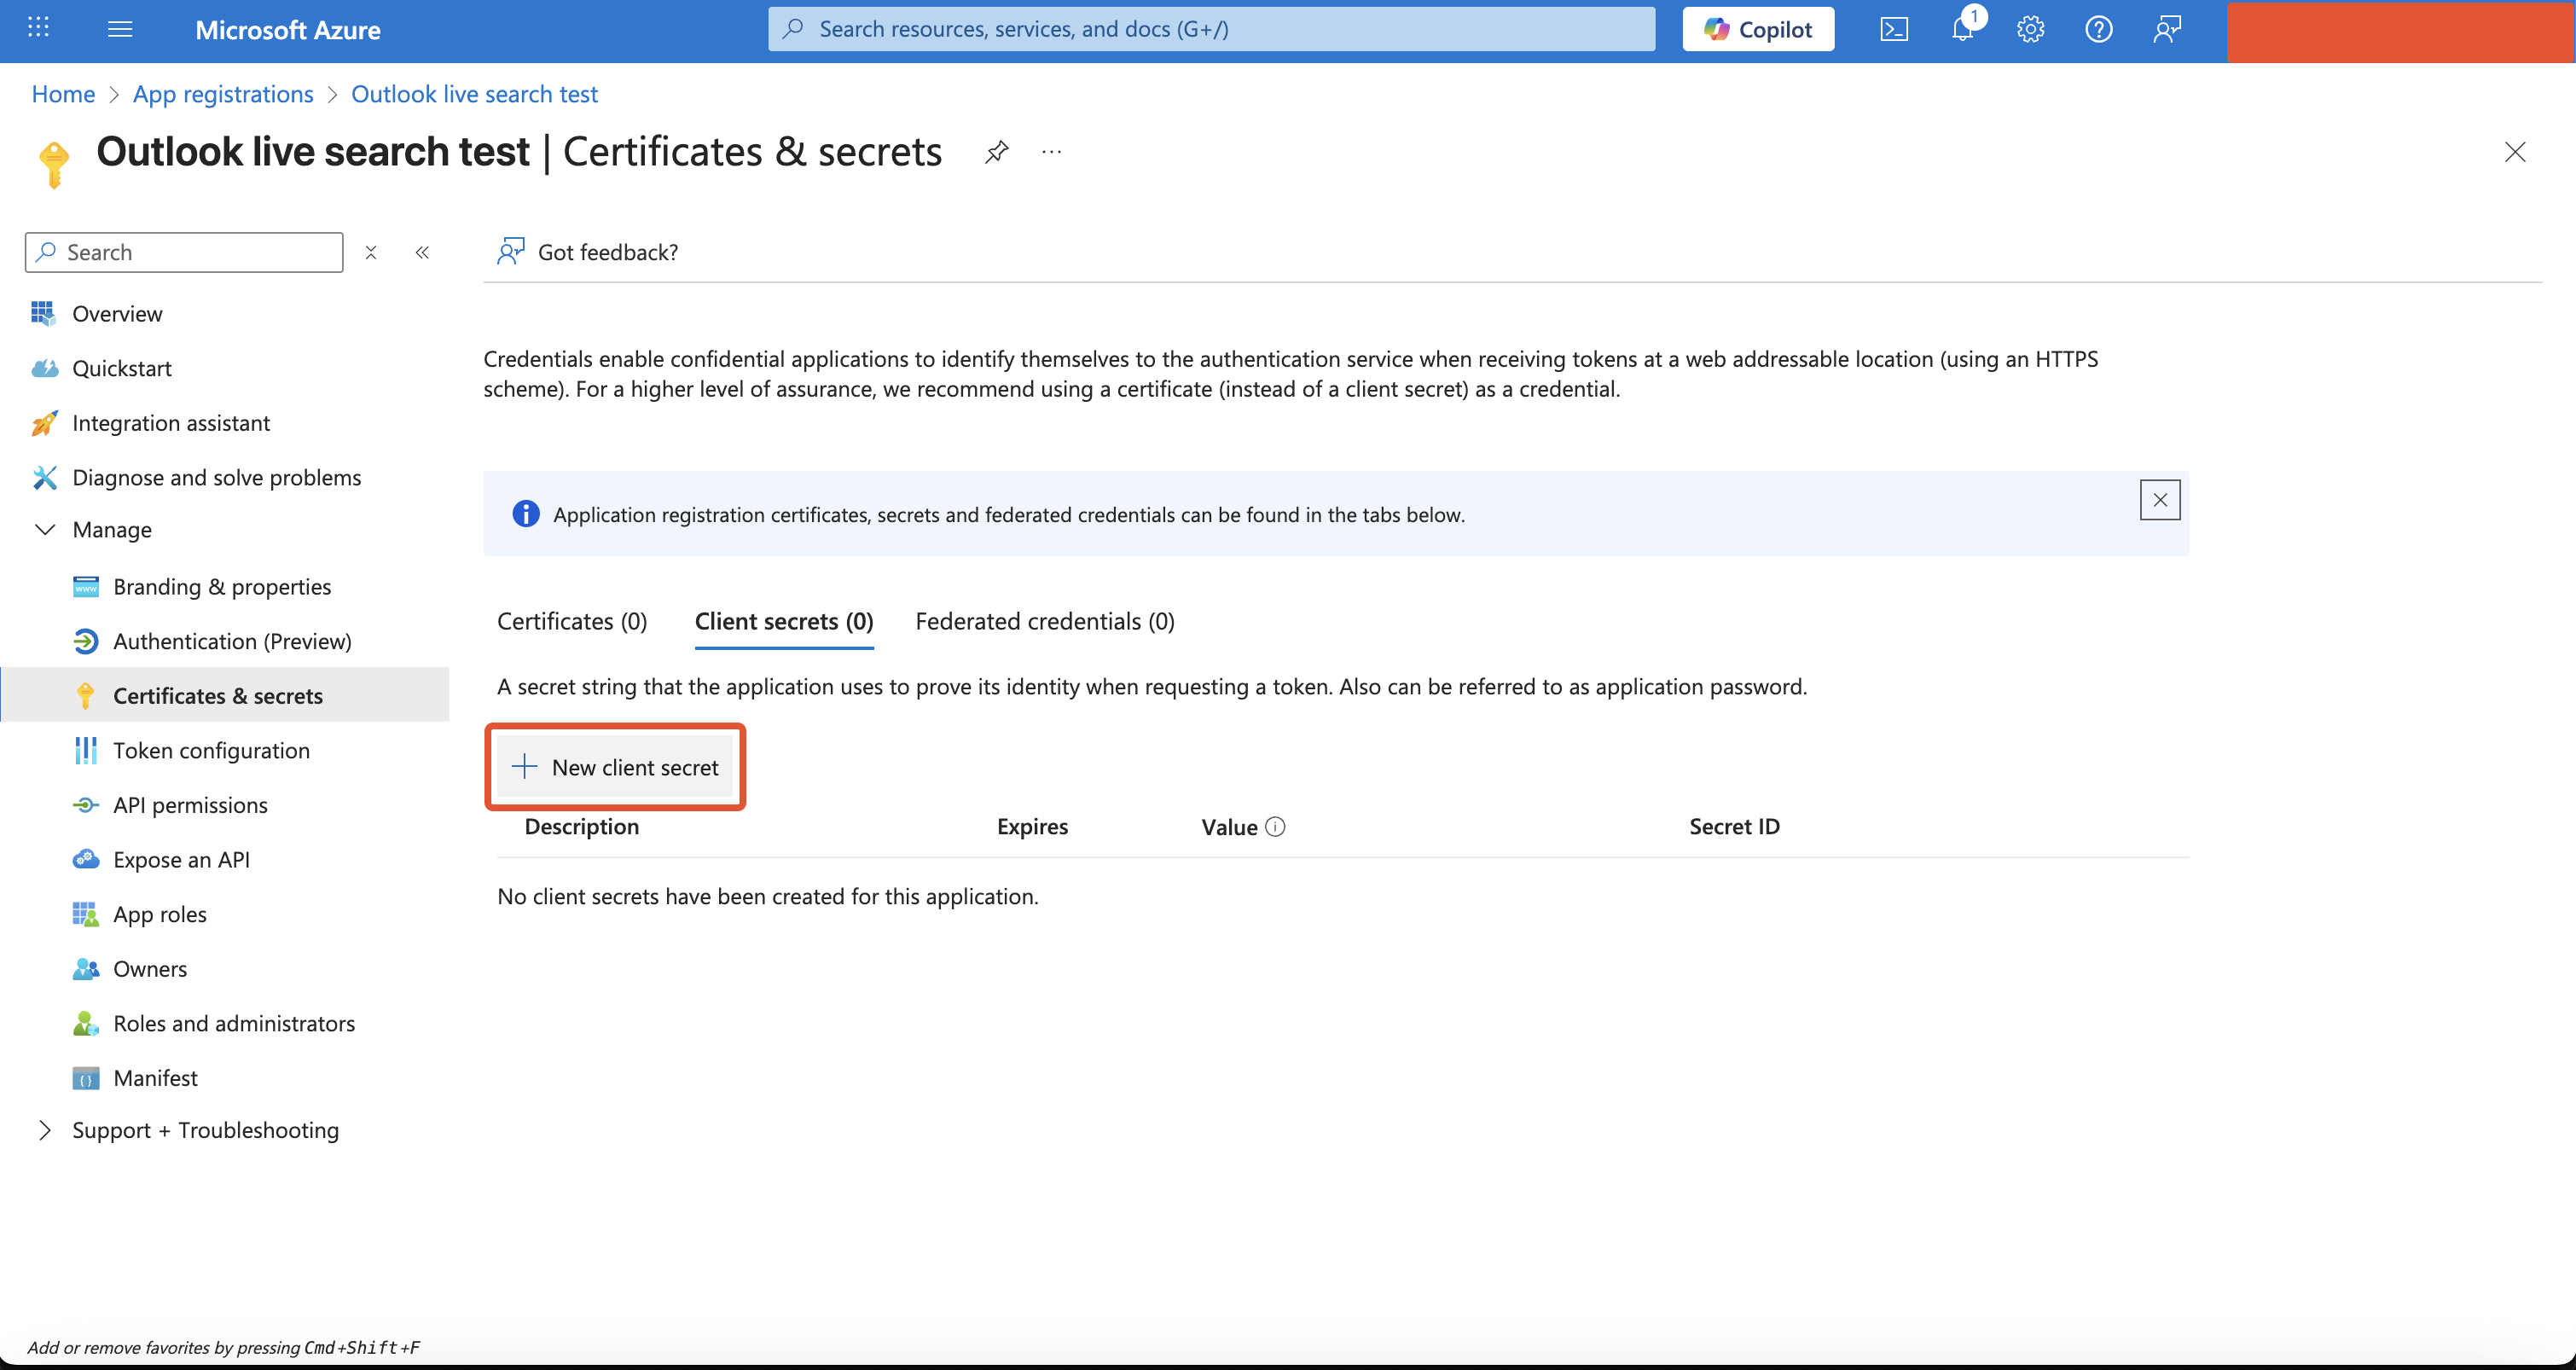
Click on New client secret button
-
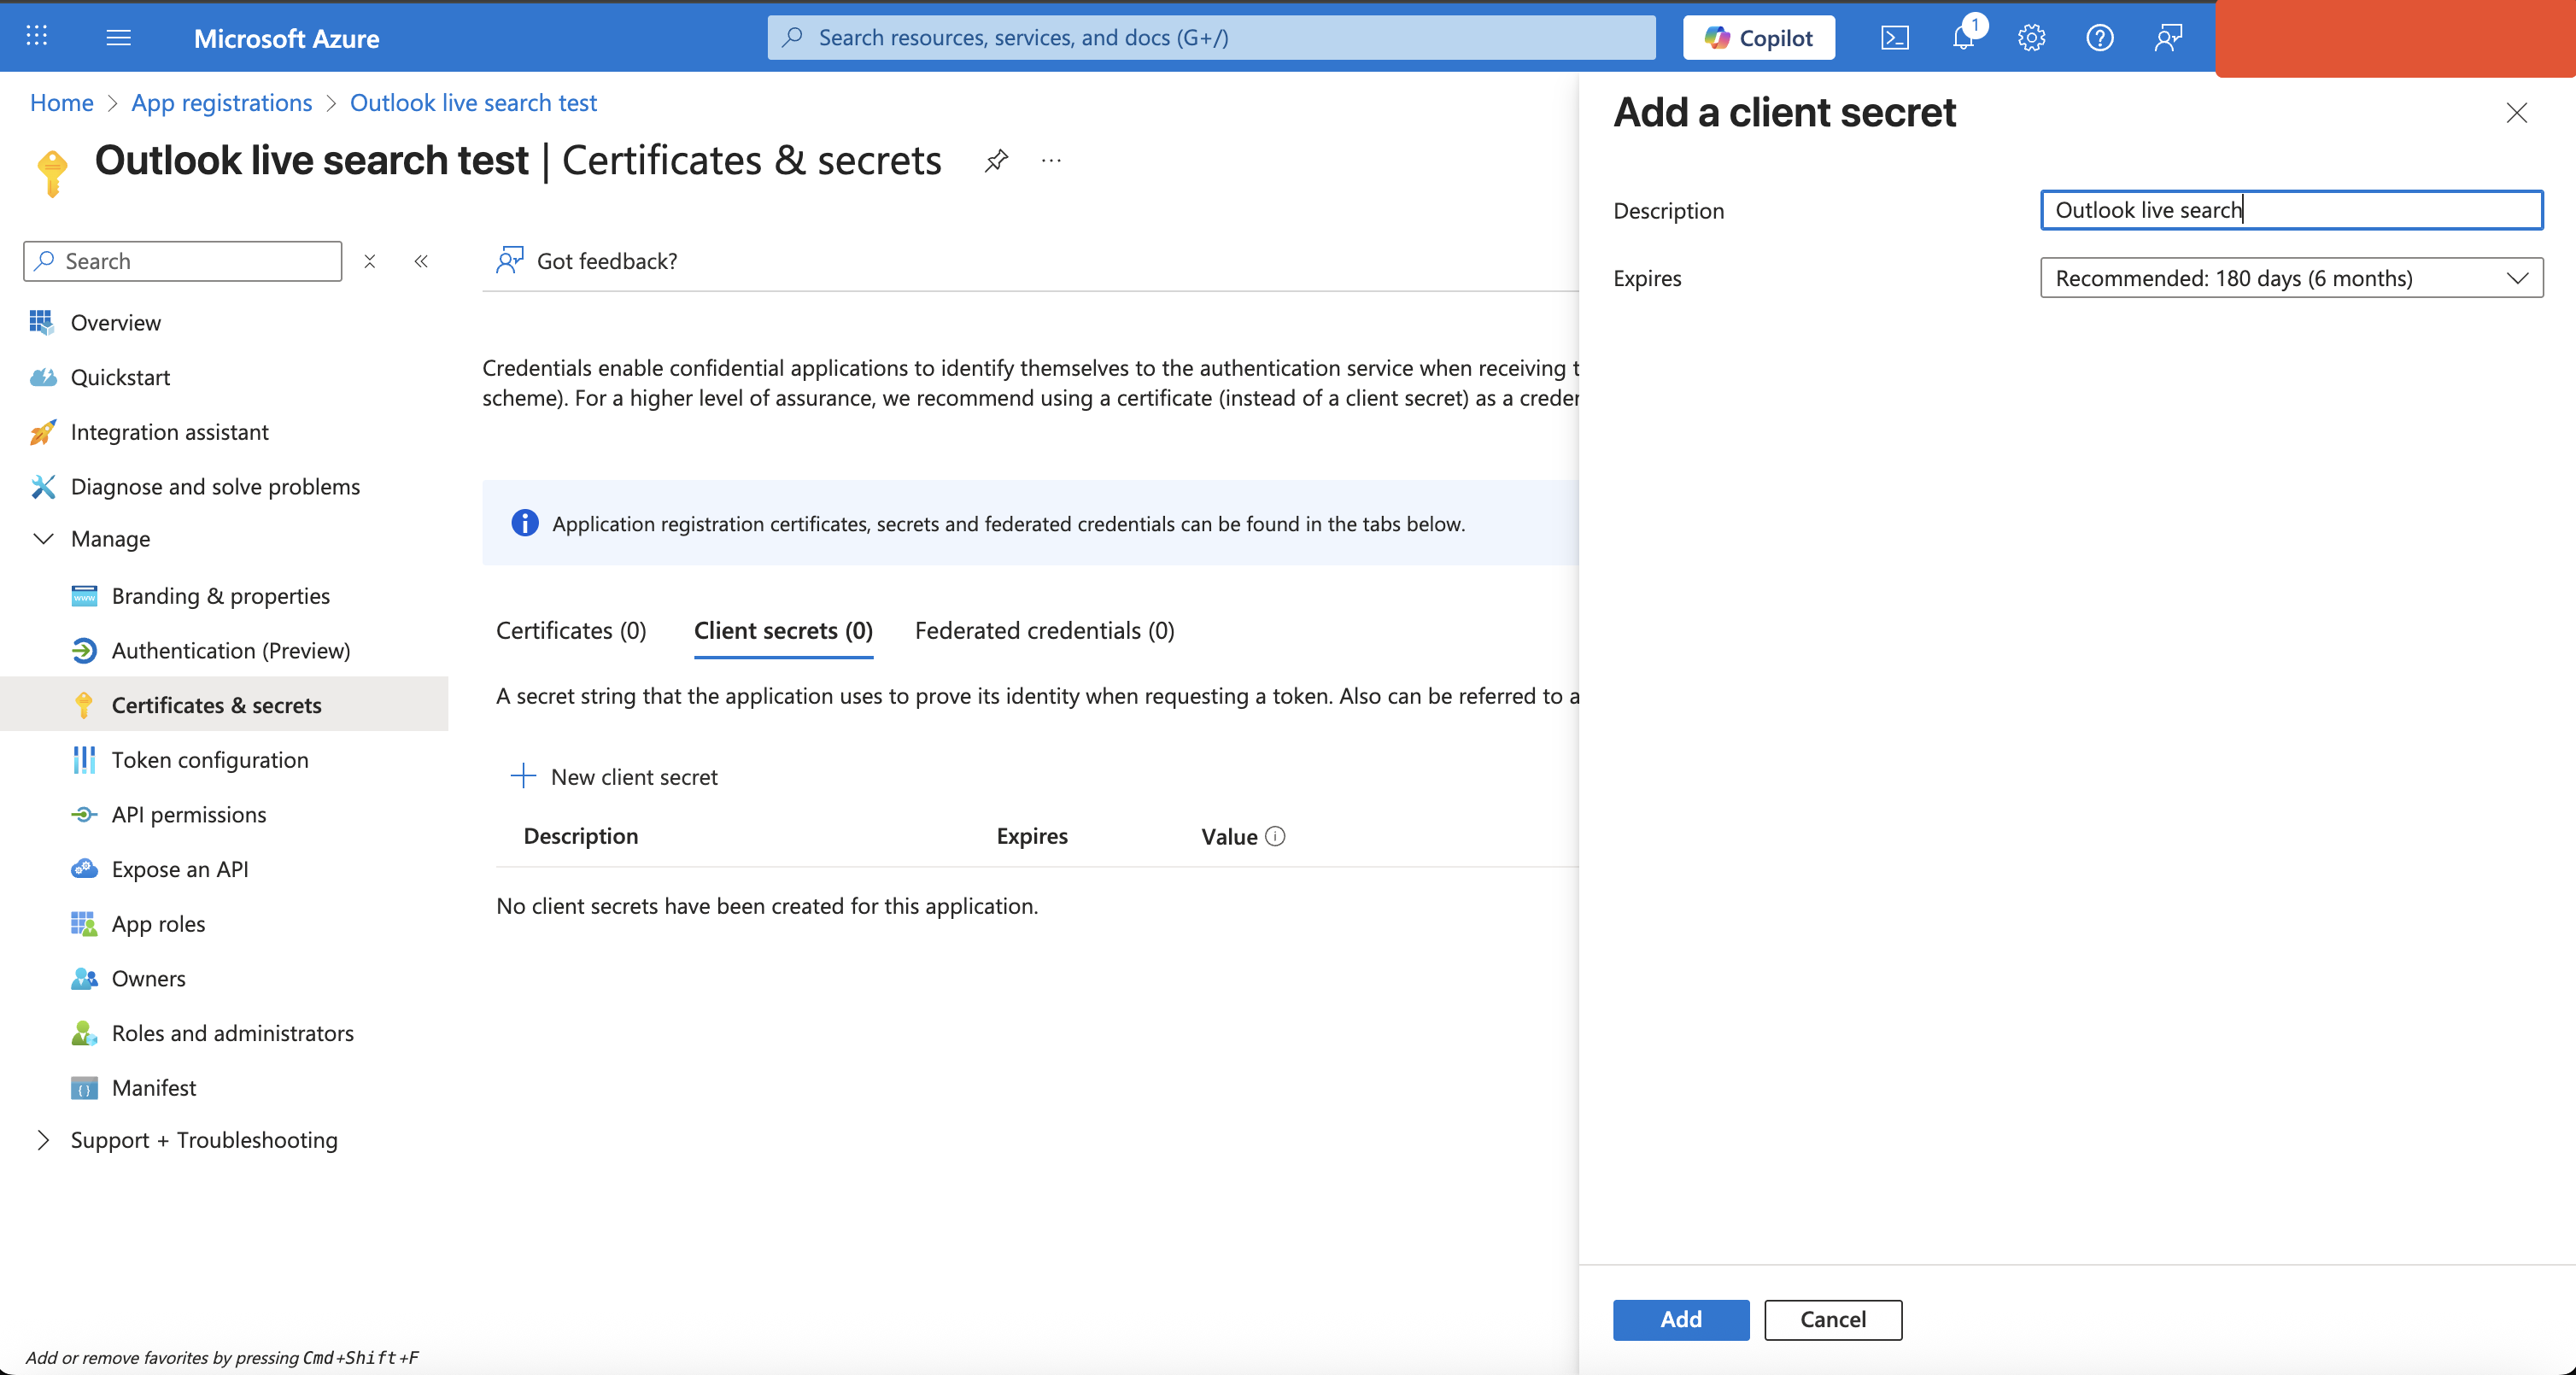
Add a description and select your desired expiry period for the secret, and Click on Add button
-
Click on Copy button and Save the value of secret, as it’s shown only once

3. Add Application API permissions & grant admin consent
-
Open the App Registration you created above and click on Manage > API Permissions
-
Click Add a permission
-
This will open a panel on the right side:
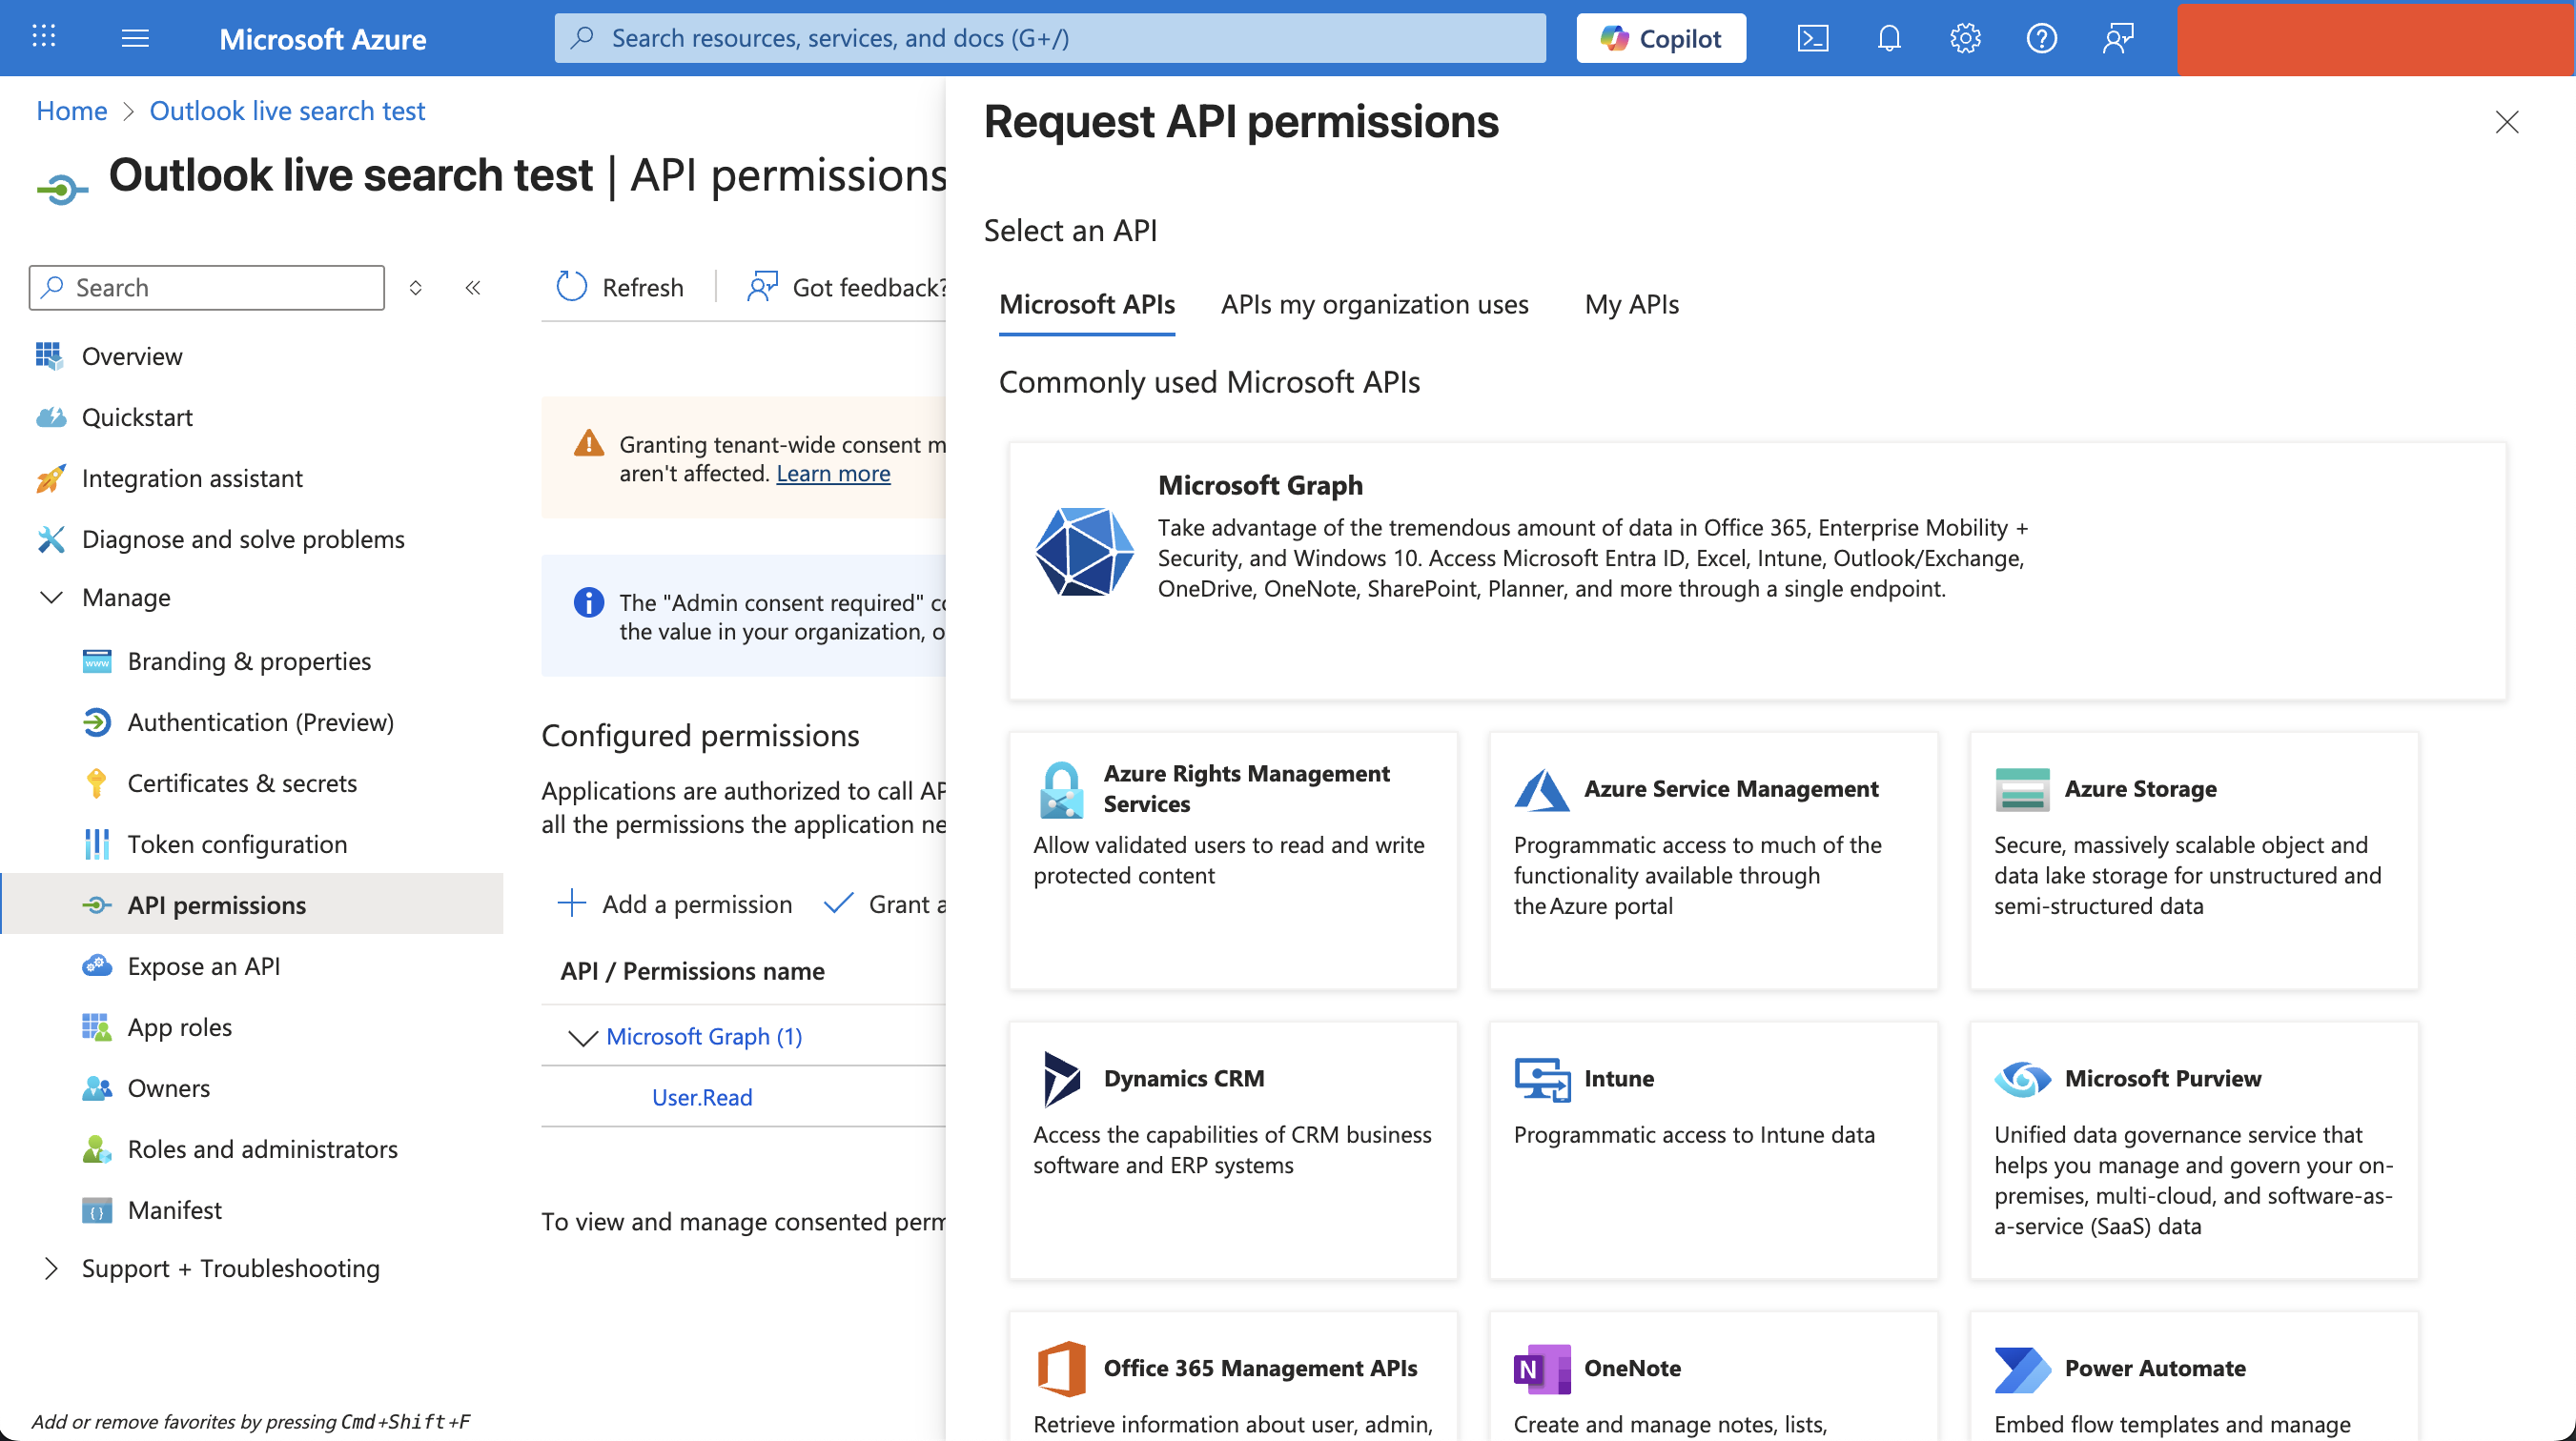
-
Select Microsoft Graph
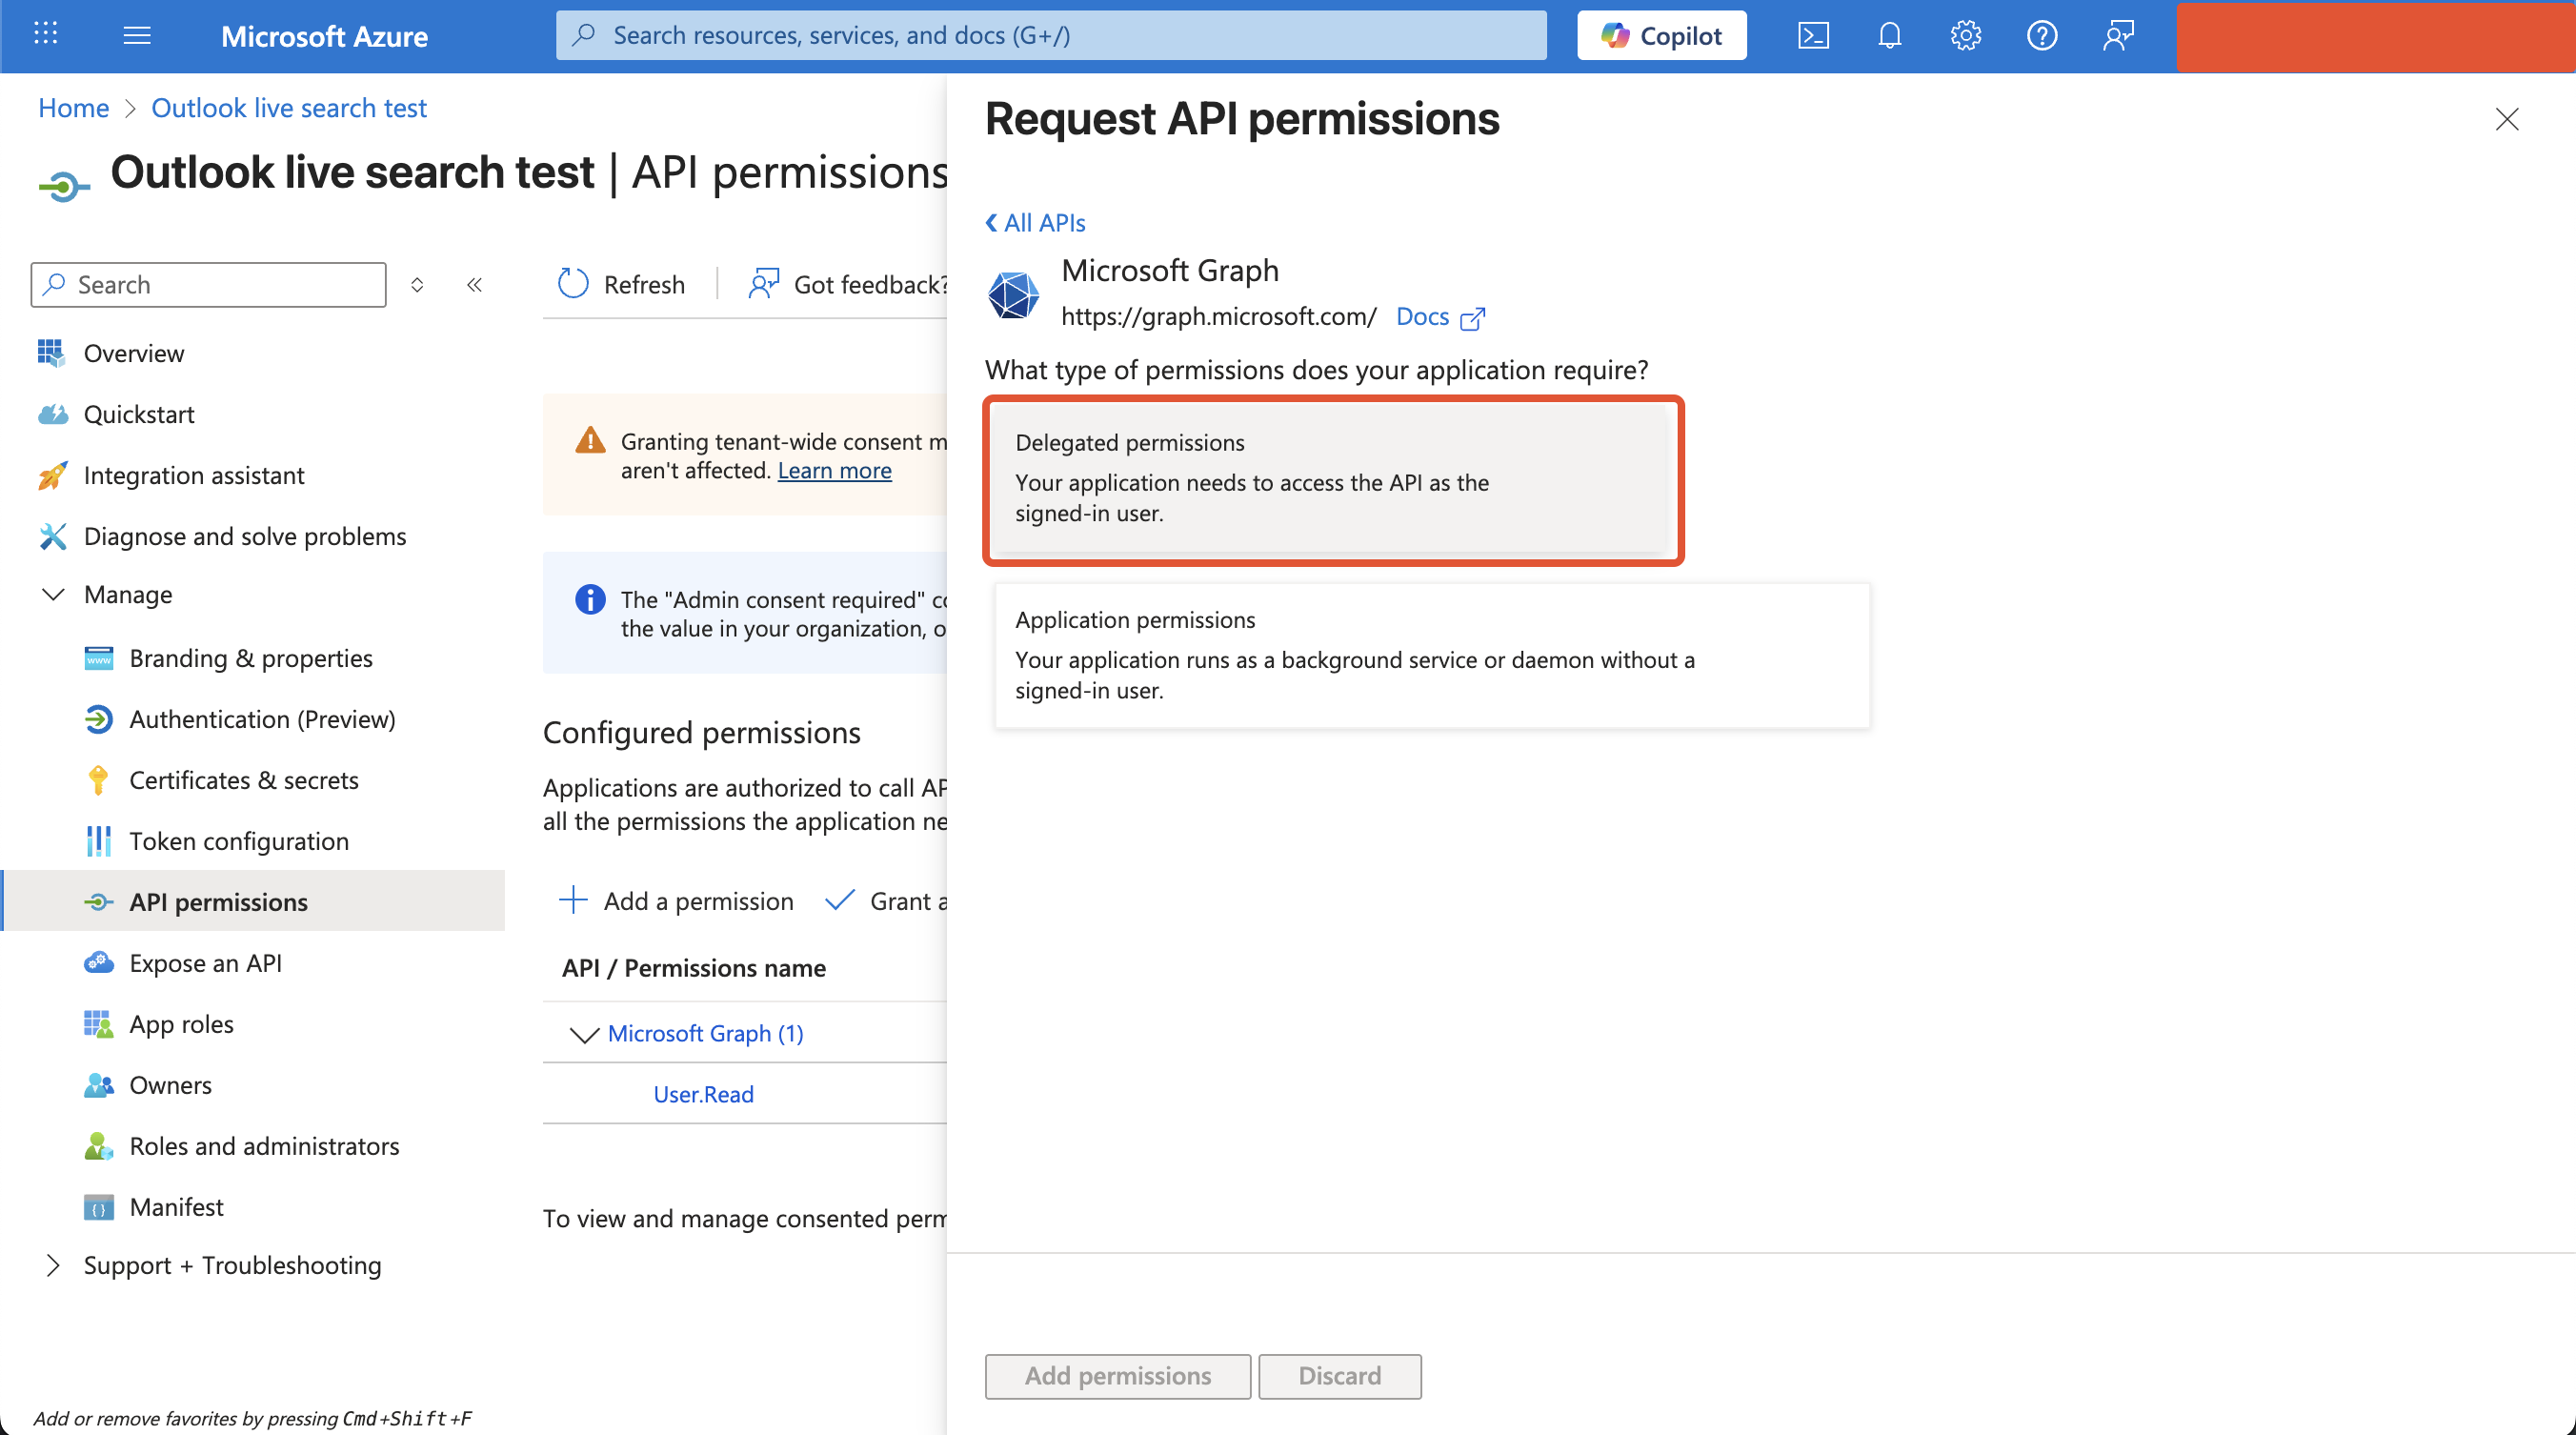
-
Choose Delegated permissions
-
A search bar will appear
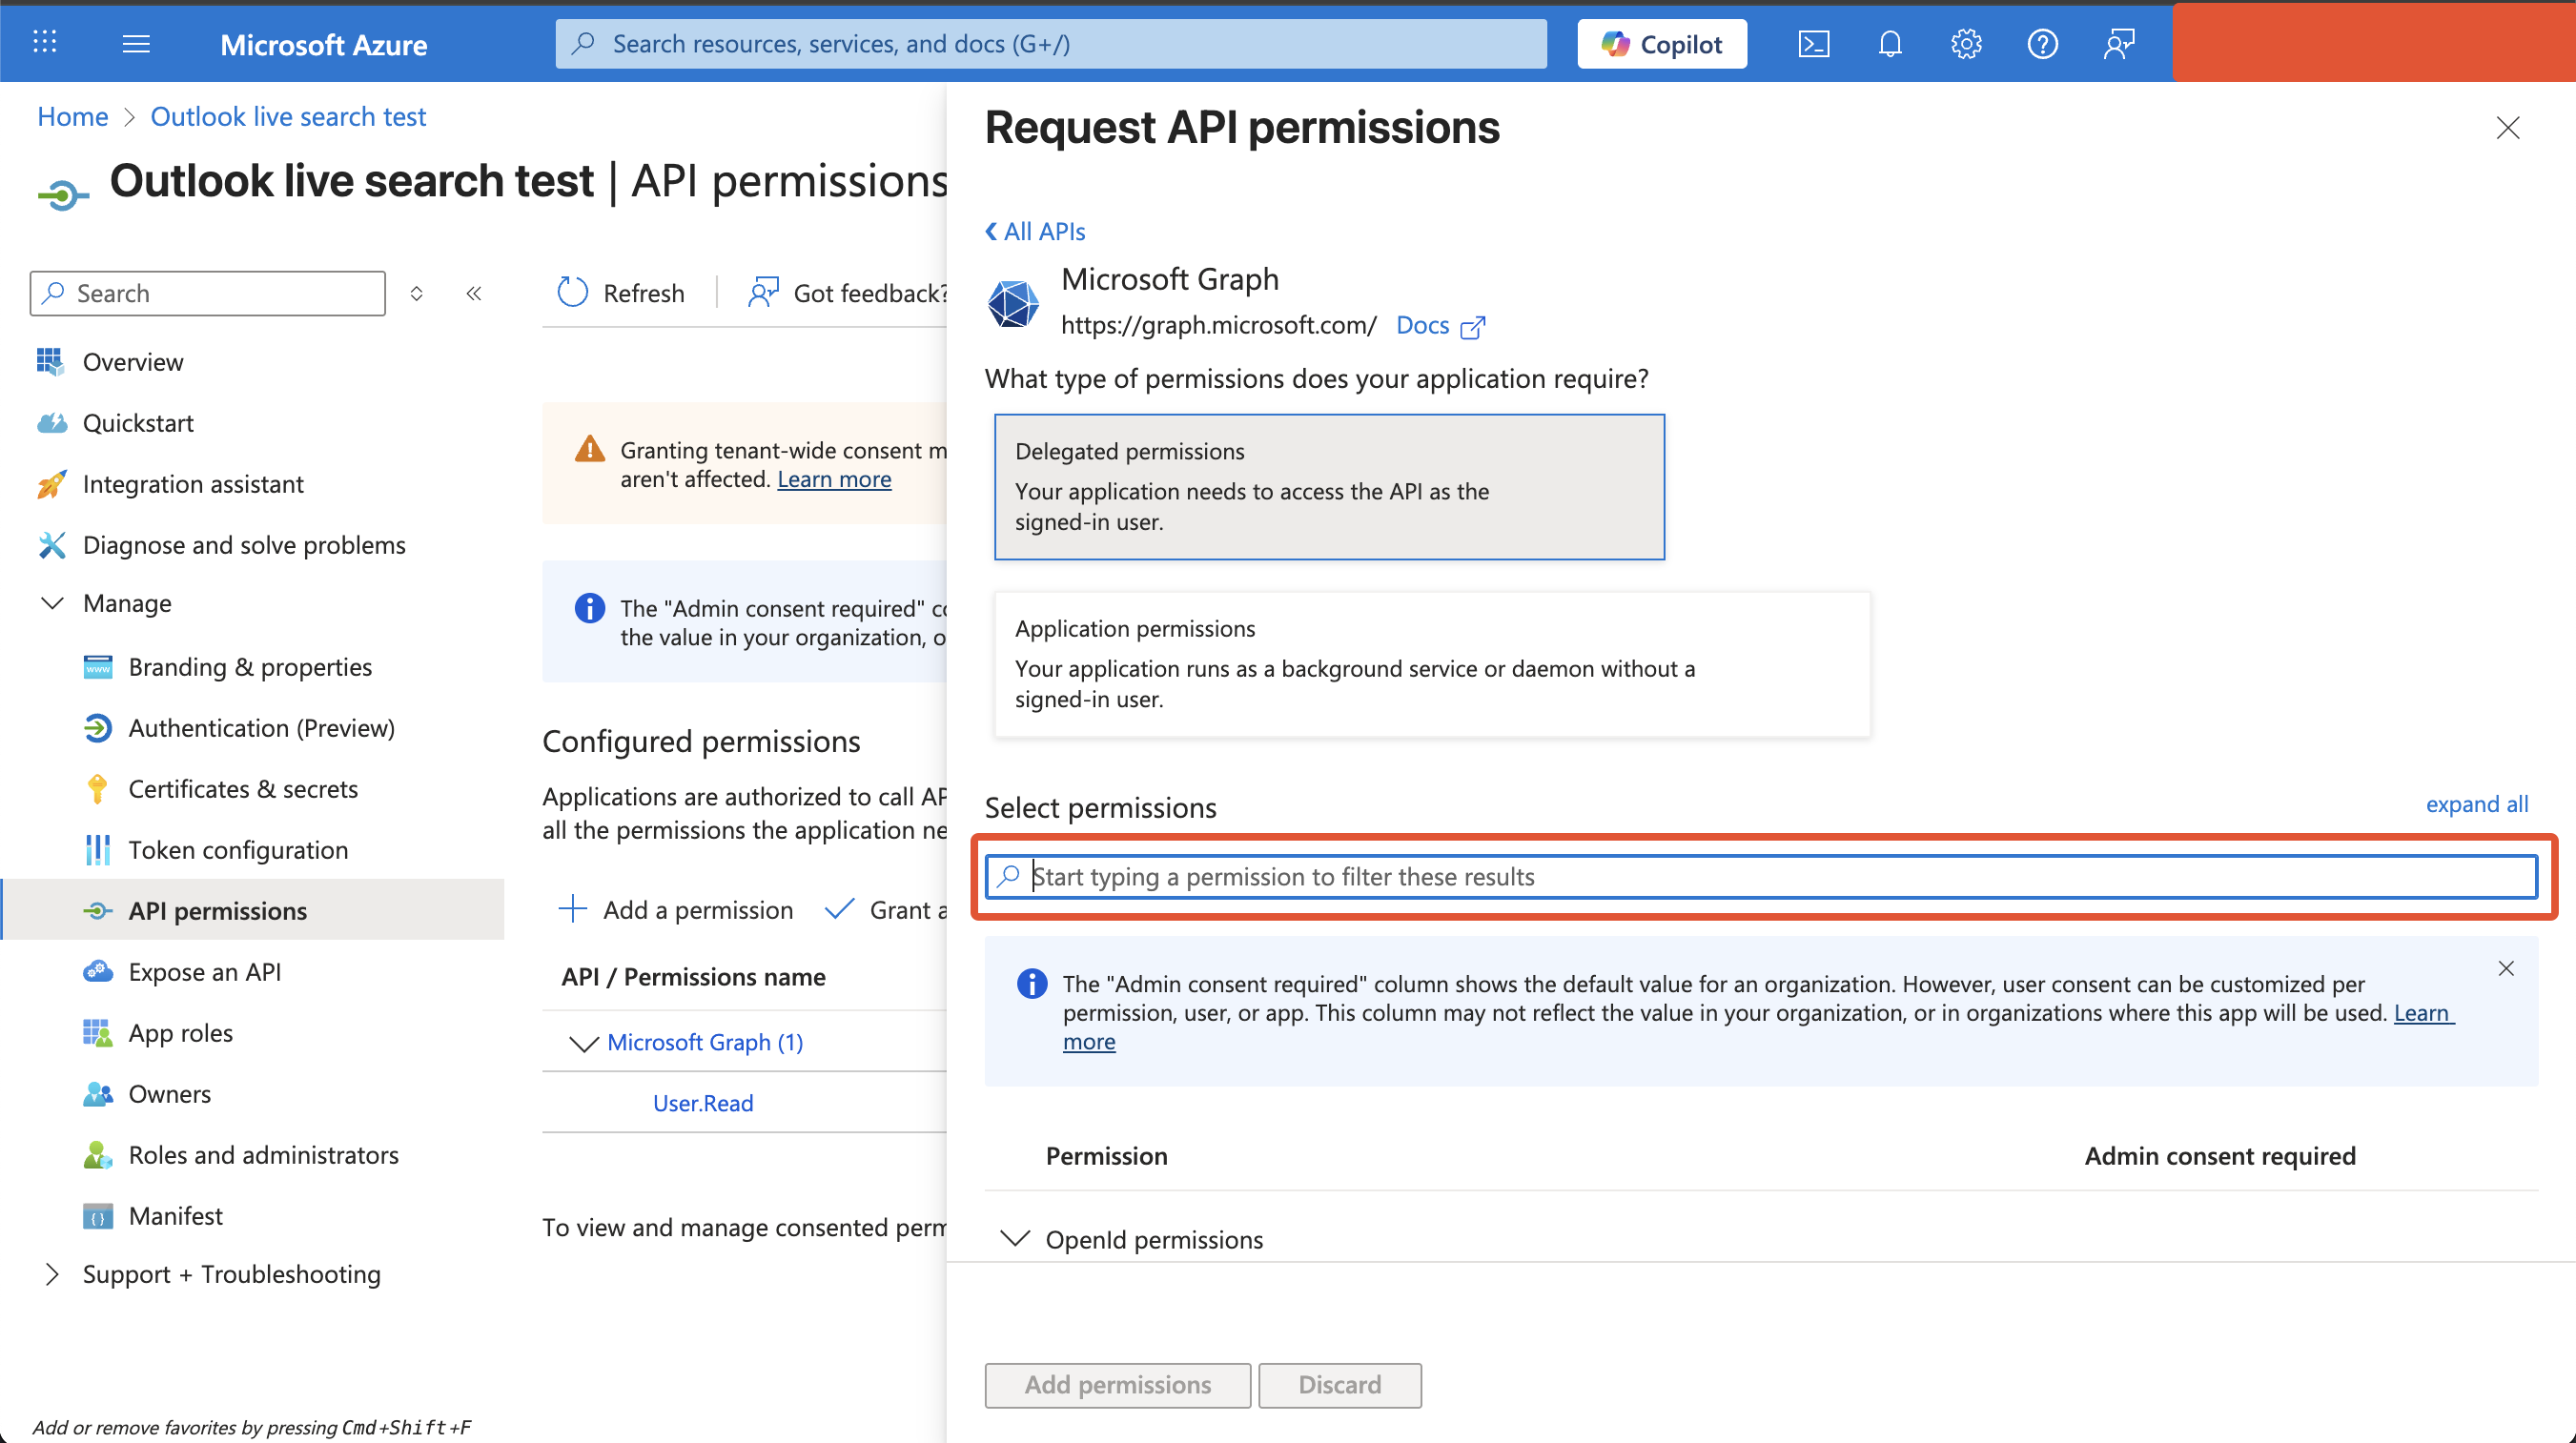
-
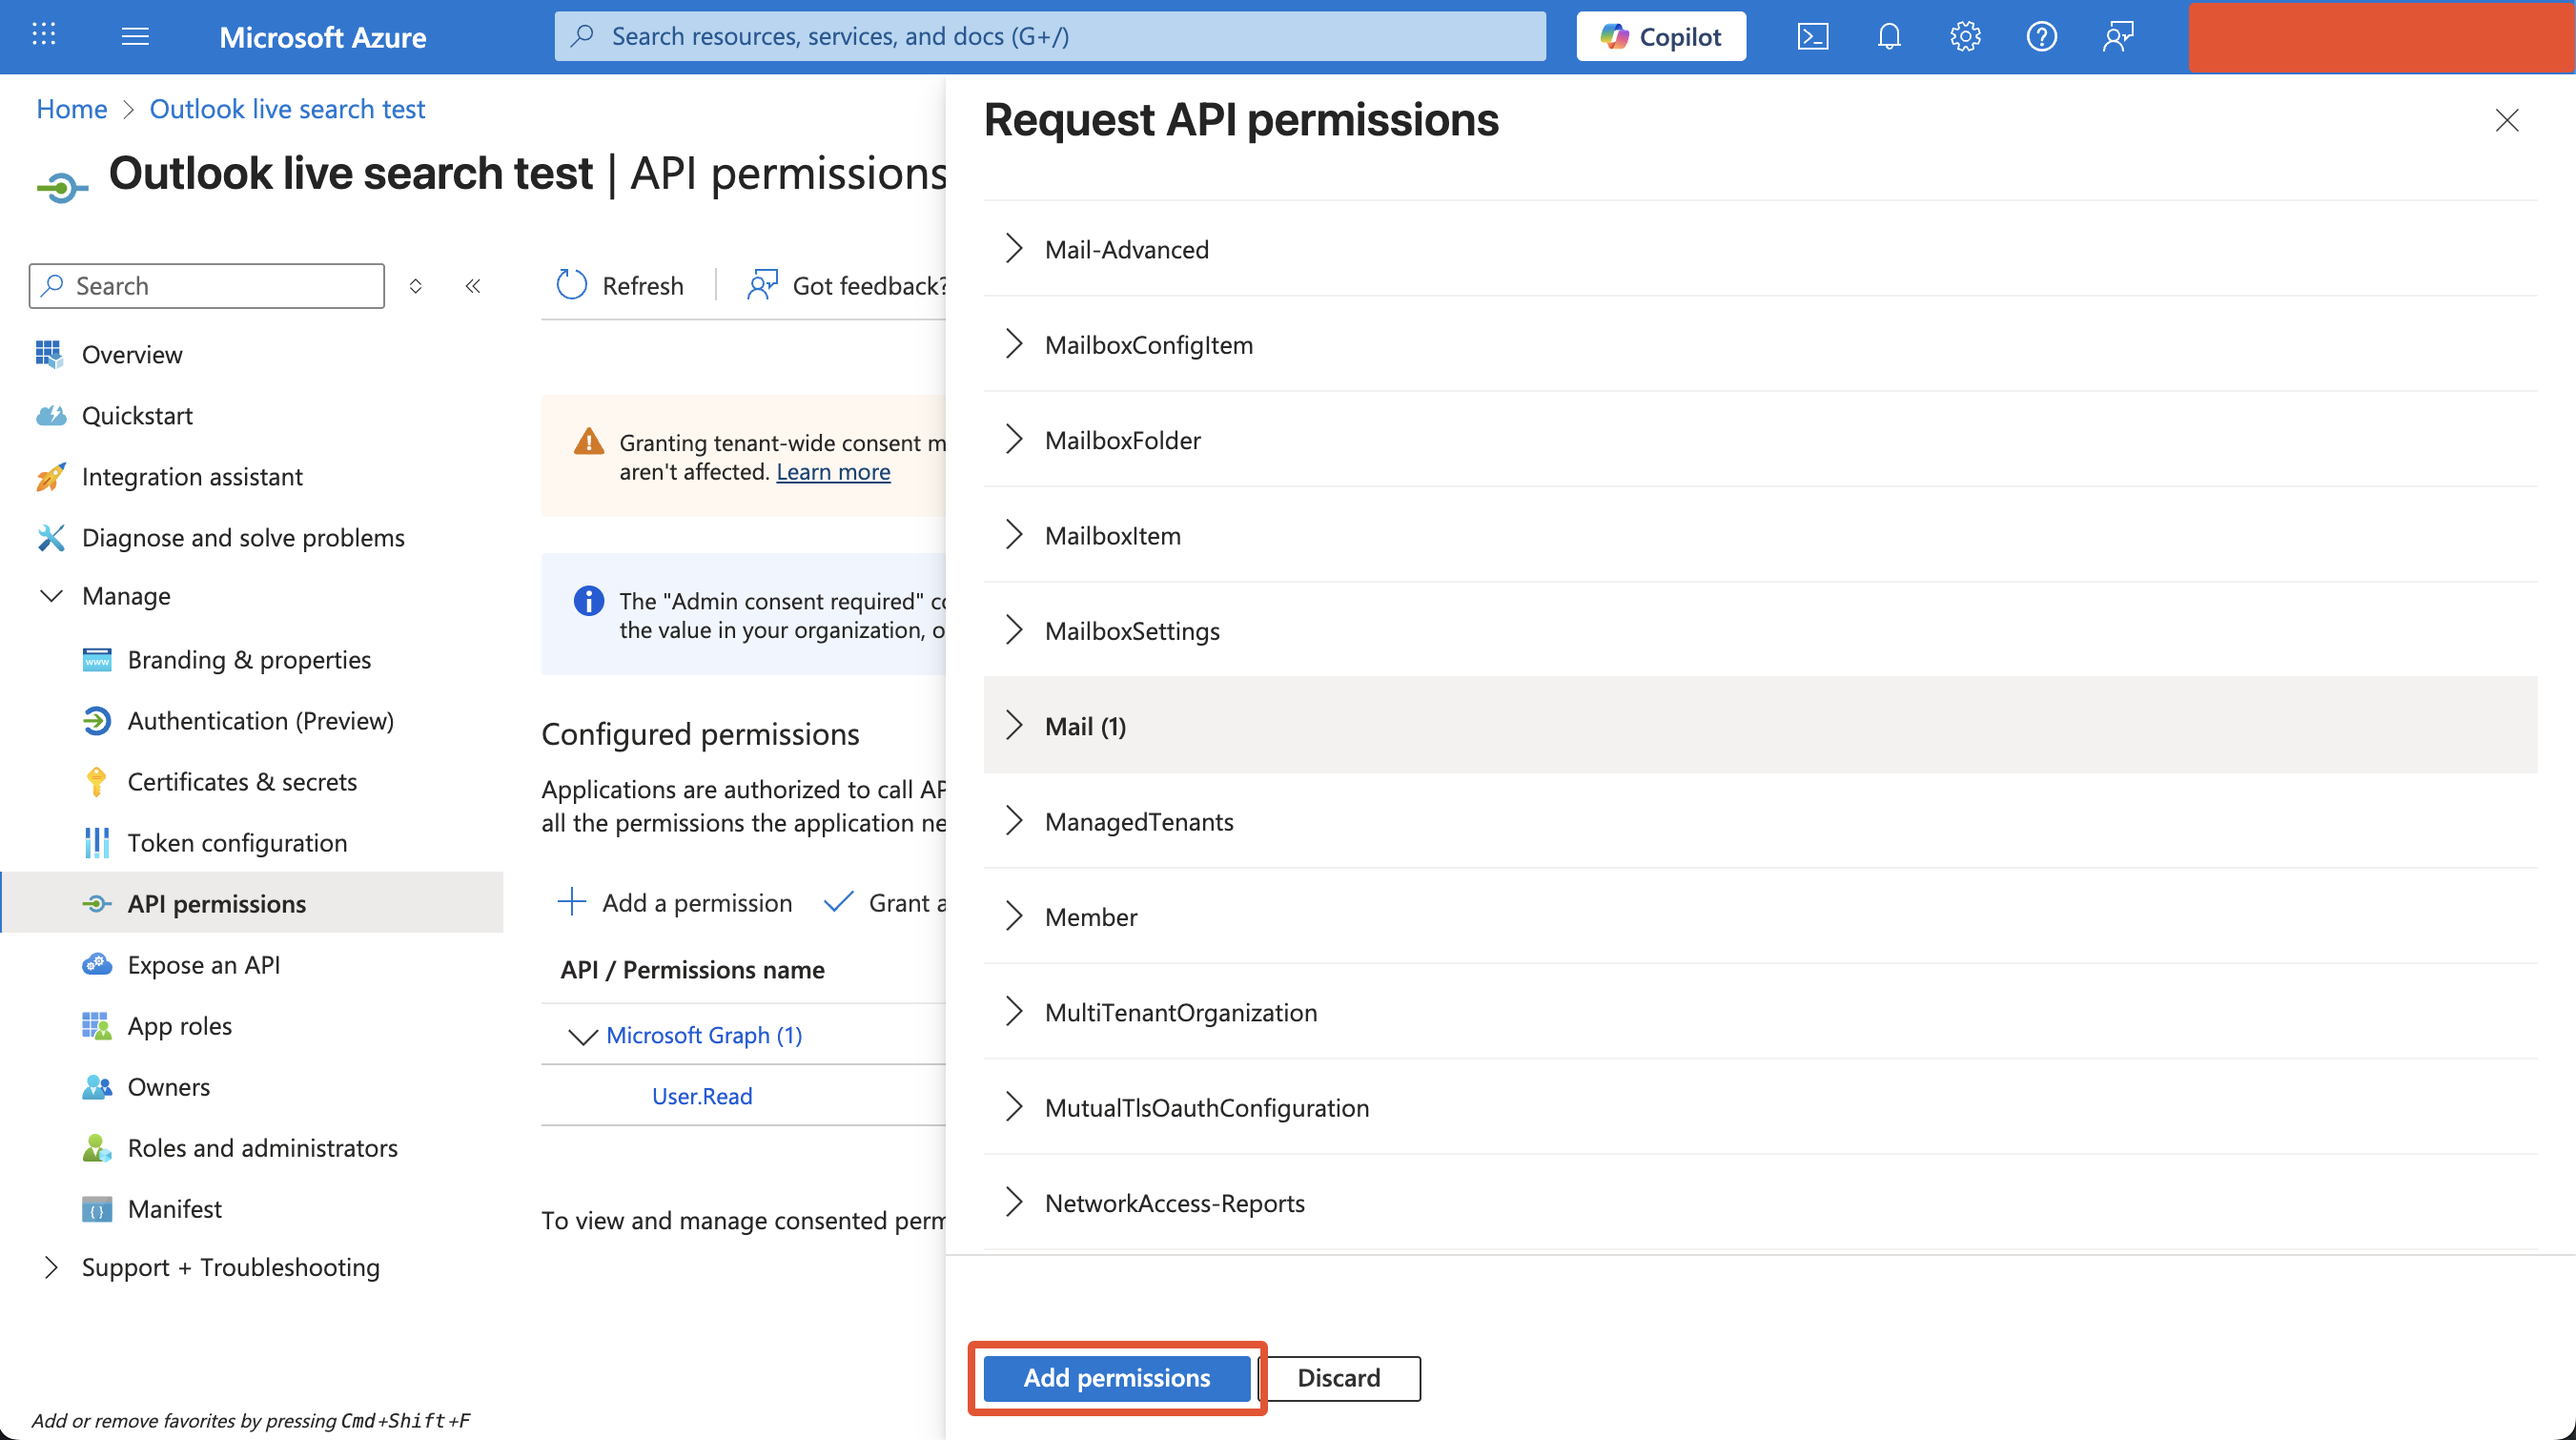
Search for the permissions you need to grant (noted above) and check the box for each
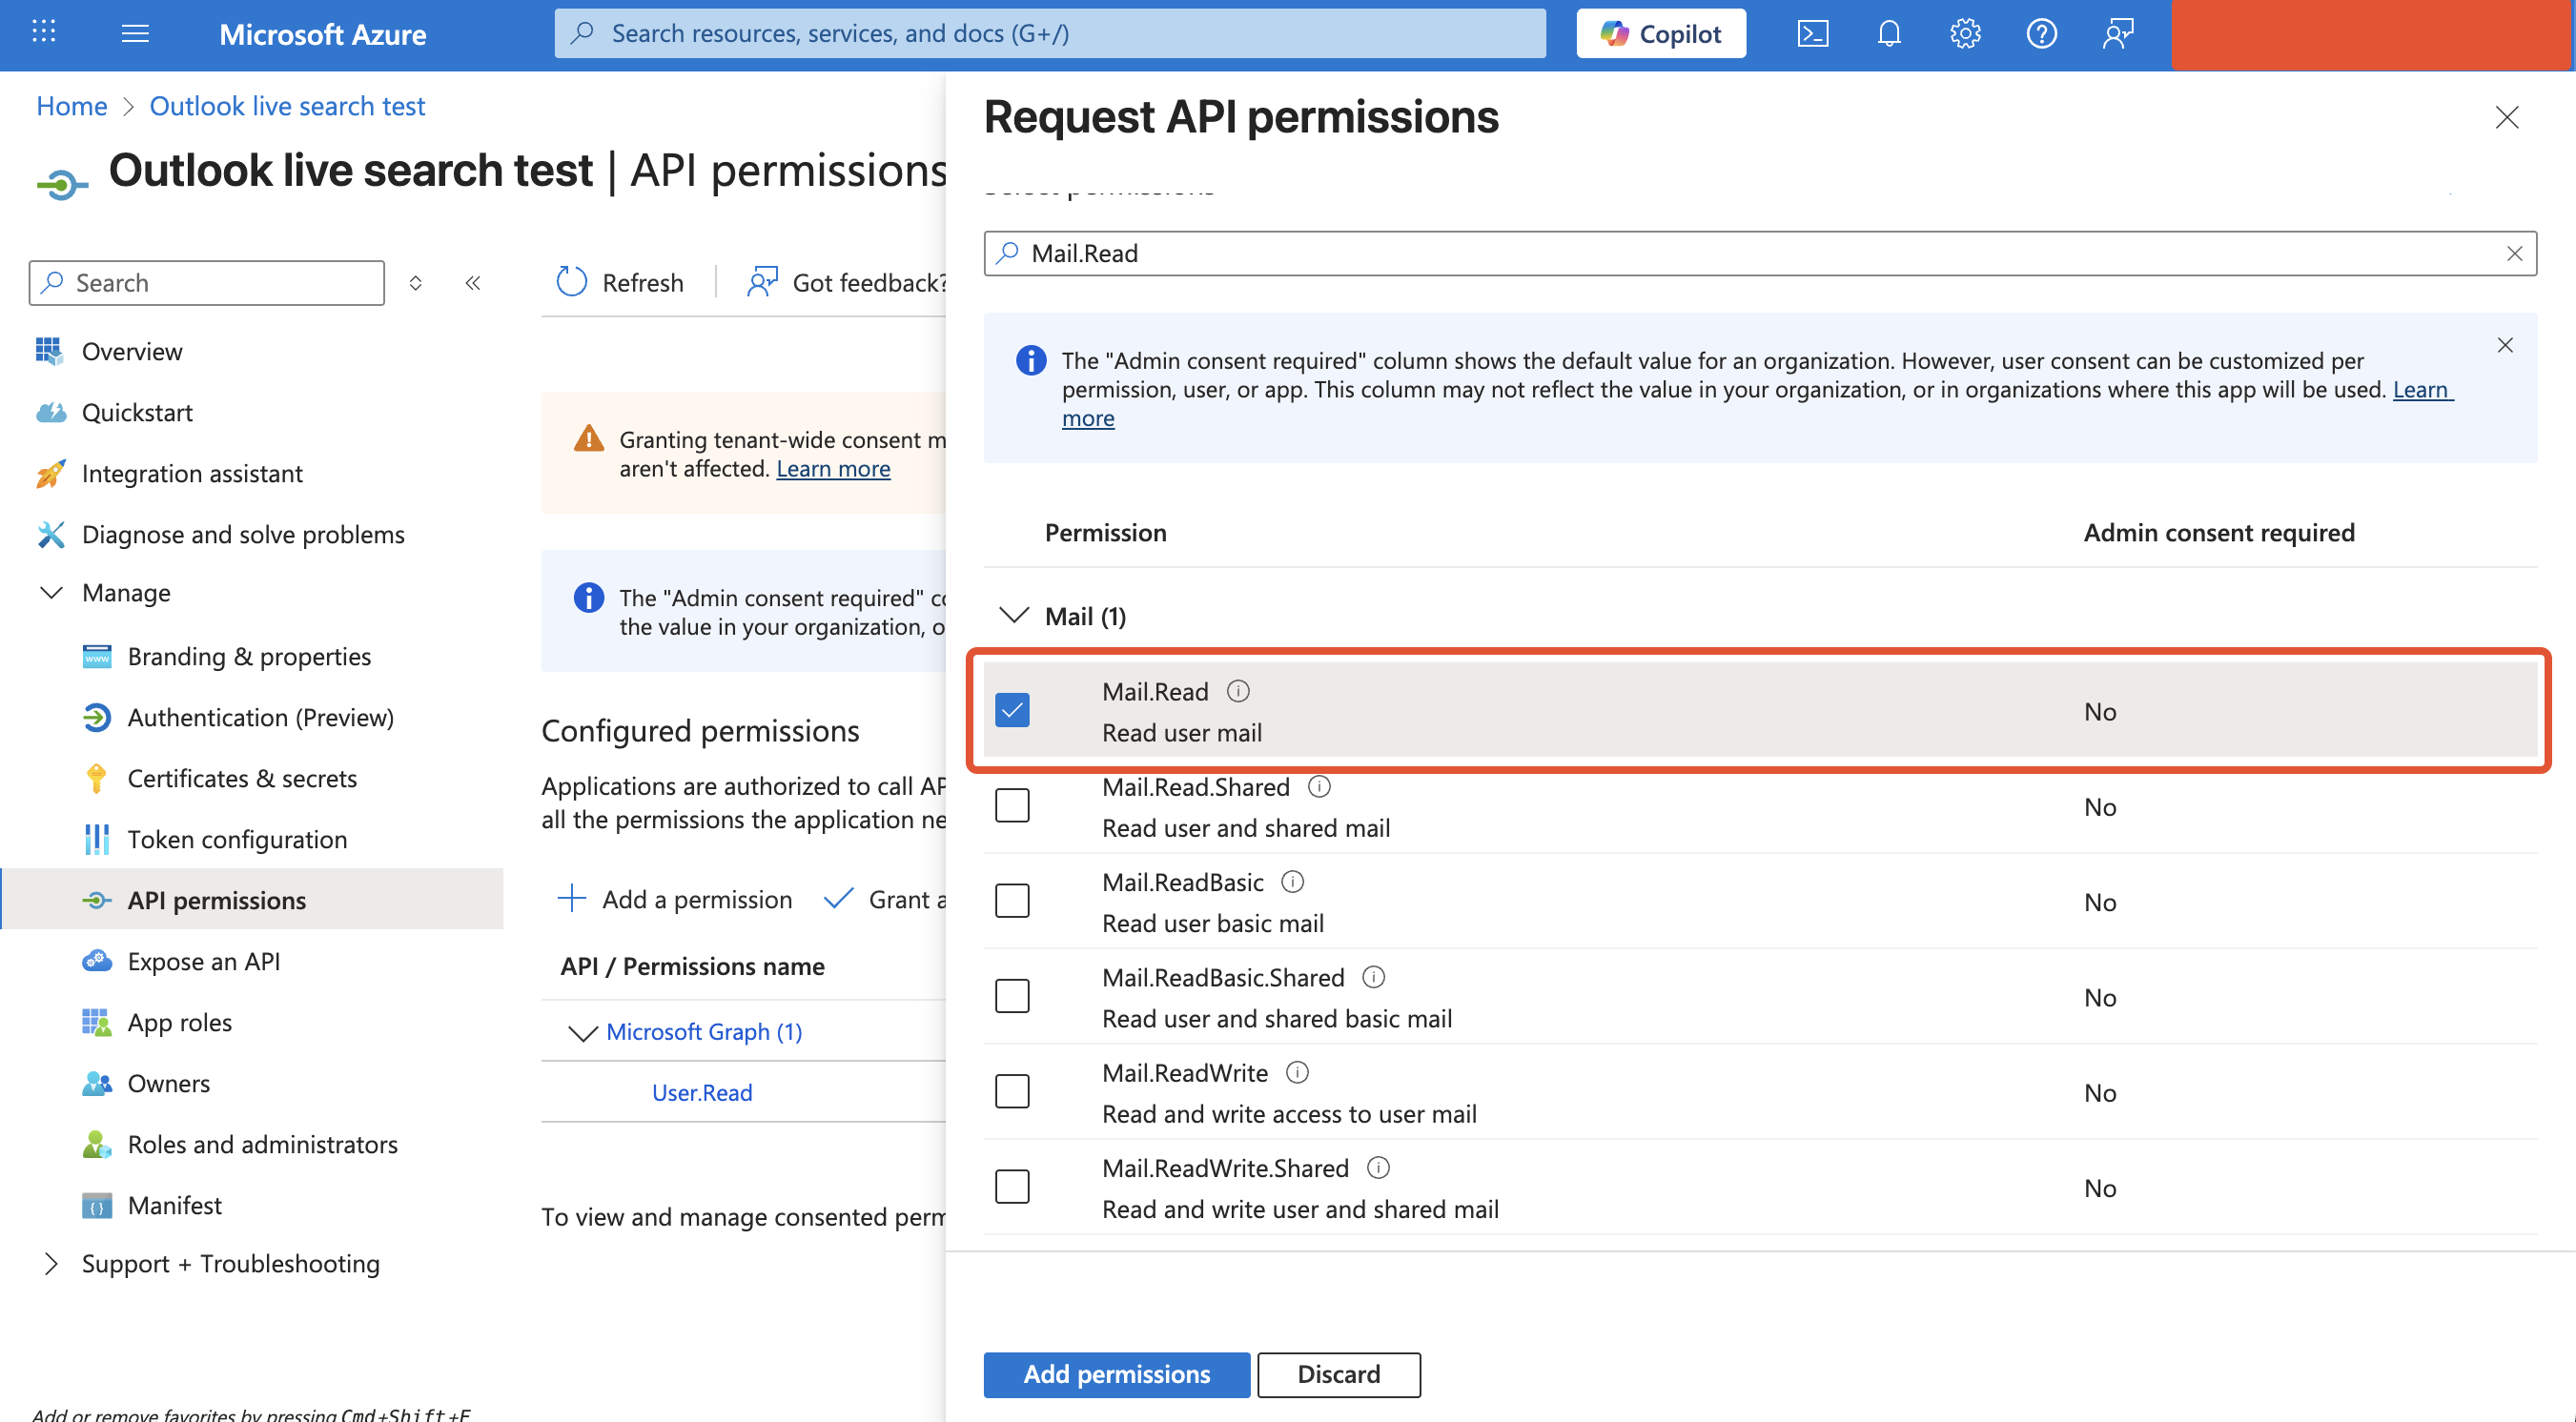
-
Once they’ve all been checked, click Add permissions
-
You’ll now see all the newly added permissions will have a status of “Not granted for” your organization
-
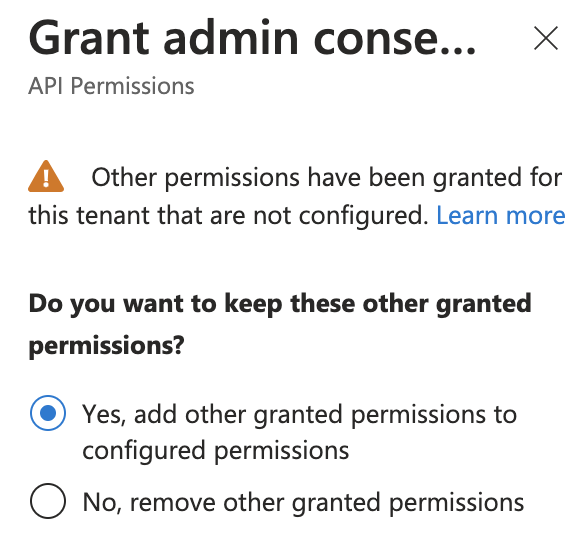
To complete the process, click Grant admin consent for your organization

-
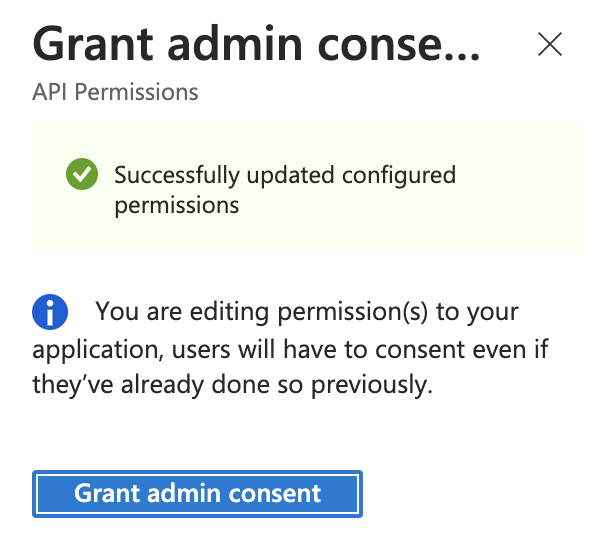
If this panel appears, click Yes, add other granted permissions to configured permissions then Save and continue, then Grant admin consent, and then Yes
-
You will see green checkmarks on the newly added permissions if this was successful
Setup in Moveworks
-
Log in to your org’s MyMoveworks portal
-
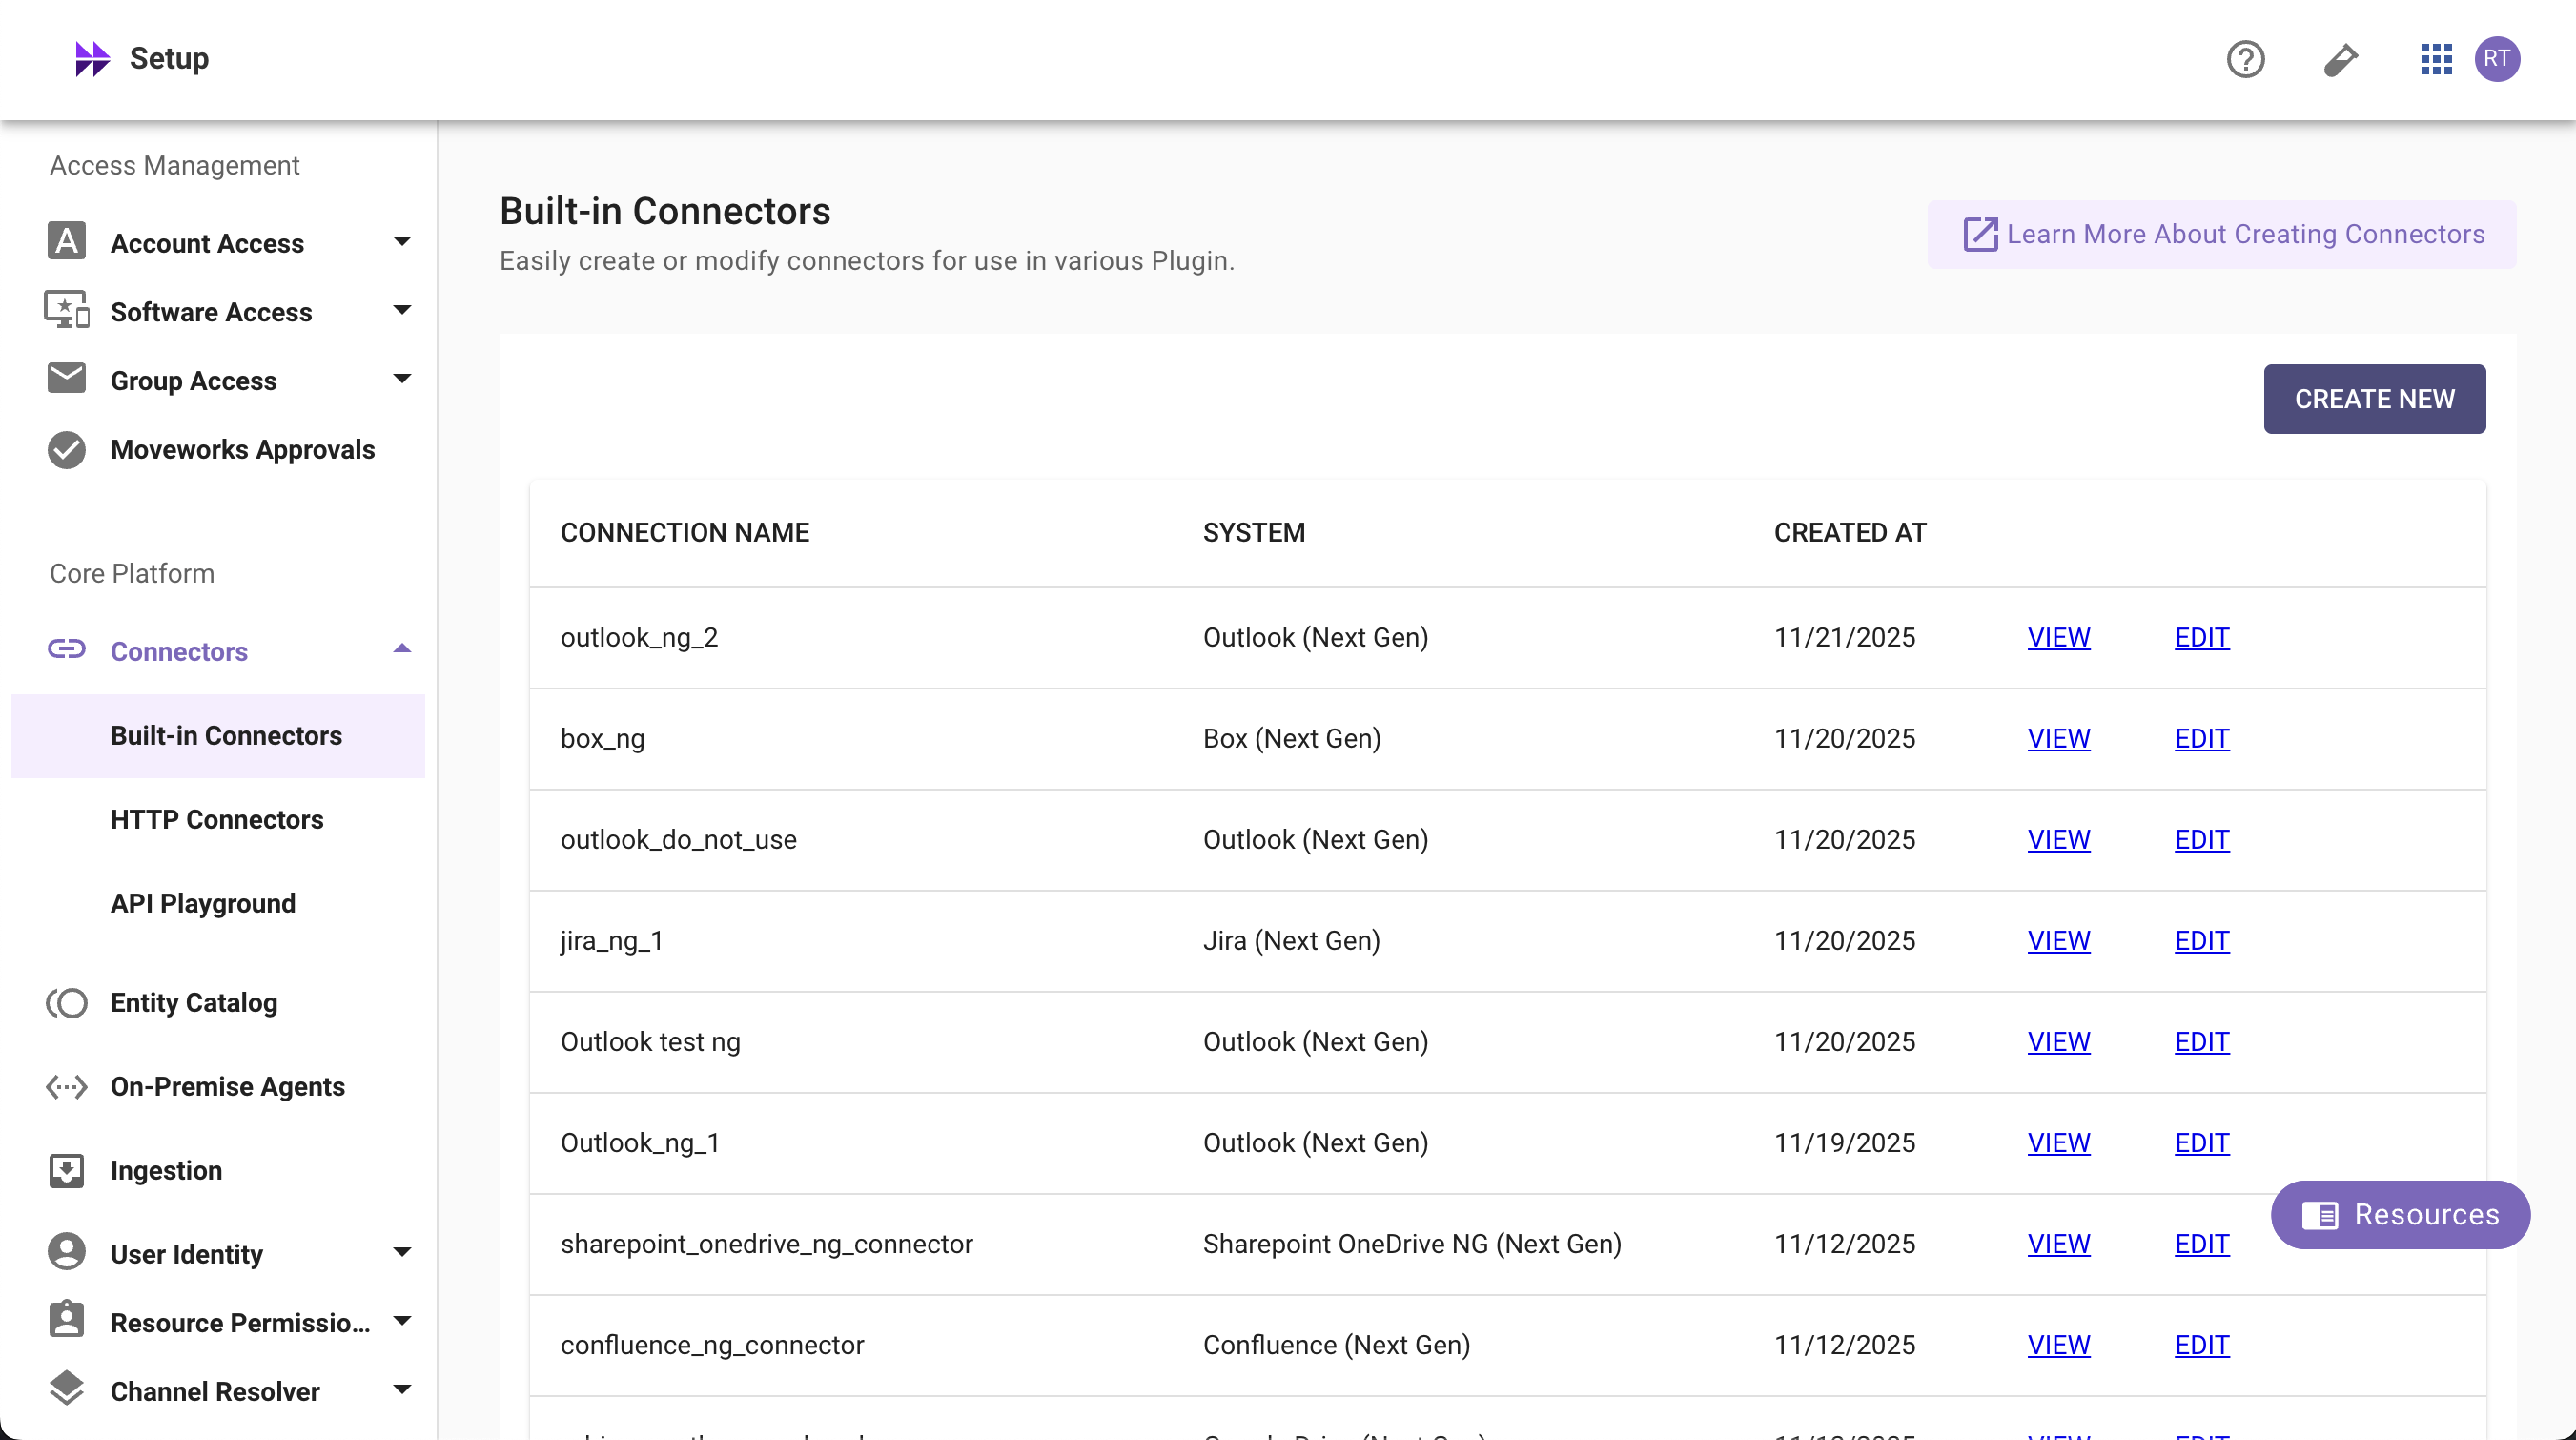
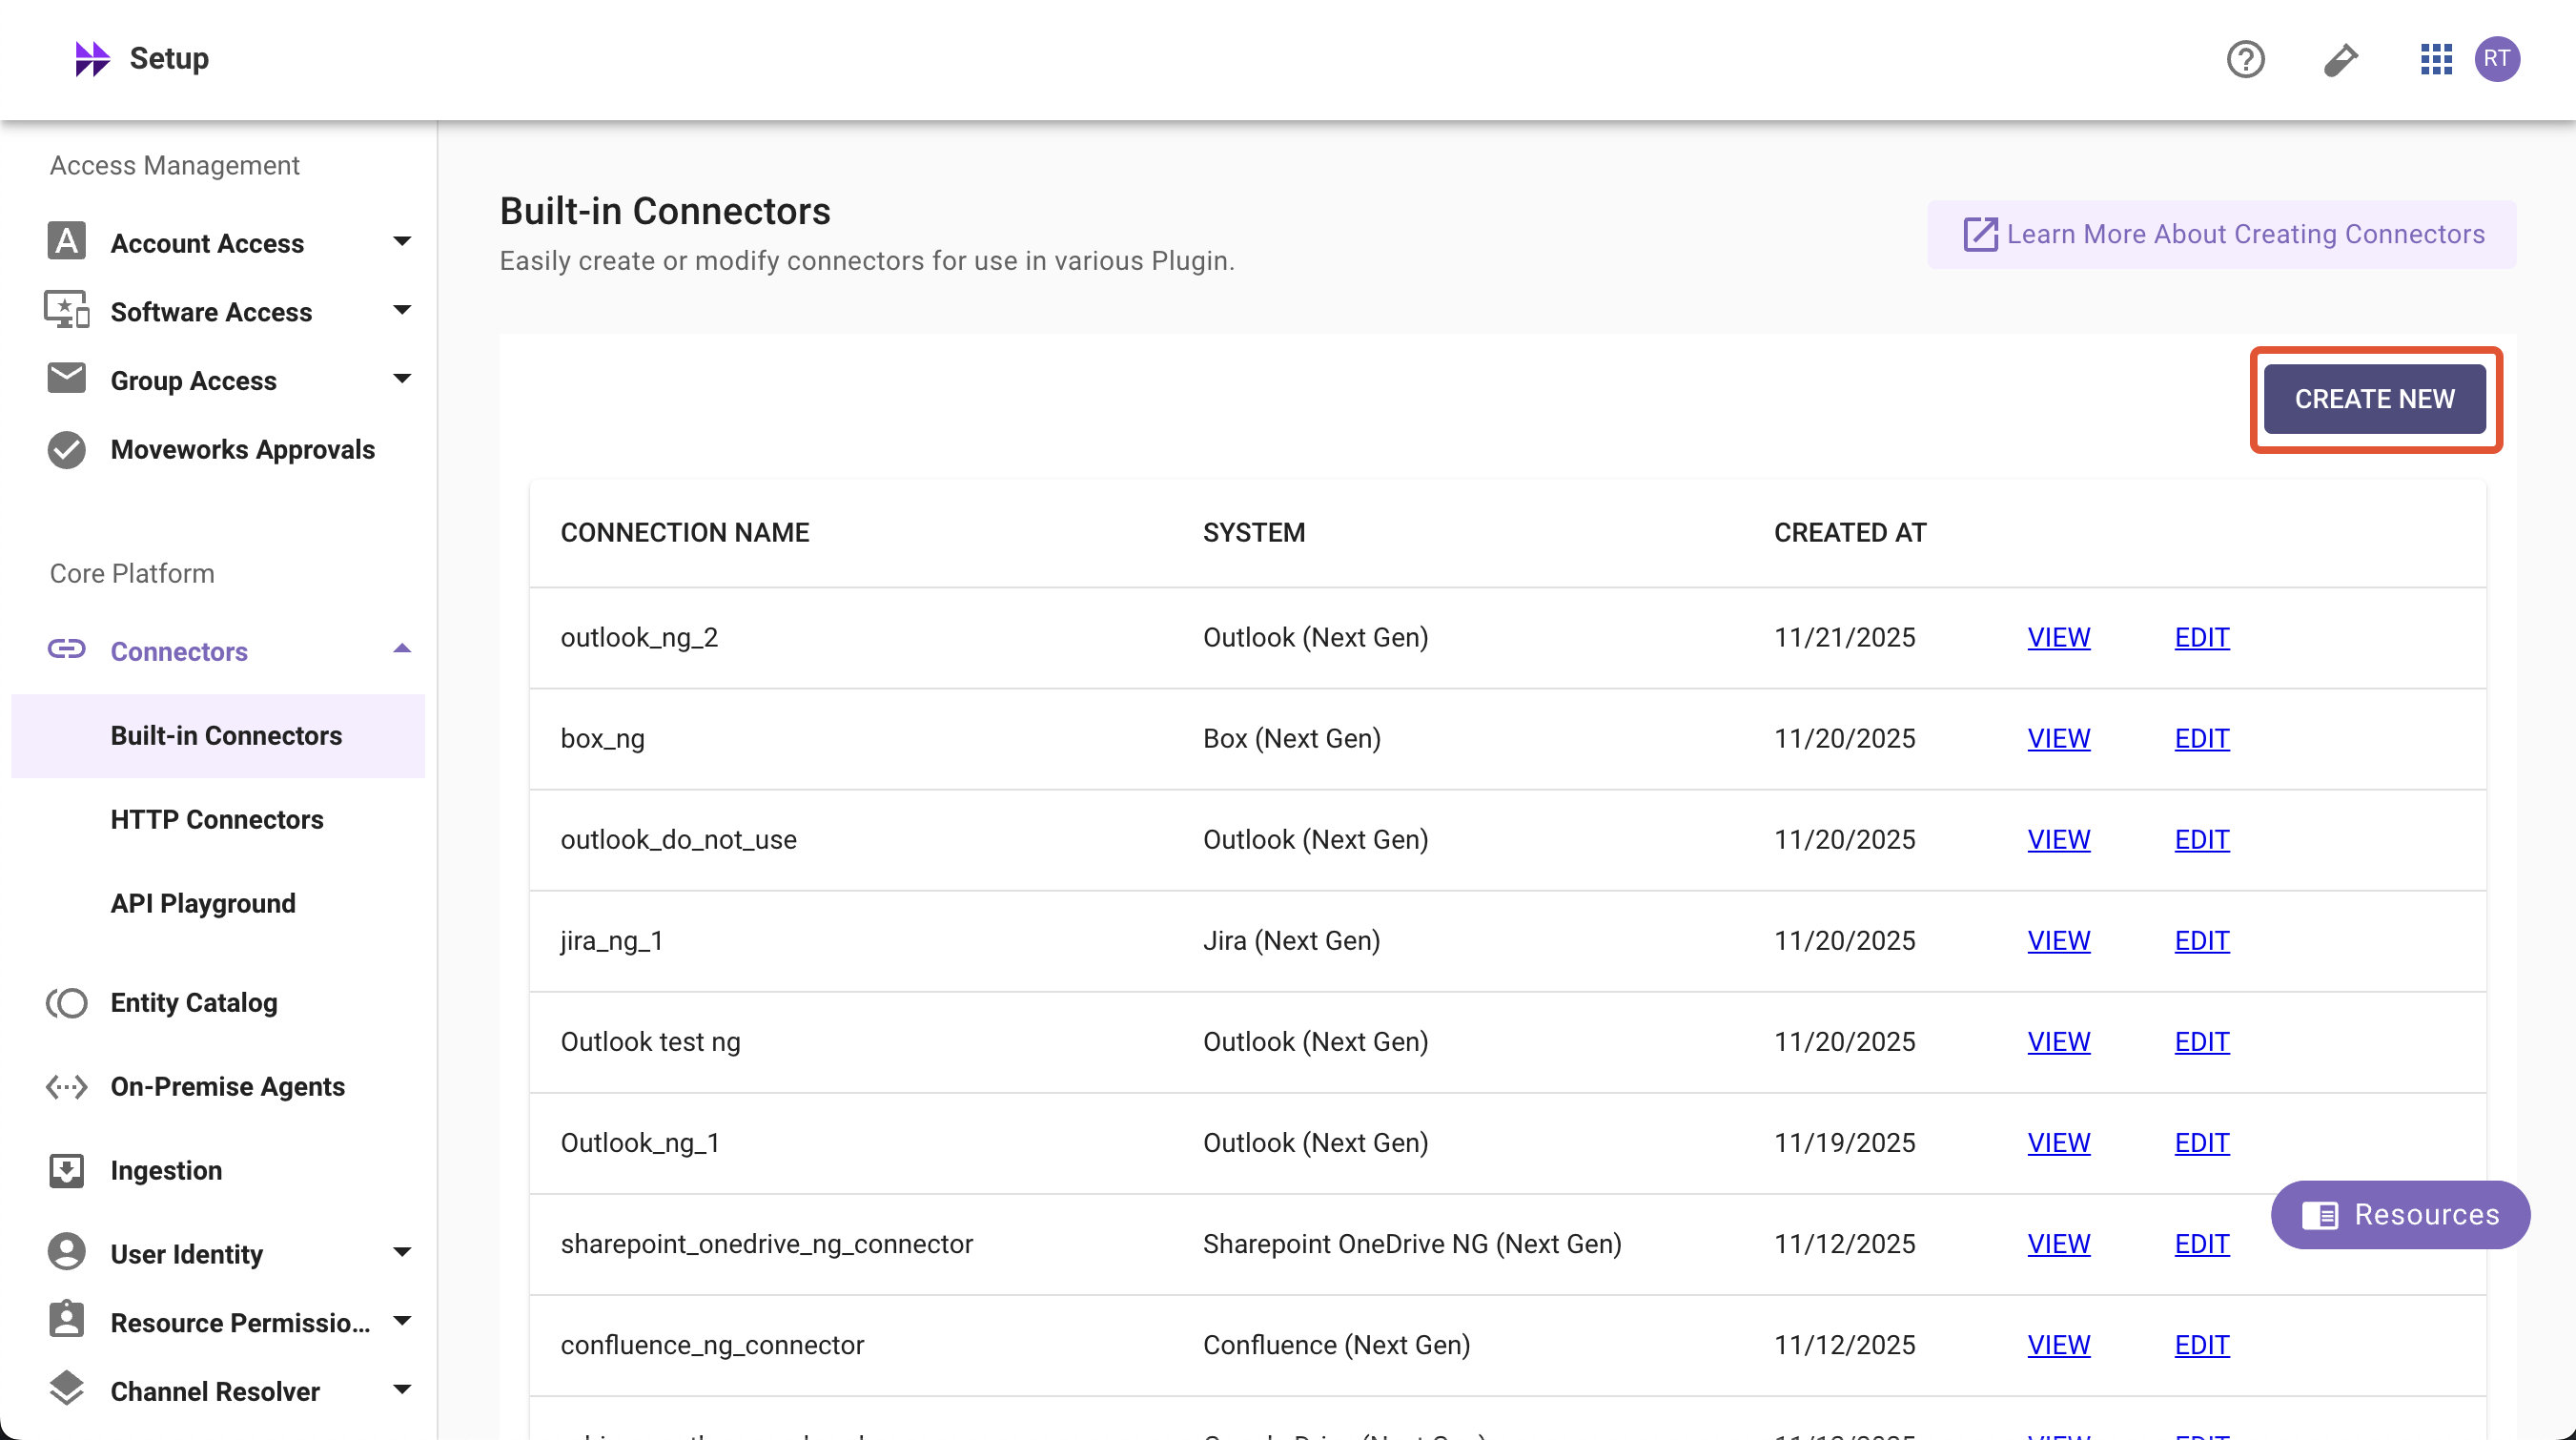
Navigate to Moveworks Setup > Connectors > Built-in Connectors
-
Click Create New
-
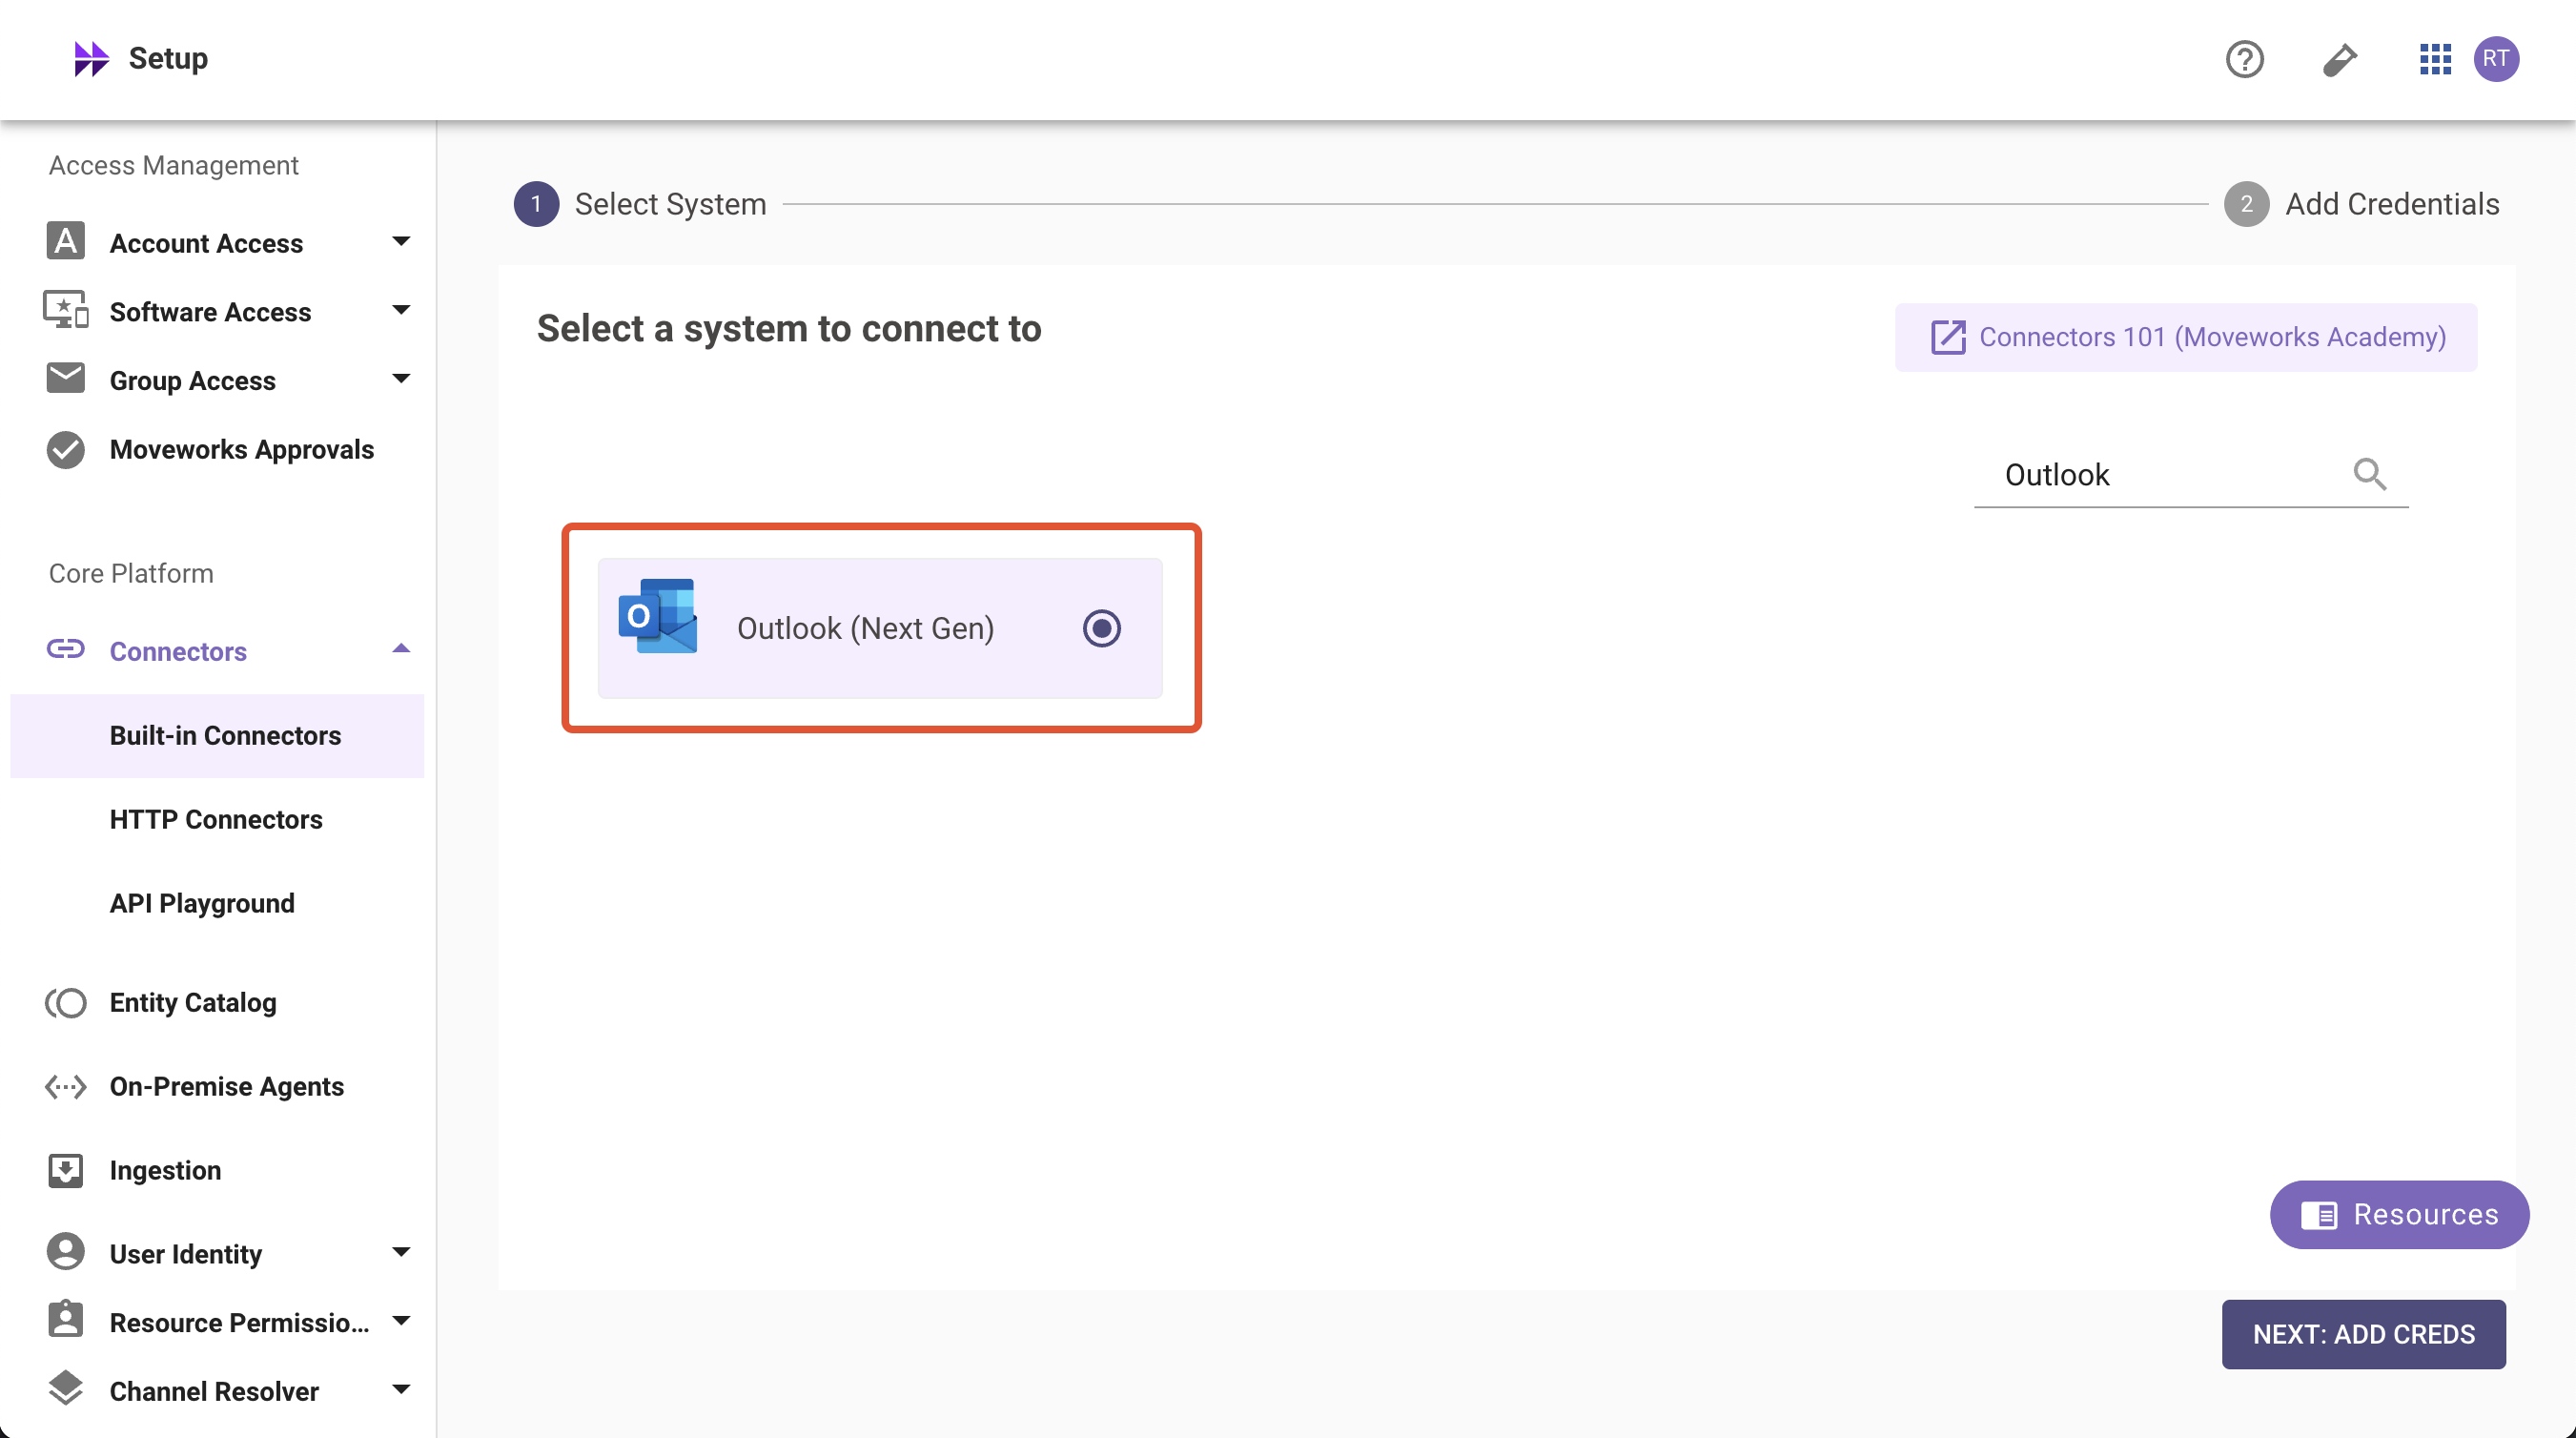
Search and Select Outlook (Next Gen)
-
Click on Next: Add Creds
-
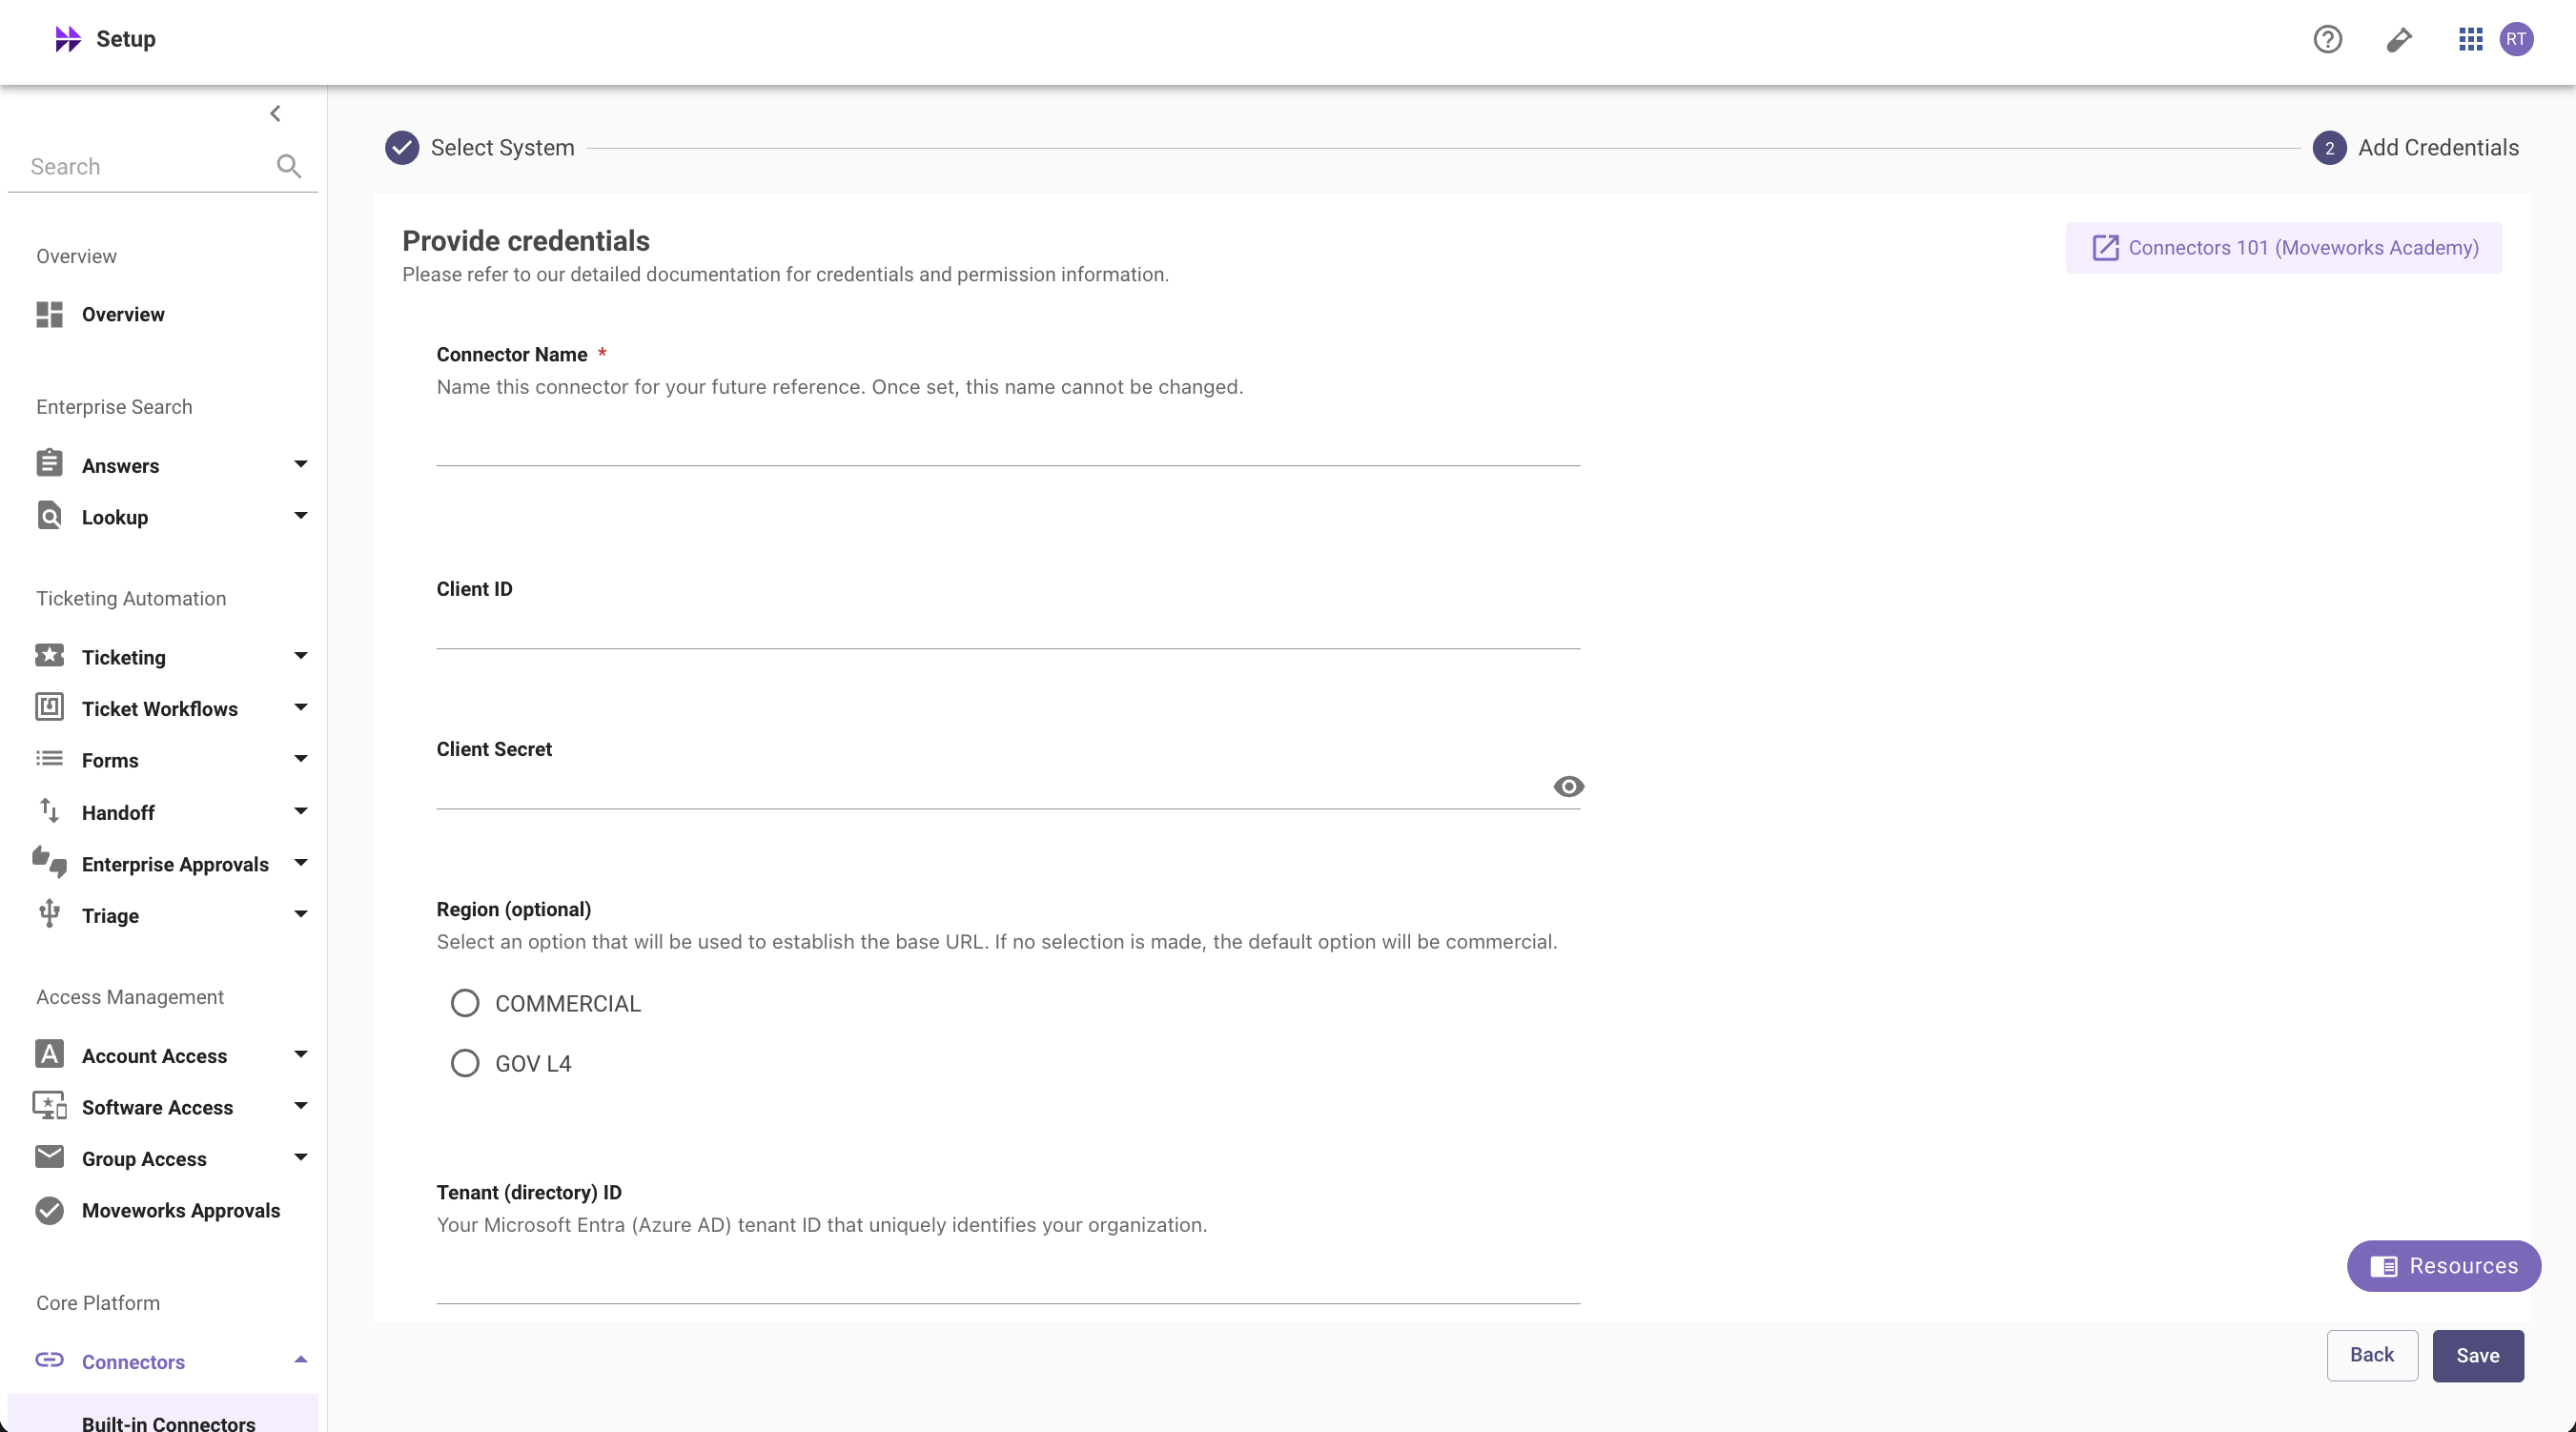
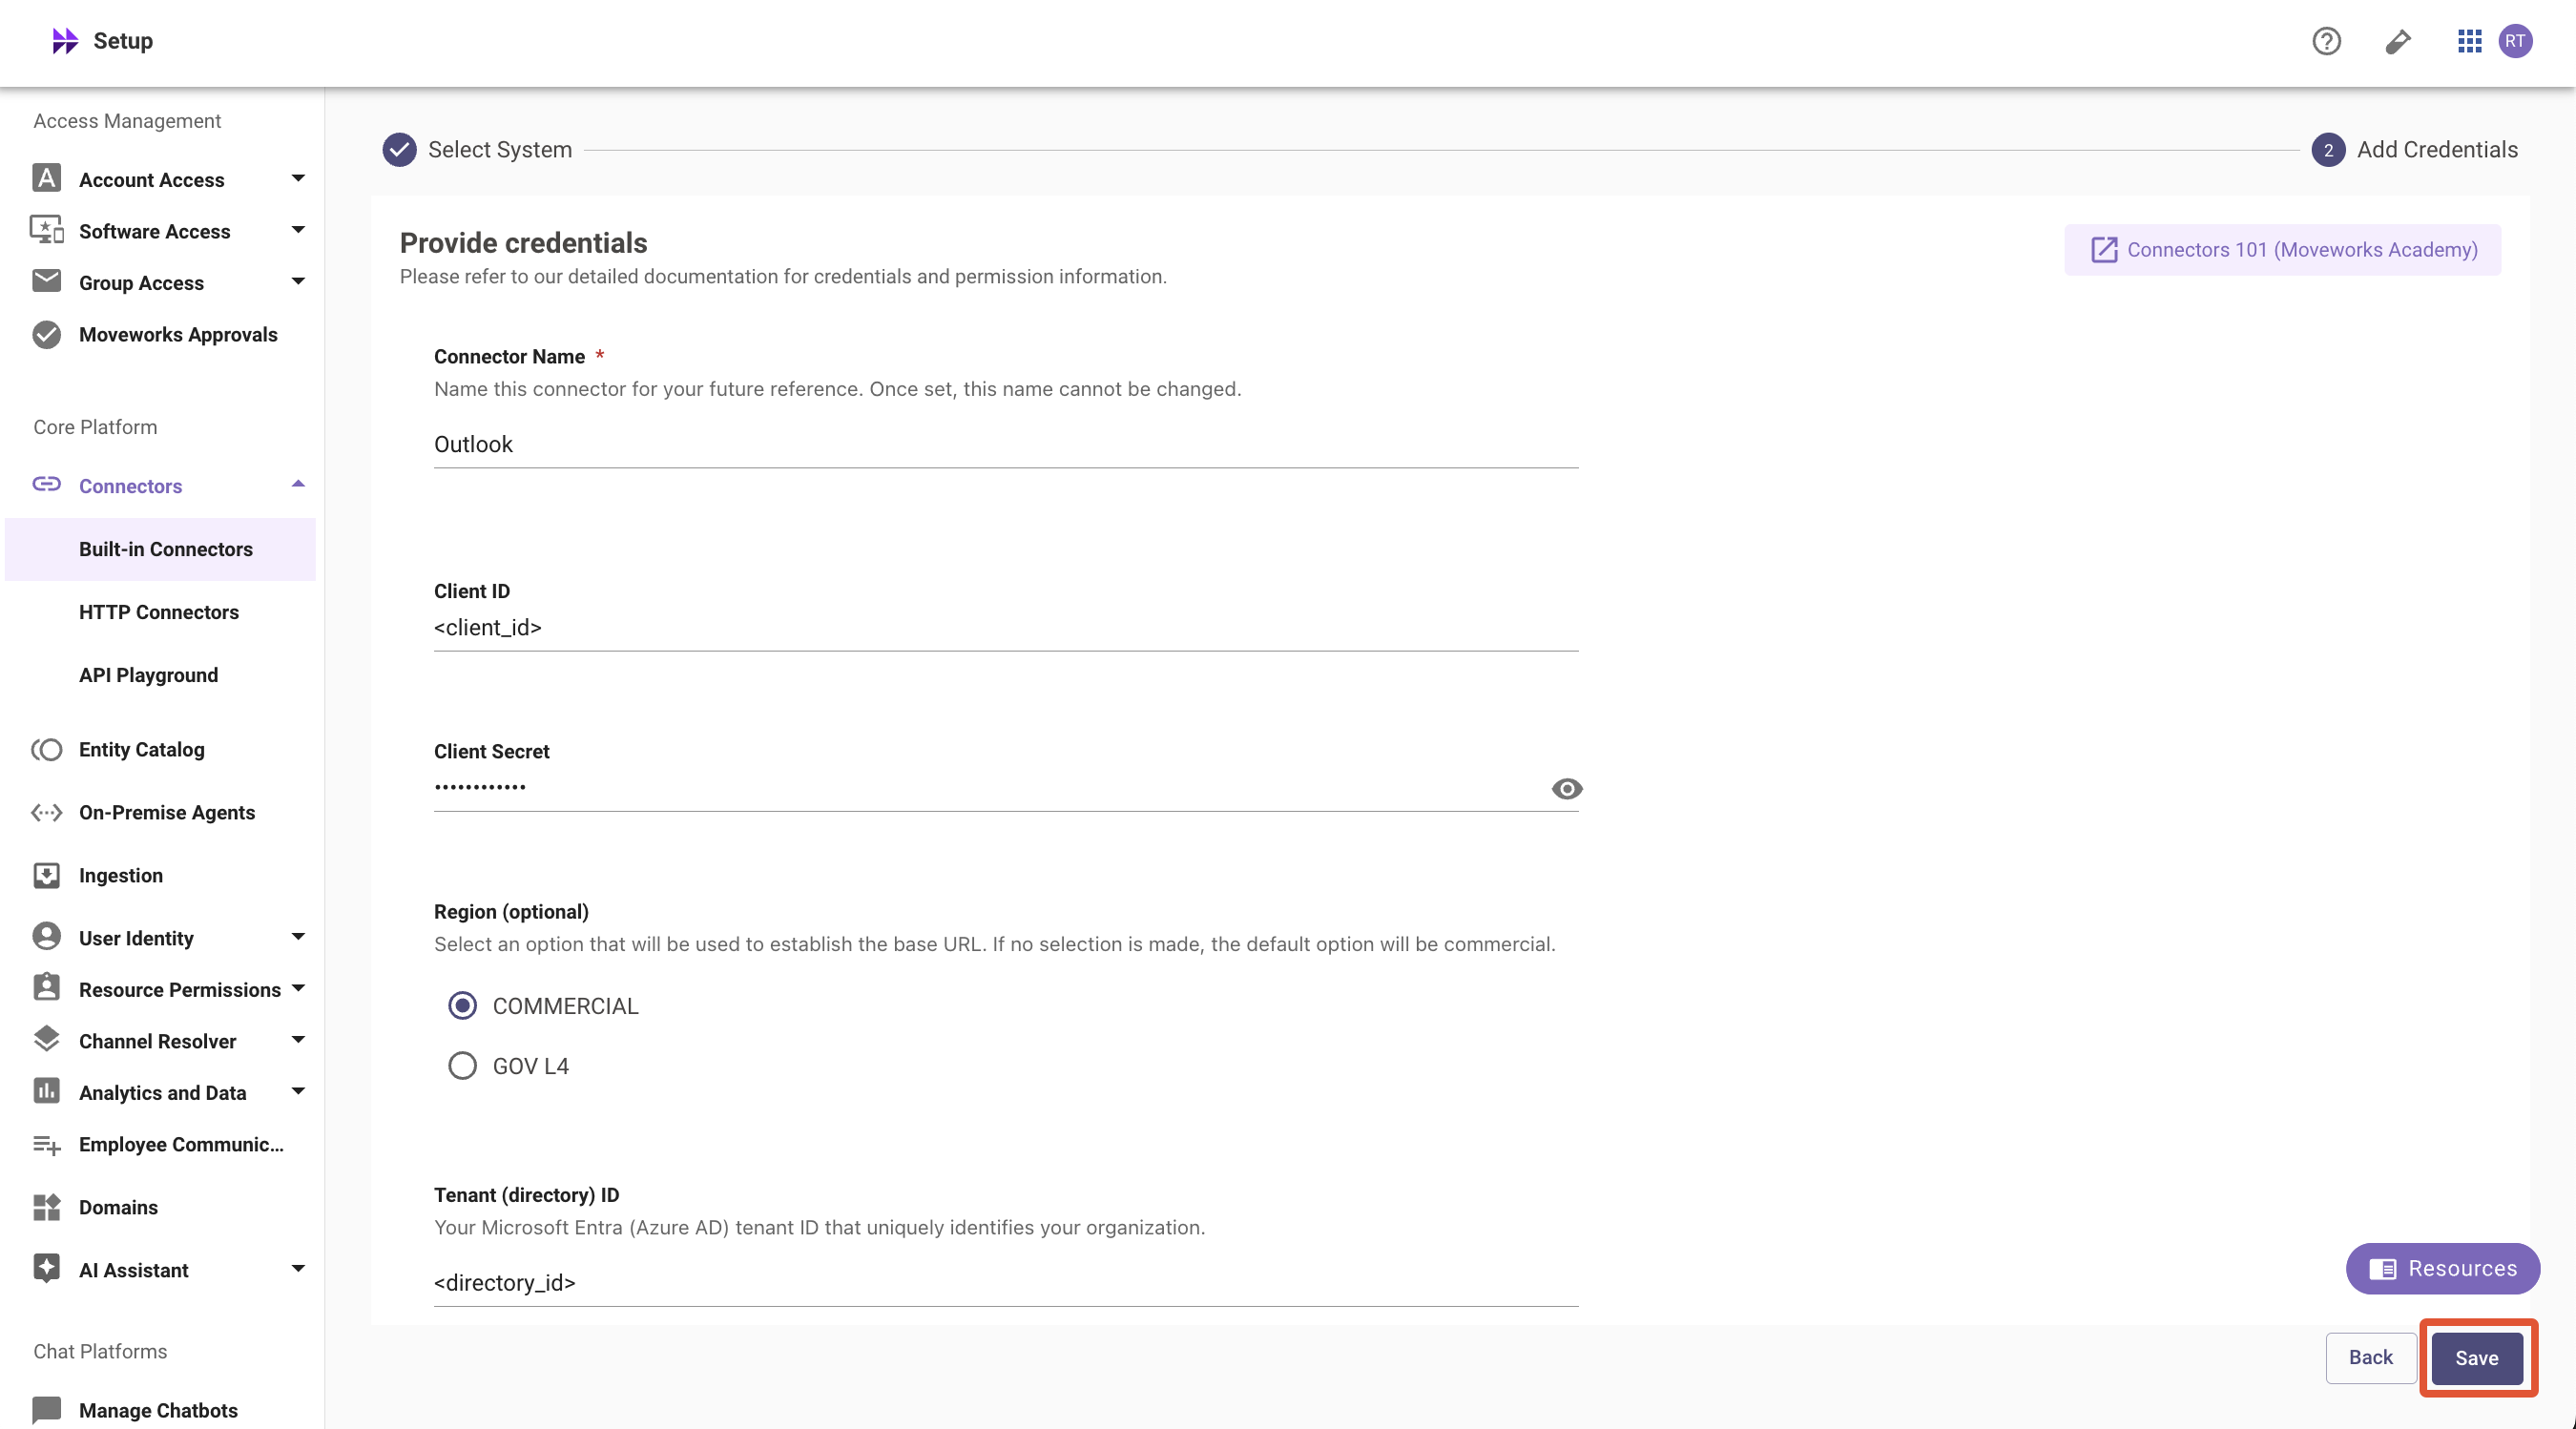
Input the following details (copied from steps above)
-
Connector Name: Name this connector for your future reference. Once set, this name cannot be changed
-
Application (Client) ID: The unique identifier for your Azure app registration
-
Application Client Secret: The secret key for your Azure app to authenticate with Microsoft Graph APIs
-
Tenant (directory) ID: Your organization’s unique Azure Active Directory identifier
-
Region (optional): Select an option that will be used to establish the base URL. If no selection is made, the default option will be commercial. If GOV L4 is selected .us token url will be created
-
Click Save. This connector will now be used to configure live search from Outlook. Refer to the steps mentioned below
-
Configuring Outlook for Enterprise Search
Initialising setup
-
Log in to your org’s MyMoveworks portal
-
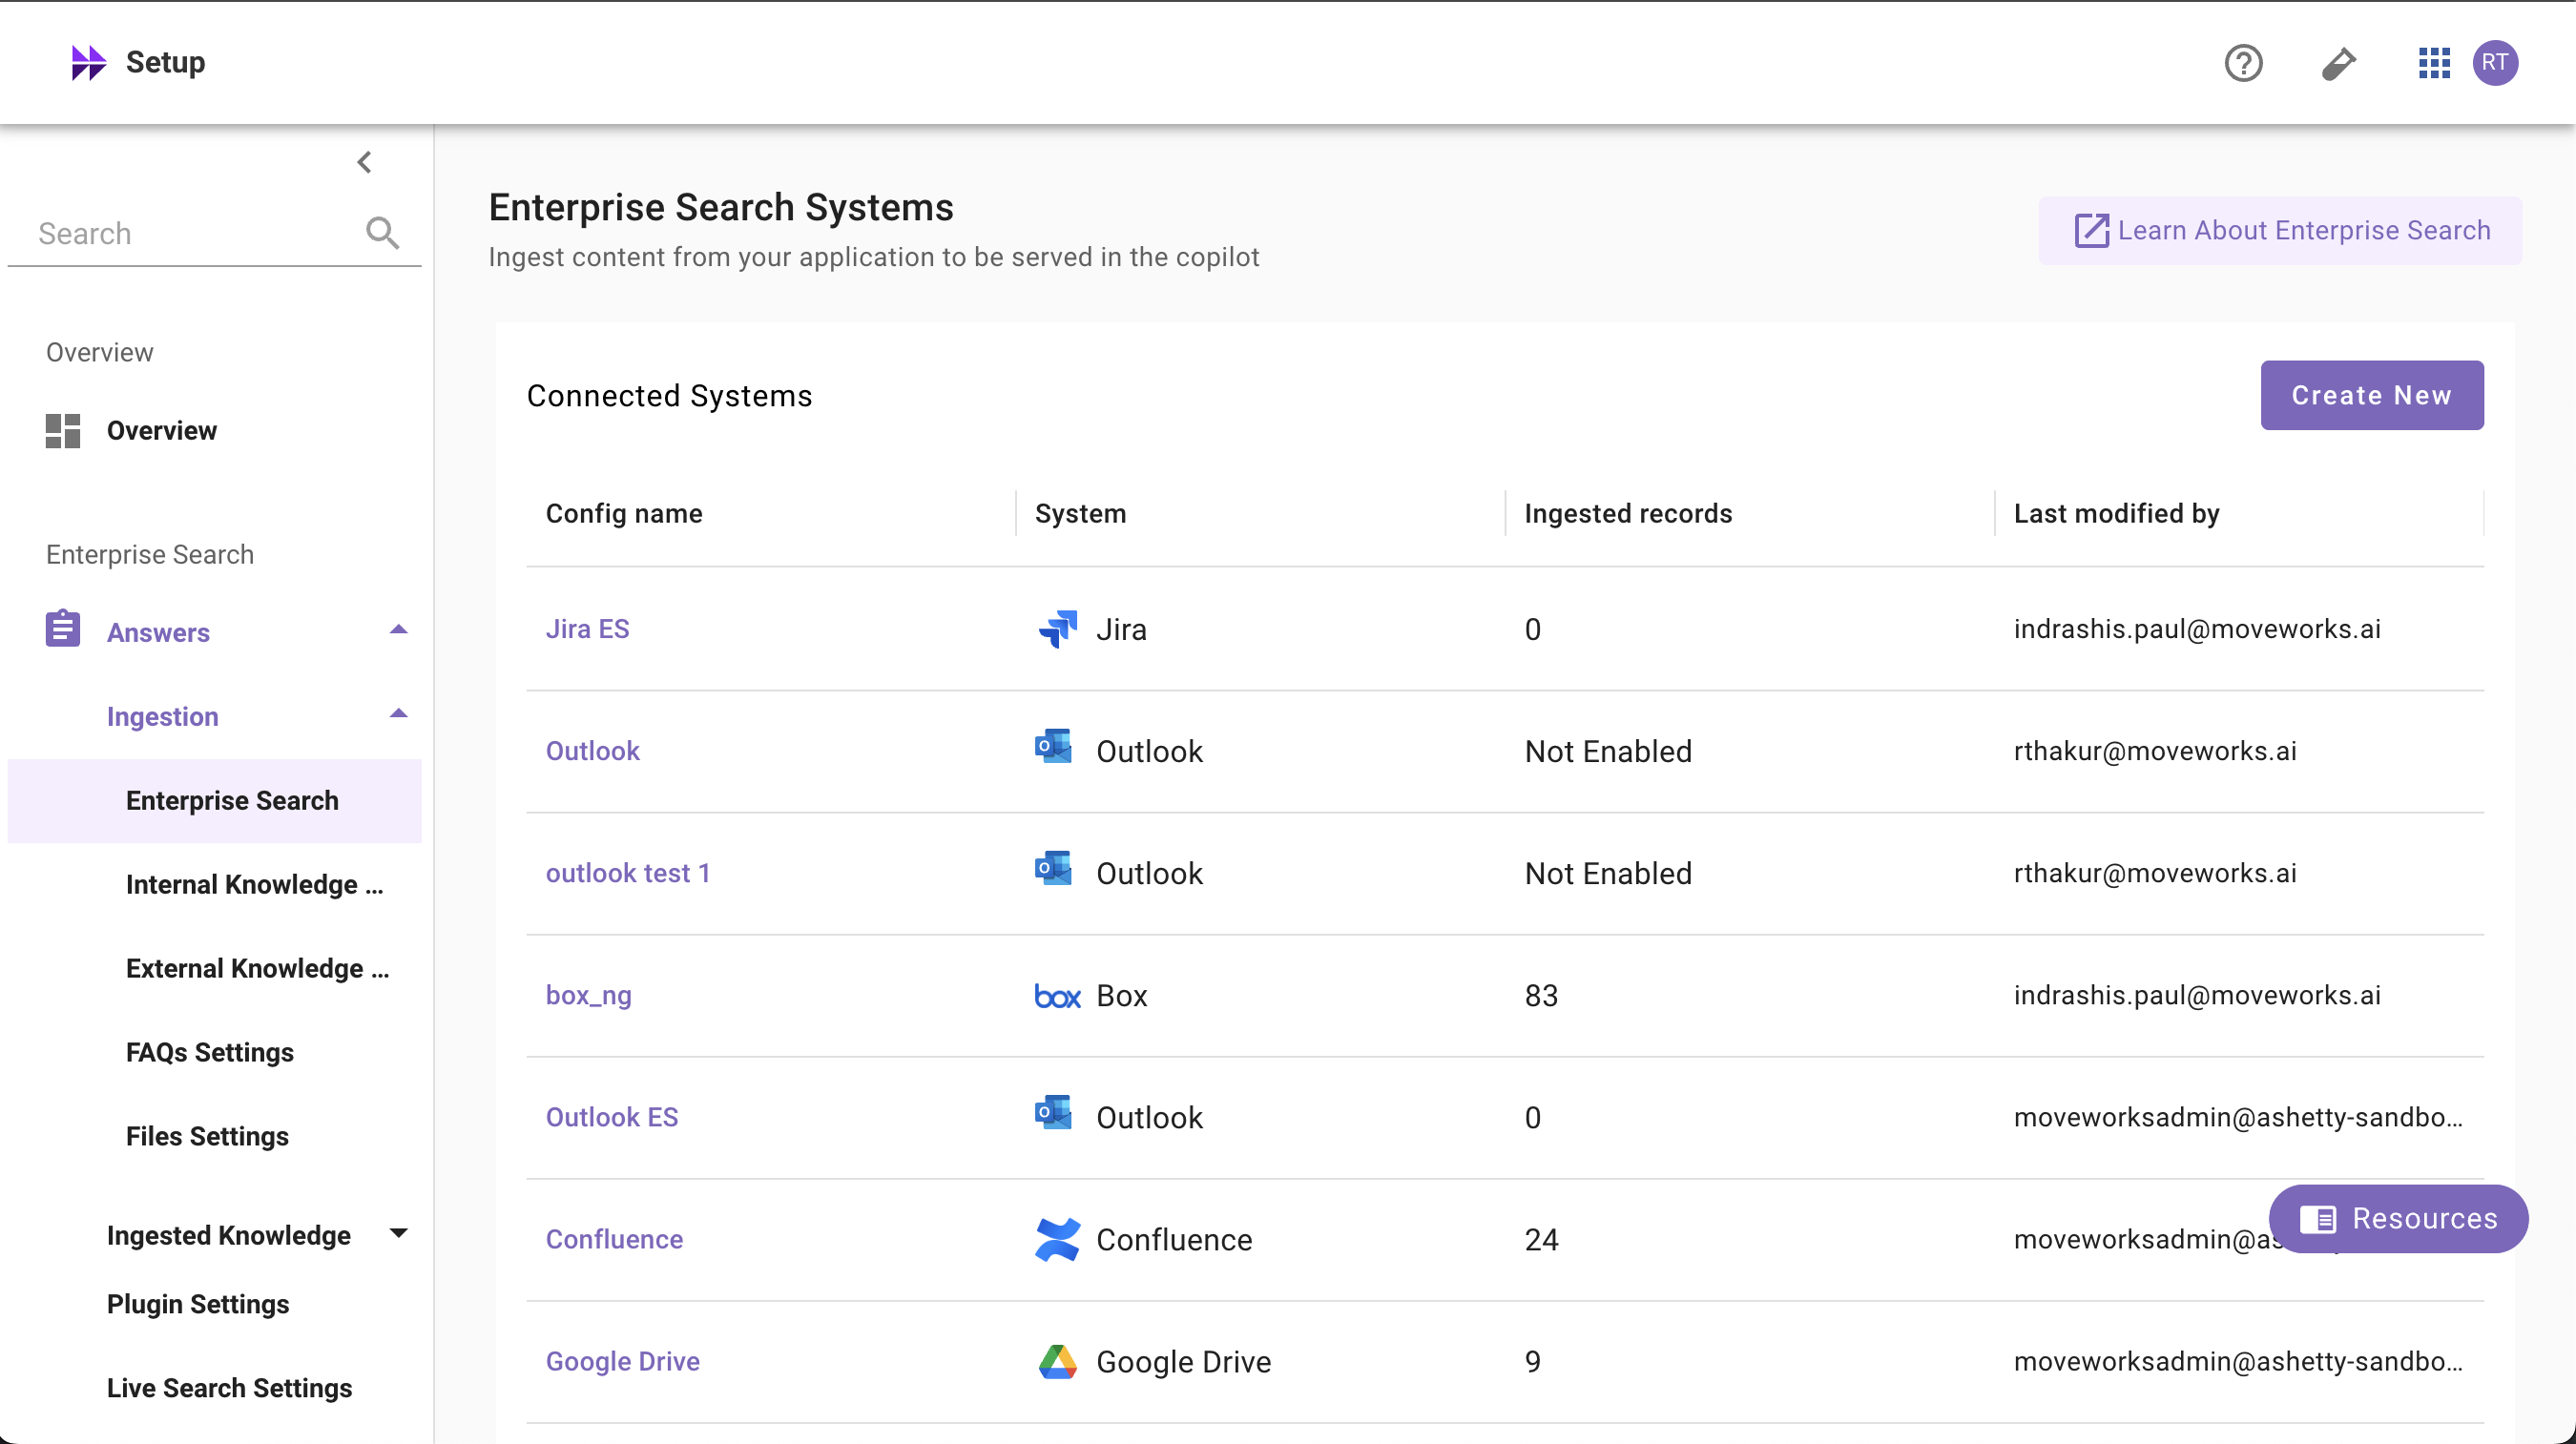
Navigate to Moveworks Setup > Search > Configure Search > Max Capacity
-
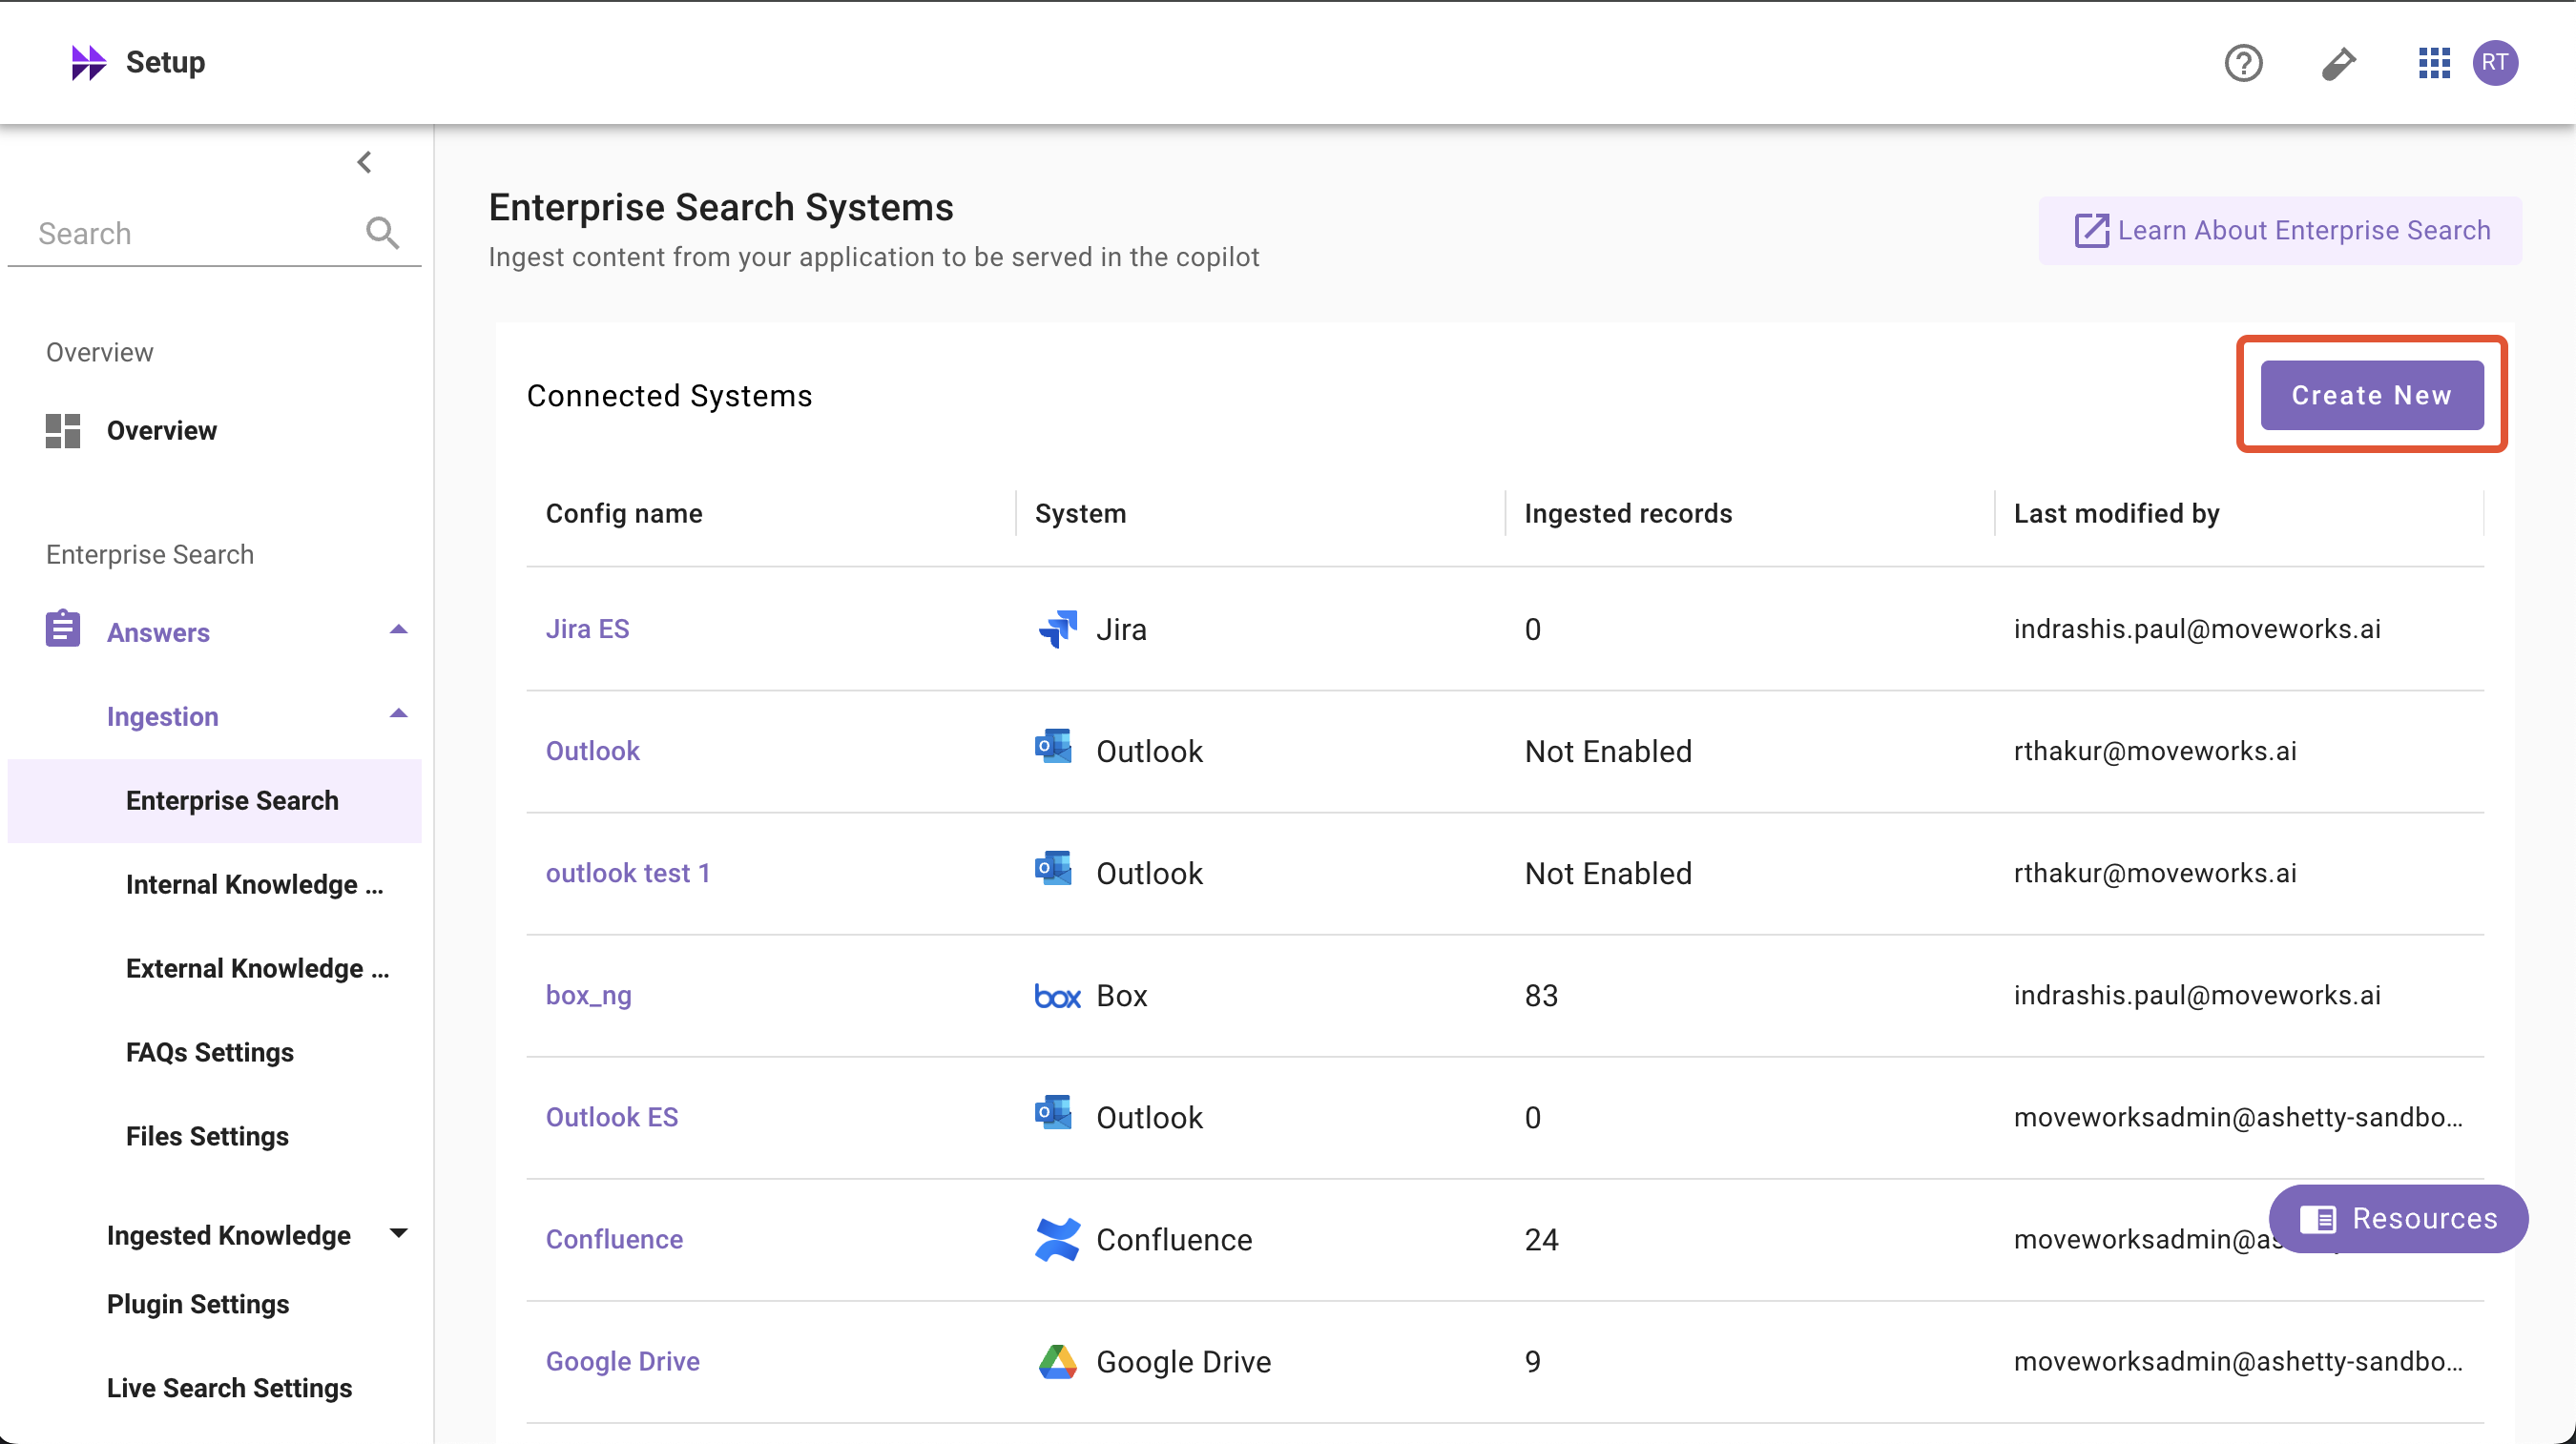
Click on Create New or Get Started
-
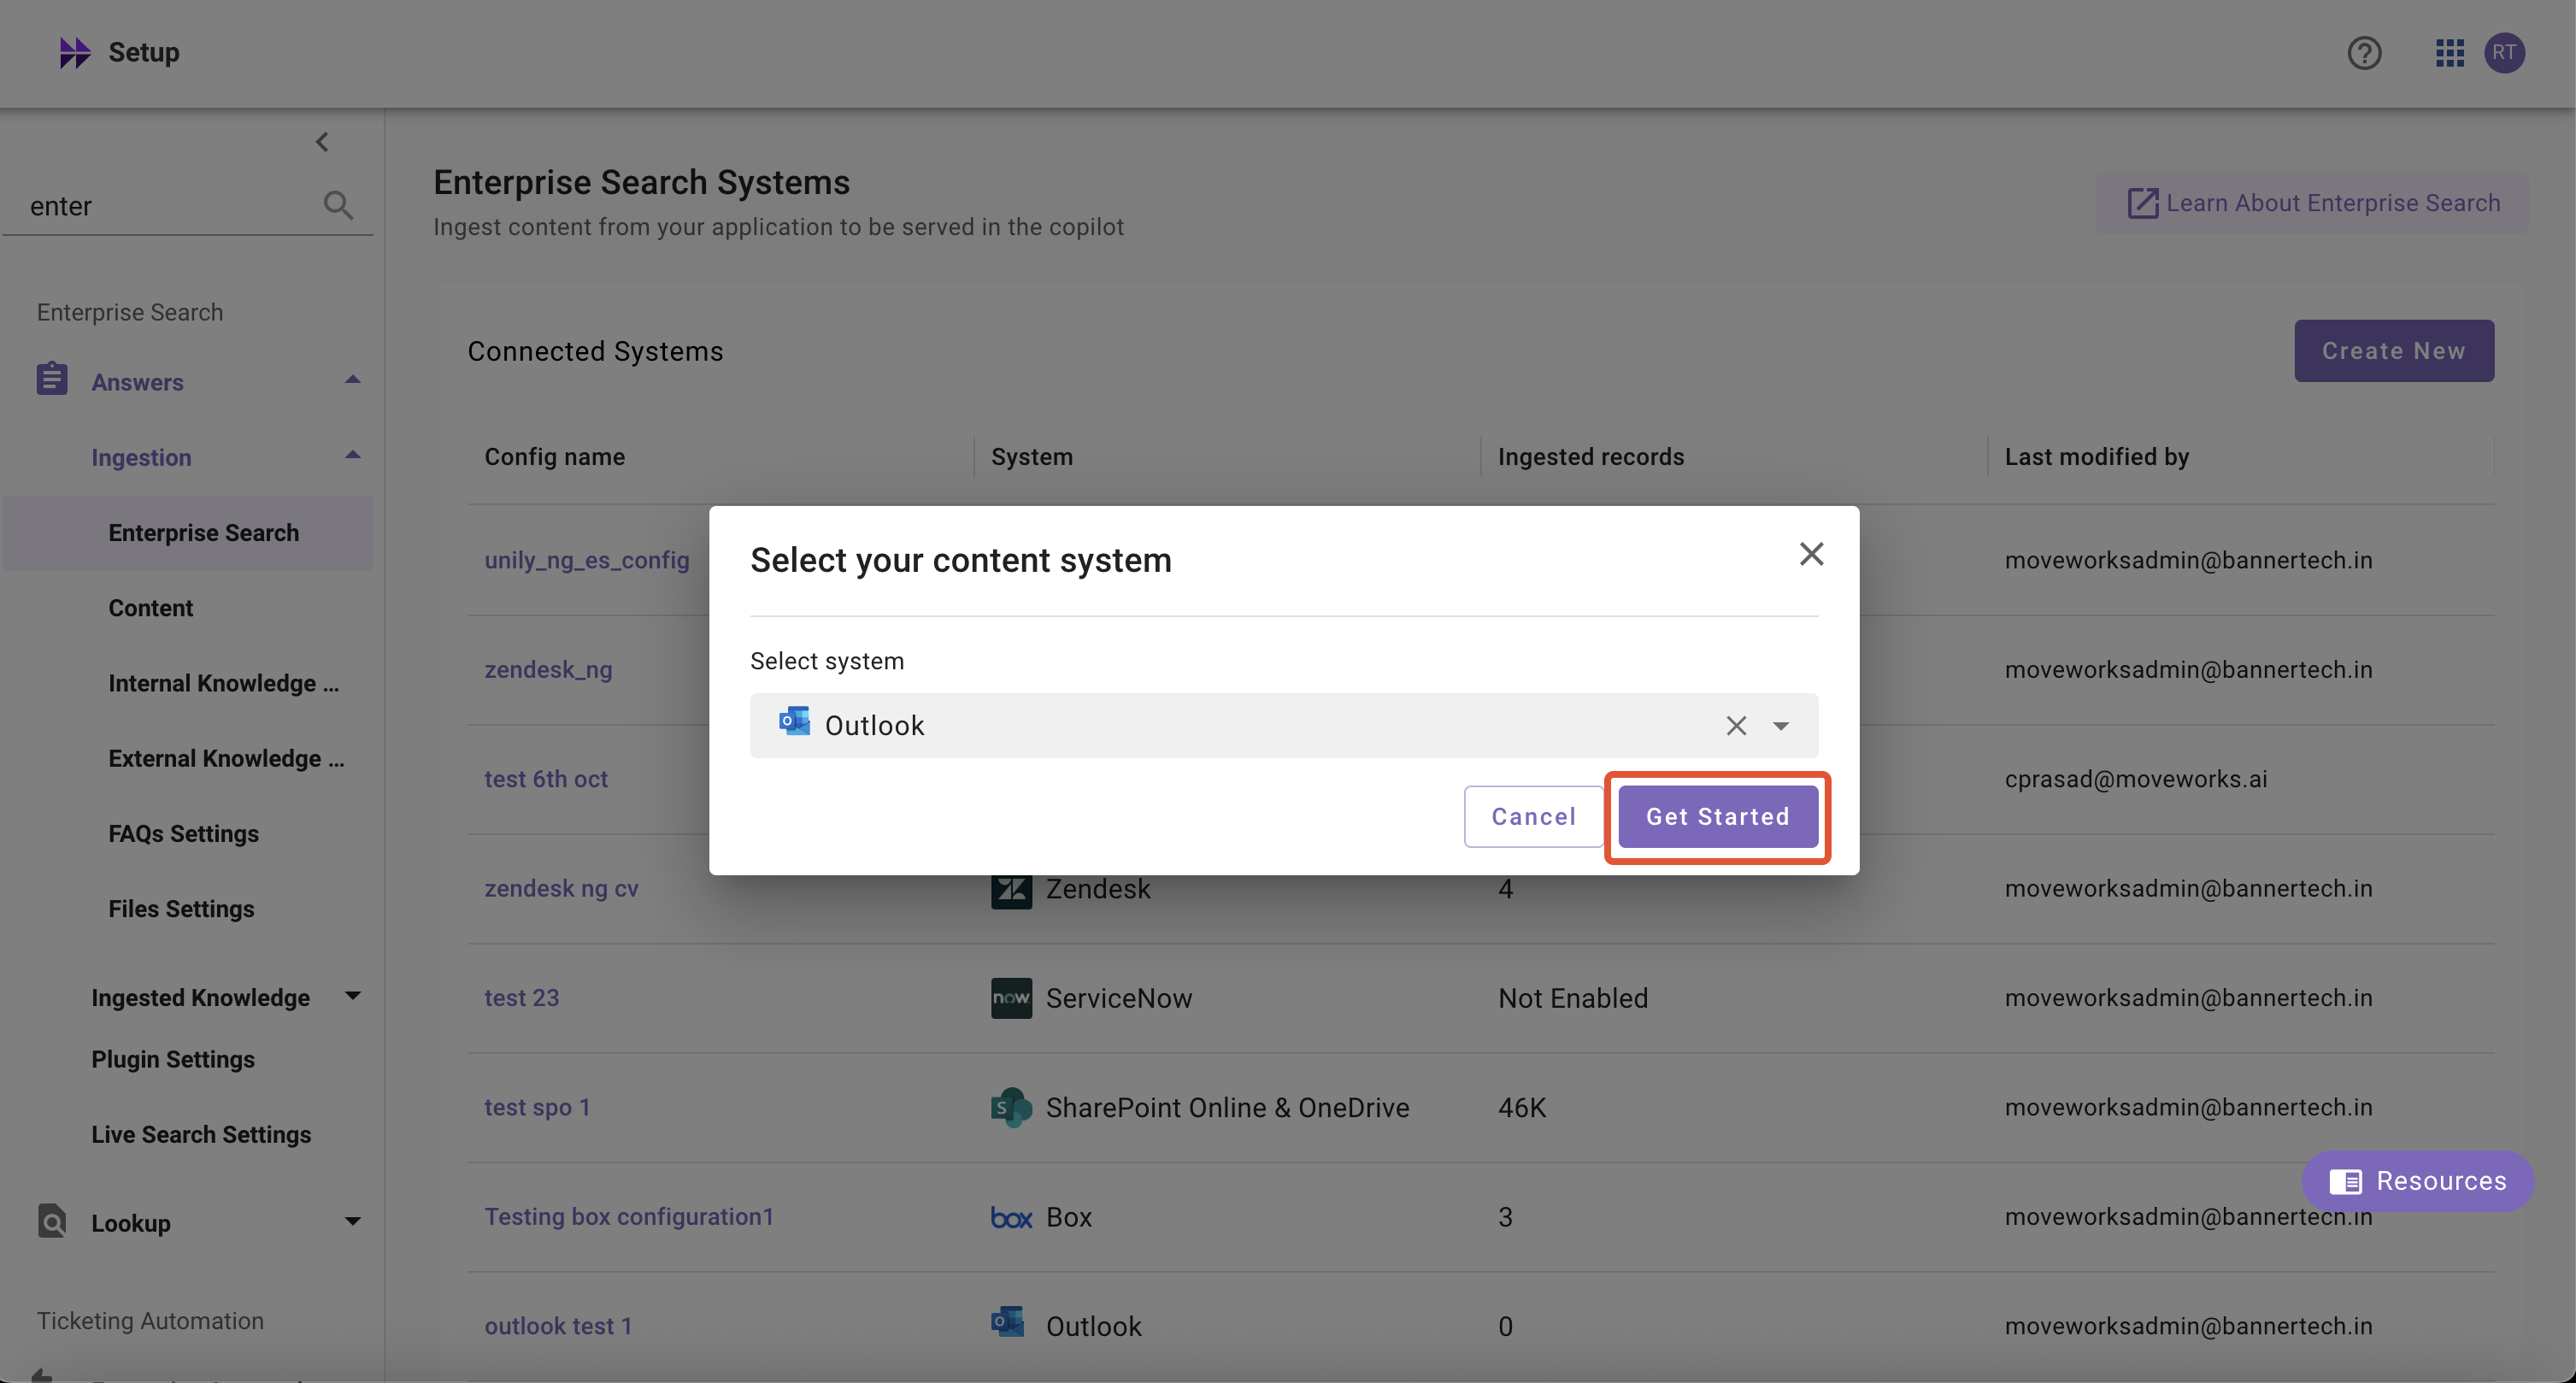
Select Outlook from the dropdown list and click on the Get Started button
-
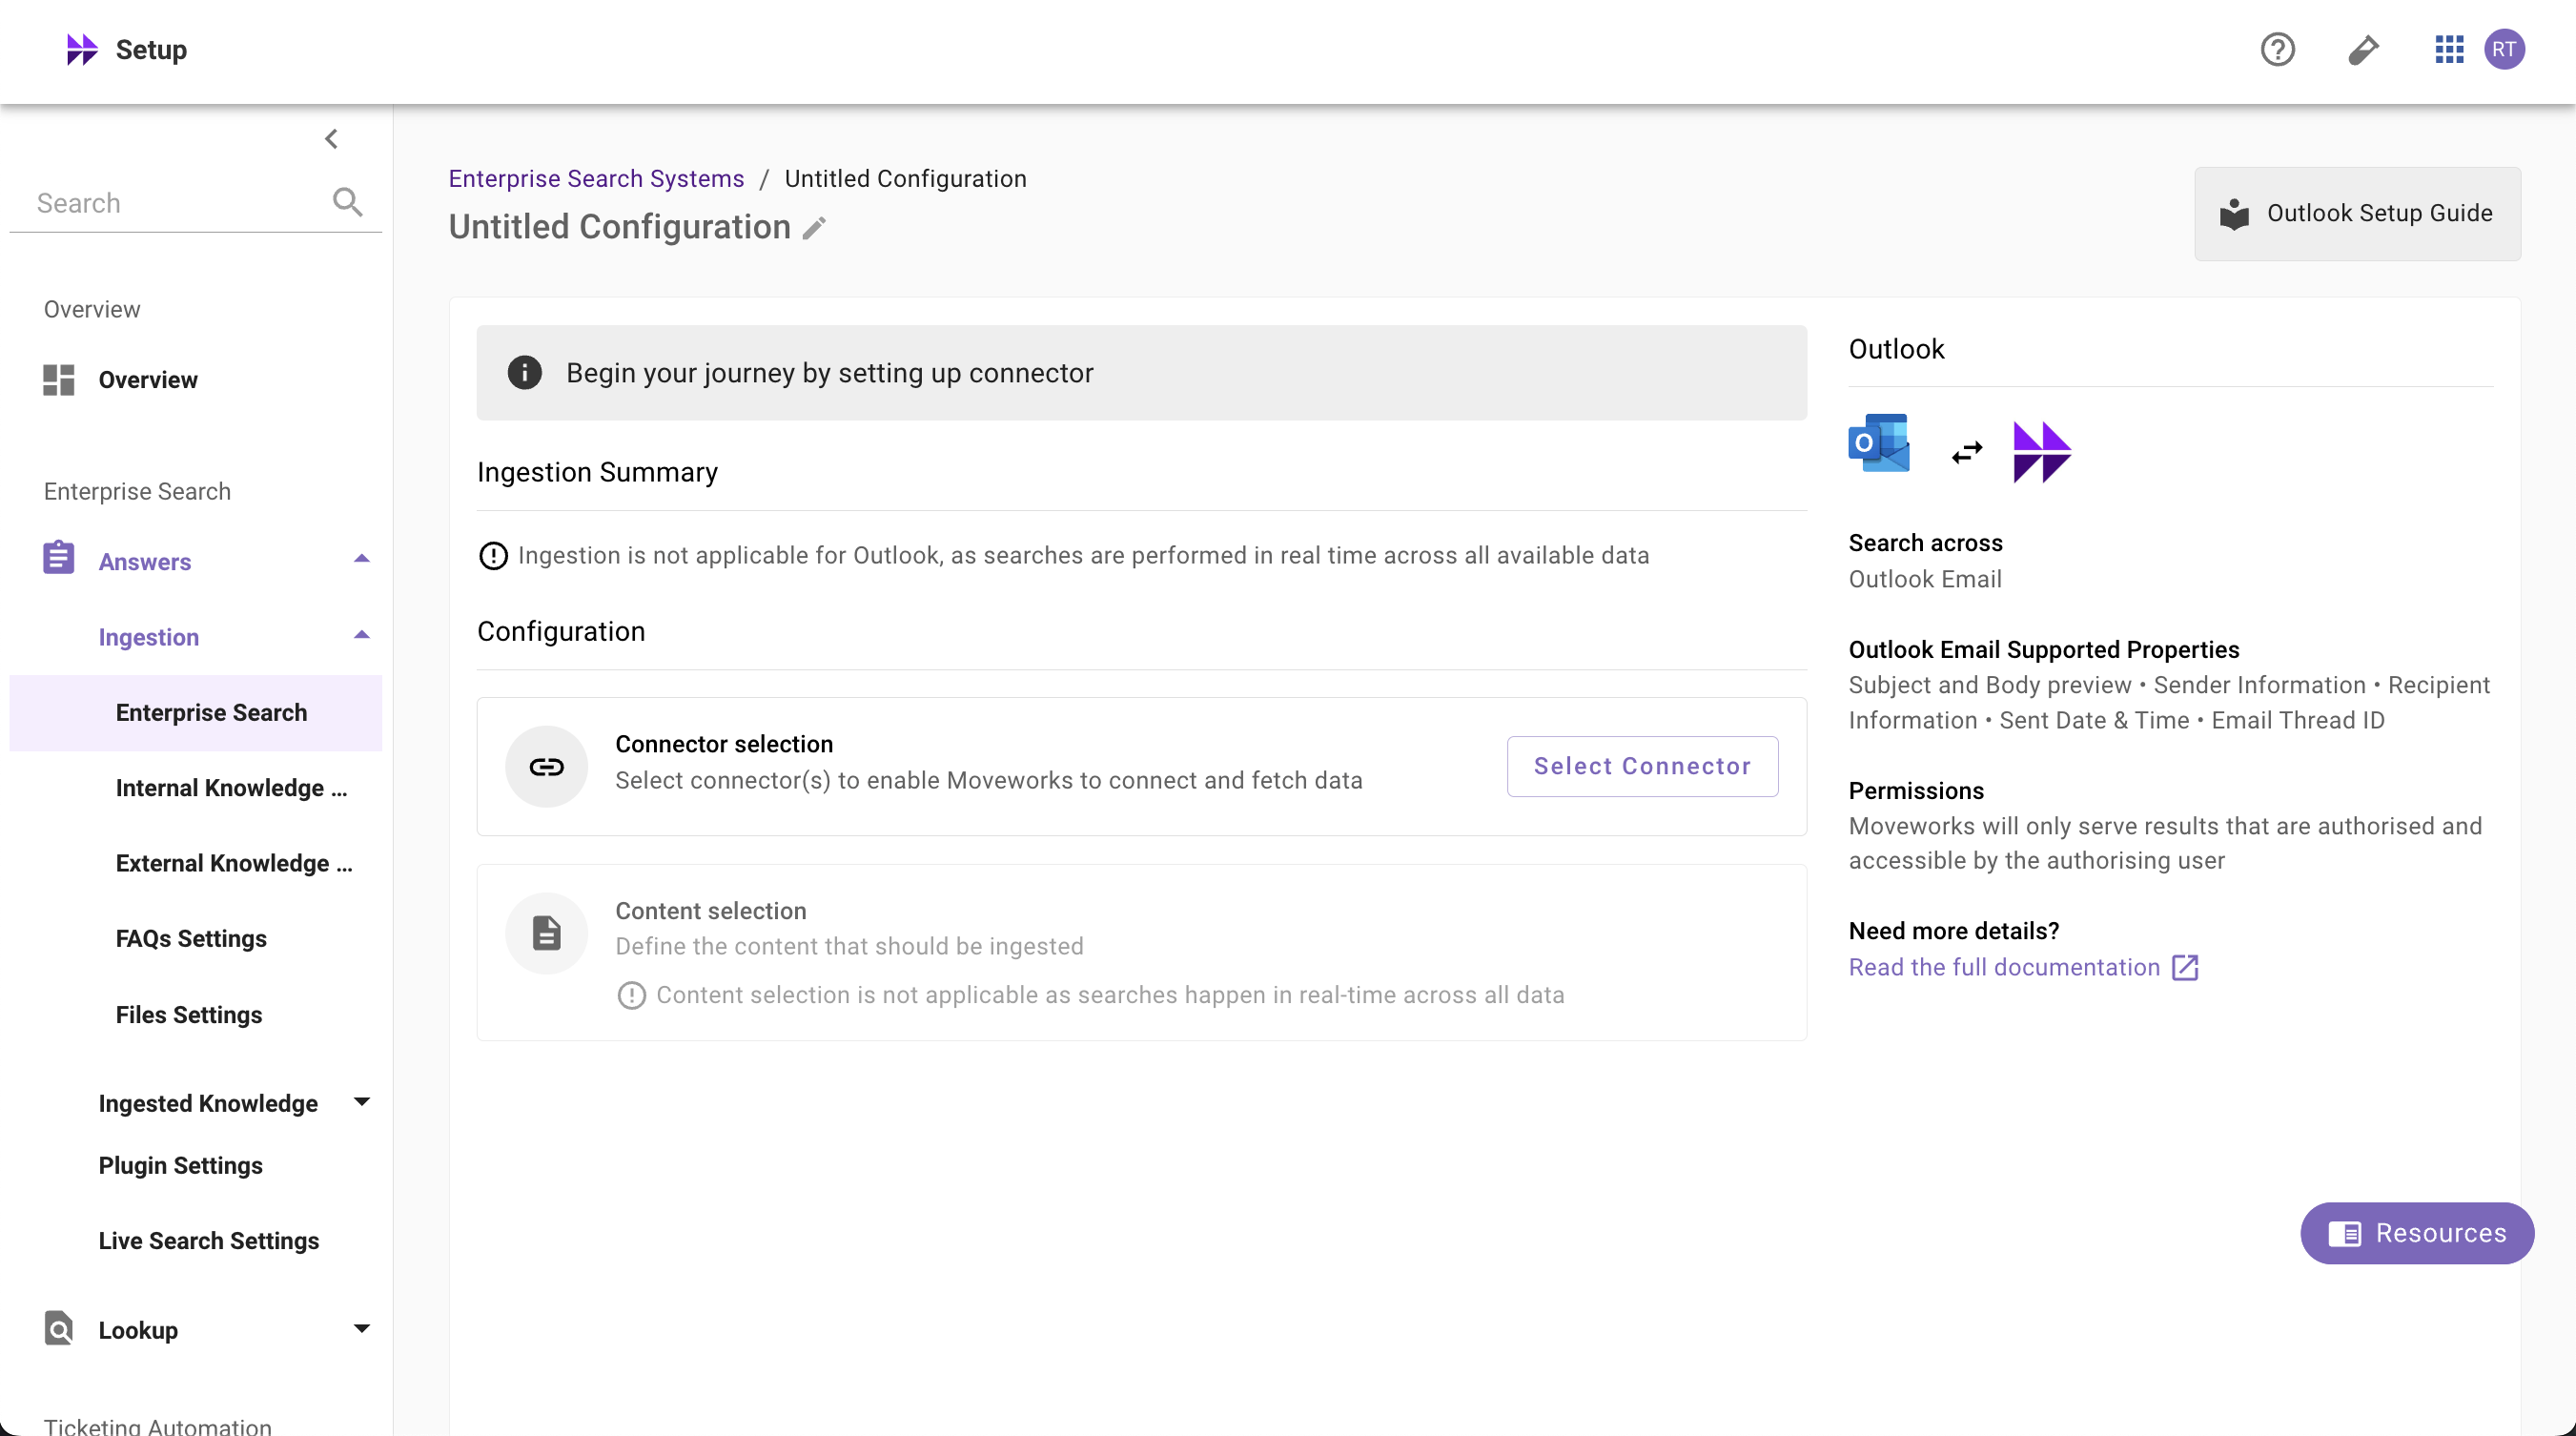
System Overview: This presents an overview of Outlook support from Moveworks
-
Ingestion Summary: Not applicable for Live Search systems
-
Connector Selection: In this configuration block, you are required to select the required connector to enable Moveworks to connect and fetch data or enable live search
-
Content Selection: In this configuration block, you are required to define the content that should be ingested within Moveworks
-
Connector Selection and Validation
-
Once you click on Select Connector, a connector setup screen will appear as follows
-
Select the connector (from the dropdown) that you have created in the Connector Creation step
Please note: Only the Outlook connectors will appear in this list.
-
Once the connector is selected, you need to click on Start Validation to validate the connector credentials and required scope
Connector Validation
This is a mandatory step in order to save the configuration and move to the next step.
Moveworks validates the selected connector to check:
- Content: Moveworks validates whether connector has right scopes to fetch content
-
If the connector is validated successfully, you will see a green info banner as follows
-
If there are any credentials or scope issues, you will receive an error message as follows. Click on View Details to identify the issue.
-
Once the connector is validated successfully, you will be able to Save the configuration
-
Input the unique configuration name and Save
-
Once the configuration is saved, you can view the unique configuration name at the top of the screen. You can also click the pencil 🖊️ icon to edit the configuration name
-
Additionally, you will see a banner at the top of the screen with an Enable Live Search button. Click it to activate the Outlook Live Search feature for your Enterprise Search web application
-
Additionally, you will start seeing an entry of your configuration in the Enterprise Search home page. You can click on your configuration to go to edit/ complete the configuration
Audience configuration
Live Search does not serve results until you set the audience. From the configuration’s home page, open the Target audience tab and choose who can search — source permissions are always enforced on top of your selection.
Audience configuration is the same for every Max Capacity connector. For the full steps and options, see Step 4: Define Target Audience in the Max Capacity Setup overview.