ServiceNow SSP Hovering Bot Link
What is it?
A floating image of your bot’s avatar in the bottom corner of your SSP portal that directs users to your bot when clicked.
SME Needed and Time to Complete
- ServiceNow Admin - 10 min
Moveworks Provided Assets
- Bot avatar with “I can help…” speech bubble
- Moveworks deep link to the bot
How To
-
Log in to ServiceNow as an administrator.
-
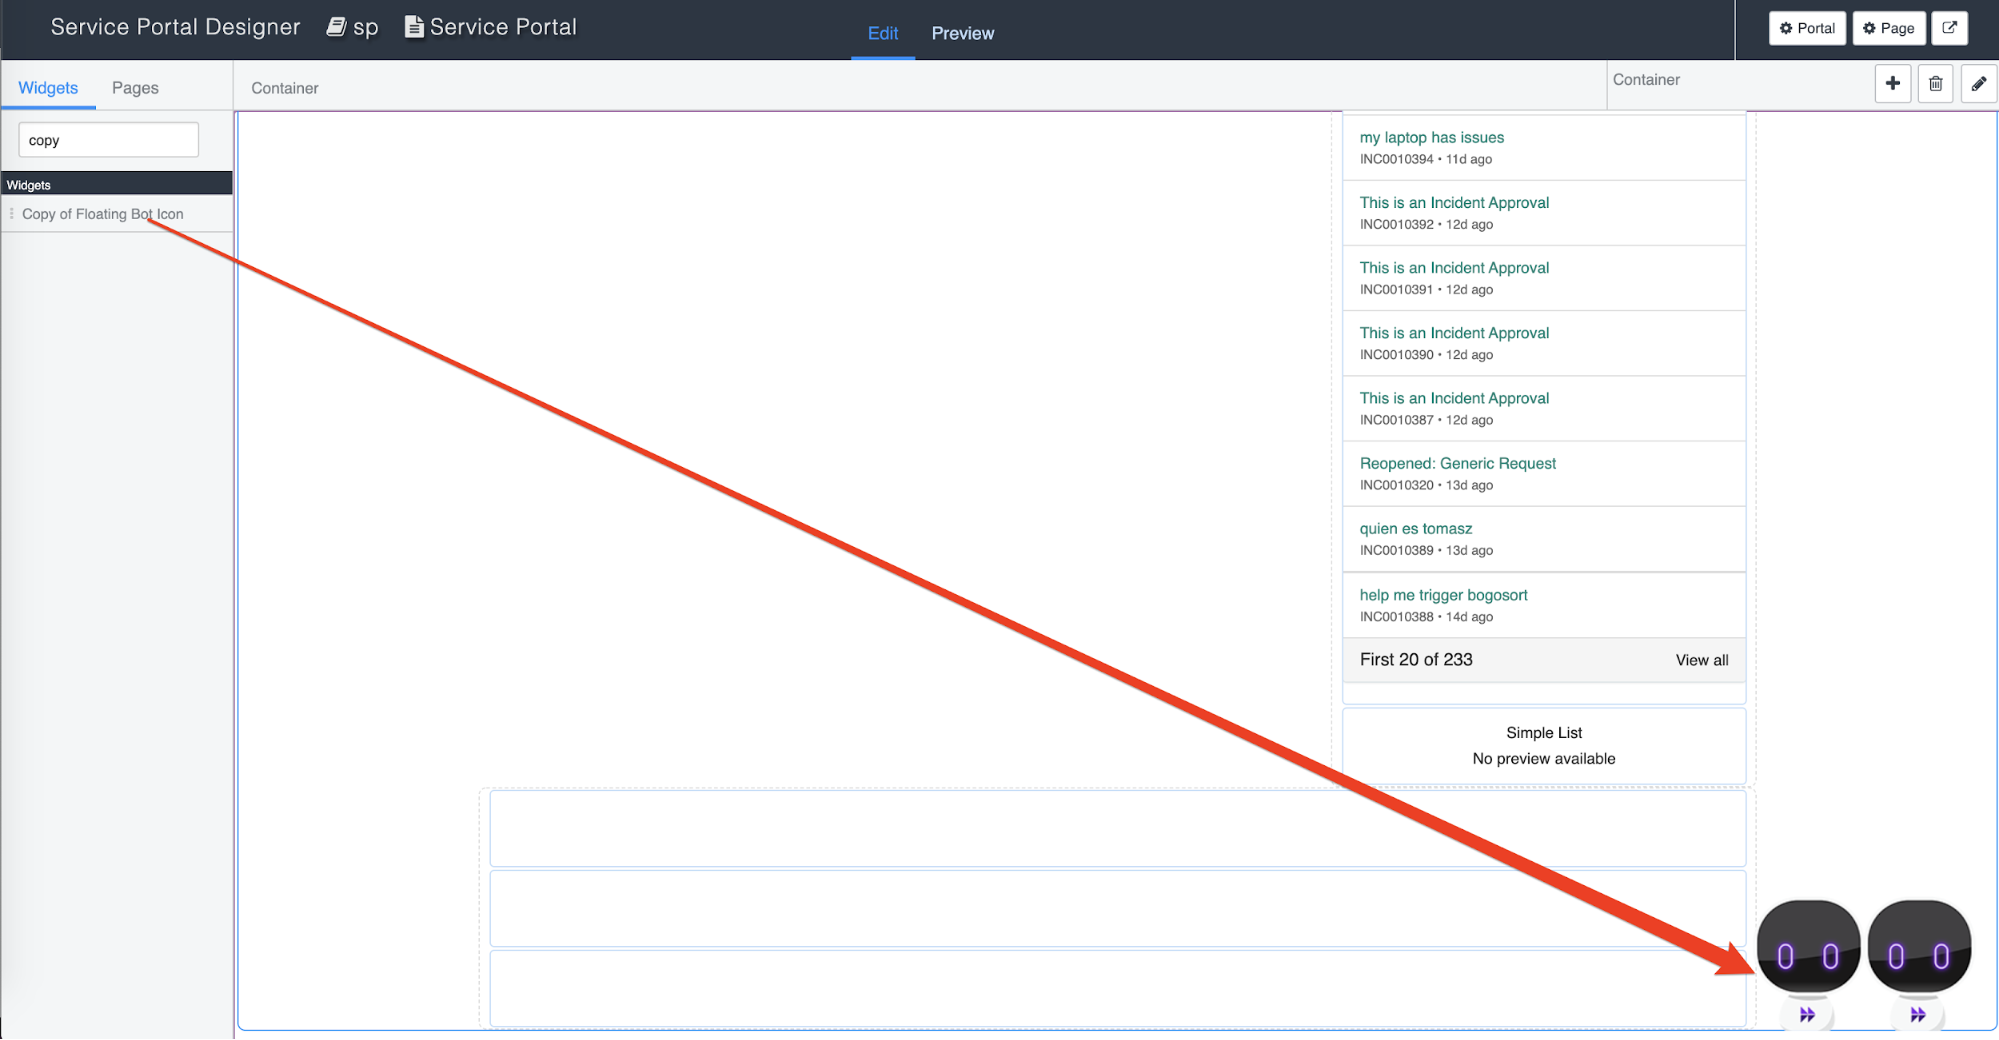
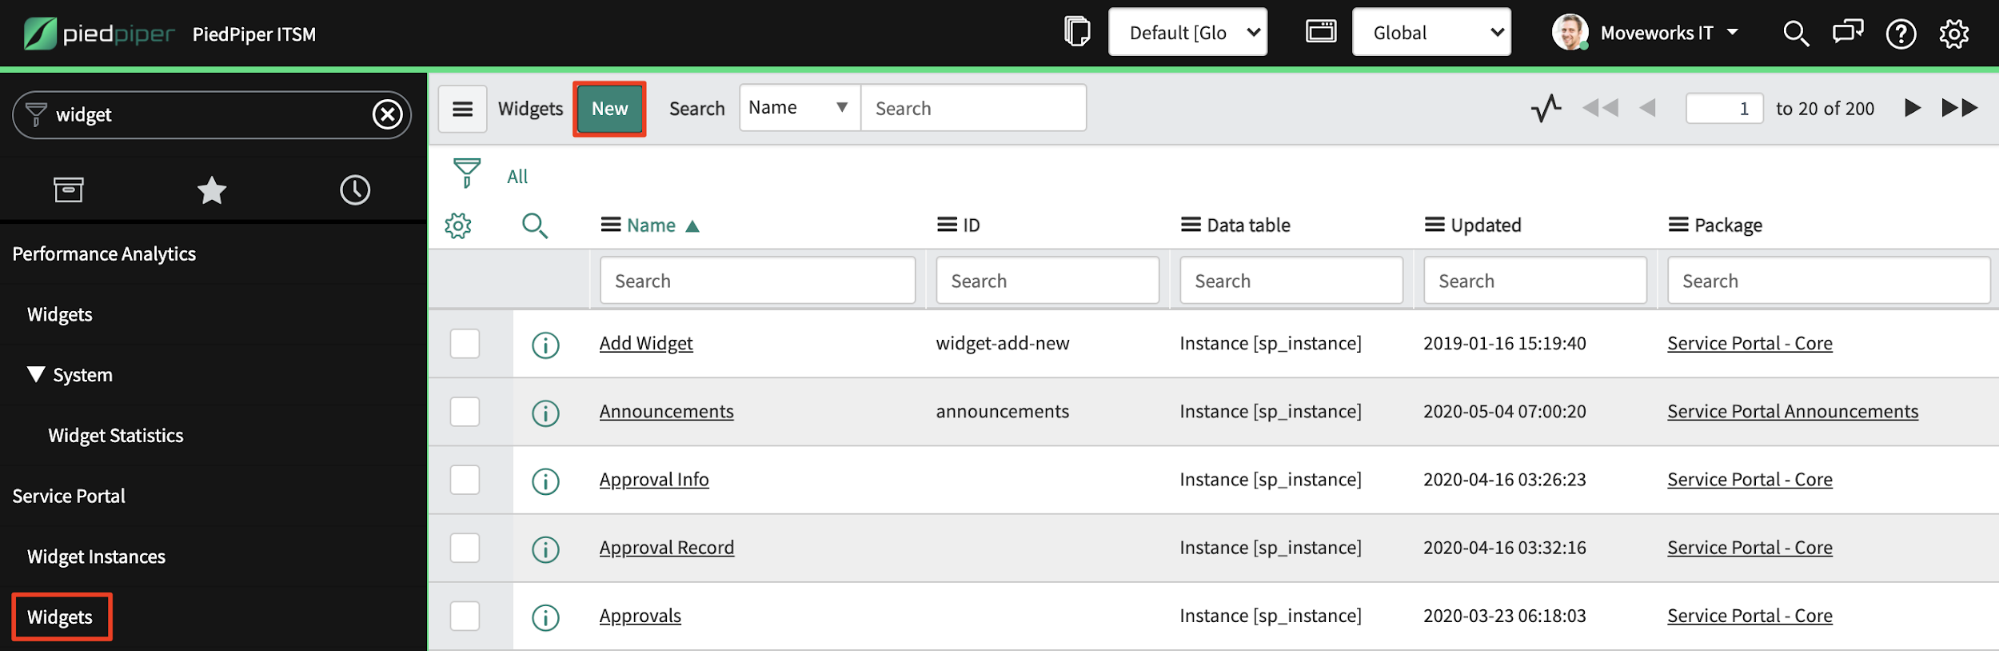
Navigate to the Service Portal Widgets page and click New.
-
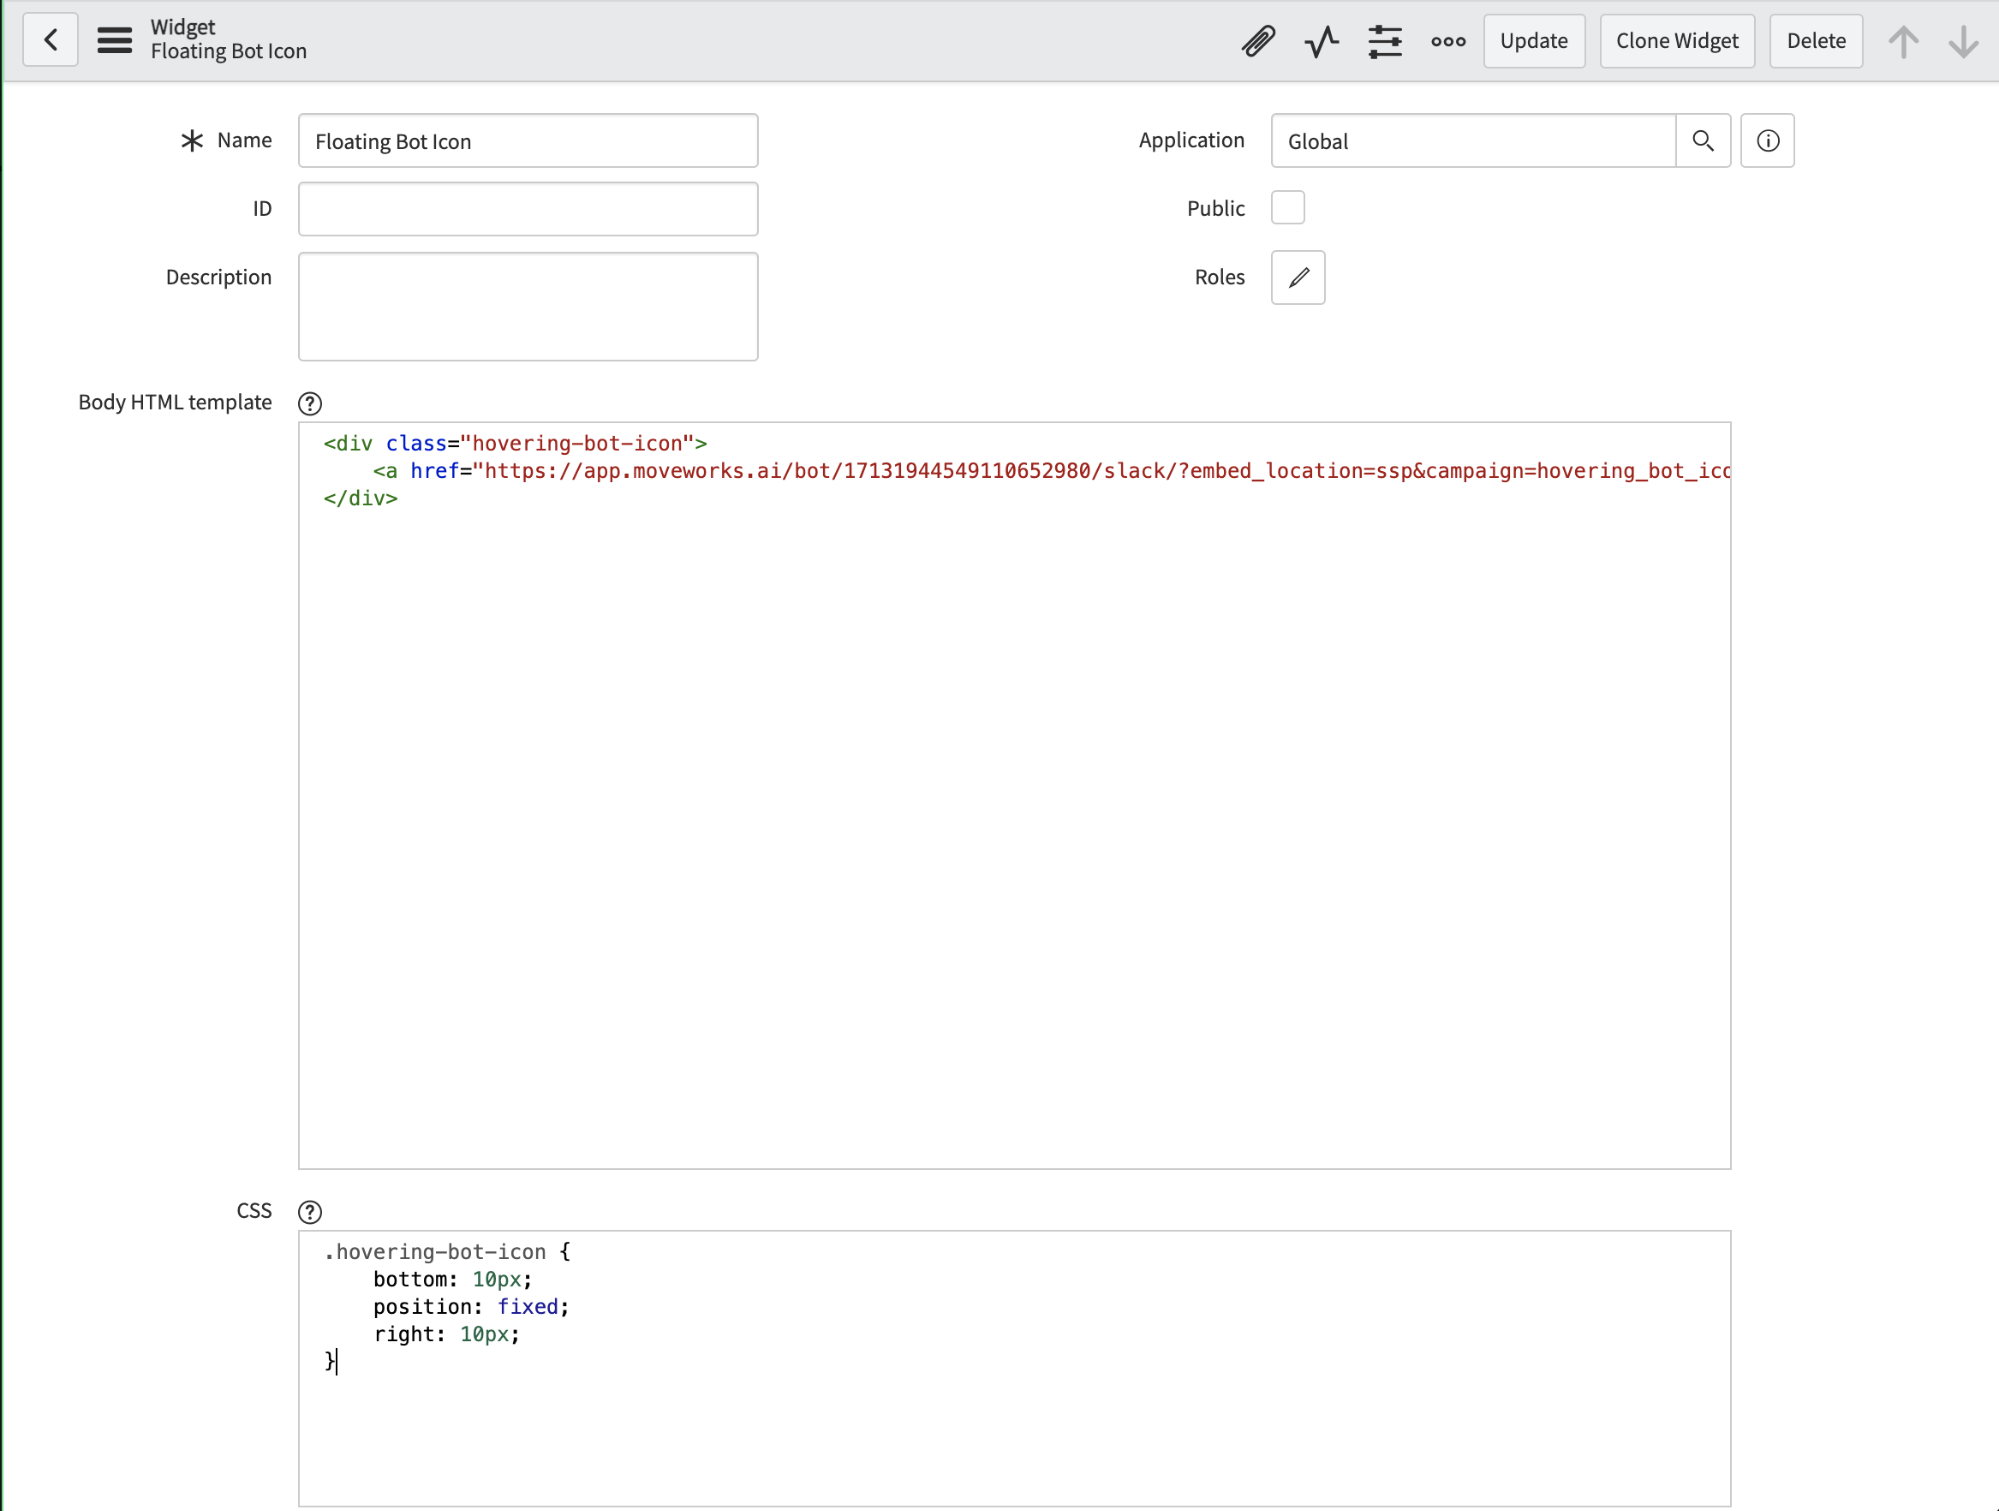
In the widget creation page that appears, give the new widget a Name, and paste in the following HTML into the Body HTML template textbox, the following CSS into the CSS textbox, and the following JavaScript into the Server script textbox.
-
HTML
-
CSS
-
Server script
-
Save the new widget.
-
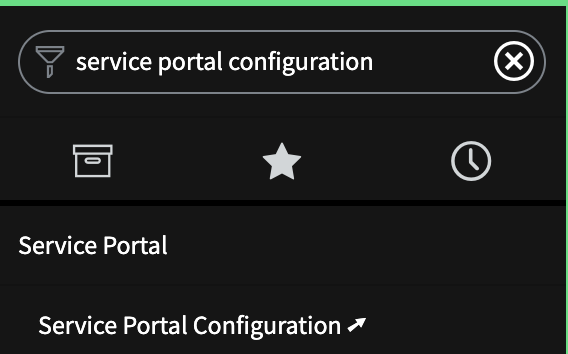
Navigate to Service Portal Configuration and click Designer.

-
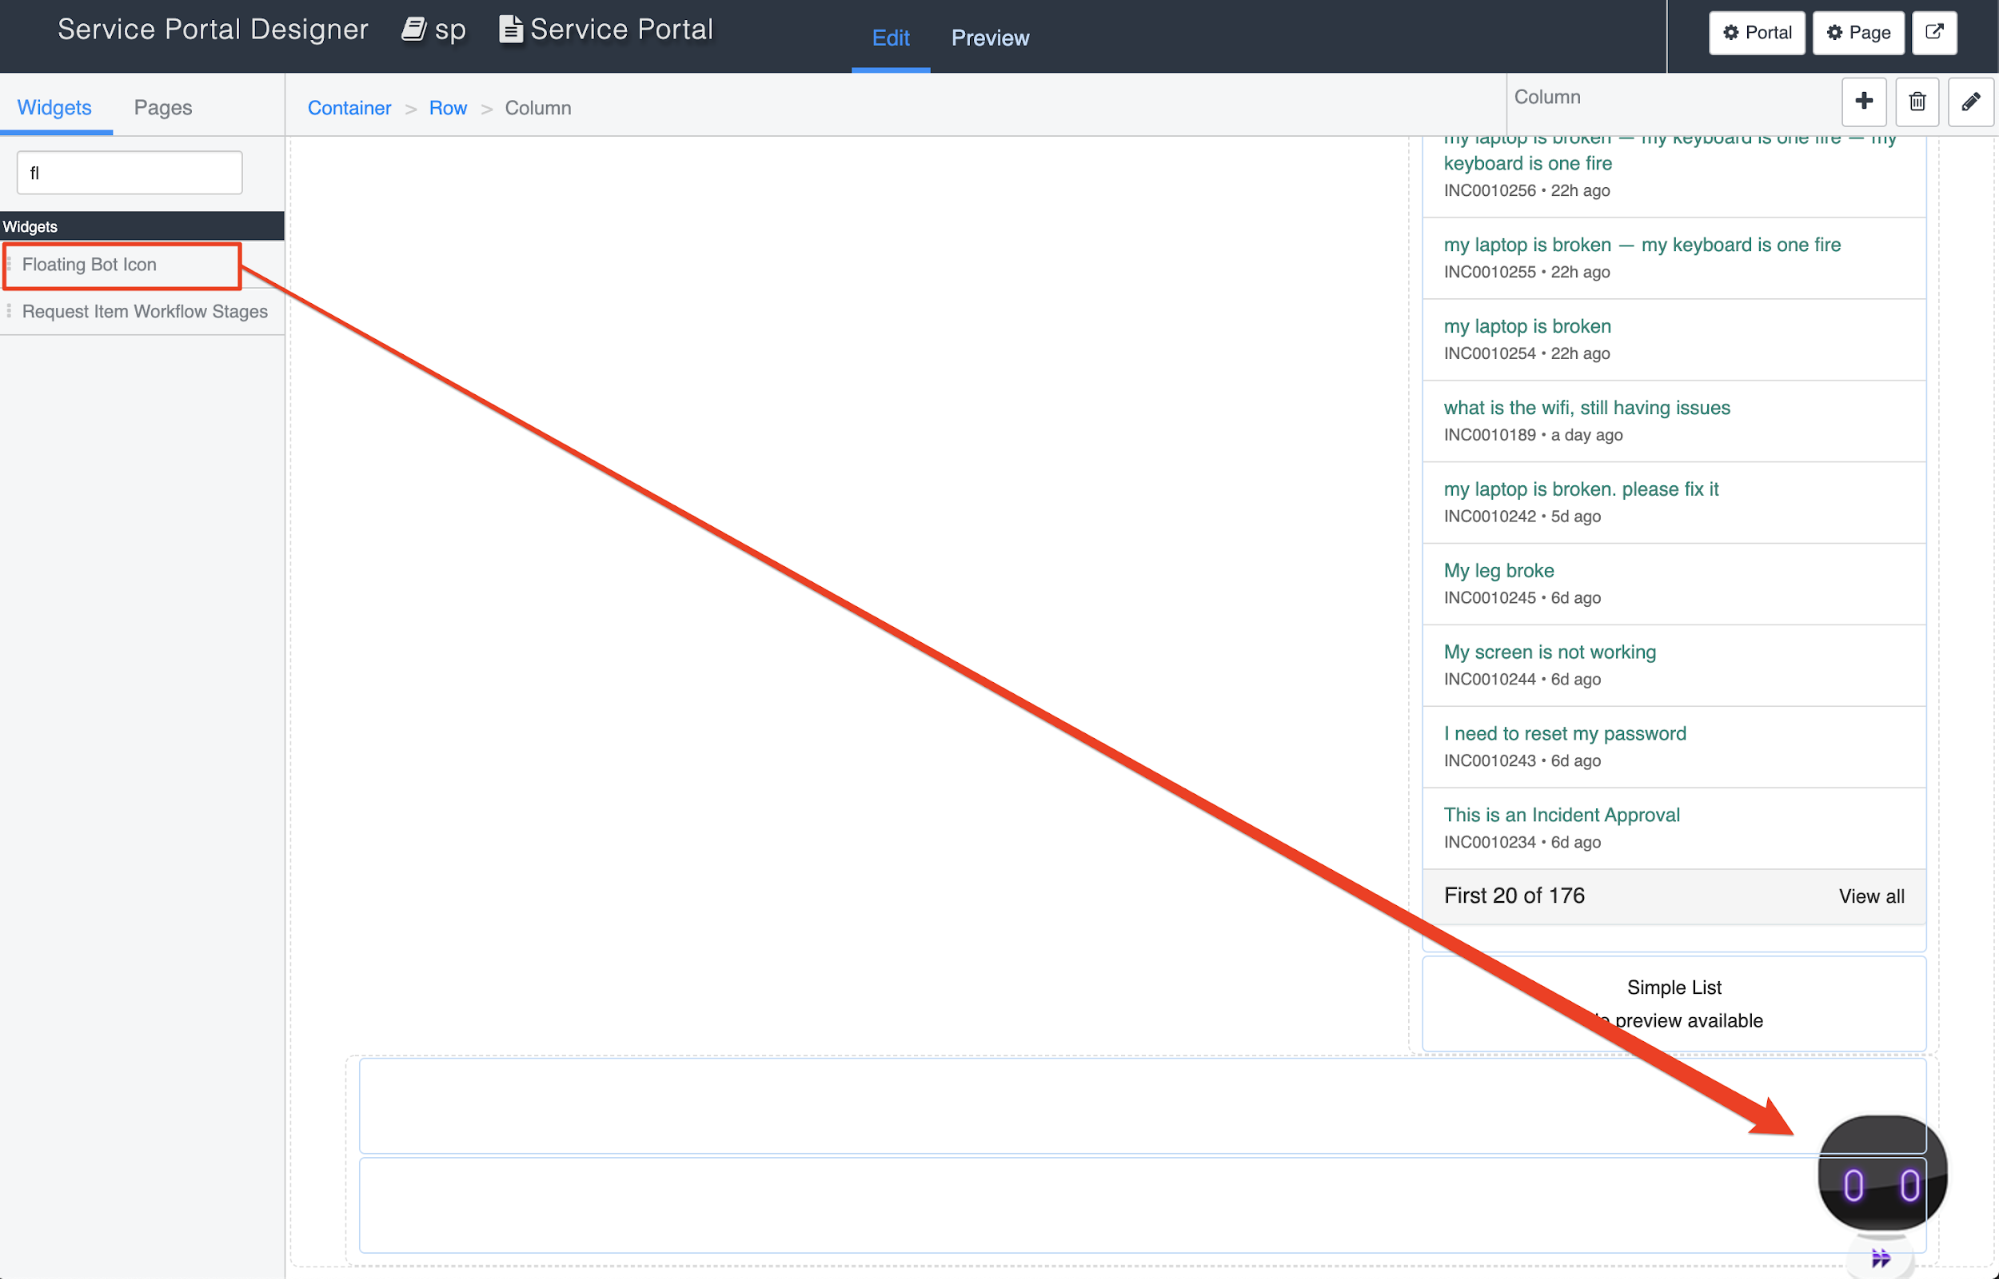
On the following page, find your home page. By default this is called index but it may be called something else in your environment if your organization is using a custom home page.

-
The following screen gives you a drag and drop layout of your page.
-
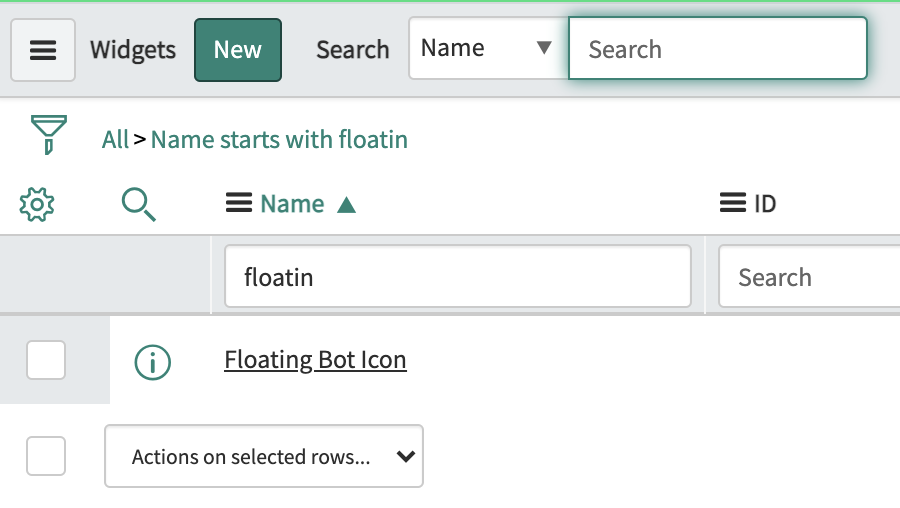
Search for the new widget copy we made, scroll down the page, and drag onto the footer of the page.
-
Everything will save automatically.
-
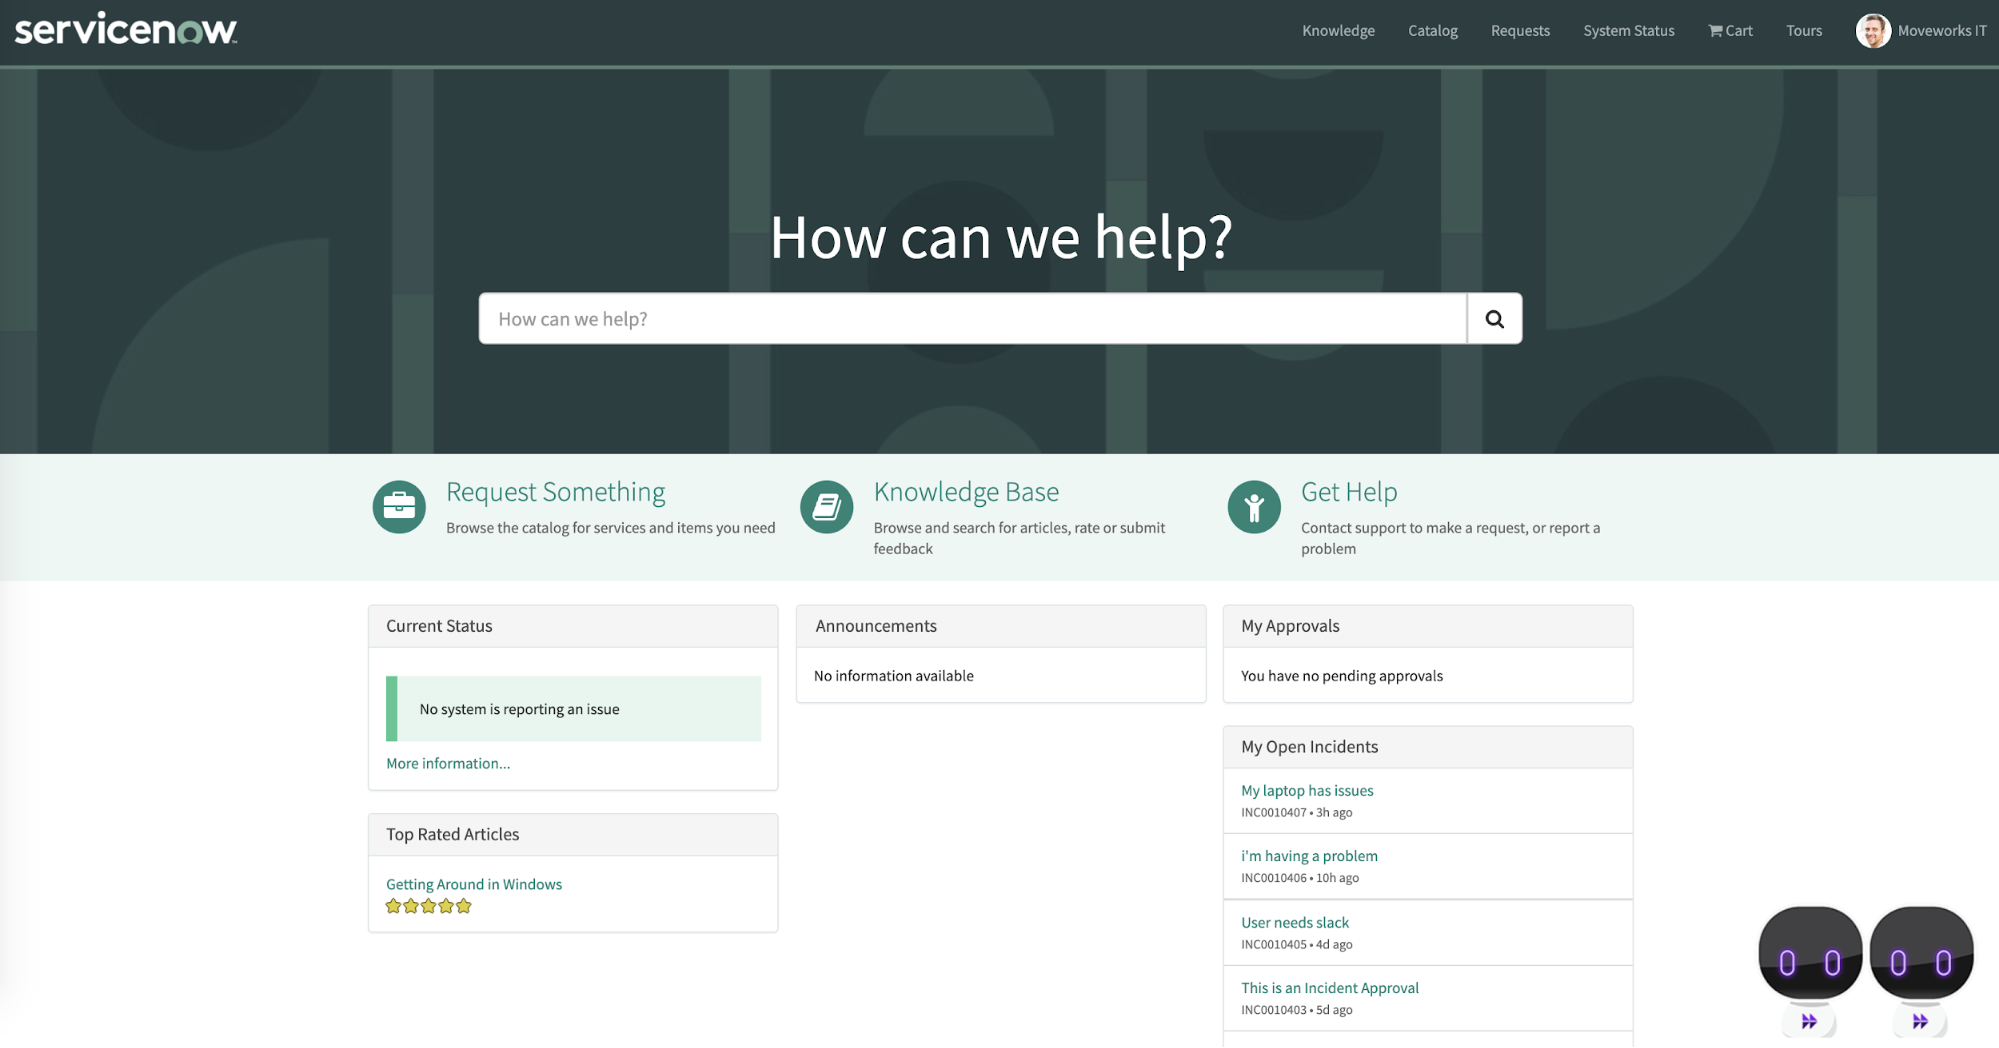
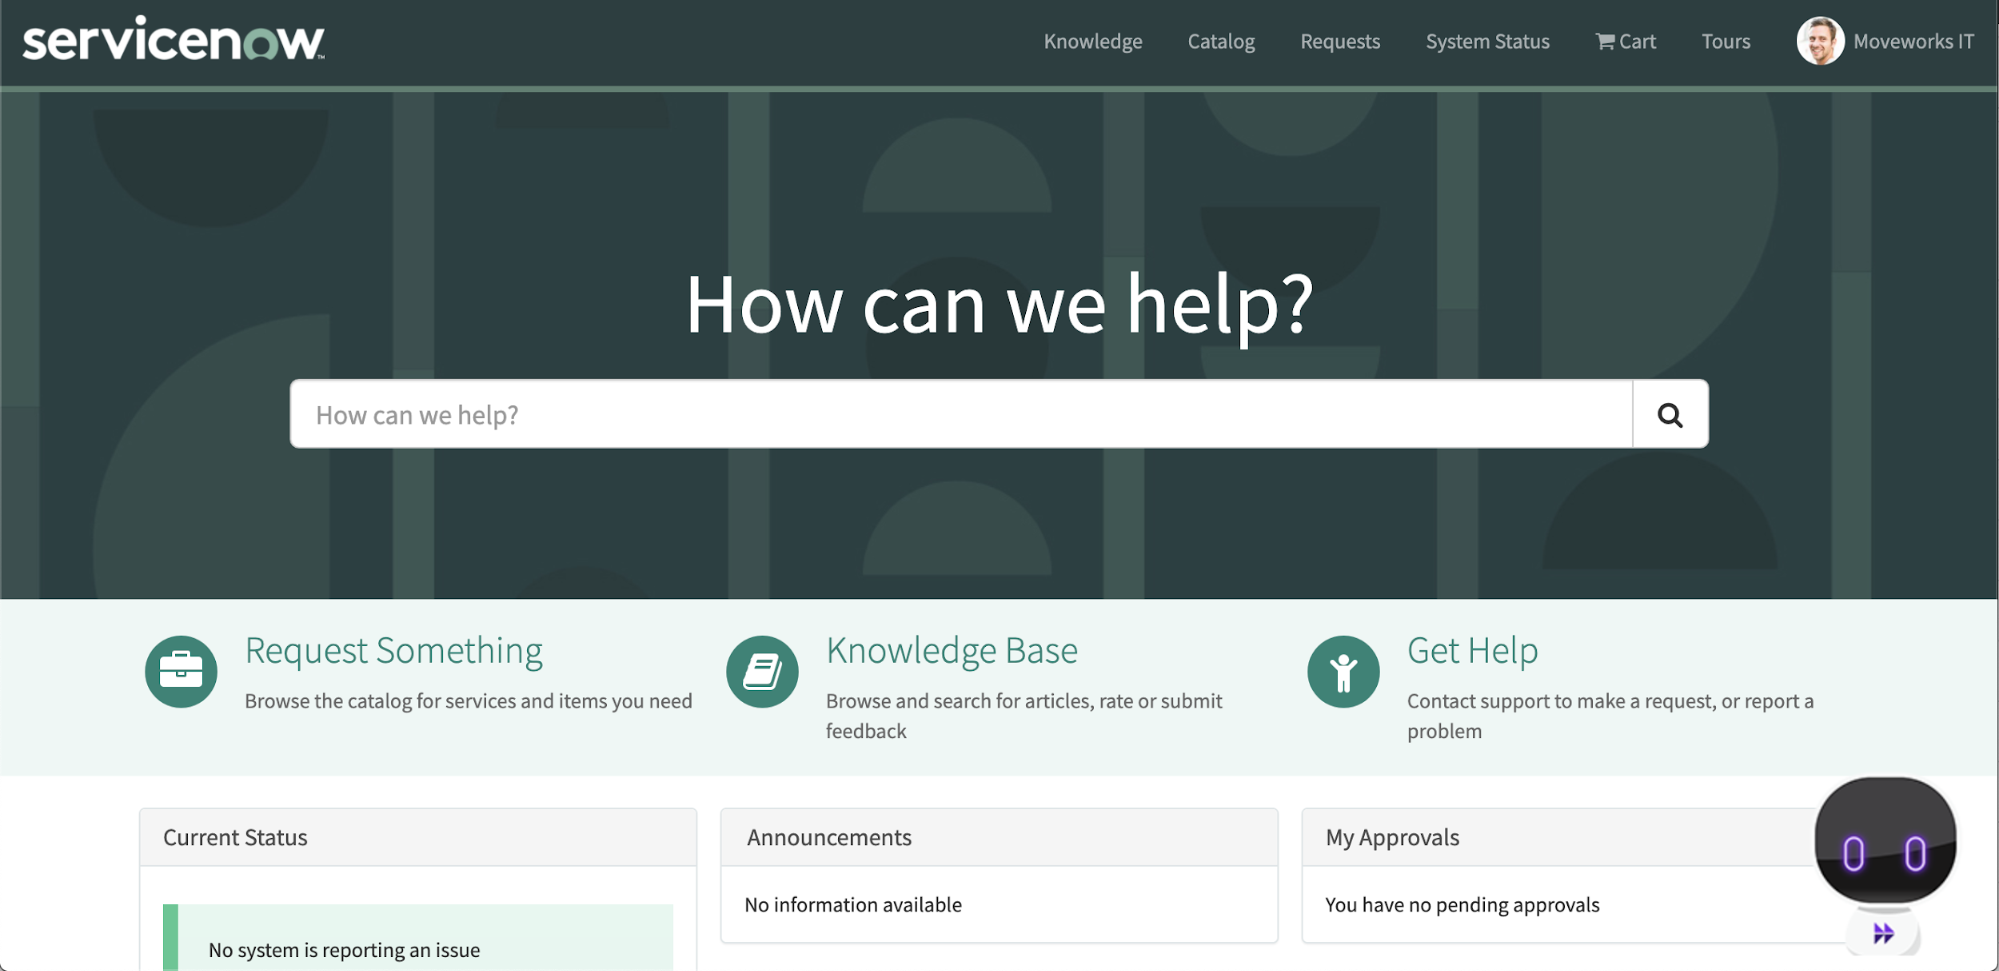
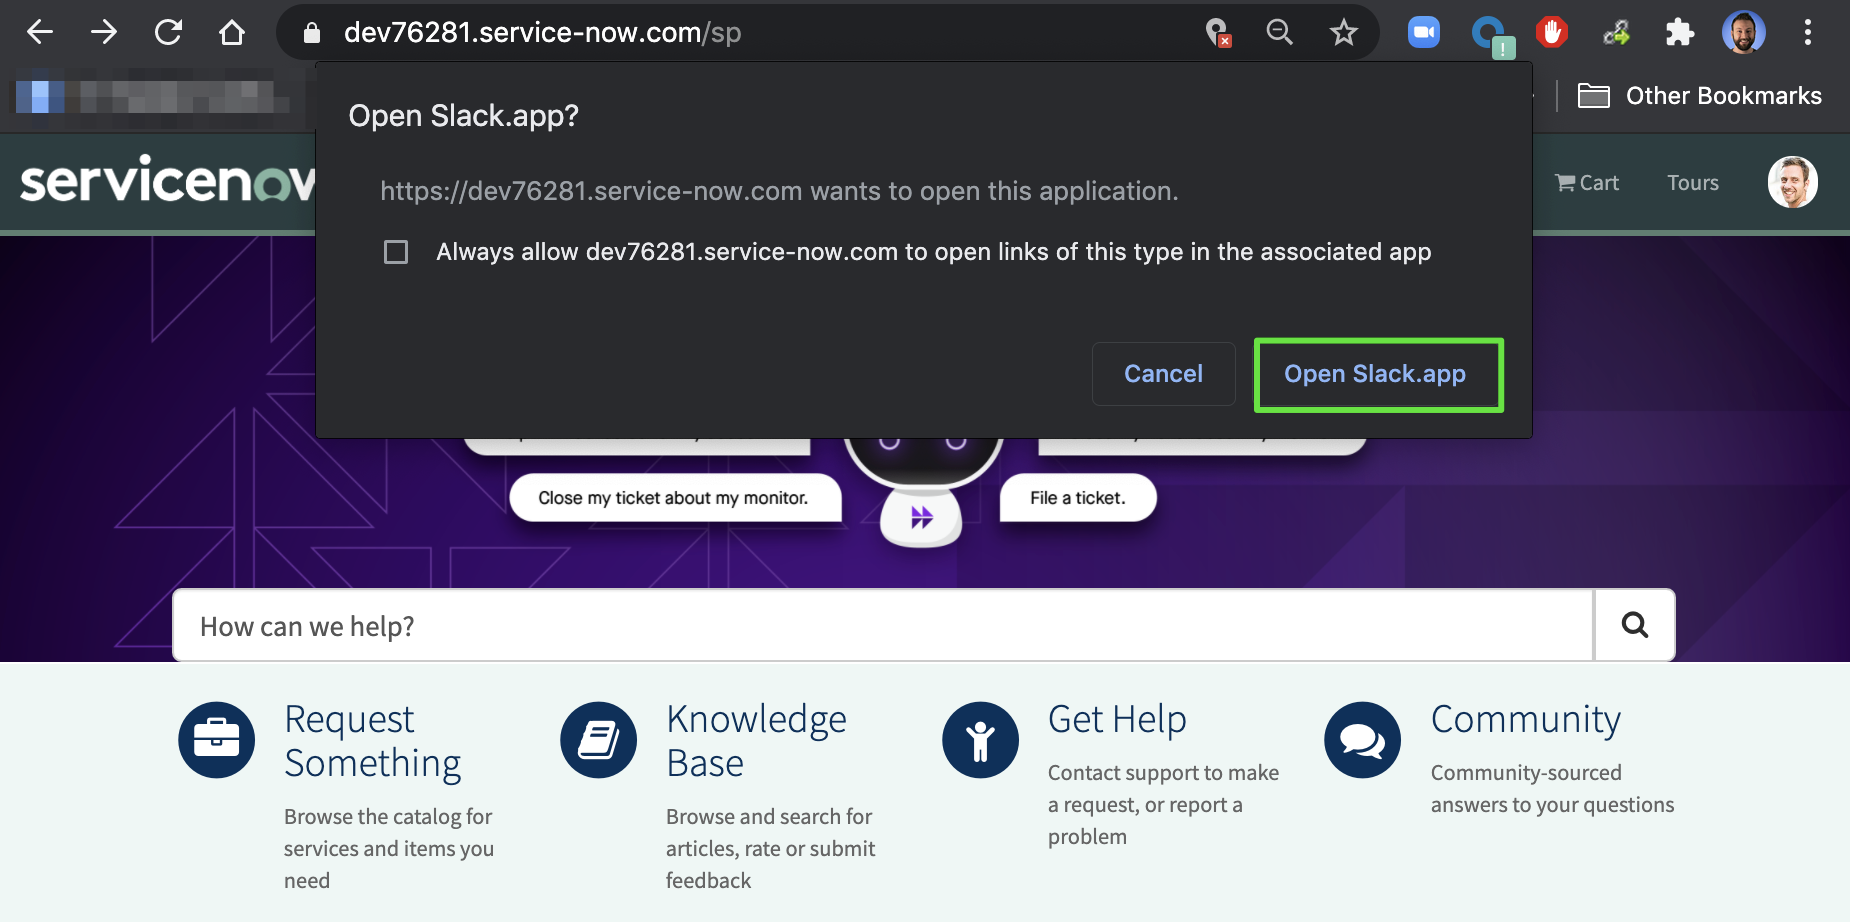
Finally, open a new browser tab and navigate to your new and improved service portal.

-
Click the icon, and if you are directed to the bot, you are good to go!
What if we use multiple chat platforms?
If you use multiple chat platforms and want to give your users the option to select one or the other, start by informing your CSM who will provide you chat platform-specific bot icons and links.
Option 1: Conjoined (Recommended)
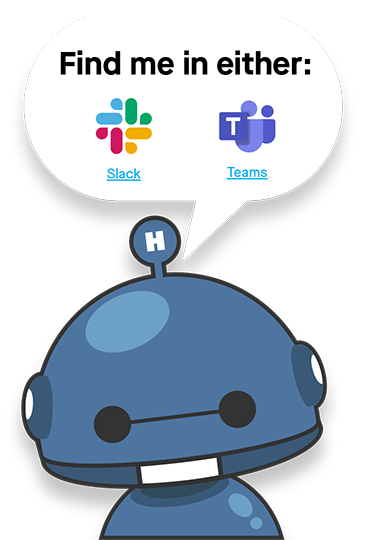
This icon will link to the chat platform corresponding to where on the image the user clicks. This widget is created and placed in your service portal very similarly to the How To instructions above, however, we will modify the definition a bit.
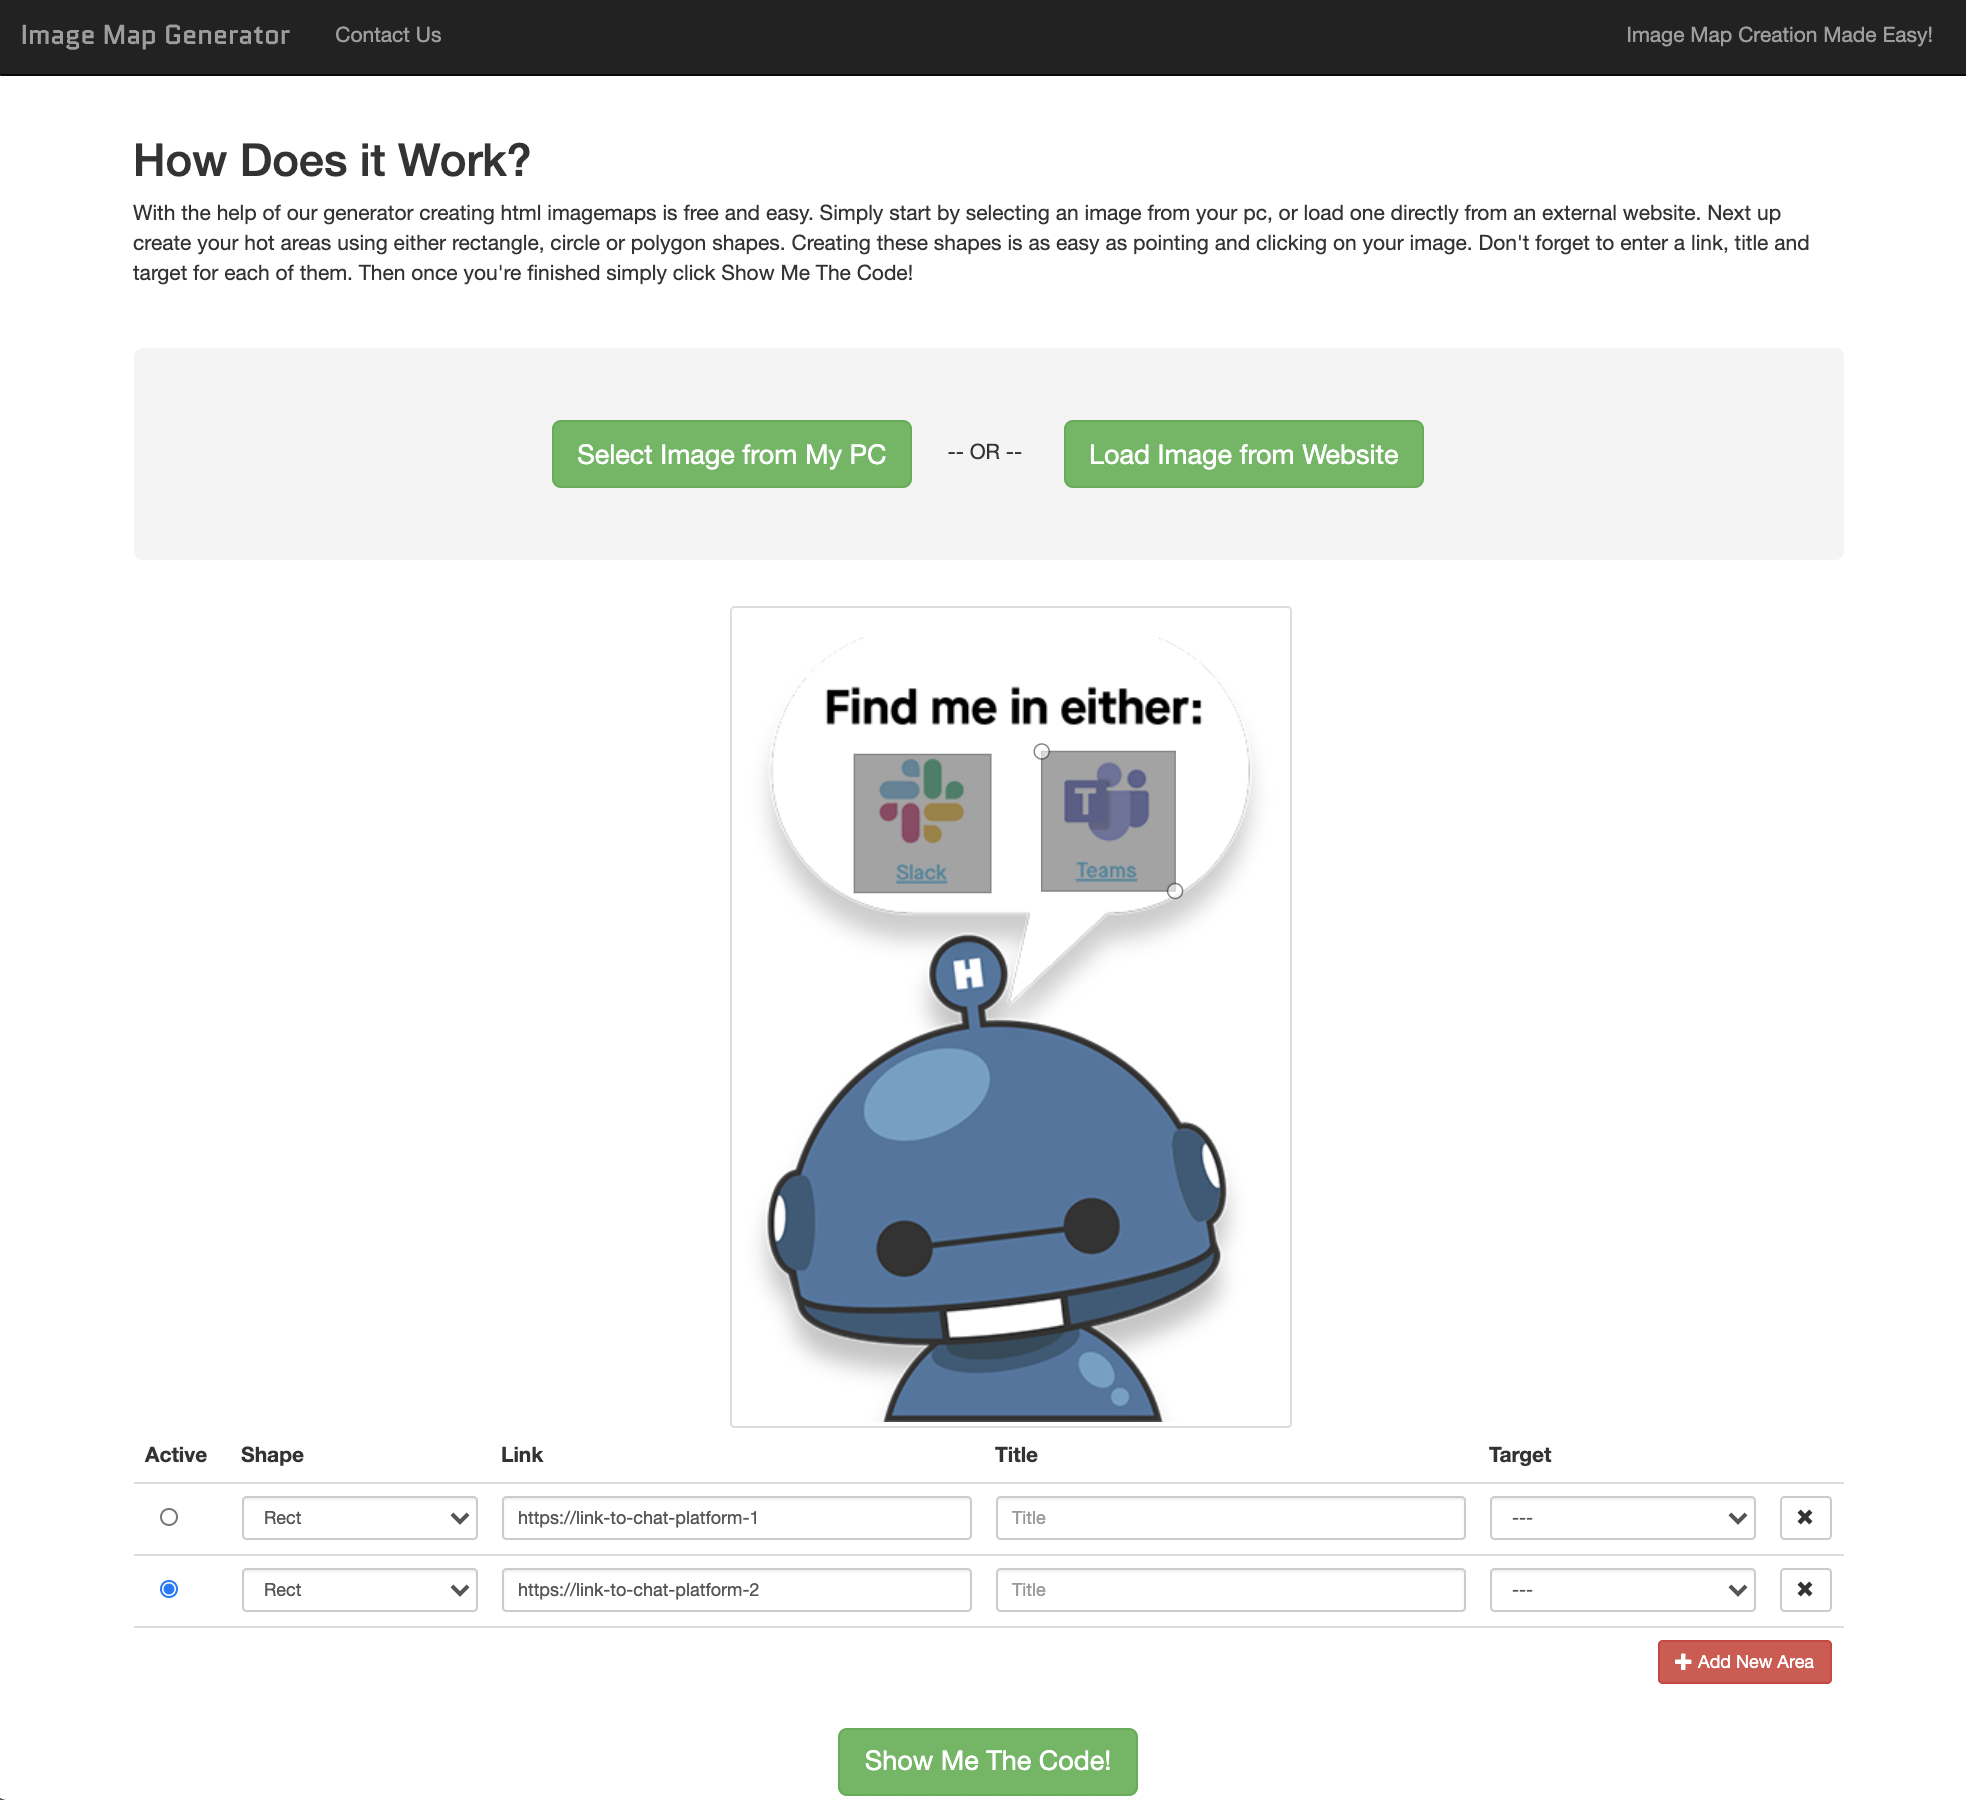
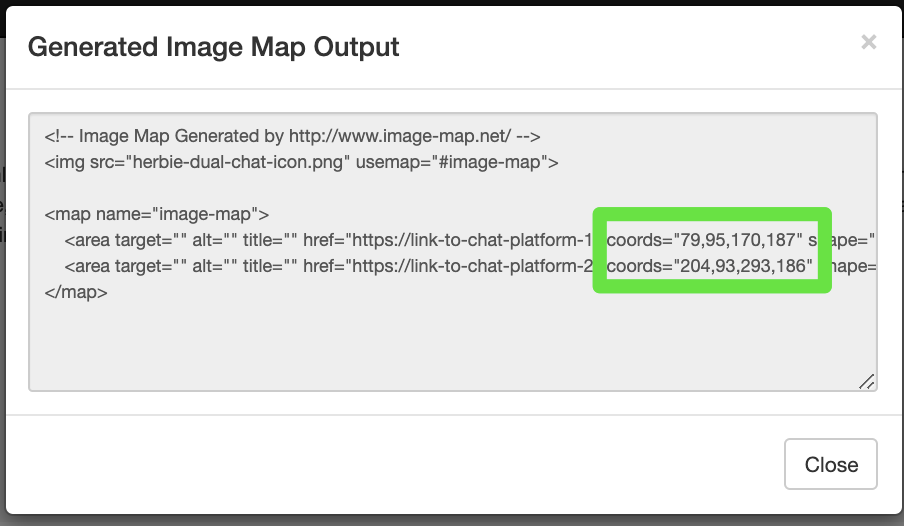
We will need one additional asset in order to create this widget, and that is the coordinates for the areas on the images we want to link to each chat platform. Our standard coordinates tailored for the image you are being provided are included in the code snippets below, however, if you choose to resize the image or modify its layout, you will need to regenerate them. This can be done with a tool like this: https://www.image-map.net/
Just upload the modified image, add two link areas of type “Rect,” drag them around the regions to be made clickable and click “Show Me The Code!” to get the coordinates. Paste these coordinates into the code snippets provided below.
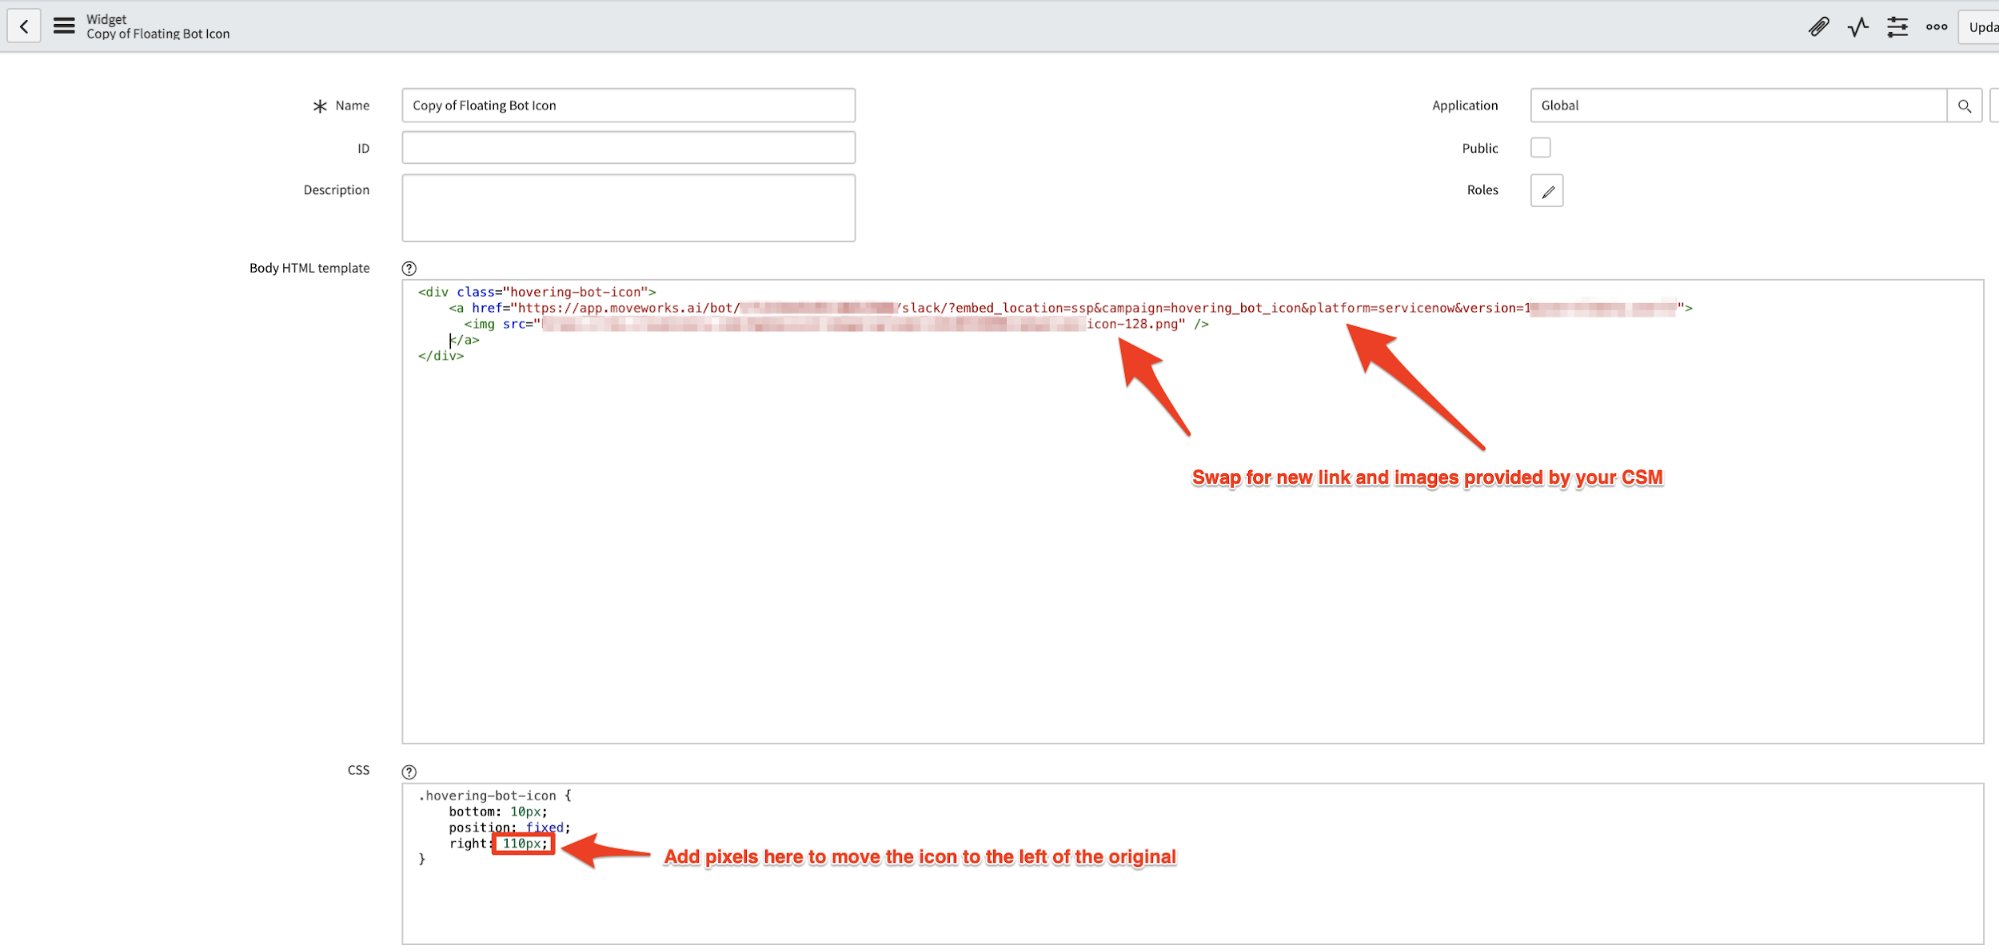
This widget’s HTML, CSS, and Server script fields should look like this (instead of what is included in the above How To instructions):
- HTML: Update the deep links, image URL, and (if necessary) coordinates
- CSS:
- Server script:
Save this widget and place it on your Service Portal as described in the above How To instructions.
Option 2: Side-by-Side
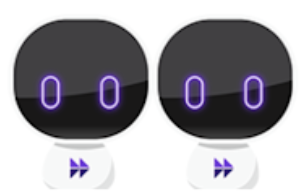
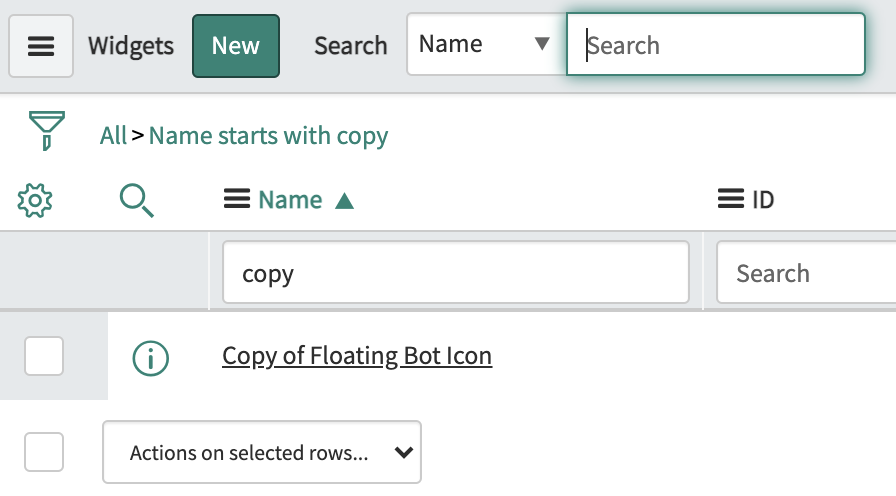
To set up two bot icons side by side, choose one platform and follow the How To instructions at the start of this document. Once the first icon is working, go into ServiceNow’s Service Portal Widgets table, find the first widget you made, click into it, and then clone it to create a copy.

Within this new widget copy, swap out the image and link for the other chat platform’s, and adjust the ‘right’ attribute of the CSS to nudge the new icon out from under the old one. The amount of pixels to add will vary depending on your image sizes, but 100px is a good place to start and can be tweaked until you are satisfied with the look.
Click Update to save your changes, return to the Service Portal designer, search for your cloned widget and drag it next to the first widget. You should see the new icon appear alongside the other one.