Create an Account Data Type
In this exercise we will create an Account data type. This will allow us to create re-usable objects as data types to pass into other plugins.
-
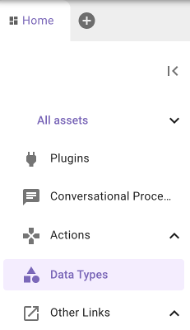
In Agent Studio, navigate to Data Types
-
On the top right, click the “CREATE” button

-
Before we begin, name your Data Type with the same naming convention as the HTTP Action - ie. firstname_lastname_account. The description should be “An Account Object in Salesforce”. NOTE: Once you set your data type name you’ll notice it automatically appends a “u_” as a prefix. This is expected.

-
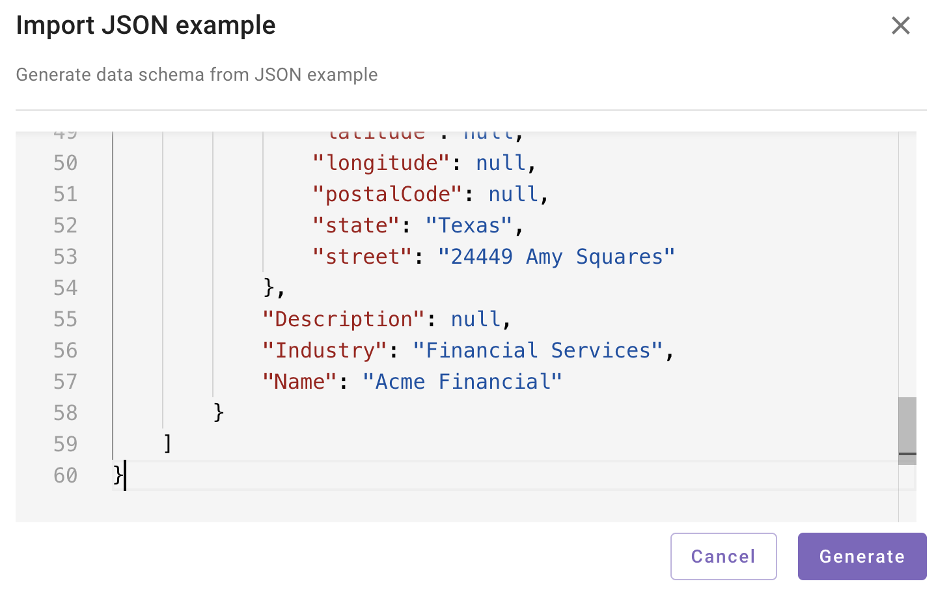
Now we will set up the Schema. The Schema tells Moveworks how the object is expected to be represented when it comes back from the HTTP Action so it can reference the values correctly when referring to it. Agent Studio can create a schema from example JSON payloads. We can use the Salesforce response payload you copied from Step 9 in the “Actions” section into a text editor. Copy the example payload and click “Import JSON”

-
Paste it into the editor and click “Generate”
-
Click “Save Draft”. NOTE: You can save a draft at any time during your progress without having to publish it.

-
Tab over to “Resolver Strategy”

-
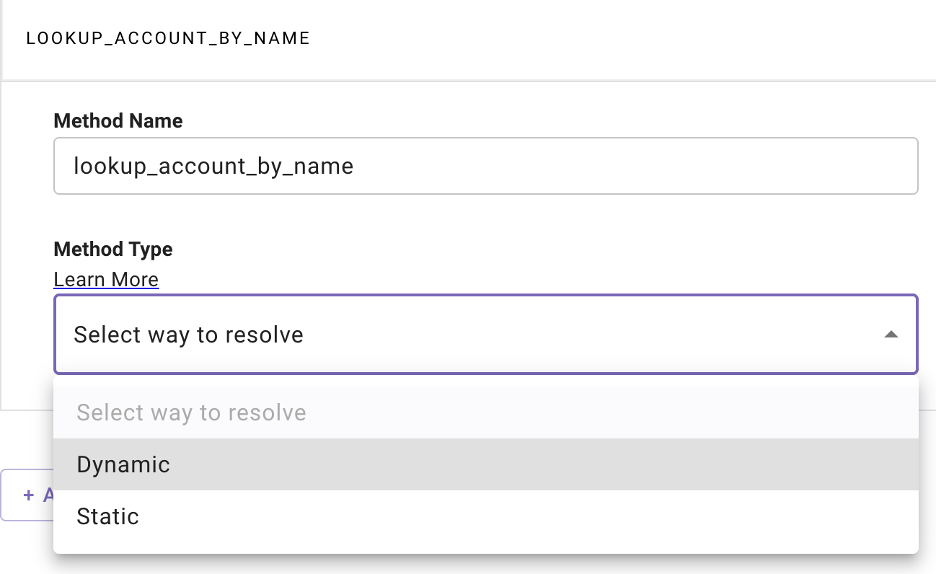
Add a Method Name. This should be descriptive on how we are going to “Resolve” this object. You can use “lookup_account_by_name” or something similar. In the Method Type dropdown, select “Dynamic”.
-
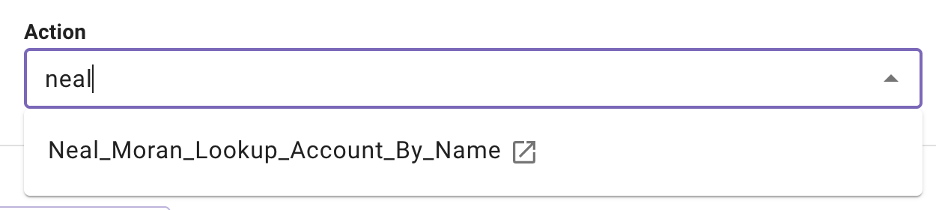
Under the “Action” dropdown, select the HTTP Action you created earlier. You can find it by starting to type your name.
-
You will now see an “Input Mapping” section. You’ll notice it expects “name” as an input. This is because you are referencing an HTTP action that requires name to be input. The “Placeholder for name” is telling the resolver where to find this input. You’ll see in the next step, we will need to get this from the user as input.

-
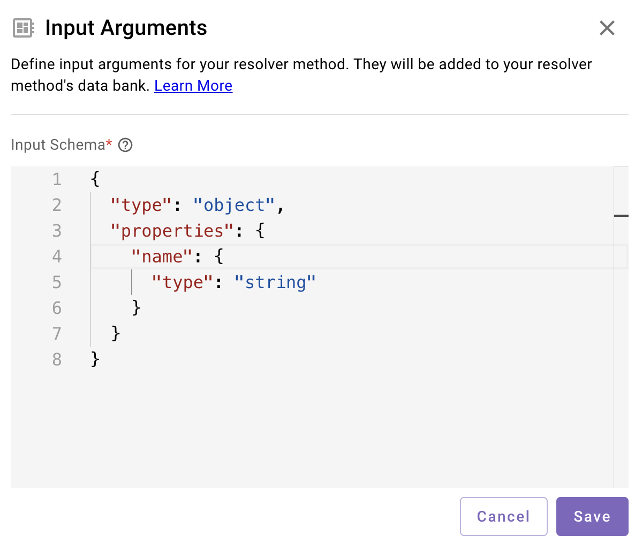
The way to do this is by clicking “Input Args” - you’ll find this at the top right of the resolver section. Once you click it, paste the following into the schema section.
It should look like this. Once finished, click “Save”.
-
In the previous step, your JSON is telling Agent Studio that we need a string input from the user before we can proceed with resolving the account. Once this input is obtained from the user, it can be referenced under the “data” object. Think of “data” as a global variable where we can access inputs we retrieve from the user. Go back to input mapping and add “data.name” to reference the input, and pass it to the HTTP action.

-
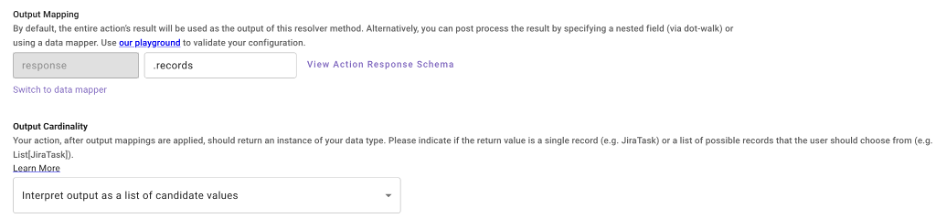
Scroll down to the “Output Mapping” section. Under “Output Mapping”, you’ll see an area to map the output. This is telling the Data Type where the payload of the actual records begins. Often this will be the root element- (in which case would be blank, however with Salesforce their payload is a little different. You’ll notice some parts of the root element have things like “totalSize” and “done”. Since we only care about the records, we will tell it the actual payload is in the “records” field, so this will be “.records”. For “Output Cardinality” - make sure you choose “Interpret output as a list of candidate values”. This is telling the Data Type to expect an array of records, since one or more account names could come back as a result of the search.
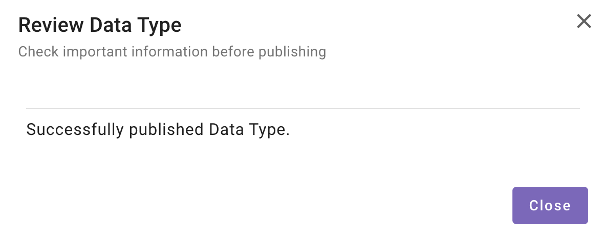
On the top right, click the dropdown and choose “Validate”. This will ensure everything is correct before publishing. If everything checks out, choose “Publish”.

You should see the following upon success.